
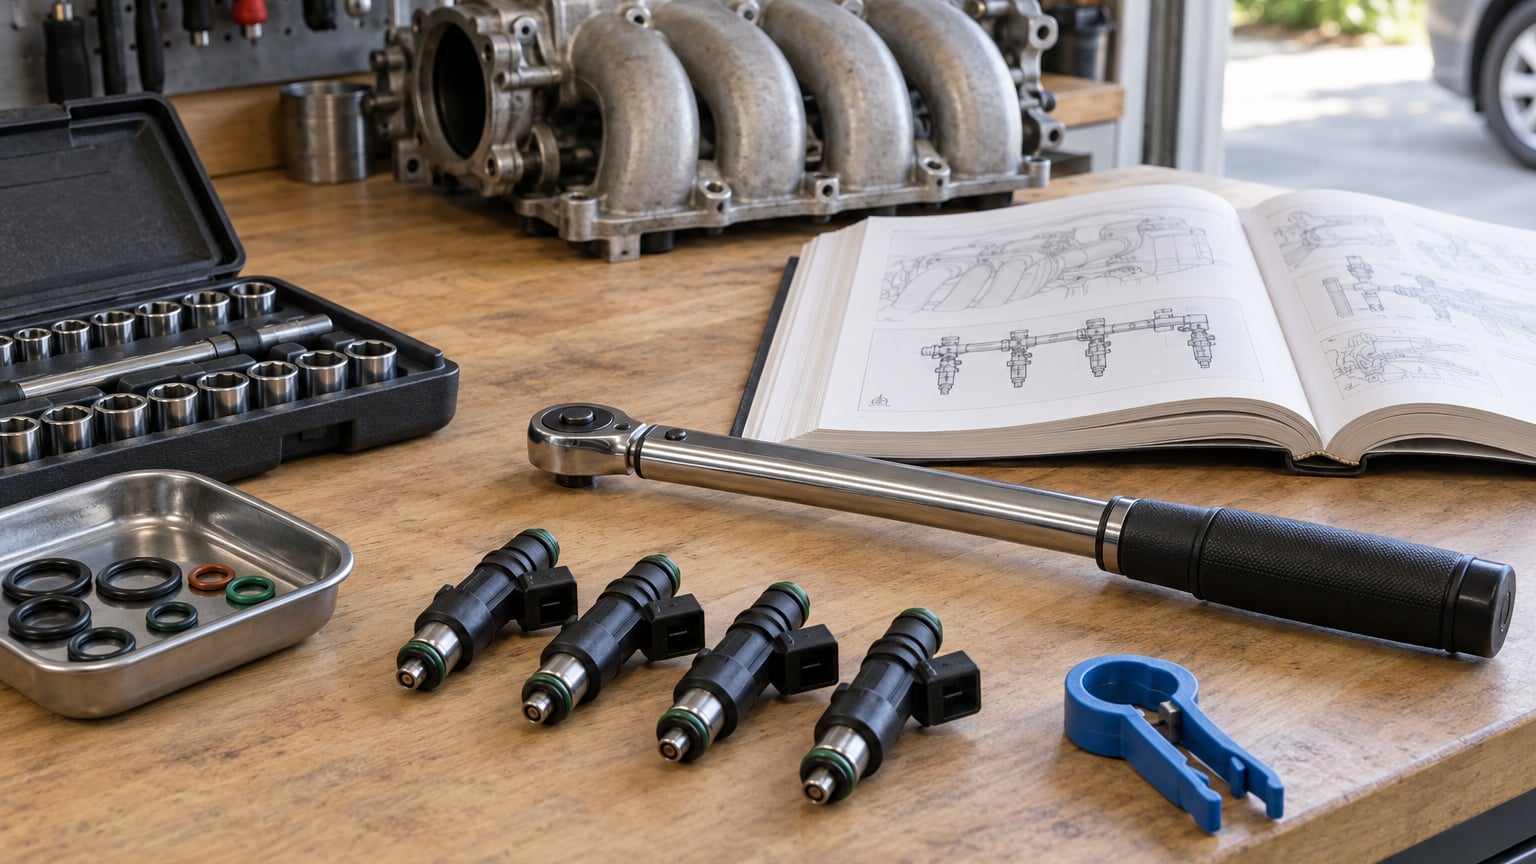
To replace fuel injectors, relieve the fuel system pressure, disconnect the battery, remove whatever blocks access to the fuel rail, unbolt and lift the rail, pull each injector straight out, and fit new ones with fresh O-rings lubricated in clean engine oil. Most jobs take 2 to 4 hours, and the fuel system is the part that decides whether it is a pleasant Saturday or an expensive one.
A fuel injector is an electrically actuated solenoid valve that atomizes fuel from the rail into the intake port or straight into the combustion chamber. When one clogs, leaks or dies electrically, that cylinder gets too little fuel or too much, and the engine tells you about it.
Before anything else, accept one rule: pressurised gasoline will spray through your skin and a rag will not stop it. Relieve pressure first, every time, even for a job that should take five minutes. If fuel-system work or access underneath an intake manifold is beyond what you have done before, hand it to a qualified technician rather than learning it on a car you depend on.
If you are still deciding whether the injectors are the problem, read our guide on how to tell if a fuel injector is clogged first. If the rail is off, replacing the fuel filter while it is already apart makes sense, and pairing the work with a spark plug change is often sensible on a high-mileage engine.
Table of Contents
- What You Need
- Step-by-Step: How to Replace Fuel Injectors
- Step 1: Confirm the Diagnosis and Correct Part Numbers
- Step 2: Disconnect the Battery and Relieve Fuel Pressure
- Step 3: Remove the Intake Components
- Step 4: Remove the Old Injectors
- Step 5: Install the New Injectors
- Step 6: Reconnect the Fuel System and Electrical Connectors
- Step 7: Prime, Start, and Test the Engine
- Common Mistakes
- Frequently Asked Questions
- Can I replace fuel injectors myself?
- Should I replace all the fuel injectors or just the bad ones?
- How do I know which cylinder’s injector is bad?
- What is the best tool for removing fuel injectors?
- How long does it take to replace fuel injectors?
- Why does my car smell like gas after replacing fuel injectors?
- Conclusion
What You Need
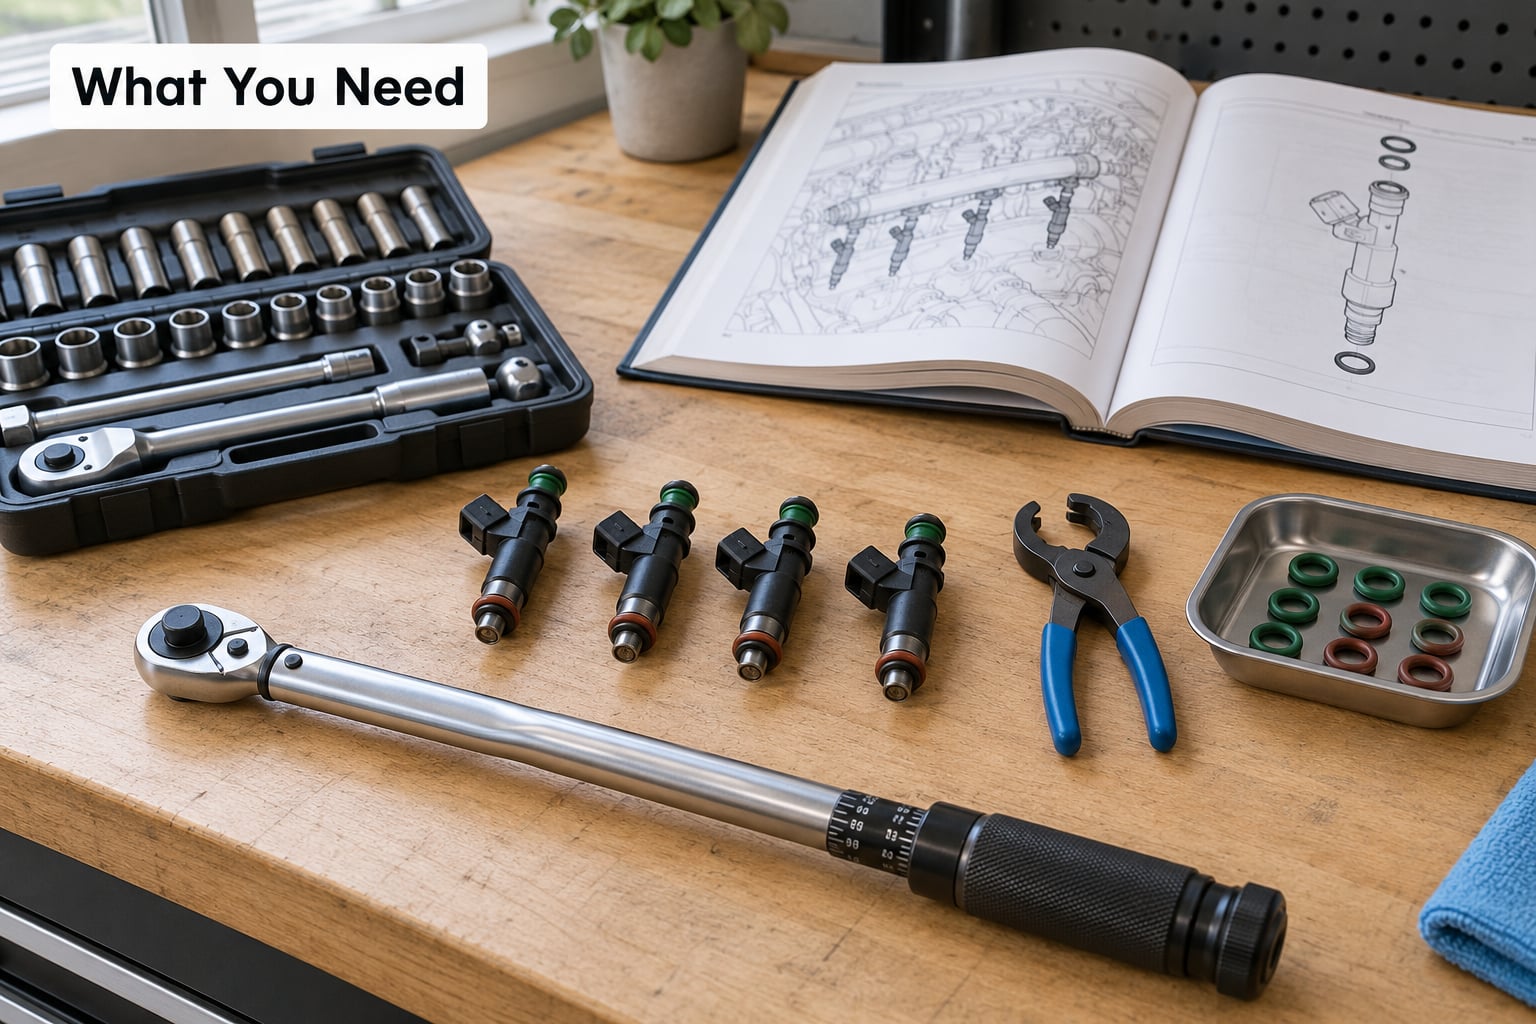
Start with parts that match the engine exactly. A replacement set, one fuel line disconnect tool sized for your quick-connect fittings, a ratchet with a metric and an imperial socket set, a torque wrench, new O-rings or the seals supplied with the injectors, clean engine oil or the lubricant the manufacturer specifies, shop rags, a small tray, eye protection and a fire extinguisher within reach.
Port fuel injection engines, where injectors spray into the intake port, usually need nothing more than the intake duct and throttle body out of the way. Direct injection engines hold the injectors in the cylinder head, so the rail is often buried under an intake manifold and access is a much longer job. That single design difference is why people ask whether injector replacement is a big job.
Matching the part is more than matching the bolt pattern. Check four things before you buy anything:
- Part number. Read the number stamped on the old injector body or the old O-ring and cross-reference it against the vehicle service information. Never guess from the engine badge.
- Flow rate. Measured in cc per minute at a given pressure. Mismatched flow across cylinders makes the engine hunt and can trigger lean or rich codes.
- Impedance. High-impedance and low-impedance injectors have different electrical and fuel-pressure characteristics. The wrong one can pop a code or damage driver circuitry.
- Connector and coding. The electrical connector must be identical. Some vehicles, including a lot of BMW and VW/Audi engines, need injector coding or adaptation through a scan tool after installation or the engine will not drive them correctly.
On part quality, forum experience is blunt. Owners on r/AskAMechanic reported cheap aftermarket units producing running lean codes, multi-cylinder misfires and a fuel smell with the air conditioning on, and going back to cleaned original injectors cleared the light. If you cannot verify the seller or the flow rate, buy the genuine part or a well-reviewed remanufacturer.
Have a fuel line disconnect tool on hand even if you think your lines use bolts. Quick-connect fittings will spit fuel the moment they open if the system is still live, and the tool lets you release them without twisting the fitting.
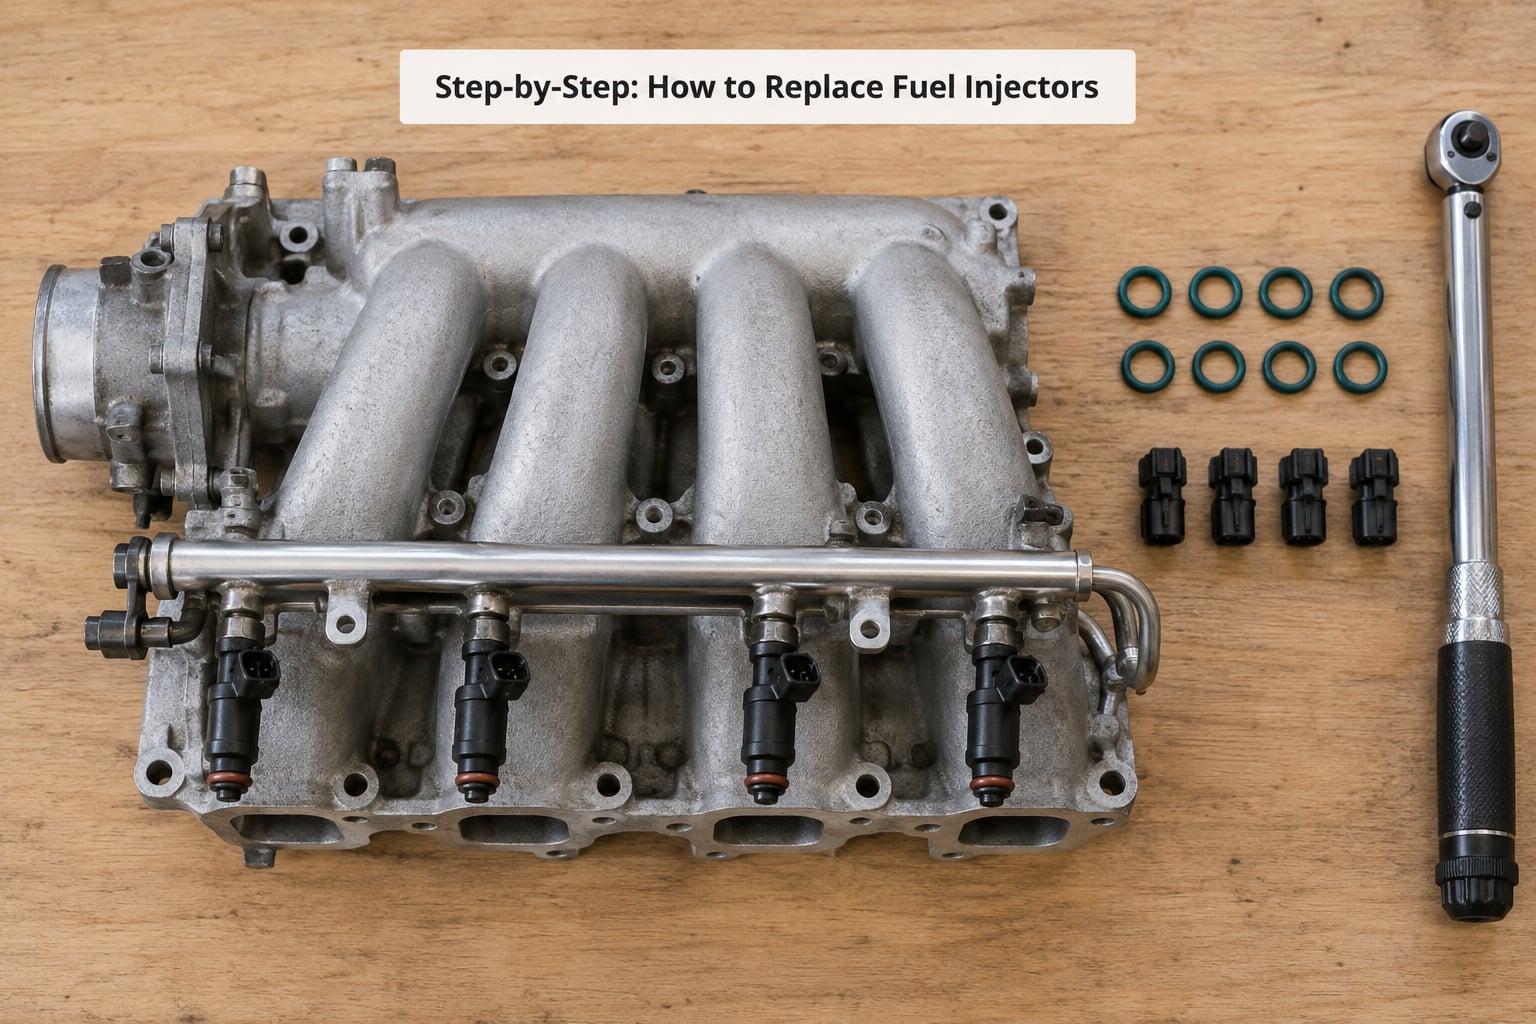
Step-by-Step: How to Replace Fuel Injectors
Step 1: Confirm the Diagnosis and Correct Part Numbers
Scan for codes first. Random or cylinder-specific misfires, lean codes such as P0171 or P0174, and fuel rail pressure codes all point in roughly the same direction, but none of them point at an injector by themselves. A dirty throttle body, a vacuum leak, weak fuel pump, damaged wiring or a failing sensor can produce the same numbers.
To isolate the cylinder, swap a suspect injector with one from another cylinder and watch what changes. Owners on r/WRX note that on direct-injected turbo engines the injectors sit deep in the head and become quite stuck, which is also why a swap test is cheaper than guessing. A scan tool reading injector pulse width and current draw per cylinder tells you more in five minutes than a week of swapping parts.
Then confirm the part number, flow rate, impedance and any coding requirement against the vehicle service information before the car is apart.
Step 2: Disconnect the Battery and Relieve Fuel Pressure
Let the engine cool, park outside or in a well-ventilated space, keep the fire extinguisher in reach and remove the negative battery cable. Wait the interval the service manual specifies, usually a few minutes, before touching anything electrical.
There are two accepted ways to drop the pressure. Pull the fuel pump relay or the pump fuse, then crank the engine until it dies. Or use the Schrader test port on the rail, which is usually under a cap on the fuel line or the rail itself, depress the pin with a gauge and a rag over it to catch the spray. Some owners on r/crz depressurize by unplugging the pump under the rear seat and running the engine dry until it quits.
Whatever the method, open a fuel connection and expect liquid, not a mist. Absorb it immediately with a rag and dispose of it properly.
Step 3: Remove the Intake Components
Take out the airbox, the intake snorkel and ducting, the throttle body connections, any engine cover, brackets and heat shields standing in the way. Label every vacuum hose, wiring plug and piece of hardware with masking tape as it comes off; you will not remember the routing later.
Plug or bag the intake opening so dirt, filings and stray bolts cannot fall into the ports. Keep the throttle body shaft and butterfly from being levered on, and do not rest tools on the sealing face.
Step 4: Remove the Old Injectors
Unplug each injector connector, then release the retaining clip, tab or bracket holding it. Rock each injector gently and pull it straight out, taking it out one at a time and noting its position so you can put the same cylinder’s new part in the same port. An owner on r/944 described lifting the whole rail away in one motion after four bolts and the clips came off, but that only works when nothing is seized.
If an injector will not move, stop pulling. Do not pry on the body or tap it with a hammer; both crack solenoids and bend ports. Use an injector puller sized for your engine family, apply penetrating oil to the port around the O-ring, let it soak, and work the puller in even pressure. Most puller kits sold online are built for GM or VW/Audi families, so check the style matches your car before you rely on it.
Inspect the old O-rings, the seats in the head and the connectors. If gasoline has been washing down into the crankcase, that is hydrolock territory and it needs attention now, not later.
Step 5: Install the New Injectors
Lubricate the new O-rings with clean engine oil, or the product the manufacturer specifies. A dry O-ring will not seat evenly and will leak, and that leak is the number one reason a fresh set fails minutes after installation.
Keep the ports clean, install the injector square and press it in by hand until it seats evenly, then fit the clip, tab or bracket. Never force the body or the electrical terminal. Old O-rings and washers are never reused, whatever they look like.
Step 6: Reconnect the Fuel System and Electrical Connectors
Refit the fuel rail or supply line, confirm the rail is supported and not twisted, and tighten fuel-system fasteners to the specified torque in the order given. Reconnect the injector harness until each connector clicks home, then the vacuum lines and any sensors you unplugged.
Use fuel-rated hardware only and do not overtighten a quick-connect fitting to stop a drip. Find the actual leak instead. If the vehicle needs injector coding, complete that with a scan tool before you start the engine.
Step 7: Prime, Start, and Test the Engine
Turn the key to the second position and let the pump cycle for a few seconds without starting, then a couple more cycles. That primes the system and gives you a last chance to catch a leak before the engine lights.
Start it and watch for the first minute. Look for a fuel odor, hissing, wetness around any injector or rail joint, rough idle, stumble, misfire, a warning light and new stored codes. Shut the engine down immediately if fuel is pooling, the smell is strong or a hose is hissing.
Check the dipstick before anything else. Gasoline in the oil after a set of leaking injectors has to be changed out, with the oil filter, before you run the engine again. Then clear the codes, drive it, and recheck for a check engine light. If a lean code comes back on fresh injectors, suspect the part quality or a vacuum leak before you suspect the install.
Common Mistakes
Most failed injector jobs come down to one of these. Each has a correction worth remembering.
- Skipping the diagnosis. A vacuum leak or a dirty throttle body will still be there after you fit four new injectors. Confirm before buying parts.
- Wrong flow rate or impedance. The engine hunts, runs lean or rich, and the code comes back. Match the specification, not the listing title.
- Dirt into the intake. Bag and plug every opening you uncover. Debris contamination ruins a new set before the first start.
- Reusing old O-rings or washers. They compress and never seal again. Fit new ones every time.
- Dry O-rings. Lubricate them with clean engine oil before installation.
- Damaged electrical terminals. Unplug by the plastic housing, never by the wires, and keep oil and solvent out of the connector.
- Pinch or reroute the fuel line. Check the routing and the clearance to the exhaust before the first start.
- Failing to relieve pressure. Never crack a fuel line to test it. Use the relay, the fuse or the test port.
- Overtightening fittings. Fuel fittings are sealed at the connection, not at the threads. A stripped fitting means replacing the line.
- Prying or hammering a stuck injector. Use a puller and penetrating oil instead, or pay for the extraction job rather than crack the body.
Before you start, confirm the diagnosis, the part numbers and the spec match, and confirm the pressure is off. Before you call it finished, walk the length of the rail and every injector with a clean dry rag, check the codes are clear, and check the oil for fuel.
Frequently Asked Questions
Can I replace fuel injectors myself?
Most people can, if the diagnosis is right and they have the vehicle service information, the correct parts and basic hand tools. Port fuel injection engines are usually accessible with the intake duct and throttle body out of the way. Direct injection engines often need the intake manifold removed and can require coding afterwards, which usually means a scan tool. If the fuel rail is buried deep in the engine, that is the point to call a technician.
Should I replace all the fuel injectors or just the bad ones?
A single injector can fail on its own, particularly if it was contaminated by a leaking fuel pump gasket while the others stayed clean. Replacing one saves parts, but the others are then on a clock. On a high-mileage engine with several weak or weeping injectors, replacing all of them in one job usually costs less than doing the access work twice.
How do I know which cylinder’s injector is bad?
Swap the suspect injector with one from a different cylinder and watch whether the symptom or the misfire code moves with it. A scan tool that reads injector pulse width and current draw per cylinder narrows it down in minutes. Cylinder-specific misfire codes are a useful hint but not proof, so always confirm with a swap or a reading before you commit to parts.
What is the best tool for removing fuel injectors?
An injector puller sized for your engine family is the right tool when an injector will not come out by hand, and many puller kits sold online are built for GM or VW/Audi families only. Supporting your work with penetrating oil around the port and even pressure beats prying or hammering, which can crack the solenoid body or damage the port in the head.
How long does it take to replace fuel injectors?
Allow two to four hours on a port fuel injection engine where the rail comes off in one piece, and considerably longer when the intake manifold has to come off for direct injection access. Add time for bleeding and testing, and longer again if an injector is seized and needs a puller. Access, not the swap itself, is what sets the time.
Why does my car smell like gas after replacing fuel injectors?
A raw fuel smell right after the job usually means a leaking connection or an injector that is not fully seated, and it needs fixing before you drive. A fuel odor that only shows up with the air conditioning running points at a different leak in the air intake or evap path. If a lean code appears at the same time, suspect the quality of the new injectors, not just the install.
Conclusion
The order that keeps a fuel injector job safe is simple: verify the diagnosis, get parts that match the part number, flow rate and impedance exactly, relieve the pressure before a single fitting comes loose, and keep every intake opening bagged and clean. Fit new lubricated O-rings, tighten to the service manual specification, then prime and walk the whole rail with a dry rag before you drive it.
Work through the vehicle service manual for your engine, and if the access is deeper than anything you have tackled before, or an injector will not come out, let a qualified fuel system technician handle it. That decision usually costs less than the alternative.