
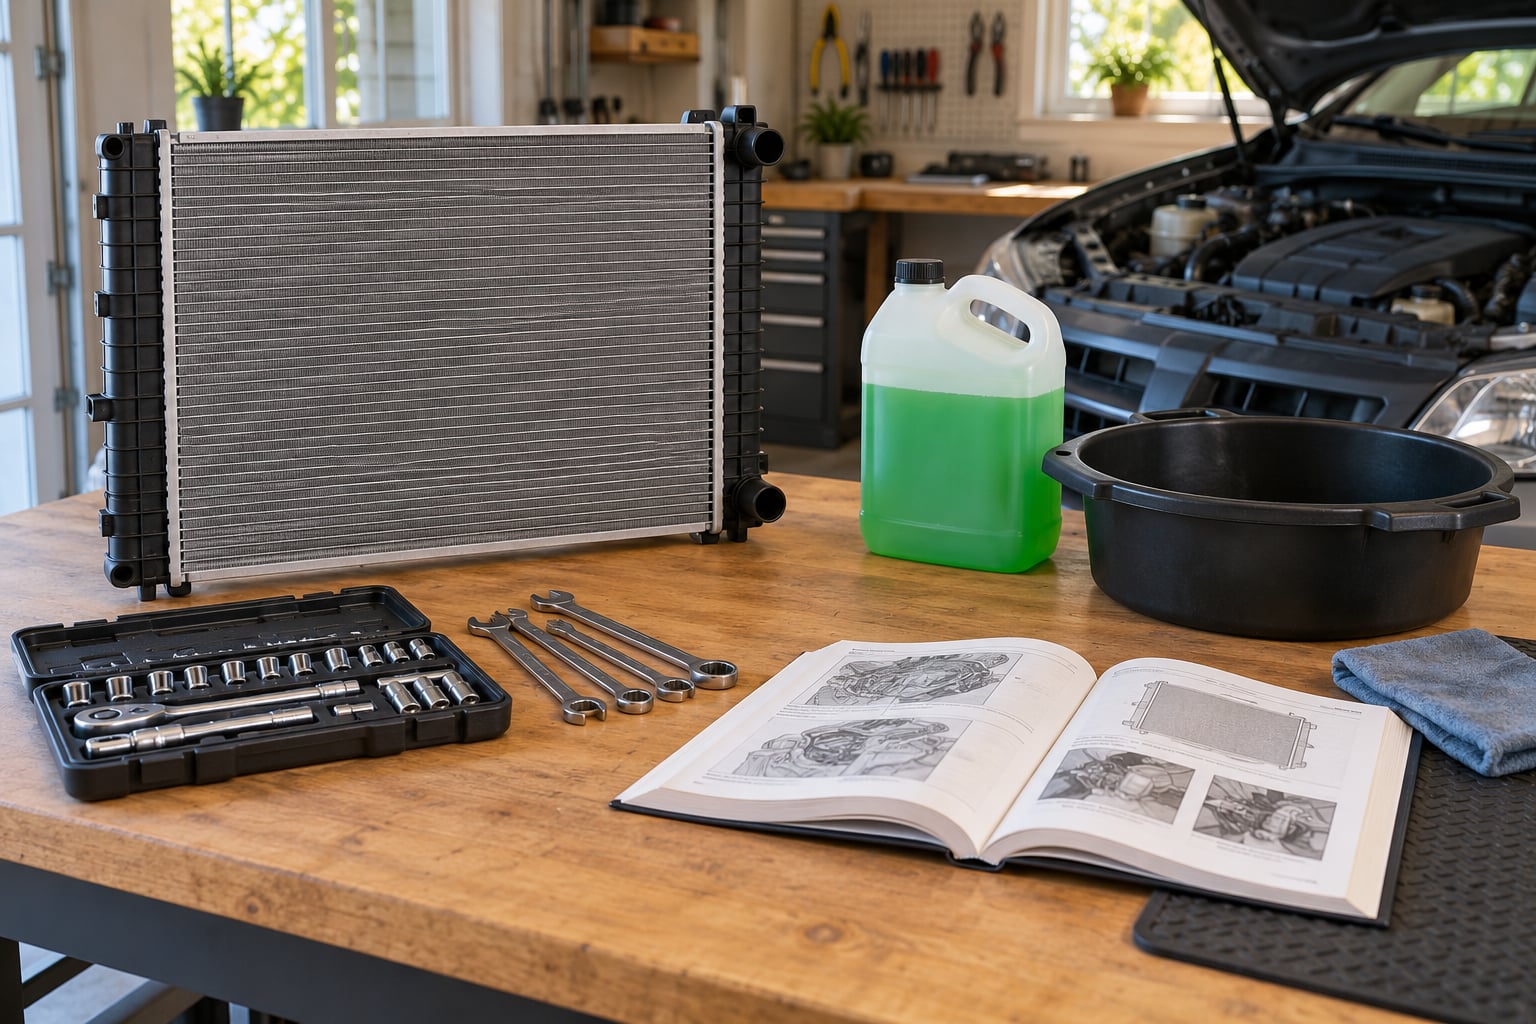
Yes, you can replace a radiator yourself with basic hand tools, a drain pan, and about 2 to 4 hours from cold engine to finished refill. This guide is about the engine radiator in your car, not the wall-mounted radiator in a house, and it is written for DIY owners of mainstream vehicles including most BMW models. The mechanical work is the easy part. Draining without spills, bleeding the air out, and handling transmission cooler lines properly are what turn a smooth job into a bill.
On most cars the radiator sits at the very front of the engine bay behind the grille, and the whole job runs from the top with the hood open. On a few transverse-engine models, or any car with an integrated fan shroud, you will be working on your back under a lift or sliding underneath on a creeper, so plan the access before you order the part. Read the whole guide first, then start at the triage step rather than at the drain pan.
Everything below assumes an engine that is cold, a vehicle with a failed, cracked, or clogged radiator, and no sign of head gasket or transmission damage. If either of those is present, the radiator is not your problem this weekend. Always defer coolant type, mix ratio, and torque figures to your owner’s manual, since those details change between model years.
Table of Contents
- What You Need
- Step-by-Step: How to Replace a Radiator Yourself
- 1. Confirm the Radiator Is the Problem
- 2. Let the Engine Cool and Prepare the Vehicle
- 3. Drain the Coolant
- 4. Remove the Old Radiator Without Damaging Anything
- 5. Transfer or Replace Necessary Components
- 6. Install the New Radiator
- 7. Refill and Bleed the Cooling System
- 8. Check for Leaks and Verify Operation
- Common Mistakes That Cause Expensive Damage
- Frequently Asked Questions
- What to Do First on Your Car
What You Need
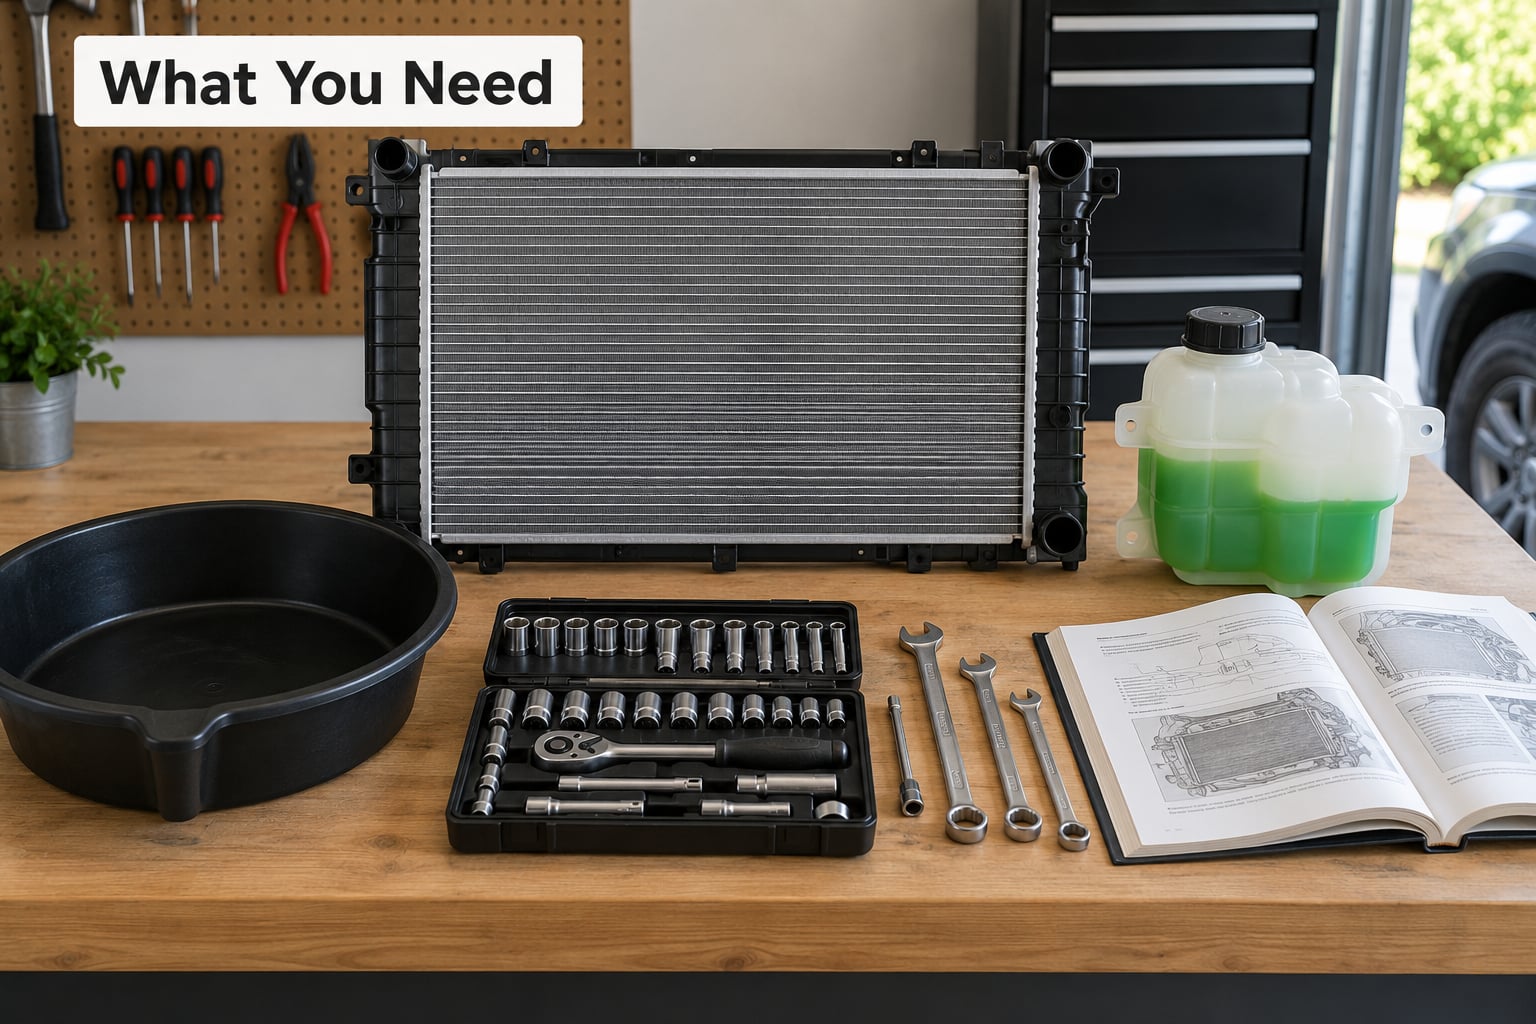
Get the radiator matched to your exact vehicle before the car comes apart. A radiator has to be the right size, with the right inlet and outlet ports in the right places, and the right transmission cooler provision if your car has one. Many BMW models use a plastic end tank radiator, and several use a fan shroud that is part of the radiator assembly, so check what comes with the unit before you assume the fan is a separate part.
Beyond the radiator itself, this is the rest of the list:
- The replacement radiator, matched by part number to your exact model and year
- Coolant specified in your owner’s manual, plus distilled water if you are mixing it yourself
- New coolant-rated O-rings, seals, and washers for any transmission cooler or coolant neck connections
- A new radiator cap of the correct pressure rating for your system
- New worm-gear hose clamps, or spring clamps if the car uses them
- A large drain pan, a funnel, and a coolant drain container or sealed jug for disposal
- Socket set, wrenches, pliers, and hose clamp pliers if the car uses spring clamps
- A radiator cap tester if you want to check the old cap before blaming it for the leak
- Rags, cardboard, and a plastic mat to protect paint and trim from coolant
- Vehicle-specific service information for your model
Most cars hold somewhere between 6 and 10 quarts of coolant, so buy more than you think you need and mix it before you start. Half the coolant in a job gets left in the hoses, the heater core, and the block. A cheap mistake here is grabbing a plain radiator without the cooler ports when your car routes transmission fluid through it, and an expensive one is buying a radiator that does not match the factory mounting points.
- Drain pan and funnel: catching coolant from the petcock or the lower hose without it hitting the ground
- Socket set and wrenches: mounting bolts, shroud screws, and transmission cooler fittings
- Pliers and spring clamp pliers: hose clamps that pinch onto the hose barb
- New O-rings and washers: sealing cooler lines and the coolant neck. Old ones are one-use
- Distilled water: for the coolant mix, if the coolant is not premixed
- Coolant-rated washers: replacing any rubber washers under banjo or cooler bolts
- Cardboard or a rubber mat: protecting paint. Coolant attacks clear coat fast
- Radiator cap tester: checking whether the cap was holding pressure or letting the system boil over
If your radiator has a bad cap, the new radiator will not solve anything. Understanding what a radiator cap actually does is worth two minutes before you spend an afternoon in the yard. The cap is the pressure relief valve for the whole system, and a failed one causes the exact overheating symptoms people blame on the radiator.
Step-by-Step: How to Replace a Radiator Yourself
1. Confirm the Radiator Is the Problem
Before removing anything, make sure the radiator is actually the fault. Pull on the upper radiator hose and squeeze it. If it is rock hard and swollen, or soft and mushy, the hose is compromised and the radiator may not be the part that failed.
Look for a cracked, bulged, or weeping plastic end tank, white or green crust around the seams, coolant staining on the subframe, or a puddle under the car that smells sweet. A strong smell of coolant in the cabin usually means coolant is reaching the heater core. If you have a fan that does not come on when the engine is hot, stop here and test the fan first, since six quick checks on fan operation will save a whole teardown.
Rule out the other common suspects. A thermostat that sticks closed sends the temperature needle up almost immediately and stays there. A leaking water pump shows coolant weeping from the pump weep hole or from under the engine near the front. A radiator usually causes a temperature climb that shows up under load or at idle, sometimes with a heater that blows only cool air.
Suspect a head gasket if the oil is milky or chocolate-foaming, if you see bubbles in the radiator when the engine is warm and idling, or if there is pressure in the system with the cap off. A radiator replacement will not fix any of those, and the damage gets worse the longer you drive it. Pressure-testing the cooling system with a radiator cap tester and a squeeze tester is the cheapest way to confirm the leak is where you think it is.
2. Let the Engine Cool and Prepare the Vehicle
This job is more dangerous when the engine is hot than when it is hard. Never open a radiator cap on a warm engine. Pressurized coolant releases as an expanding cloud of steam that will scald you and eat the paint.
Park on level ground, set the parking brake, and let the engine cool until everything, including the radiator cap, is cold to the touch. Two hours is a safe assumption on a car that was just driven. Prop the hood fully open rather than trusting the latch.
Disconnect the negative battery terminal before you touch the electric fan. Many fans will run with the key out of the ignition if the module still has power, and a spinning blade in front of your sleeve is a bad way to learn this. A memory saver keeps your radio settings, but the manual tells you whether you need one. Put the terminal where it cannot touch the positive post.
Lay cardboard or a rubber mat over the engine and any painted structure in the area you will be working under. Coolant strips clear coat in minutes and leaves a chalky mess that no one else will clean up for you.
3. Drain the Coolant
Set the drain pan under the radiator and place a wide funnel or the coolant drain container so the hose end sits inside it. A low, flat radiator is easy to miss with a deep pan, so watch where the coolant lands before you open anything.
Most radiators have a petcock drain plug at the lower corner, usually on the driver’s side. If it turns freely, open it. If it is seized, do not hammer it. Threads stripped from an aluminium tank turn a small job into a replacement radiator, so options in order of preference are a penetrating oil and a gentle attempt with a soft-faced tool, plugging the hose into a container, or cutting the petcock off and catching the coolant in a rated container.
Removing the lower radiator hose is often the cleanest way to empty the radiator and part of the loop, and it also lets you reach the transmission cooler ports. A block drain plug, if the engine has one accessible from above, empties more of the system than the radiator alone. Some BMW cooling systems require removing an undertray or a splash shield to reach the drain from underneath, so check the service procedure for your model.
Keep every drop for disposal at an auto parts store or a proper waste facility. Never down a storm drain, and never onto the driveway where a pet or a child can find a puddle.
4. Remove the Old Radiator Without Damaging Anything
Clamp and disconnect the upper and lower radiator hoses at the radiator. Older cars use worm-gear clamps that rust open into the hose, so pinch the clamp and slide it up the hose a good two inches before you try to move the hose off the barb. A screwdriver lever will split the plastic tank. If the hose is stuck, replace the hose rather than fight it, since you have the old radiator out anyway.
Unplug the electrical connectors for the fan, the coolant temperature sensor, and any fan control module on the shroud. Disconnect the battery first, and make sure you have the key nearby when the vehicle is back together so you can test the fans early.
If the car has an automatic transmission, the transmission cooler lines enter the radiator at the bottom or the side. This is the point where most first-time jobs go wrong. Have your two or three old radiator caps, a block of wood, or a bag ready, and plug each line the instant it comes off so transmission fluid and air stay in the circuit. Do not tighten those fittings hard later. Over-torquing a cooler line cracks the fitting or the tank, which is how coolant ends up in the transmission and the repair turns into a transmission service. Hand-tighten first, then snug with a flare-nut wrench.
Unbolt the fan shroud from the radiator. On models with an integrated shroud, expect the whole radiator and fan module to lift out as one unit. Remove any upper core support bolts, air intake duct, and coolant recovery tank brackets that stand in the way, and note the location of every clip and bracket before it comes off, because the plastic tabs on a support bracket often snap and are not sold separately.
Lift the radiator straight up and out. Wear gloves. Radiator fins and plastic tanks are more fragile than they look, and a bent fin or a cracked tab can send you back to the parts store.
5. Transfer or Replace Necessary Components
Compare the old and new radiators side by side before you install anything. Transfer the rubber mounting bushings and the coolant temperature sensor if the manual calls for it, and install new ones if the old bushings are hardened or cracked. A hardened bushing lets the radiator move under load, which wears the necks and tanks until they crack.
Fit a new radiator cap of the correct pressure rating. If the cap was part of the failure, a cap rated for a different system can either pop the system open too early or hold too much pressure.
Replace every one-use seal you disturbed: cooler line O-rings, coolant neck washers, and any rubber washers under banjo bolts. Do not reuse old O-rings, and never stretch one over a fitting. Check that any plastic support bracket tabs you removed are intact, and buy new hardware for the mounting bolts on models that specify new bolts with new radiators, since stretch bolts and aluminium threads do not mix with repeated torque.
If the thermostat housing was disturbed, replace the thermostat and its gasket now. A cheap part removed while the cooling system is apart is the cheapest part to buy all year.
6. Install the New Radiator
Set the radiator into position, seat it on the bushings, and align the mounting holes before you put any bolts in by hand. If it will not line up, stop and check for a missing spacer or a bracket left behind. Bolting a radiator down crooked is how you crack a new tank and start the job again.
Tighten the mounting bolts evenly, in stages, to the torque in your service information. Do not guess and do not crank plastic-supported fasteners down until something gives.
Reconnect the hoses and push each one fully onto its barb so it seats past the ridge, then run the clamp well past the end of the hose. Check that no hose is kinked or pinched between the radiator and the shroud, because a hose that has collapsed at the filler neck will starve the engine and look like a radiator fault for weeks.
Install the shroud, reconnect the cooler lines with new O-rings, and hand-tighten every electrical plug into place. Spin the fan by hand to check the blades clear the shroud and that nothing is rubbing. If your car bleeds the lower hose, the radiator may need a partial fill of coolant before it goes in.
7. Refill and Bleed the Cooling System
Mix your coolant before it goes in the car. Follow the specification in your owner’s manual, and use distilled water if you are mixing concentrate. A 50/50 mix is common, but the specified coolant and mix ratio for your engine is what matters, especially on BMW models where the manual may call for a particular coolant type and a bleed procedure with the reservoir filled a specific way.
Fill the radiator slowly. If your car has a bleed screw or a separate bleed procedure, use it and follow the sequence in the service information, because on some engines the bleed point is not at the radiator and the order of operations changes.
Fit the cap loosely, set the heater to maximum heat with the blower on high, and start the engine. A vacuum in the heater core draws coolant through and pulls bubbles along with it. Let the engine idle, watch the reservoir level, and top up as it falls, since that drop is air moving out of the system and coolant filling in behind it.
Watch the upper hose. Once it goes from soft to firm, coolant is circulating rather than steam. Hold the engine at operating temperature, watch the temperature gauge for a steady reading, and rev the engine in park or neutral to move any remaining air. Do not remove the cap on a hot engine to check a level. If the gauge climbs and then settles, that is a working bleed. If it climbs and keeps climbing, stop the engine and go back to hunting air.
8. Check for Leaks and Verify Operation
With the engine running, walk around the front of the car with a light and look at every hose end, cooler fitting, and the radiator necks. Press a dry paper towel against each joint in turn. Shut the engine down, then wait and look underneath the car where the car was parked before you started.
Check the cap with your tester if the old one was suspect. Recheck fasteners after a heat cycle, but only to the specified torque and only on the bolts that are meant to be rechecked, never to break a plastic mounting tab.
Let the engine cool completely and confirm the reservoir level is between the cold and warm marks. Start it again, bring it to temperature, and watch the level drop as the plastic expands. Fill to the cold mark when cold rather than to the top of the tank, then recheck once more after the next drive.
Before you call it done, drive it for 20 minutes at normal load, then watch the gauge at idle and on a hill. A cooling system that is fine at idle and climbs in traffic usually still has an air pocket, and a system that is fine cold and warm but weeps after 30 minutes has a fitting that needs a touch up. Recheck the level and the ground under the car for a few days after the repair.
Common Mistakes That Cause Expensive Damage
Opening a hot cooling system is the most common and the worst. A cap off a warm engine throws scalding coolant across your arm and the engine bay. Wait until the cap is cold to the touch, and open it slowly with a rag over your hand even when you think it is safe.
Using the wrong coolant or mixing two brands is the second big one. Coolants for different engine materials are not interchangeable, tap water brings minerals that scale the core from the inside, and mixing incompatible chemistry can drop the boiling point of the whole system. Mix to your manual, then check the mix in a clear container before it goes in.
Reusing old seals is the cheap-habit mistake. Old O-rings flatten, harden, and get stretched back onto the barb during fitting. Any time a seal comes off, it is replaced, and it is the cheapest insurance in the job.
Overtightening plastic or aluminium is the one that replaces your new part. Radiator necks, plastic tanks, and transmission cooler fittings all crack from overtorquing, and a crack at a cooler fitting is the expensive version because it lets coolant into the transmission. Snug is enough, and a flare-nut wrench is the right tool.
Leaving the transmission cooler lines open is how a transmission gets damaged on a job that otherwise goes fine. Plug them the moment they come off, keep the fittings clean, and check for transmission fluid in the old coolant before you assume you drained only coolant.
Skipping the bleed, or filling the reservoir to the top, causes overheating that looks like a bad radiator. Fill to the cold mark, bleed with the heater on high, and let the level settle. A reservoir filled to the brim on a cold engine has no room for the coolant to expand as it heats.
Replacing the radiator without fixing why it failed means doing it twice. If the leak came from a failed cap, a cracked hose, a weep hole in the water pump, or a radiator that was never mounted properly in the first place, the new one will fail the same way. Diagnose the cause before you start.
While the cooling system is apart, replace the thermostat, the radiator cap, and any hose that feels soft or swollen. Also check the coolant recovery tank and its hoses, since a hairline crack in a plastic tank often causes the same symptoms, and if yours is a separate part, replacing a BMW expansion tank follows the same drain-and-refill procedure.
One last habit: look at the radiator core itself, not just the tank. Bent fins reduce airflow and overheating follows. A gentle comb or a soft brush clears debris between the core and the condenser, and a hose of low-pressure air from behind pushes most of it out without much fuss.
Frequently Asked Questions
Is it easy to change a radiator on a car?
It is a moderate job that most owners with basic hand tools can finish in 2 to 4 hours, including the drain, refill, and bleed. The removal itself is straightforward. What takes the time is getting the coolant out without spills, bleeding the air back out, and cleaning up afterward. Cars with an integrated fan shroud or a blocked-in transmission cooler take longer.
Do I have to drain all the coolant to replace a radiator?
You have to empty the radiator, and most people drain as much of the rest of the system as they can reach. Emptying the radiator alone gets the bulk of it out, but coolant left in the block and heater core mixes with your new fill, so flushing more of the system gives you a cleaner result and a more accurate level reading on the reservoir.
How long does a radiator replacement take?
Plan on 2 to 3 hours on a first-timer with a transverse-engine car, where everything is reachable from above. Budget closer to 4 hours or more if the fan shroud is integrated, the drain is under an undertray, the petcock is seized, or the transmission cooler lines are involved. Add an hour to shop for the radiator and wait for the right match.
What happens if the transmission cooler lines are backwards?
The radiator sends cooler fluid to the transmission and takes hot fluid back, so routing them backwards makes the transmission work without a cooler and the radiator work against pressure. The result is overheating in both systems and a worn transmission. The lines are usually different sizes or keyed fittings, so fit them only where the manual says, and never swap them to make a line reach.
Why does my car overheat after replacing the radiator?
Trapped air is the usual answer. The gauge looks fine for a minute, then climbs when you sit at idle or drive under load. Refill slowly, run the heater on maximum with the blower on high, and top the reservoir up as it drops until the upper hose goes firm and the level stops moving. If it still overheats, check the cap, the thermostat, and the fan operation.
What to Do First on Your Car
Do the triage before you buy anything. Pressure-test the system, inspect the radiator and hoses with the engine cold, and confirm the fan comes on when the engine is hot. Once you have a confirmed radiator failure and the correct part in your hands, the job itself is a slow afternoon rather than a gamble.
Start with a cold engine, protect the paint, plug the transmission cooler lines before they drip, and give the bleed step the time it deserves. That last part is where most of the follow-up complaints come from, and it is the easiest to get right.
Always follow the coolant specification, mix ratio, and torque values in your own service information. If you tell me your year, make, model, and transmission type, I can point you to the specific access steps and the parts that are usually sold together on that car. This guide is current for 2026 and stays accurate as long as you work to your own manual.