
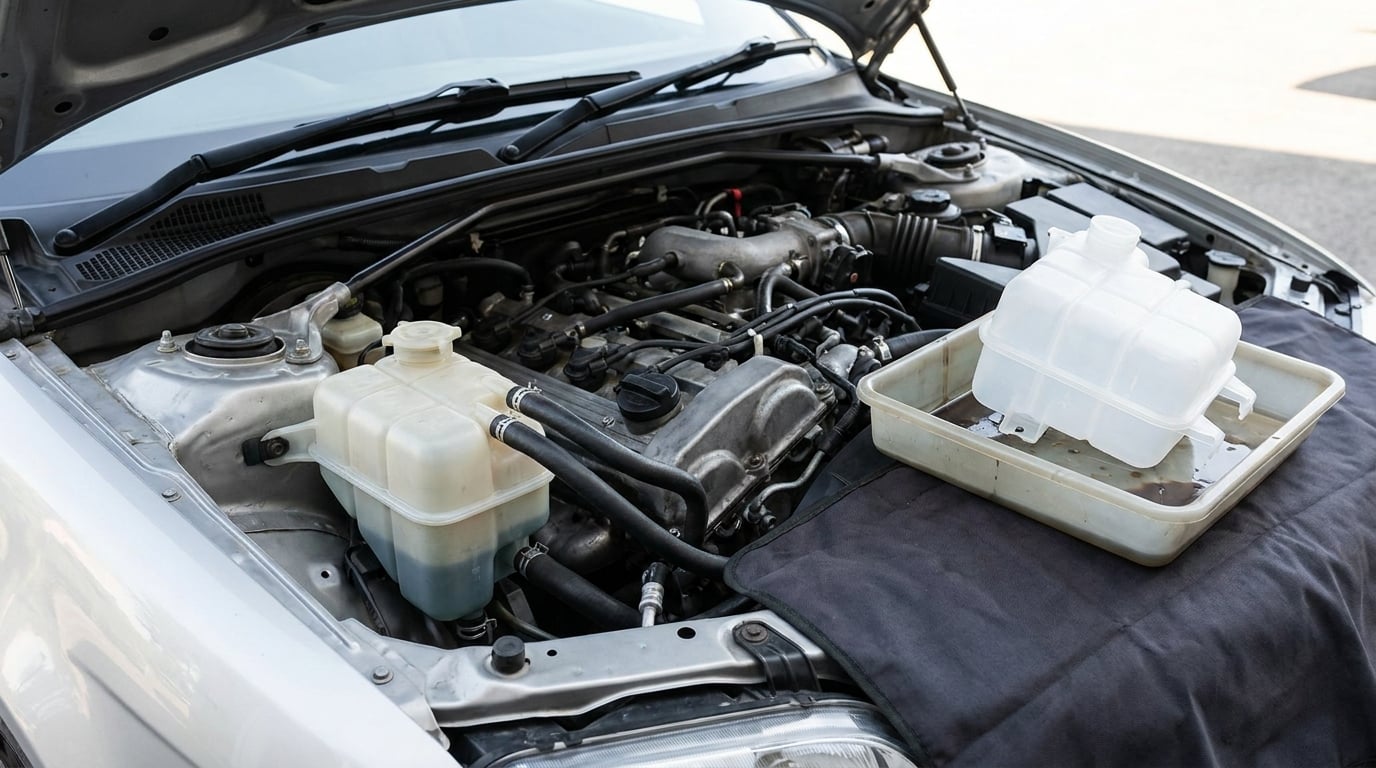
Replacing a BMW expansion tank is a straightforward cooling system job: unbolt the tank, swap the two coolant hoses and the coolant level sensor connector, then refill and bleed. Most owners finish it in one to two hours with hand tools, and on E-series cars it is done entirely from above in the engine bay without lifting the car.
The tank itself is a plastic bottle, so the swap is physically easy. What makes people nervous is the refill and bleed, because an air lock in the system can leave a car that looks fine and overheats twenty minutes later. Get the coolant right, fill slowly, and the job is uneventful.
Before you pull anything apart, confirm the tank is actually the leak. A coolant puddle under the car can also come from a cracked radiator, a failed water pump weep hole, or a heater core that has given up on a car sitting in the same spot for a decade. A bone-dry expansion tank with dried white residue around its seams is the clearest signal, and BMW owners on the E46, E90 and E60 forums describe that brittle split-along-the-seam failure constantly.
Table of Contents
- What You Need
- Step-by-Step: How to Replace a BMW Expansion Tank
- Common Mistakes
- Frequently Asked Questions
- Can I replace a BMW expansion tank myself?
- What coolant goes in a BMW expansion tank?
- How do I know if my BMW expansion tank is leaking?
- Do I have to bleed the cooling system after replacing the expansion tank?
- How long does replacing a BMW expansion tank take?
- Why does my BMW lose coolant after I replace the expansion tank?
- What to Do First After the Repair
What You Need
Start by nailing down two things: the correct tank and the correct coolant. Both are easy to get wrong if you buy on price, and both cause the kind of problem that comes back weeks later.
Parts and fluids
- The replacement tank for your exact chassis code, plus the two hoses that go with it. The lower expansion hose and the upper vent hose are usually the same age as the tank and are the most common follow-on leak, so owners on the enthusiast forums nearly always replace all three in one go.
- The pressure cap. BMW expansion tank caps are rated around 1.4 bar. A generic cap that screws on and feels fine will not hold the right sealing pressure.
- BMW-compatible coolant in the correct specification for your car. The green 2L Life coolant is common on older E-series cars; newer F- and G-series models specify the blue or purple long-life fluids. Check your owner’s manual or the coolant bottle under the hood rather than assuming.
- Coolant for the fill volume. Swapping a tank usually means topping up a few litres, but if you also flush the system or disturb the radiator hoses you will want a full system fill plus a litre or two spare.
- Coolant level sensor if yours fails separately. It is press-fit into the tank on most models, and replacing it alone is cheaper than replacing a complete tank with a good sensor in it.
Tools
Everything here is a hand tool. That is one of the reasons this job is a realistic weekend task rather than a workshop job.
| Tool | Size or type | Where it is used |
|---|---|---|
| Combination wrench or socket | 10mm | The two expansion tank mounting bolts |
| Combination wrench or socket | 16mm | Strut brace fasteners on cars with a brace over the tank, such as the Z4M and some E60 variants |
| Flathead screwdriver | Small tip | Releasing the hose retaining clips and lifting the tab locks |
| Needle nose pliers | Standard | Clips on the level sensor connector and hose spring clamps |
| Drain pan and old towel | Wide shallow pan | Catching coolant from the lower hose and tank |
| Wheel chocks | Pair | Keeping the car secure while you work |
| Torque wrench | Any range | Snugging the tank bolts evenly rather than crushing the plastic |
| Funnel and a clean jug | Coolant-safe | Slow refilling and catching spills |
How to verify the part number
Enter your VIN or chassis code into a BMW parts diagram site and pull up the cooling system section. The E46, E53 X5 and E83 X3 share the same tank part number, 17137787039, which is why the same tank shows up on three very different cars. Other chassis codes have their own numbers, and the shape is often the giveaway: the mount points, the hose barbs and the sensor position differ between generations even when the tank looks broadly similar.
Compare the new tank against the old one before you remove anything. If the hose barbs are in a different place, or the sensor sits at a different angle, you have the wrong part and it will not seal properly.
Safety rules to set before you start
Never open a hot cooling system. Pressurised coolant at a hundred degrees Celsius sprays straight out of the cap and will scald you badly. Let the car sit until the expansion tank is completely cold to the touch, and work from a cold start, which means planning the refill for the same session.
Ethylene glycol is toxic to dogs and cats and tastes sweet. Keep drained coolant in sealed containers, never pour it on the ground, and wash your hands before you handle anything the pet might get into. BMW coolant is also aggressive on some plastics and coatings, so wipe spills off painted surfaces right away.
Time and difficulty
Budget one to two hours on an E-series car. Add twenty minutes on models where the intake air housing has to come off first, and another fifteen on a car with a strut brace crossing over the tank access. There is no need to jack the car for the tank itself on most models, since the whole job is done from above.
Step-by-Step: How to Replace a BMW Expansion Tank
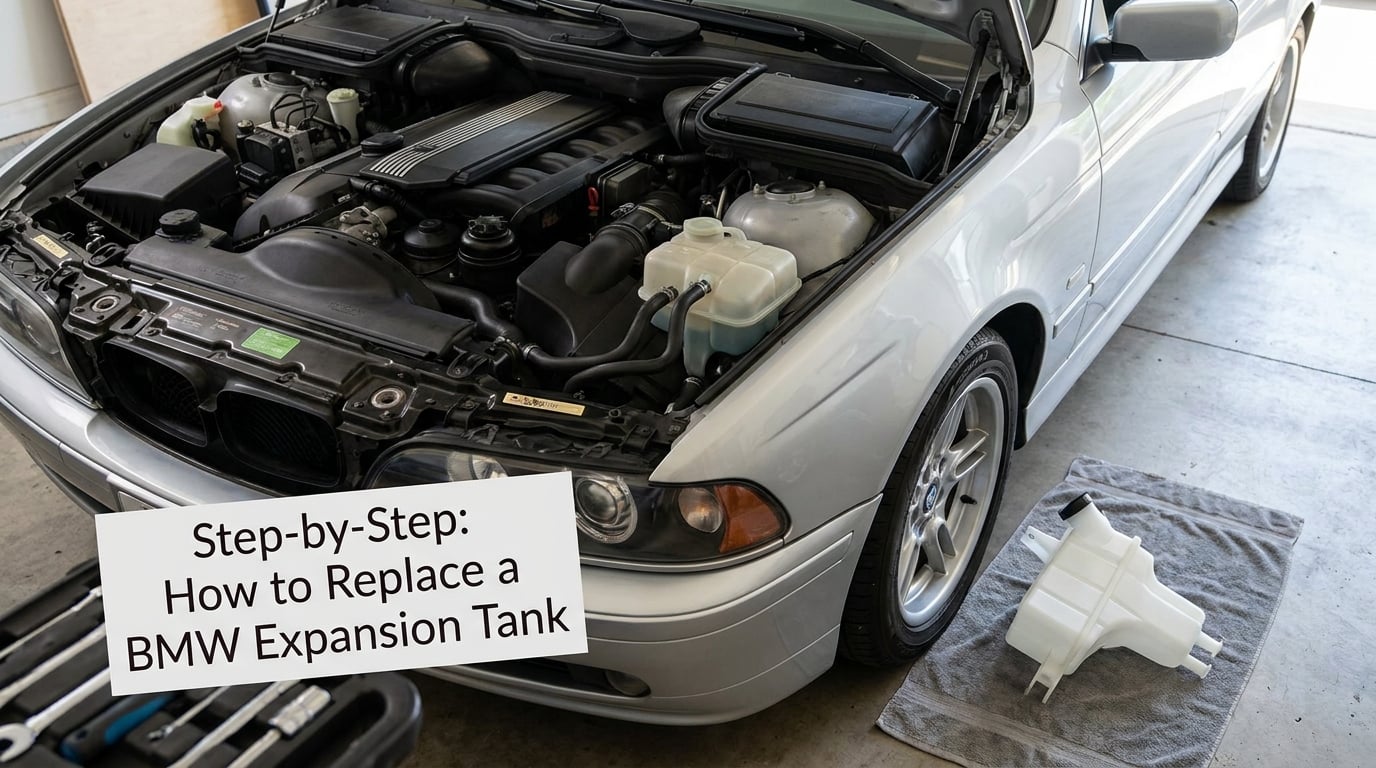
Work in this order and you will not have coolant where you do not want it. The short version is: cool engine, identify, control the coolant level, remove, install, refill slowly, then bleed and recheck.
1. Prepare the BMW and Confirm the Correct Tank
Park on level ground, engage the parking brake, and chock the wheels. With a completely cold engine, open the hood and find the expansion tank. On most BMWs it sits on the driver side of the engine bay near the strut tower and the brake master cylinder, a translucent bottle with a pressure cap on top and usually two coolant hoses on the lower and upper sides.
Look before you touch. Confirm you are holding a coolant reservoir and not a windshield washer bottle or a secondary coolant tank. Plenty of cars carry a small secondary expansion tank in addition to the main one, and on a few models the arrangement is mirrored, so trace the hoses to be sure they lead toward the radiator and engine block.
With the new tank in hand, check the hose barbs, the mounting holes and the sensor position against the old one. Now is the moment to install the new level sensor into the new tank if you are transferring it, and to fit the fresh cap and hoses ready to go in.
2. Drain or Control the Coolant
You do not need to drain the whole cooling system. You only need to bring the level down below the tank’s lower hose, which on most cars means pulling the cap and catching roughly a litre or two in a drain pan. Owners on the E46 and E39 boards consistently report that the tank can be swapped without a full system drain, which is why this stays a small job.
Take the cap off slowly and let the pressure equalise before pulling it free. Watch where the coolant goes. On some BMWs the expansion tank sits close to the intake plenum and the strut brace, so an unprotected drain can pour straight onto the intake manifold or into an electrical connector, which turns a cheap job into an expensive one. The towel under the tank is there for exactly this reason.
Keep the coolant you catch. If the system looks brown or grainy rather than clean green or blue, you are dealing with a neglected cooling system and the tank swap is the moment to consider a full flush.
3. Remove the Old Expansion Tank
Remove the cap if you have not already, then release the hoses. BMWs use two styles: push-fit hoses held by spring clips that you compress with pliers, and hoses retained by flat plastic clips that you lever off with a small flat screwdriver. Take a photo of the routing before you pull anything free, because hose position matters when you refit.
Next come the fasteners. The tank is normally held by two 10mm bolts, often reachable directly and sometimes behind a strut brace, in which case the 16mm brace bolt comes out first. On some cars the tank and its mounting plate come away as one unit, which is normal and not a sign you have pulled too hard.
Unplug the coolant level sensor connector before you lift the tank. It is usually a small two-pin connector with a tab; press the tab rather than pulling on the wires. Now ease the tank straight up and out. Do not twist it hard against the hoses or you will crack a fitting on a tank that was already tired, and do not forget the lower mounting grommet where the tank sits on the chassis, because it is easy to leave behind and impossible to see once the new tank is in.
4. Install the New BMW Expansion Tank
Seat the lower grommet on the new tank if the part did not come with one fitted, then position the tank so the bolts pass straight through without you shoving anything sideways. If the tank has to be twisted or levered to align it, the part is wrong or the grommet is missing.
Run the bolts up by hand first to stop the threads crossing, then snug them evenly. Tighten them firm but not hard: the tank is plastic and thread stripper plus a split housing is a much worse afternoon than the one you planned. The hose seals need firm pressure, the bolt threads do not.
Push the hoses on until each one seats fully and clicks past the barb shoulder, then fit the clips back on. Check the lower hose for tension. It should be snug with no stretch and no kink, and the sensor connector should plug in with the tab latched, not half-pressed.
5. Refill and Bleed the Cooling System
Fill slowly. Pour coolant in a thin steady stream and watch the level in the tank rather than listening for the tank to stop accepting. Air pockets move through the system in ones and twos, so a fast fill traps them and a slow fill lets them rise out where you can see them.
Fill to the specified cold mark between MIN and MAX, not to the top. Overfilling is the single most common post-repair mistake, and BMW owners on several forums describe their cars turning into what amounts to a coolant fountain after a too-generous refill, with overflow pushing coolant out of the overflow port under load.
Now bleed. Older and many E-series systems are largely self-venting: with the cap off and the level correct, run the engine until the cooling fans cycle and the level drops as the coolant expands, then top it back up at the cold mark. Models with an electric coolant pump or a dedicated bleed procedure need a different sequence, and your owner’s manual or a model-specific forum thread will have it.
One trick used constantly on E-series cars is to set the heater to maximum heat and fan with the engine running. It pulls trapped air through the heater core, and the moment it goes from lukewarm to properly hot, the last of the air has moved through.
6. Check for Leaks and Recheck the Level
With the cap back on, run the engine up to operating temperature and watch the tank and every hose connection you touched. Keep a clean dry towel under the tank; it shows a weep far earlier than you can see it. Look specifically at the lower hose, the sensor connector and the tank seams, which is where a bad tank usually reappears.
Check the level again once the engine is fully warm, and again on the following cold start. A properly filled system should sit between the marks at both points. If the level falls between the two, there is still a leak, and if the level rises and stays high, you are overfilled.
On a car with a coolant level sensor, the low coolant warning should go out within a few seconds of the engine running with a correct level. If it stays on, the new sensor is not seated fully in the tank, the connector is not latched, or the reading has not settled yet. Clear the fault code and recheck rather than assuming the tank is bad.
Model-specific notes worth knowing
Access is the main thing that changes between generations. On E36, E39, E46 and E90 cars the tank sits high and the job is straight forward from above. The E36 in particular has a lower tank layout on some variants and wants a proper bleed rather than a cap-and-wait fill, because air collects at the high points.
On the E60, Z4M and several F-series models the strut brace or the intake air housing crosses the tank, so those have to come off first, adding a quarter of an hour and a handful of trim clips to be careful with. F- and G-series cars generally run an electric coolant pump and a defined bleed procedure, so follow the manual sequence rather than the old self-venting habit.
Common Mistakes
Almost every BMW expansion tank job that goes wrong goes wrong in one of a handful of predictable ways. These are the ones worth knowing before you start, because most of them are free to avoid.
- Using the wrong coolant. The fix is simple and non-negotiable: fill only with the specification your manual names. Check the colour and type before the bottle is opened, and keep a jug of the correct fluid on the shelf so you do not end up topping up with tap water.
- Overtightening the tank bolts. Hand-tight plus a click is enough. The plastic boss will crack under heavy torque and you will be back at the same job with the same leak.
- Pinch routing or forgetting hose clips. A hose that kinks when the tank is pushed down into position will split weeks later. Route hoses the way the photo you took showed, then confirm every clip is fully seated by pulling gently on the hose.
- Leaving out the lower mounting grommet. The tank then sits metal on plastic, rattles, and cracks at the mount. Fit the grommet before the tank goes in, not after.
- Skipping the bleed. This is the one that turns a cheap job into a tow. Fill slowly, run the engine warm with the cap off, top up at the cold mark, and confirm the level on a second cold start.
- Overfilling. The expansion tank is not a fill-to-the-top container. Fill to the mark between MIN and MAX or you get overflow under pressure once the coolant expands.
- Assuming the tank is the leak. Radiators, water pump weep holes and heater cores all fail and all drip under the same car. Confirm the source before you spend a Sunday on the wrong part.
- Leaving a cracked tank in place to get through the week. Owners report driving on cracked tanks until it split fully, then chasing the loss into the cylinder head. If it is weeping, do not drive it.
A sensible habit is to swap the tank, both hoses and the cap together while you are in there. It adds fifteen minutes and removes the most likely second failure, and it means the next time you open the hood everything in that corner of the engine bay is the same age.
Frequently Asked Questions
Can I replace a BMW expansion tank myself?
Yes, on most BMWs this is a straightforward weekend job with hand tools. You need 10mm sockets for the tank bolts, a flat screwdriver for the hose clips, and a drain pan. The tank sits high in the engine bay on E-series cars, so the work happens from above without lifting the vehicle. Allow one to two hours, plus extra time on models where the intake housing or strut brace comes off first.
What coolant goes in a BMW expansion tank?
Only the specification your owner’s manual calls for. Many E-series cars use the green 2L Life coolant, while newer F- and G-series models specify blue or purple long-life fluids. Mixing types, or topping up with plain water, shortens the life of the corrosion protection and can cause the deposit problems the coolant was meant to prevent. Check the manual or the reservoir label before you open a bottle.
How do I know if my BMW expansion tank is leaking?
Look for dried white or coloured residue around the tank seams and hose barbs, a puddle under the car after a warm drive, and a sweet antifreeze smell near the engine bay. A low coolant warning light on cars with a level sensor is another strong hint. A bone-dry tank with crusty residue is the clearest case, since factory plastic tanks on E36, E46 and E90 cars commonly split along the moulded seam.
Do I have to bleed the cooling system after replacing the expansion tank?
You have to fill slowly and get the air out, one way or another. Older and most E-series systems are largely self-venting, so run the engine warm with the cap off, let the level settle, then top up to the cold mark. Cars with an electric coolant pump, which covers most F- and G-series models, follow a defined bleed procedure in the manual. Either way, recheck the level on a second cold start before you trust it.
How long does replacing a BMW expansion tank take?
Roughly one to two hours for a first-timer, and often less than an hour if you have worked on a cooling system before. Add around twenty minutes on models where the intake air housing has to come off, and another fifteen if a strut brace sits over the tank, as on the Z4M and some E60 variants. Most of that time is cooling the engine first and filling slowly at the end.
Why does my BMW lose coolant after I replace the expansion tank?
Most often there is a second leak the swap exposed, or air is still trapped in the system. Check the two hoses and the level sensor connector, since those are the wettest joints on the job, and confirm every retaining clip is seated. If the level holds through a warm cycle and a cold start, the loss you saw was likely coolant pushed out while filling or an air pocket that has now settled out of the way.
What to Do First After the Repair
Check the level on a second cold start before anything else. That one check catches an air lock, a missed clip and an overfilled tank before any of them turn into a roadside problem. After that, drive the car for twenty minutes, park it, and look underneath with a torch. A dry floor and a steady level between the marks means the job is done, and you have just saved yourself a dealer visit in 2026.