
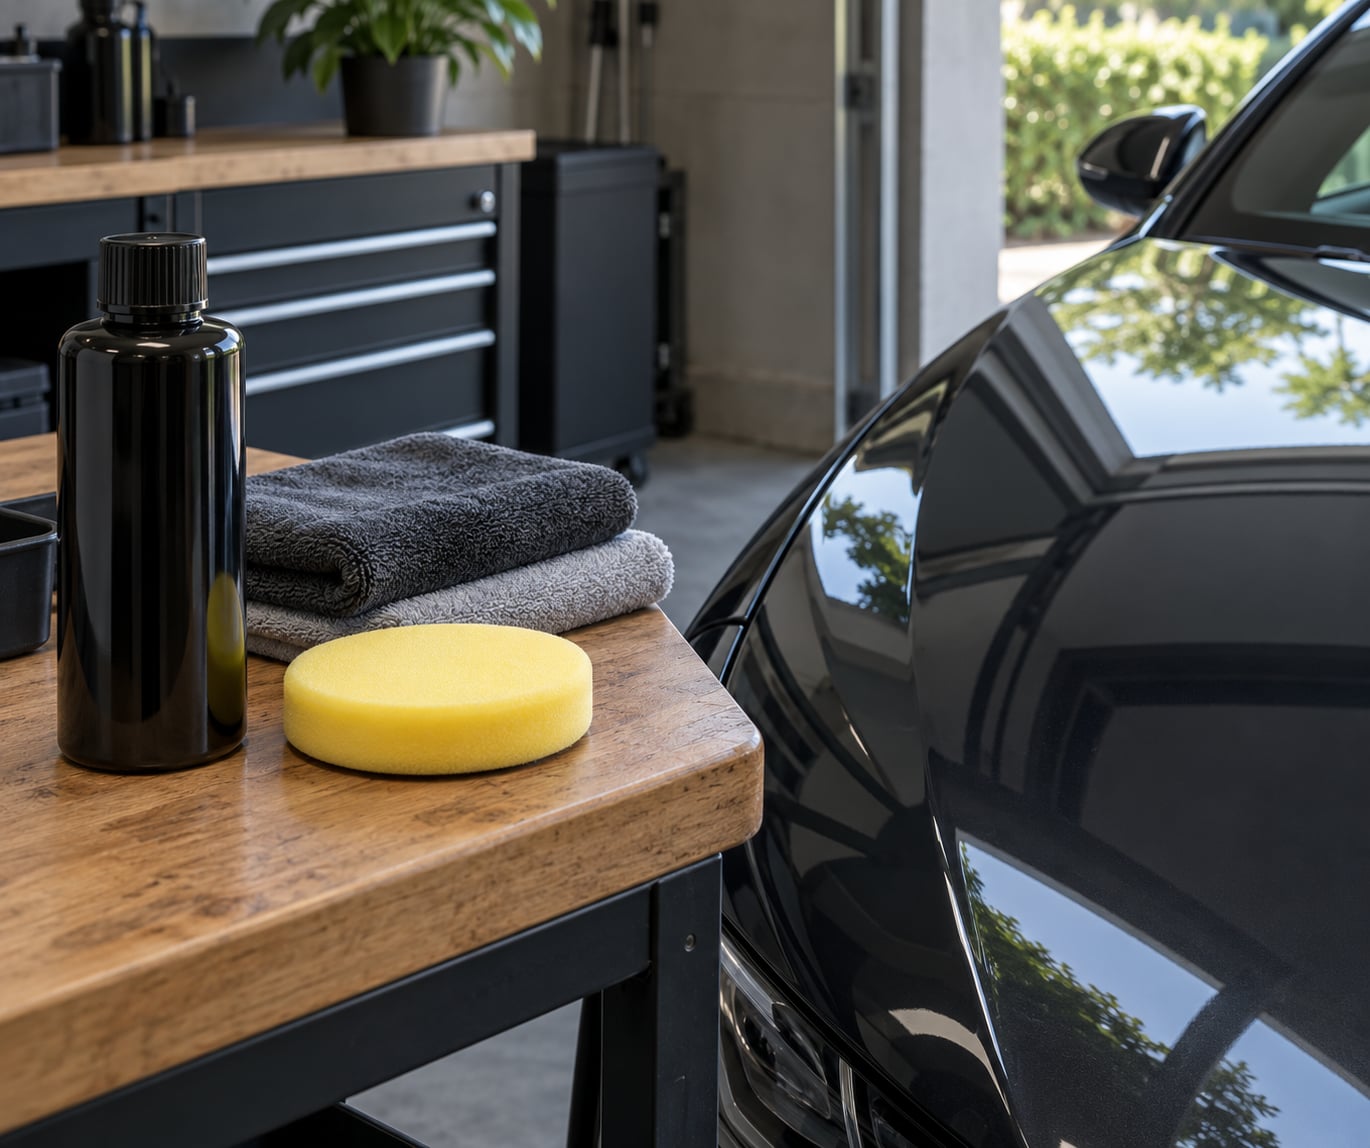
Learning how to apply ceramic coating yourself is mostly a preparation job. The liquid itself goes on in about an hour with a foam pad and two clean microfiber towels, but the washing, decontaminating and inspecting that come first decide whether the finish ends up even or blotchy. Set aside a full weekend, roughly six to ten hours on a sedan, and work somewhere shaded, cool and dust-free.
One thing to clear up before you buy anything: a ceramic coating bonds to the clear coat and does nothing to correct it. Every swirl, water spot and haze already in the paint gets locked under the coating, and the gloss makes it easier to see. Prep is the job. Application is the easy part.
Table of Contents
- What You Need
- Step-by-Step: How to Apply Ceramic Coating Yourself
- Common Mistakes
- Frequently Asked Questions
- How hard is it to apply ceramic coating yourself?
- Do I need to polish before applying a ceramic coating?
- Do I need a clay bar before a ceramic coating?
- Can you apply ceramic coating over an old coating or wax?
- How long does ceramic coating take to cure, and when can I wash the car?
- When is it worth paying a detailer instead of doing it yourself?
- Conclusion
What You Need
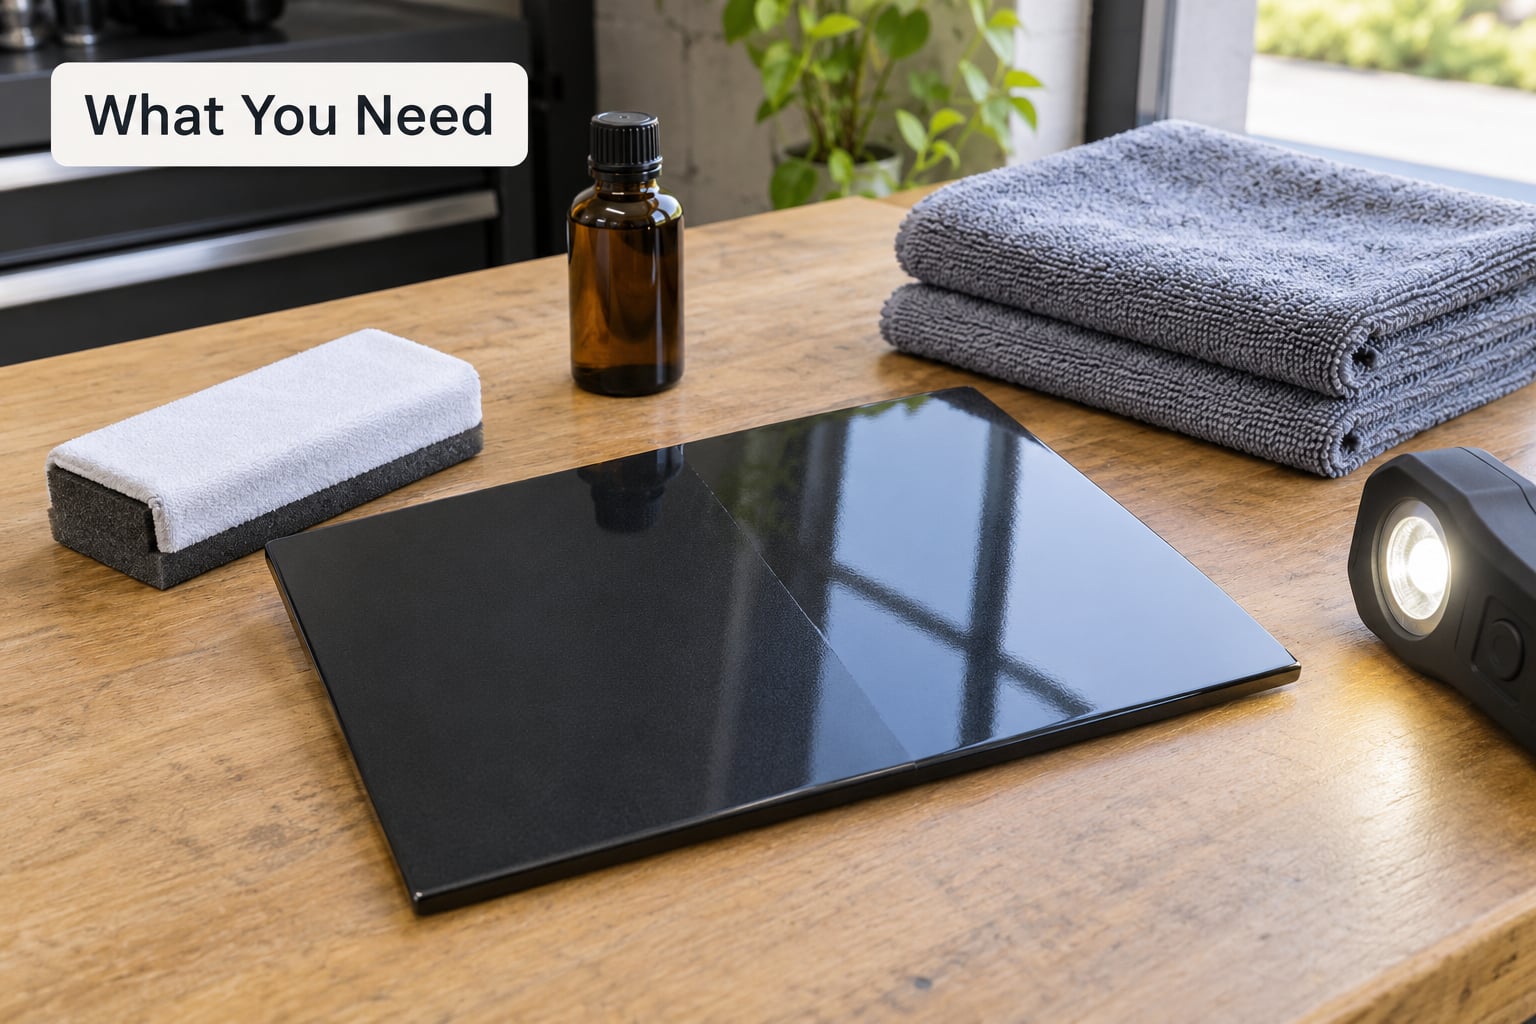
Start with a real liquid coating, not a spray sealant. Sprays and waxes are a different product: they sit on top, are wiped on and wiped off, and last weeks to a few months. A genuine ceramic coating is a silica or silicon-carbide liquid that crosslinks and cures into a semi-permanent layer over days.
What to have on hand before the car comes out of the garage:
- Coating — one bottle in the 30 to 50 mL range usually covers a whole car with a spare cushion for a second coat on small panels.
- Microfiber towels — four to six folded-size application towels, plus two more for leveling and buffing. Anything with a coating chemical on it gets thrown away afterward, so buy more than you think.
- Two buckets and grit guards — one for soapy wash water, one for clean rinse water.
- pH-neutral car shampoo and a wash mitt or mitt with a microfiber face.
- Iron remover for brake dust and rail dust, and a clay bar with lubricant for what is left.
- Isopropyl alcohol panel prep or prep wipes to strip oils, wax and polish residue.
- Foam applicator pad, plus spare pads. A pad contaminated with polish residue will streak the coating.
- A polish and a machine polisher if the paint needs correction. Optional, but you cannot add this later.
- Nitrile gloves, a bright inspection light, masking tape for trim edges, and a clean plastic bottle of water for the final damp towel pass if your coating calls for one.
Towels get contaminated by the coating as it cures into the fibers, so keep the leveling and buffing towels separate from anything you will use for washing later.
Step-by-Step: How to Apply Ceramic Coating Yourself
Work in this order and check each stage before moving on. Prep moves faster once you know what you are looking at.
Step 1: Inspect the Paint and Choose a Safe Work Area
Walk the car with a bright light before you touch it with anything. Look for clear coat that is peeling, bubbling or lifting at the edges, deep scratches that go past the clear coat into color or primer, and chalky oxidation on an old single-stage finish. A coating will not fix any of those, and putting one over failing clear coat can trap the problem underneath.
Check the door jambs for a paint code label. A modern car is almost certainly clear-coated; a vehicle painted before the late 1980s may be single-stage, and some single-stage paints and matte finishes will not take a coating at all.
For the workspace, stay out of direct sun, keep the panels cool to the touch, and pick a spot with airflow and minimal dust. Most liquid coatings list a temperature window somewhere in the 50s to 80s Fahrenheit, and humidity stretches the flash time you will need. The hood can stay open for ventilation while you work. If you only have a driveway, work panel by panel in the evening and finish each one before the light goes. While you are checking lights and lenses anyway, our headlight bulb replacement guide covers the same walk-around.
Step 2: Wash and Decontaminate the Paint
Rinse the wheels and lower panels first, then wash top to bottom with the mitt loaded with pH-neutral soap. The grit guard in your bucket is what actually keeps rinsed dirt from being dragged back across the panel. Dry immediately with a clean microfiber towel while the paint is still wet; drying is where most swirl marks are born.
Spray the iron remover on the wet, soapy paint and let it dwell as the label directs. Rinse and dry, then run your hand across a panel. If it feels gritty, work the clay bar with plenty of lubricant in straight lines, and only on areas that still feel rough. If the iron remover pulled everything and the paint feels like glass, skip the clay. That advice comes up constantly on detailing forums, and g30.bimmerpost regulars make the same point: claying reflexively just adds risk without adding cleanliness.
You know the panel is ready when a clean fingertip dragged across it feels smooth and the towel comes away without grit. Skip this stage and you will feel every remaining contaminant under the cured coating.
Step 3: Polish Only if the Paint Needs Correction
Ceramic coating bonds to the top layer of paint, so it preserves defects rather than hiding them. Decontamination and paint correction are different jobs: claying removes bonded contamination, polishing removes defects ground into the clear coat. Only the second one requires a machine.
Polish if the swirls bother you, if the paint is dull, or if you are doing a black or very dark car where fine scratches catch the light. Test a small spot near a trim edge first, then step up in small increments: a finishing polish and a soft foam pad will remove haze and light swirls without eating the clear coat you need. You can confirm the result with the inspection light held at an angle to the panel.
Skip it for a daily-driven car with light haze, or if you would rather keep the clear coat thickness for later. Just decide before you open the bottle, not halfway through a panel.
Step 4: How to Apply Ceramic Coating Yourself on a Test Section
Shake the bottle for about 30 seconds, then put three to five drops on the foam applicator. That is enough for roughly a two-by-two-foot section, or a third of a hood. Do a section you can finish comfortably before the product starts to flash.
Spread it in straight lines, then go back over the same area with a light cross-hatch motion to even out the film. Overlap the next section slightly rather than leaving a hard gap. Work from the top of the panel down, and tape off trim or badge edges if you want a clean line. The surface should look uniformly wet, with no puddles and no rainbow yet.
Too much product is the most common first-timer error, and it announces itself as a thick, slow-moving patch that will not level. If that happens, wipe the area with a fresh, clean towel while it is still wet, or lift it with a clean applicator and reapply a thinner coat. The film should be thin enough to disappear into the paint, not sit on top of it.
Step 5: Remove Residue and Inspect for High Spots
Follow the flash time printed on your coating, and treat that number as a range rather than a promise. Wipe-on, wipe-off products want immediate removal, while many liquid DIY coatings sit for one to five minutes until the surface turns a faint rainbow haze. High humidity pushes the long end. If you are unsure, do a small test section and watch what the film does before committing to a whole door.
Level the section with the first clean towel, laid flat, with light pressure and straight strokes. Use the second clean towel to buff off what the leveling pass leaves behind. The leveling towel should pick up the liquid film; the buffing towel should leave the surface dry and free of any sticky haze.
Then walk around the car and inspect from several angles under the inspection light. A high spot is a small crystallized bump of coating that flashes at you as a bright ring or dot; it happens when the film was too thick in one spot. Do not panic and start sanding. Once fully cured, the fix is a machine polish with a fine finishing polish on that panel, and most of them disappear entirely.
Step 6: Cure and Maintain the Coating
Move the car somewhere dry, out of direct sun, and leave it alone for the cure period the label states. Many coatings want 12 to 24 hours before the paint can get wet and up to a week before it is fully hardened, so keep it off automatic car washes, out of the rain, and away from sprinklers during that window. Driving it a few miles on dry roads is usually fine once the initial window has passed; standing water is not.
For the first few weeks, wash with pH-neutral soap, the two-bucket method, and dry properly every time. Skip automatic car washes with brushes, and keep harsh degreasers and solvent cleaners off the coated panels.
Do not put wax or sealant over the coating unless the manufacturer specifically allows it, since anything sitting on top blocks the surface from leveling and bonding. A ceramic spray topper is fine once cured, used sparingly to support the finish between washes. Gloss and water behavior keep shifting through the first weeks as the coating crosslinks, so judge it at the two-month mark rather than the first wash.
While the car cures is also the time to handle the jobs that would be harder later, such as replacing an air filter or swapping struts, before the paint is fresh and the car is off the lift.
Common Mistakes
Almost every disappointing DIY coating comes down to one of these.
Coating over contamination or polish residue. Grit under a coating is permanent until you polish or strip it back. Always finish with the alcohol panel prep wipe after polishing, and do it on a cool panel so the solvent has time to flash off.
Applying over wax or an old sealant. This is the fastest way to lose a job in a few weeks. A panel prep wipe exists for exactly this, and skipping it is the single regret that shows up most often in the first-timer threads on detailing forums.
Working in direct sun or on hot panels. The film flashes faster than you can level it and streaks. Work in shade, on a cool surface, or wait until evening.
Using too much or too little product. Too much smears into a slow patch that cures hazy; too little leaves patchy water behavior. Recalibrate on your first test section until a full panel uses a predictable amount.
Missing the flash window in either direction. Buffing too early pulls the product off before it has leveled. Waiting far too long leaves a film you will fight to remove. Use the label’s number and test it once.
Reusing dirty towels. A towel that washed the car will streak the coating instantly. Separate, clean application towels only, and discard them when the job is done.
Ignoring edges and trim lines. Run the applicator into the gap between the hood and the fender, and tape off badges and trim. A clean line reads as professional; a wavy one does not.
Breaking the cure. Rain, a car wash, a sprinkler, or a bird sitting on the roof during the first 24 hours will leave water spots that take months to fade. Plan where the car sleeps before you start.
Coating before paint protection film or vinyl goes on. Film and wrap are installed first. Coating over them, or over adhesive residue, is a job for a shop.
Expecting the coating to fix the paint. It cannot. If a defect bothers you now, correct it now.
A couple of habits that make the job easier: do the roof and hood first while you are fresh, and leave yourself enough daylight left to inspect what you have done. Slow is smooth, smooth is fast.
Frequently Asked Questions
How hard is it to apply ceramic coating yourself?
The application itself is easy and takes under an hour with a foam pad and two clean towels. The preparation is the hard part, and it is where first-timers underestimate the time. Washing, decontaminating and inspecting a sedan usually takes four to six hours, and polishing a full car can add a full day. Plan on one full weekend and work in shade on a cool surface.
Do I need to polish before applying a ceramic coating?
No, but you have to accept whatever the paint already looks like. A coating bonds to the top layer of clear coat and locks in existing swirls and haze rather than hiding them. Polish first if you care about gloss, especially on a black or dark car where fine scratches catch the light. If you skip it, wash and decontaminate thoroughly so at least the bonded dirt is gone before you seal it under.
Do I need a clay bar before a ceramic coating?
Only if contamination is still there. Wash, use an iron remover, dry, then run your hand across the panel. If it feels like glass, the clay bar is unnecessary and claying anyway just adds risk of new marks. If it still feels gritty, work the clay with plenty of lubricant. Decontamination removes bonded dirt; only polishing removes defects ground into the clear coat.
Can you apply ceramic coating over an old coating or wax?
You can, but wipe the panel down with isopropyl alcohol prep first so no wax, sealant or old oil remains. Wax under a coating blocks bonding and the new layer can fail within weeks. A previous ceramic coating can usually be coated over if it is clean and sound, though a heavily worn or failing layer is better removed by polishing. Never layer wax or sealant on top after coating unless the label allows it.
How long does ceramic coating take to cure, and when can I wash the car?
Most liquid DIY coatings want 12 to 24 hours before the surface gets wet, and up to a week of full cure. Keep the car dry, out of direct sun, and away from automatic car washes, rain and sprinklers during that window. Wipe-on, wipe-off products cure much faster. Gloss and water beading keep changing for several weeks as the coating crosslinks, so judge the result at two months.
When is it worth paying a detailer instead of doing it yourself?
Book a professional when the car needs paint correction you have never done, when the paint is matte, single-stage, or already failing, or when you have no shaded, dust-free space and no clay, polish and panel prep supplies on hand. A pro install also makes sense if you cannot keep the car dry for 24 hours or want film or wrap installed first. Otherwise a careful weekend job is very achievable.
Conclusion
The first action that matters is inspecting and properly preparing the paint, before the bottle is ever opened. Wash, decontaminate, correct if you are going to, and wipe every panel with panel prep so the coating has something clean to bond to.
From there, keep the application thin and even, work in small sections, respect the flash time printed on your product, and remove residue before it hardens. Follow the cure instructions exactly and how to apply ceramic coating yourself stops being a gamble and becomes a weekend job you would happily repeat.