
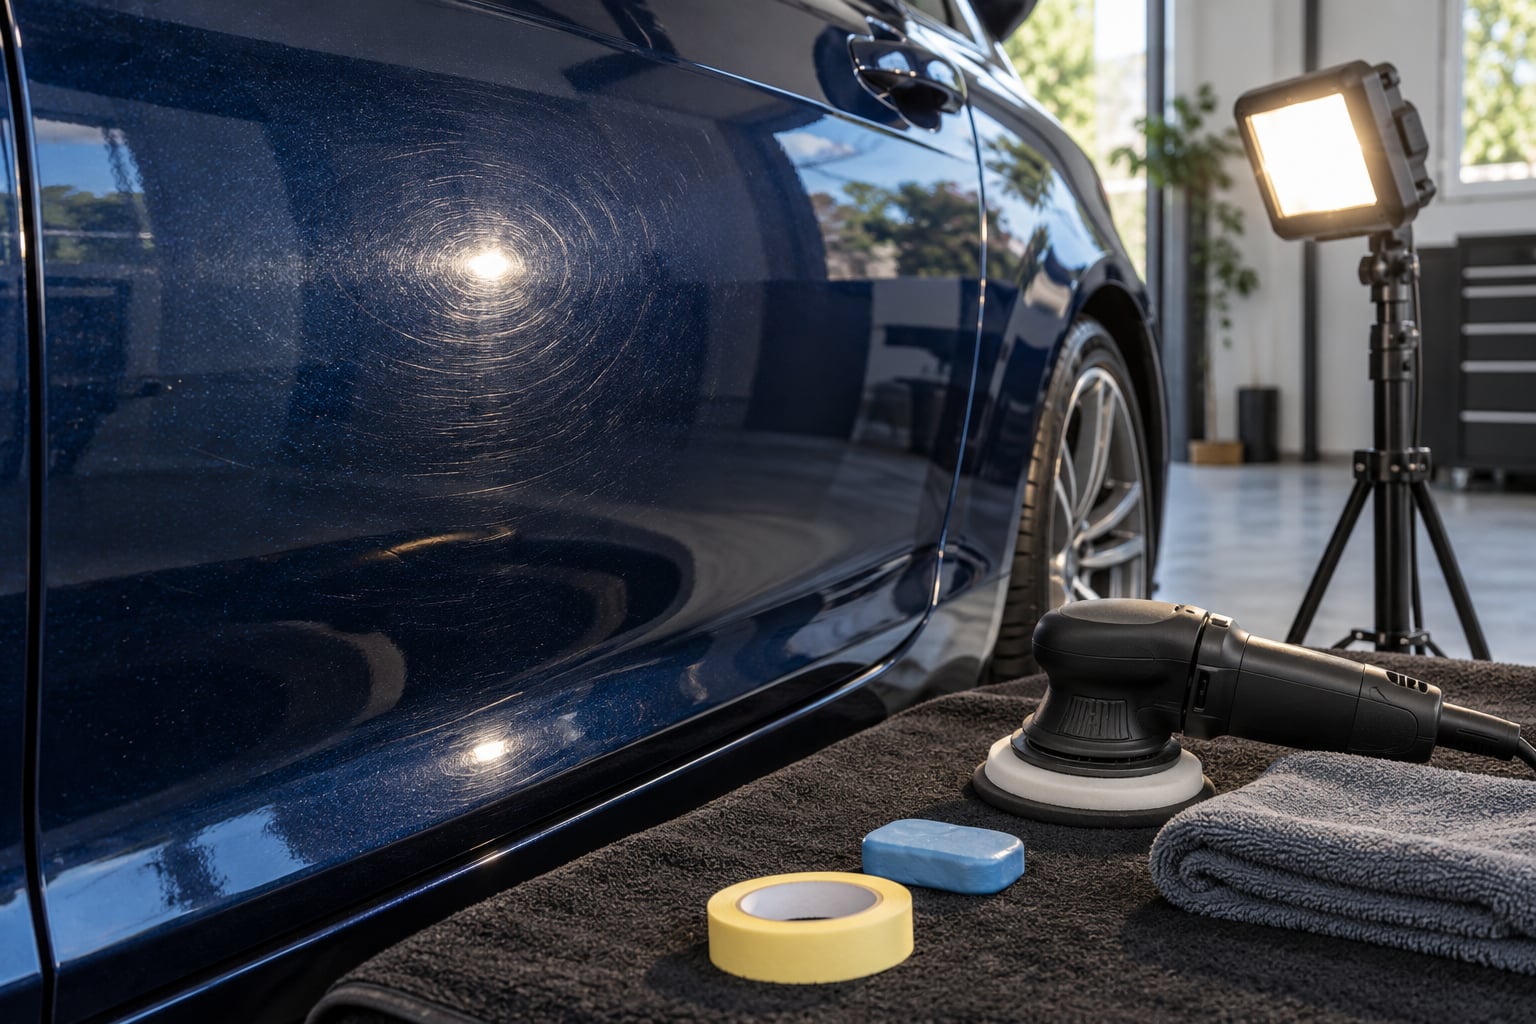
Swirl marks are fine circular scratches in the clear coat, and you remove them by washing and decontaminating the paint, then polishing with a mild abrasive until the surface levels out again. On light swirl marks a hand polish and a clean microfiber towel will do it in an afternoon. Heavier marks want a dual-action polisher and a bit more patience.
Knowing how to remove swirl marks from car paint starts with knowing what they are. Most are barely deeper than a fingerprint and come from one specific culprit: something hard dragged across the paint while dirt was still on it. A wash mitt with grit in it, a towel with a gritty seam, an automatic car wash brush, or dragging a plastic fuel filler cap across the panel.
They show up worst on black, navy, red and dark metallic paint, because those colors reflect light in a way that makes every scratch readable in bright sun. White and silver hide the same damage almost completely. That difference in visibility causes a lot of confusion, and it is worth fixing anyway because swirl marks are all sitting in the same protective layer.
Everything here works in your driveway. The whole job on a normal-sized car takes about three hours, most of it drying and wiping. You can read more about protecting what you expose with how to wash a car without scratching the paint, which is where most of these scratches came from in the first place.
Table of Contents
What You Need
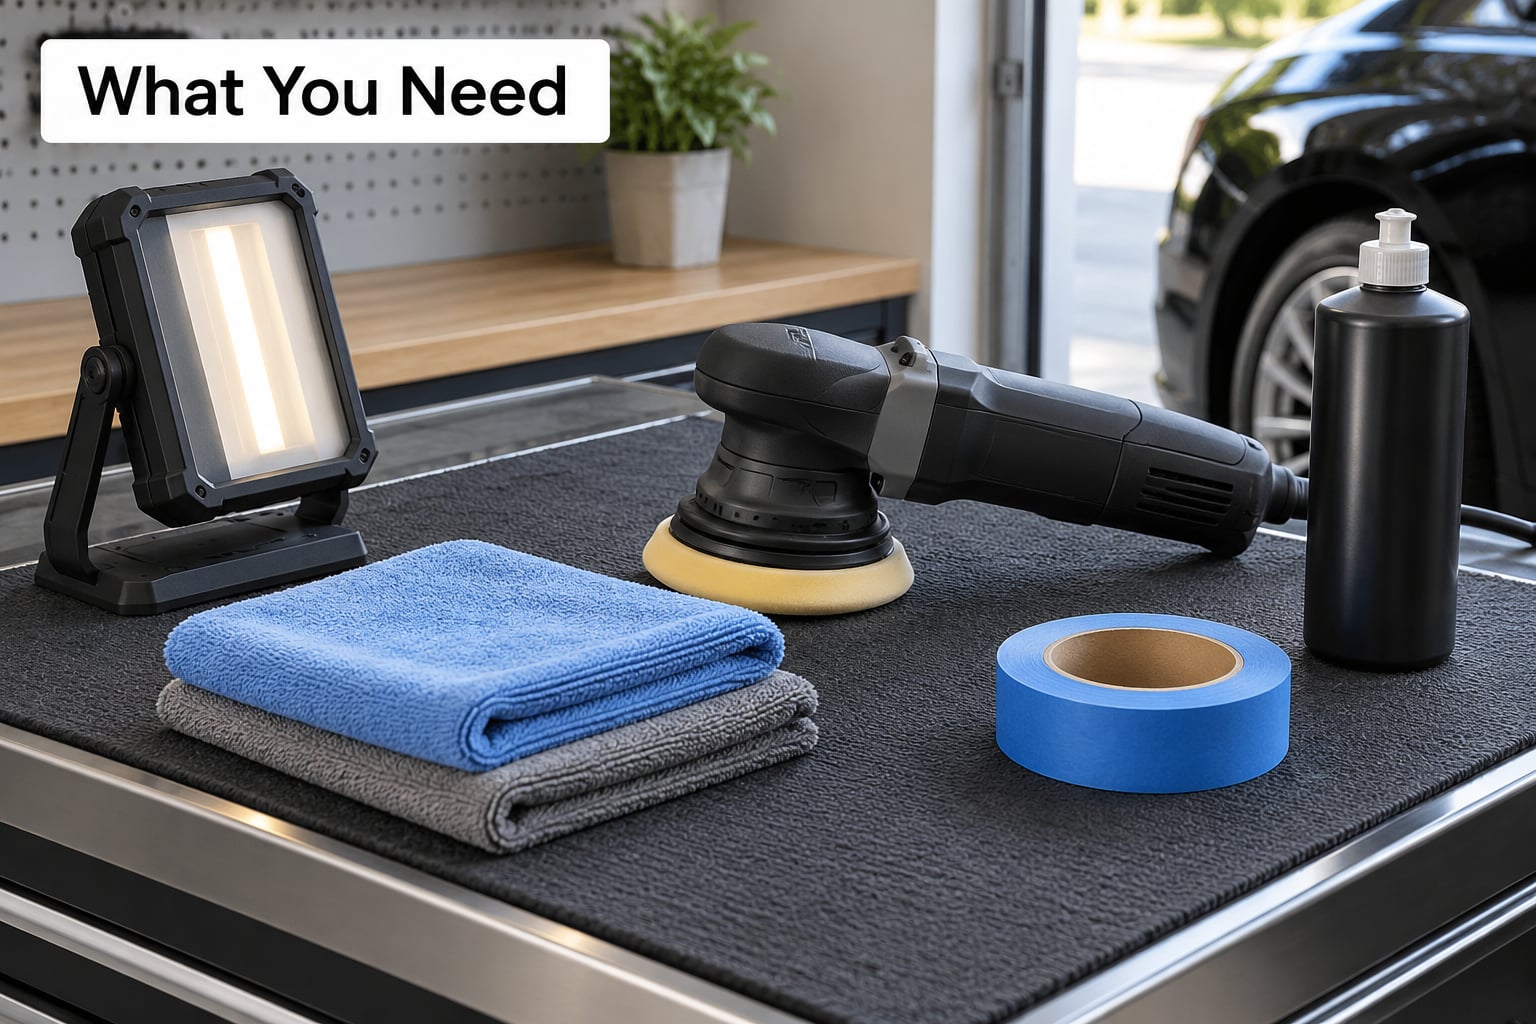
You can start with very little. Grab a pH-neutral car shampoo, two buckets, grit guards for the buckets, a wash mitt, and at least three clean microfiber towels you have not used on anything dusty.
Then you need a light source. A bright LED inspection light angled across the panel will show you every defect in a way overhead garage lighting never will. Overcast daylight works too, and honestly it works better than most shop lights.
For correction itself, pick up a swirl remover or light cutting compound, a hand applicator pad for small areas, and a dual-action polisher if you want to cover a whole car in a sane amount of time. A rotary buffer with a spinning pad is not what you want unless you have done this many times. Dual-action machines orbit and spin at the same time, so the pad never sits in one place, which makes them far harder to burn through clear coat with.
Add a clay bar and clay lubricant if the car has sat dirty, a plastic paint thickness gauge if it is used and you are nervous, and masking tape to mark panel gaps before you work across seams. Throw a couple of towels on the ground so you are not tracking grit from the driveway onto wet paint.
Safety-wise, gloves and eye protection are cheap. Work outside or in a well-ventilated garage, and never polish a hot panel. Paint that has been sitting in direct sun holds enough heat to bake product into the clear coat before you can spread it.
Step-by-Step
Step 1: Wash and Dry the Car Correctly
Polishing a dirty car grinds dirt into the clear coat, so the wash comes first and it matters more than people expect. Use the two-bucket method: one bucket for your soapy wash mitt, one for rinsing, with grit guards in each. Rinse the mitt in the clean bucket after every panel so you are not carrying grit around the car.
Rinse the car with a hose before the mitt ever touches it, then wash from the top down. The lower panels collect the most road grime and should be last, on the dirtiest part of the mitt.
Dry it without dragging anything across the paint. A blower or a large air gun does most of the work, then you pat the remainder in with a clean microfiber towel. If you buff the paint dry with a towel while there is still grit in the water film, you have just made more swirls than you are about to remove.
Step 2: Identify the Paint Defect and Test a Small Area
Not every scratch is a swirl, and treating the wrong one wastes a lot of effort. Run a fingernail across the mark. If your nail catches in it, the scratch has gone past the clear coat into the color coat or primer and polishing will not fix it, so this is a body shop conversation. If the nail glides over with maybe a faint catch, it lives in the clear coat and polishes out.
Look at the pattern too. Swirls are random circles and arcs, usually clustered near seams, handles and the edges of doors where something rubs. A single straight line through the middle of a door is a key or a shopping cart, not a swirl, and it polishes differently. Cloudy, hazy paint with no distinct lines is oxidation, which needs a different product.
Before you touch the whole car, pick a hidden spot near a bumper edge and test your product and tool there. Three to four passes will tell you whether the abrasiveness is right and whether you are comfortable with the machine. Check the panel with your inspection light and compare it to the untreated part of the car.
If you want a number, a paint thickness gauge measures the coating in mils. Most factory clear coats measure somewhere around 1.5 to 3 mils, and a repainted panel may be thinner. It is a useful sanity check before a correction, not something you need for a routine single-stage polish.
Step 3: Choose the Right Polish and Applicator
There are three practical routes, and picking the wrong one is how people end up with a hazy panel they have to fix twice.
Hand polishing works on light swirl marks and small sections. A mild swirl remover on a foam applicator, worked in slow straight lines for a few minutes, will clear a door handle or a whole front bumper. On a full car it is a long evening, and it is the safest way to learn what polishing feels like.
A dual-action polisher with a light cutting compound handles light to medium swirl marks across a whole panel in minutes. This is the sweet spot for most people. Foam pads are forgiving, microfiber cutting pads cut faster on hard paint, and you should not need anything more aggressive unless the marks are genuinely deep.
A rotary buffer with a cutting compound and a wool pad is a two-stage correction for heavy swirl marks, but it puts real heat into the paint. If that is your situation, a professional with a heat gun and infrared camera is worth the money. The same goes for a repainted panel, a matte finish, or a car covered in dealer swirls that you want addressed under warranty.
Pair the product with the severity, not the other way around. A finishing polish has almost no cut and exists to remove haze left by the compound step. Using it alone on visible swirls will disappoint you, and using a heavy compound on light marks is how people burn through clear coat in an afternoon.
Step 4: Polish the Swirl Marks in Thin, Controlled Passes
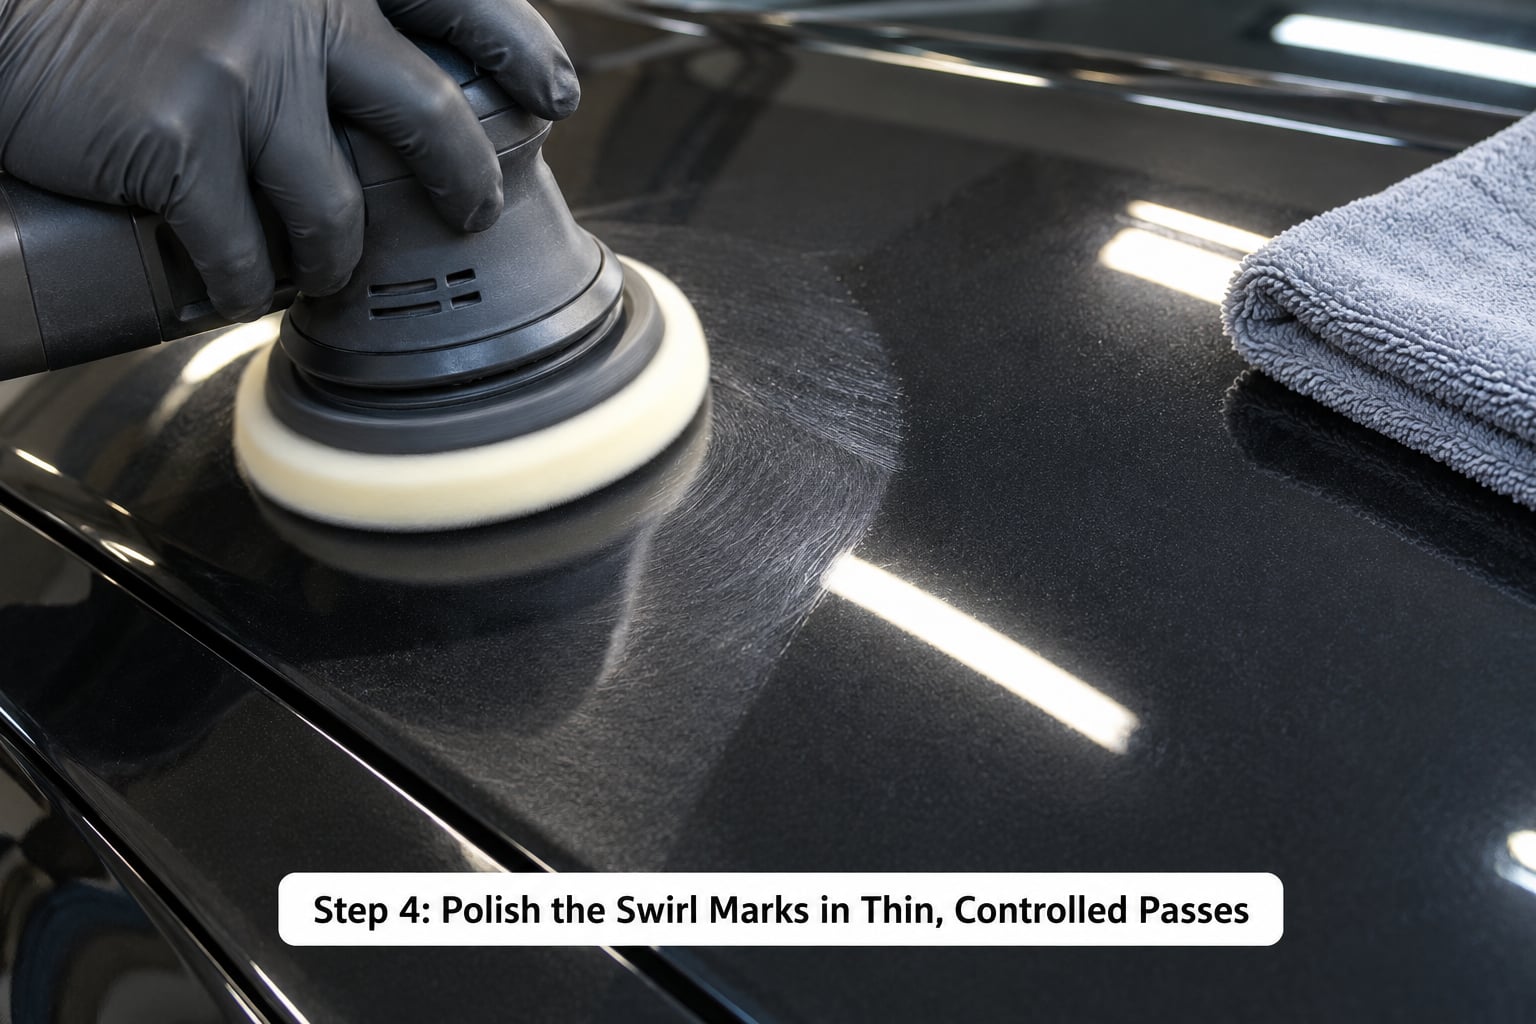
Apply a small amount of polish to the pad. More is not better, because excess product spreads onto panel gaps, collects dust and turns into a hazy mess you will spend twice as long removing.
Set the machine to about 1000 to 1500 RPM for a dual-action, hold the pad flat against the panel, and apply light, even pressure. Let the machine do the work. Pushing down hard slows the pad down, generates heat and gives you holograms and buffer trails instead of a clean correction.
Work in the usual overlapping pattern. Start with straight lines moving north to south, then cover the same section again east to west. The crosshatch pattern is there because no single direction can ever reach every scratch at once, and changing direction mid-pass is what creates the hazy micro-marring people complain about.
Keep the pad moving and pick up a fresh section of panel every few minutes so you are not repeatedly hammering one warm spot. Work a panel the size of your hood or door at a time rather than the whole side of the car.
Touch the panel with the back of your hand every so often. Warm is fine. Hot means stop, let it cool, and lower the speed or pressure. Swirl marks are shallow, and clearing them should not generate the kind of heat that thins clear coat.
Step 5: Remove Polish Residue and Check the Finish
Do not dry-wipe a panel that is still hazed with polish. That is the single most common way people scratch a freshly corrected panel, because the dried compound acts like sandpaper under the towel.
Spray a damp panel with a quick detailer or plain water, then wipe with a clean microfiber towel folded into a pad, working one side at a time until the towel comes away clear. Change to a fresh towel face as soon as it picks up a grey film.
Now go back over the panel with the inspection light. At a raking angle you will see a few remaining lines, some haze, or an even reflection. Haze that does not wipe off is usually micro-marring from too much pressure or a dirty pad, and a second pass with a finishing polish removes it easily.
Keep working small sections until the reflection matches the parts of the car you have not touched. Then move on. Perfection is not the goal here, an even finish is, and chasing the last faint line is how people thin a clear coat for no visible gain.
Step 6: Protect the Corrected Paint
Freshly polished clear coat is bare, and bare paint picks up damage faster than protected paint. Protect it before you do anything else. Wipe the panel down with a damp towel, then apply your choice of wax, sealant or ceramic coating.
Paint sealants and synthetic waxes are the sensible middle ground. A sealant typically holds up for a few months and layers well, which is what corrected paint needs most, since waxes on their own tend to disappear quickly after a polish. Spray waxes are the easiest to apply and last the least. Ceramic coatings last the longest, but they need a properly decontaminated and oil-free surface plus careful application, and coating over polish residue is how coatings end up hazy.
Follow the cure times on the product. Most waxes and sealants want a couple of hours out of direct sun before the car gets wet, and coatings have their own windows for water, humidity and sunlight that are worth reading rather than guessing at.
Afterwards, keep the routine that stops the swirls coming back. Wash with the two-bucket method, dry with air before towels, and consider a quick detailer with wax in it as a maintenance step every few washes. Skipping that maintenance is the most common reason people end up searching how to remove swirl marks from car paint twice in one year. If chips show up along the way, touching up paint chips on a car before they spread keeps rust from getting a foothold.
Common Mistakes
Polishing before decontaminating. Dirt and fallout left on the paint get dragged into the clear coat by the pad. Wash, clay bar if the car has been parked, and rinse again before any product touches the surface.
Using a dirty towel to wipe off polish. Wipe residue damp and change towel faces often. A towel with grit in its pile is how you add new scratches to a panel you just corrected.
Applying polish too thick. Thick product stays on the panel, bakes under body heat and dries before you can spread it. Thin layers, more passes, less mess.
Leaning on the polisher. Pressure stalls the pad and heats the paint, and heat is what leaves holograms and buffer trails. Let the machine do the work at a steady, moderate speed.
Working one panel until it gets hot. Move to a new section every few minutes and use more product rather than more pressure. Overworking a single spot is the classic route to burning through thin clear coat.
Confusing deep scratches with swirls. A scratch your fingernail catches in is below the clear coat and will not polish out. Two or three passes will tell you, and stopping there saves the panel.
Polishing in direct sun. Product flashes off in seconds on hot paint and dries into haze you then have to remove. Work in shade, on a cool panel, on a mild day.
Expecting the swirls to stay gone forever. Corrected paint still needs careful washing. If you put the car back through a brush wash, the marks come back, and that is the wash technique rather than the polish at fault. One more thing worth knowing: swirls on a used car often show up around door handles and rocker panels as the car is lifted onto a rack or transported, and if paint is rubbing in the garage door seal, that needs fixing too. For anything deeper than paint, such as a crease or impact damage, see how to remove a dent without paint damage before you start polishing around it.
Frequently Asked Questions
Can household products like toothpaste remove swirl marks?
You can, but it is a bad trade. Toothpaste contains mild abrasives that will haze the clear coat and leave a uniform micro-marring that looks worse than the swirls under bright light, especially on dark paint. Use a dedicated light polish and a clean applicator instead. If you have already tried toothpaste, a finishing polish at low speed will usually recover the haze.
Is it safe to polish a car clear coat?
Yes, when you keep the abrasives mild and the heat low. Clear coat is thin, usually only a few mils, and removing swirls takes off a tiny fraction of it. The real risk is heat from a rotary buffer or from leaning hard on a dual-action. Work in shade, keep the pad moving, and stop on any panel that gets hot to the touch.
How often should I polish my car to remove swirls?
Most cars need a polish every year or two if they are kept reasonably clean, and hardly ever if they sit in a garage. If swirl marks reappear within a few months of a correction, the washing routine is the problem, not the paint. Switch to a two-bucket wash, air drying before towels, and a light polish every wash or two instead of a full correction.
Is BMW paint harder to correct than other cars?
Modern multi-stage clear coats on cars like BMWs tend to be harder than older single-stage paint, so compounds work slowly and heat builds faster. People often give up on them early or lean on the machine to compensate, and both make the finish worse. Slow speed, light pressure, more passes, and a finishing polish to clean up afterwards will get you further than a heavy compound.
When should I pay a professional instead of polishing myself?
Hand a car to a pro when the marks came from a rotary buffer or a heavy collision, when a repainted panel or matte finish is involved, when the paint has been written off before, or when your own attempt left holograms you cannot clear. A detailer with infrared monitoring can measure paint temperature and thickness while working, which is the cheapest way to avoid thinning clear coat on a panel that has little left.
What to Do First
Start by washing the car properly in the shade, then hold a bright light across the worst panel and run a fingernail over the marks. If the nail glides, you have light swirls and a mild swirl remover with a dual-action polisher will clear them in an afternoon. Everything after that is patience and clean towels.