
How to clean a dashboard without leaving residue comes down to one rule: cleaner never touches the dash directly, and nothing is allowed to air-dry on the plastic. Mist a microfiber towel instead, work in small sections, then finish with a second, bone-dry towel to pick up whatever the first pass missed. The whole job takes about 30 to 45 minutes and needs nothing exotic.
Most of the sticky, hazy film people blame on their dashboard is residue rather than worn plastic. Old protectants, household glass cleaners and detail-shop products each deposit a thin polymer and oil layer, and heat softens that layer until it feels tacky under your hand. That film is also why the dash collects dust two days after you wipe it.
Start with the hidden-spot test in step 4. It takes thirty seconds and it is the step that decides whether the rest of the routine works on your particular plastic.
Table of Contents
- What You Need
- Step-by-Step: How to Clean a Dashboard Without Leaving Residue
- 1. Turn Off the Car and Protect Delicate Areas
- 2. Vacuum Dust From Creases and Vents
- 3. Choose the Cleaner for Each Surface
- 4. Test the Product in a Hidden Spot
- 5. Apply a Light Mist to the Cloth, Not the Dashboard
- 6. Clean Smooth Plastic and Trim Without Leaving Residue
- 7. Clean Textured Surfaces and Narrow Gaps
- 8. Clean Screens and Controls Separately
- 9. Buff and Inspect for Streak-Free Results
- Common Mistakes That Leave Residue
- Frequently Asked Questions
- Conclusion
What You Need
Before you buy anything, open the owner’s manual or the care label on the door jamb. A lot of manuals are blunt about this: a slightly damp cloth is all most dashboards ever need. If yours says that, skip the shopping list and use distilled water with the two-towel method.
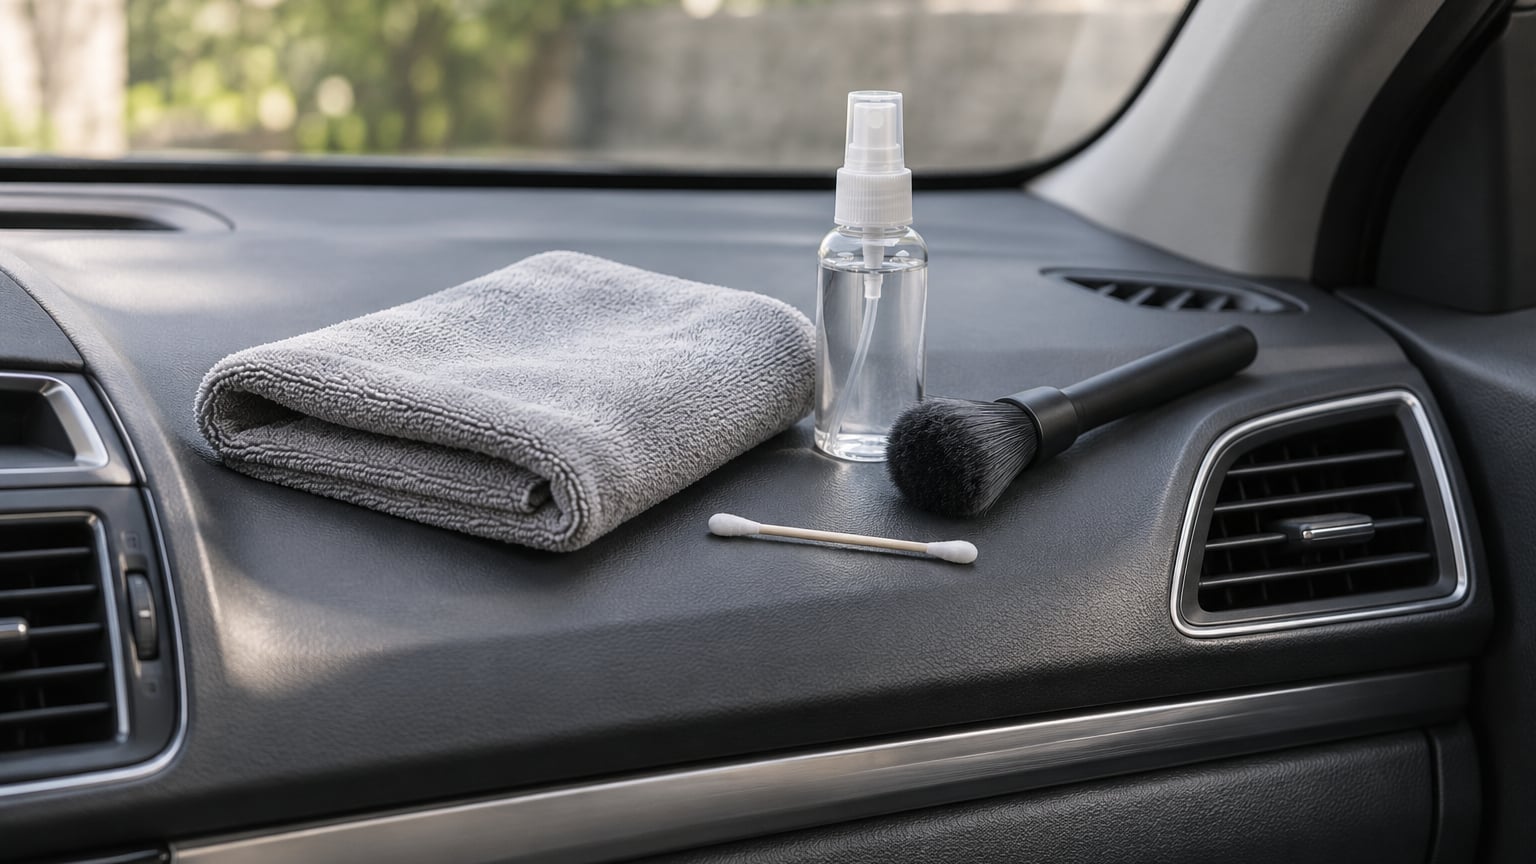
- Two low-pile microfiber towels. One stays damp for cleaning, one stays bone-dry for buffing. Color-code them if you own more than two, so you never swap them mid-job.
- A plastic-safe, water-based interior cleaner. Dye-free, fragrance-free and ammonia-free are the traits worth paying for. Detailers pick these because they flash off instead of polymerizing on the surface.
- Distilled or purified water. Tap water is the quiet reason many dashboards spot. Distilled water costs very little and removes that variable entirely.
- A soft detailing brush. Needed for textured trim, the defroster slots and the seams where dust actually lives.
- Cotton swabs and a soft toothbrush. For button edges, vent slats and the gap between the dash and the windshield.
- A vacuum with a brush attachment. Low suction, crevice nozzle. Loose grit dragged across plastic is what scratches it.
- 91% isopropyl alcohol. Optional, and only for stripping residue that is already hardened onto hard plastic. Not for screens, leather stitching or coated trim.
Park the car out of direct sun before you start. Warm panels flash the product to a dry film before you can work it in, which is exactly the residue you are trying to avoid. If you also want to bring the rest of the interior up to standard, how to clean cloth car seats at home follows the same damp-cloth logic.
Step-by-Step: How to Clean a Dashboard Without Leaving Residue
The complete routine below takes 30 to 45 minutes on a typical sedan, and it is beginner-level work. The single governing principle is quantity: a damp towel beats a wet one, and a dry second pass beats any amount of scrubbing. If you remember nothing else, remember that residue is nearly always too much product, not the wrong product.
1. Turn Off the Car and Protect Delicate Areas
Shut the vehicle off, remove the key and let hot surfaces cool. Interior plastics near the windshield and defroster can be surprisingly hot after sitting in the sun, and warm plastic plus cleaner equals instant film.
Crack the windows so any moisture can escape, and take sunglasses, cards and loose change out of the dash tray first. Then look at what you are actually working around: the infotainment display, the navigation unit, capacitive touch controls, stitching, headlight knobs with chrome rings, and any trim panel that feels coated or leather-grained rather than plain plastic. Those get treated separately or not at all.
2. Vacuum Dust From Creases and Vents
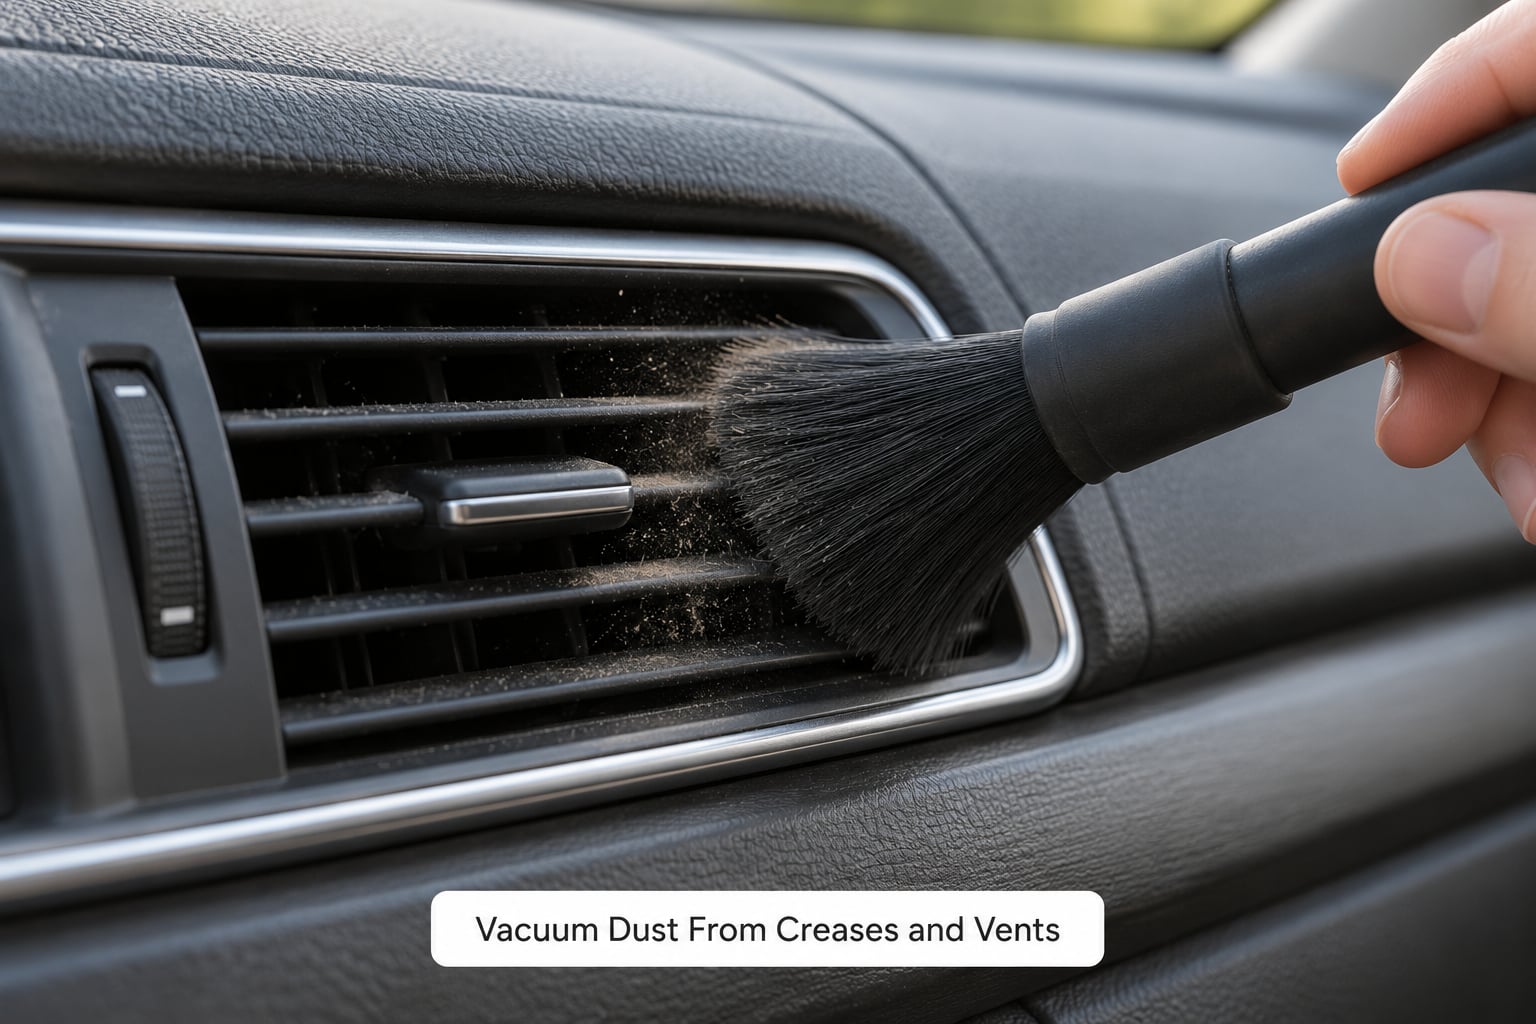
Run the vacuum with a brush attachment over the dash on low suction before a single drop of cleaner goes down. Grit that gets wiped instead of lifted will grind into the plastic under any pressure, and that fine scratching is what makes a clean dash look cloudy.
Work the crevice nozzle along the windshield seam, around the vent bezels and into the defroster slots. Hold the vacuum nozzle just above the slot rather than jamming it in, so you pull dust out instead of pushing it deeper into the ductwork.
3. Choose the Cleaner for Each Surface
One cleaner does not belong on everything in front of you. Smooth hard plastic takes a diluted, plastic-safe dashboard cleaner without trouble. Textured and grainy trim needs far less product, and mostly needs a brush. Leather-wrapped sections want a pH-neutral product at low strength.
Alcohol is the escalation tool, not the daily one. Use 91% isopropyl only on hard surfaces your manufacturer approves for solvent use, and never on displays, navigation screens, stitching, soft-touch coatings or any panel with an anti-glare texture unless the documentation explicitly allows it. Soft-touch plastic is the most common material on modern dashboards and the one most easily damaged by a strong solvent.
4. Test the Product in a Hidden Spot
Dab a small amount onto the least visible part of the panel, usually low on the passenger side near the glovebox or behind a trim edge. Wait the time printed on the product, then check the result under the cabin light.
You are looking for five warning signs: discoloration, a tacky feel, reduced gloss, visible streaking, or a texture that feels different under your fingertips. Any one of those and you move to a milder product. All clear and you continue. Ten minutes of testing here beats an hour of haze removal later.
5. Apply a Light Mist to the Cloth, Not the Dashboard
Spray the towel, never the dash. Hold the nozzle about 20 cm away from the cloth and use two or three light sprays per section. A properly damp towel leaves a faint sheen on your palm; a wet one drips, and drips run into seams, screen edges and electrical connectors.
Wipe in overlapping sections about the size of your hand so you can finish each one before the product starts to dry. Keep moisture away from ports, USB openings, the seam at the base of the windshield and any row of capacitive buttons. Those are the spots where water and cleaner turn into a real problem.
6. Clean Smooth Plastic and Trim Without Leaving Residue
Work the damp towel across the surface in long, light strokes. Pressure is not what removes residue, dwell time is. Let the cloth sit on a stubborn spot for a few seconds before you move on, instead of scrubbing a circle into it.
Then take the dry towel and buff the same section until it looks and feels dry to the touch. That second pass is the entire difference between a residue-free dash and a hazy one. Once a section is finished, do not go over it again with a damp towel; every extra pass is another chance to redeposit what you just removed.
7. Clean Textured Surfaces and Narrow Gaps
For grainy surfaces, use less cleaner than feels reasonable and let the brush do the work. Short strokes in one direction, then rotate the brush to a different angle and repeat so the bristles reach between the texture peaks and let the dust go.
Follow the brush with a barely damp microfiber towel, then a dry buff. Around vents, buttons and seams, use cotton swabs rather than the towel. Twist the swab as you drag it so the used side rolls to the outside, and never force liquid into an opening. Cotton buds disappear into cracks surprisingly often, so keep a count of how many you walk in with.
8. Clean Screens and Controls Separately
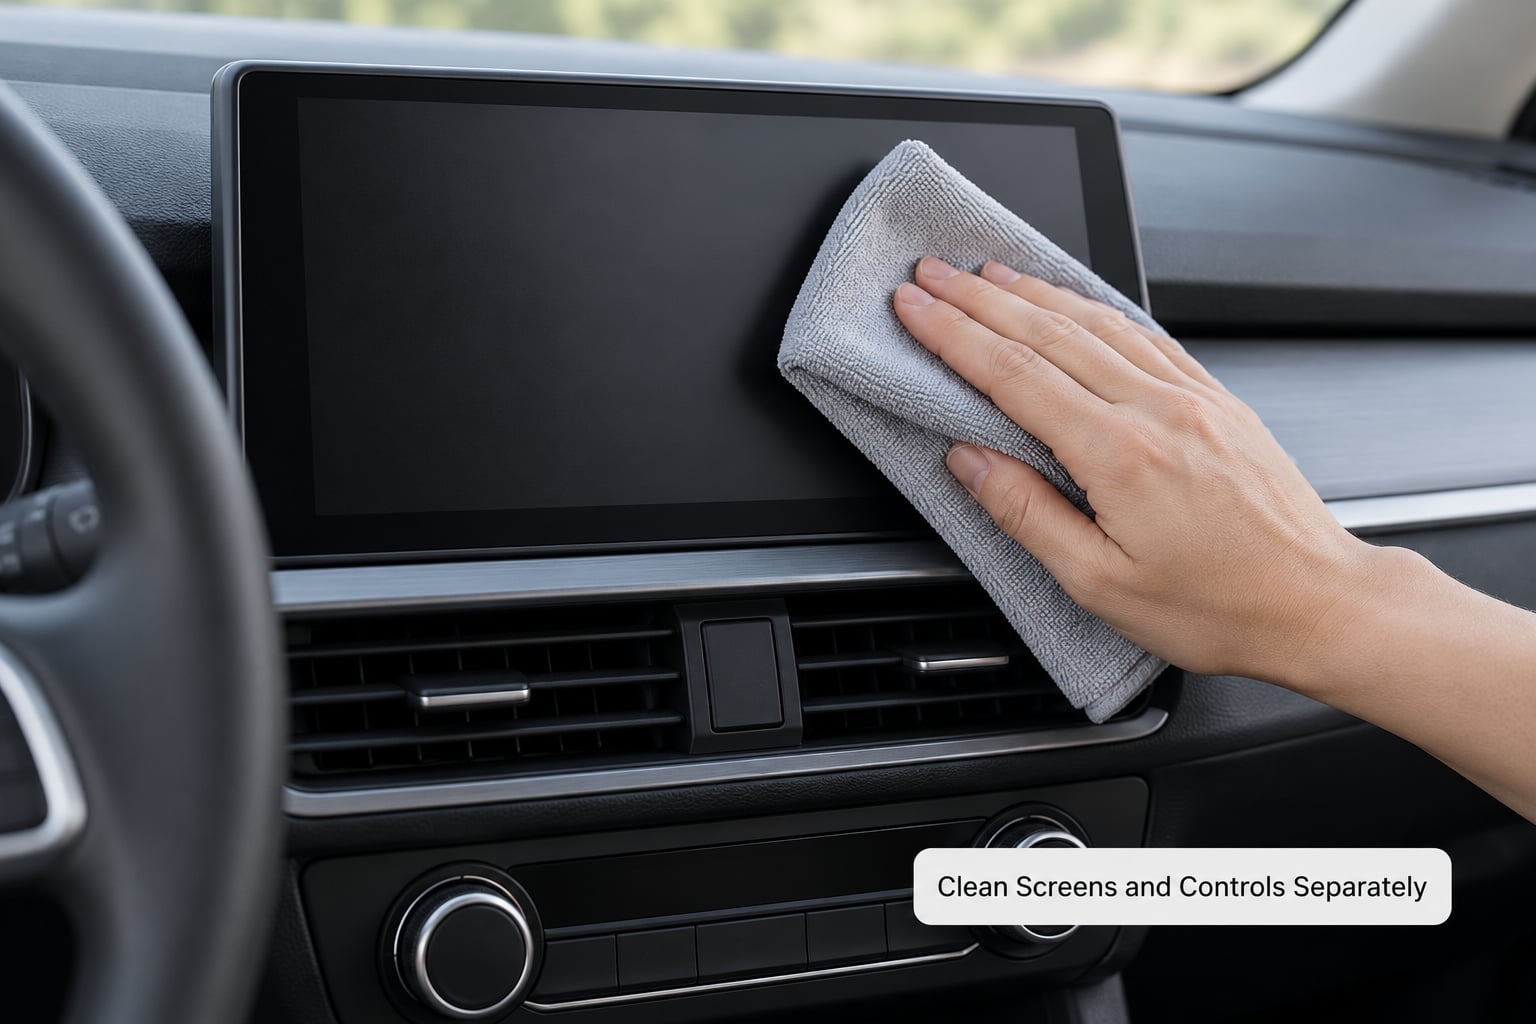
Screens get their own protocol and their own cloth. Follow the vehicle manufacturer’s guidance first, since an anti-glare or anti-reflective coating can haze permanently under the wrong solvent. Start with a dry, screen-safe microfiber cloth, and add distilled water only if the display needs it.
If haze or fingerprints remain after a dry pass, dampen the corner of the cloth with distilled water and wipe lightly, then buff dry immediately. Never spray a screen, and never let a general-purpose dashboard cleaner touch it. Wipe capacitive buttons with the same dry cloth, and check that touch response still works before you put anything back in place.
9. Buff and Inspect for Streak-Free Results
Do the white towel test. Flip the clean microfiber towel to a bright, unused face and press it firmly onto a section you just cleaned. Lift it away and look: any grey, oily or tacky mark means another pass with the damp towel and a fresh buff. A clean towel face comes away visually clear, and so does the plastic.
Inspect in daylight with the doors open, then in cabin light with the ignition on. Streaks that appear only in direct sun are usually a light, even film rather than a dirty cloth, and one more dry buff fixes them. You are done when the dash looks matte and uniform, feels dry to your palm, and stays that way after a day of sunlight.
Common Mistakes That Leave Residue
Almost every sticky dash traces back to one of six habits. Each has a straightforward fix.
- Spraying straight onto the dashboard. Overspray lands in seams, runs down the windshield and dries into a film nobody can wipe off. Mist the towel instead.
- Using too much product. Dashboards do not get clean by soaking. If the towel can squeeze droplets, it is too wet.
- Reusing a dirty towel. A grey towel just moves grime in circles. Keep one towel for the job and swap it every few sections.
- One cleaner for every material. Glass screens, soft-touch plastic, leather and textured trim each need a different approach. Same spray, different dilution at best.
- Harsh brushes on textured trim. Stiff bristles wear the grain down to smooth patches, and smooth patches catch glare like a mirror.
- Ignoring the owner’s manual. Some manufacturers specify a damp cloth only, and solvent use on those panels can void a coating warranty.
Products that cause most dashboard residue
| Product | Verdict | Why it fails |
|---|---|---|
| Ammonia glass cleaner (Windex and similar) | Skip | Leaves a surfactant film and can dull anti-glare coatings and tint haze |
| Armor All, Pledge and similar dressings | Skip | Silicone and polymer layers soften in heat and turn the dash tacky within weeks |
| WD-40 | Skip | It is a penetrating oil, not a cleaner, and the film it leaves traps dust |
| Brake cleaner or carb cleaner | Skip | Strips soft-touch coatings, dries rubber seals and can craze plastics |
| Vinegar | Skip | Acid dulls textured plastic and etches gloss over repeated use |
| Paper towels | Skip | Lint deposits and the rough weave scratches under pressure |
| Dish soap | Diluted only | Works as a one-off degreaser in a pinch, but leaves a surfactant film unless rinsed with distilled water |
How to strip residue that is already there
If the dash is already tacky, maintainers keep making it worse. Every additional coat of dressing adds another layer to the same film. Strip it in this order:
- Vacuum first, as in step 2, so you are not grinding existing grit into softened plastic.
- Dampen a clean microfiber towel with 91% isopropyl alcohol. Not spraying, dampening. Give the towel 30 to 60 seconds of dwell on the tacky patch, then wipe with light pressure.
- Repeat once. If a second pass lifts no grey or tacky film onto the towel, the residue is gone.
- Follow with a distilled-water pass and a dry buff so no alcohol tracks remain.
Owners on detailing forums consistently describe 91% isopropyl as the most reliable household dissolver for sticky dashboard gunk, and it is the first thing detailers reach for when a car wash leaves a gummy film behind. Keep it off displays, leather and coated trim.
One important exception: on some Toyota, Lexus and Honda models a sticky dashboard is a factory defect caused by off-gassing from the HVAC blower motor grease, not by anything you or a detail shop applied. If the dash was tacky when you bought it, and cleaning does not change that, ask the dealer about the open campaigns before you keep scrubbing.
A few habits keep it from coming back. Do a light pass with a damp water-only cloth every couple of weeks rather than a heavy clean monthly. Keep bottles closed and stored out of the heat, since warmth softens leftover polymers into a sticky film. Store clean cloths away from greasy tools and never in a bucket under a sink. A plain anti-slip dashboard pad without a silicone backing also helps, because dust lands on fabric you can lift out instead of on plastic you have to wipe.
While you are in detailing mode, our guide to how to clean wheels without damaging the finish uses the same damp-cloth, low-pressure discipline, and if the outside needs attention, how to wash a car without scratching the paint covers the wash mitt technique properly.
Frequently Asked Questions
How do I remove sticky residue from a car dashboard?
Vacuum the dash, then dampen a clean microfiber towel with 91% isopropyl alcohol and wipe the tacky area in small sections. Let the alcohol sit 30 to 60 seconds before buffing dry. Repeat once, then finish with a distilled-water pass and a dry towel. Never spray alcohol directly onto plastic, and skip displays, stitching and coated trim.
Can I use isopropyl alcohol to clean a dashboard?
Only as a spot treatment for stubborn sticky film on hard plastic, and only where the owner’s manual permits solvent use. Many manuals do not. Alcohol can strip the soft-touch coating on modern dashboards, haze an anti-glare texture and dull vinyl if the surface gets saturated. Dampen the towel instead of spraying, keep the patch small, and spot test first.
How should I clean a textured plastic dashboard?
Use less cleaner than feels reasonable and more brush. Work a soft detailing brush across the grain in short strokes, then repeat at a different angle so trapped dust releases. Follow with a barely damp microfiber towel and a bone-dry buff. Skip stiff brushes and never scrub hard, because worn texture patches turn glossy and catch headlight glare.
Should I use dashboard dressing or a cleaning product?
A dressing adds a layer, a cleaner removes one. If the dash already feels tacky, another coat of protectant only thickens the buildup, so strip it first with 91% isopropyl or a plastic-safe all-purpose cleaner. On a dash that already feels clean and matte, a water-based interior cleaner every few months is plenty, and no dressing is needed at all.
How do I keep dashboard cleaner from leaving streaks or glare?
Work in the shade on a cool panel, use distilled water, and keep the towel damp rather than wet. Mist the towel rather than the dash, then buff the finished section with a dry microfiber before the product flashes off. If a streak survives, wipe it once vertically and once horizontally; the direction that clears tells you which side of the towel is dirty.
Conclusion
To clean a dashboard without leaving residue, five things carry the whole job: vacuum before you wipe, test the product in a hidden spot, keep the towel damp and the dash dry, treat plastic, textured trim, leather and screens differently, and finish every section with a bone-dry towel. Miss any one of those and the film comes back within days.
Begin with the hidden-spot test. It costs you thirty seconds, it tells you whether your dashboard material can handle what you are about to put on it, and it is cheaper than any haze removal.