
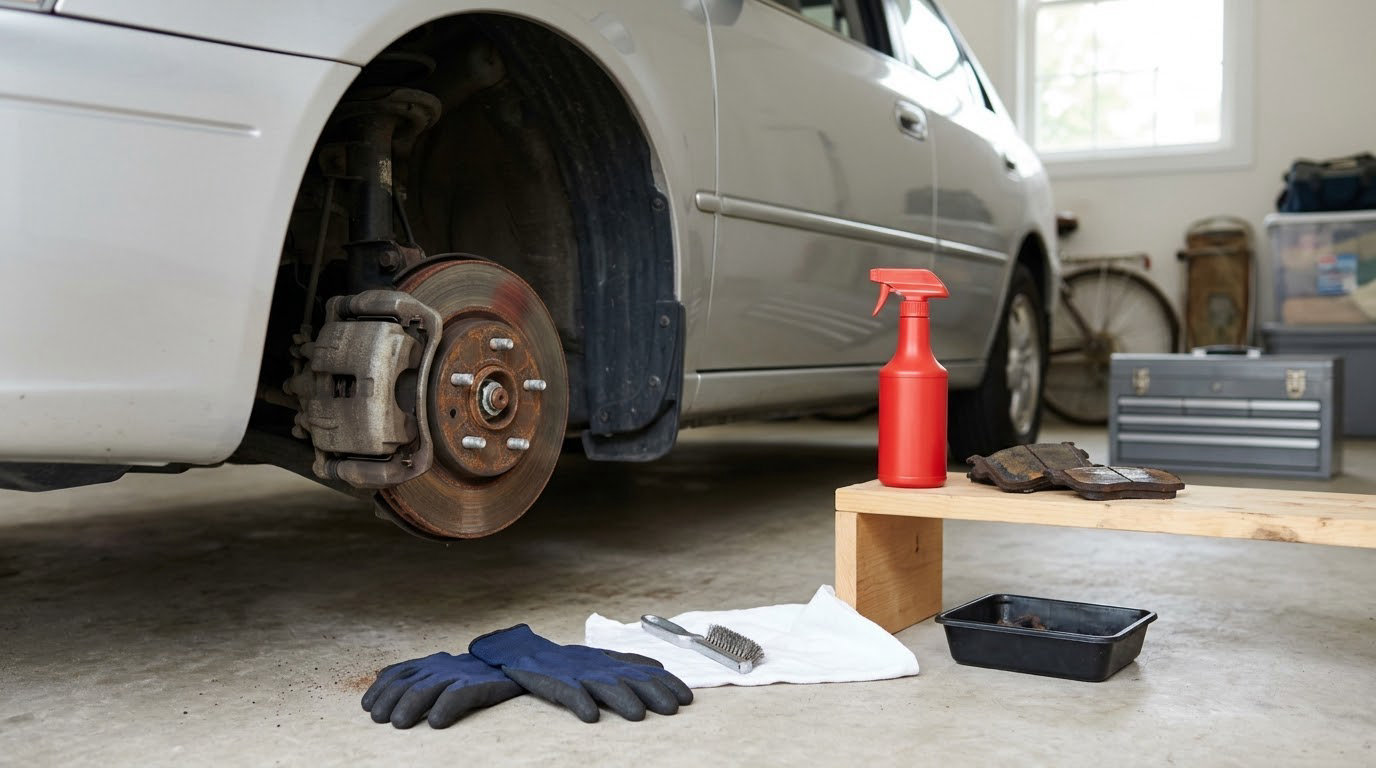
A car that sits still is a car whose brakes are quietly deteriorating. Light surface rust on the rotor face after a few weeks is normal and rubs off in the first few stops; the trouble comes from moisture that seizes caliper hardware, bonds pads to the disc, and gets absorbed into the brake fluid. That is the short version of how to maintain brakes on a car you rarely drive: inspect everything you can see, clean and lubricate only the right surfaces, and prove the brakes work before you trust them on the road.
The garage work takes about an hour with basic hand tools. Add a slow, low-risk test drive afterward, and the whole job fits into an afternoon. Anything beyond that belongs with a shop.
Never work under a car resting on a jack alone. This routine assumes the vehicle is on rated jack stands with the wheels off, the car is in gear or in park, and the parking brake is set while it is up on the stands. Last checked for accuracy in October 2026.
Table of Contents
- What You Need to Maintain Brakes on a Rarely Driven Car
- Step-by-Step
- Common Mistakes
- Frequently Asked Questions
- Do brakes go bad if a car sits?
- Why is my brake pedal stiff after the car has been sitting?
- How long can a car sit before the brakes seize?
- Should I pump the brake pedal while the car is in storage?
- Do I need to flush the brake fluid before long-term storage?
- Is it safe to drive a car after long-term storage?
- Conclusion
What You Need to Maintain Brakes on a Rarely Driven Car
Most of this job is inspection and cleaning, not replacement. Gather the items below before you start so you are not halfway through a brake job hunting for a tool.
- The owner’s manual for the vehicle, plus any service information you have for the brake system. Pad minimum thickness and rotor minimum thickness are both factory figures, not guesses.
- Wheel chocks, a jack, and rated jack stands. The stands are not optional, even for a five-minute look.
- The correct lug tool — a socket and breaker bar, or the wheel lock key if the car has locking lug nuts.
- A bright inspection light. Puddles of fluid hide in shadow and in the lower caliper, which is exactly where they form.
- Brake cleaner or a manufacturer-approved brake lubricant, a thin-wire brush, and penetrating oil that is approved for use on brake components.
- Hand tools: a flat blade or plastic pry tool, a small mirror or your phone camera, and rags.
Parts and procedures vary by vehicle, and the manufacturer’s specifications always take priority over anything in this guide. If your service manual calls for a specific lubricant, torque figure, or fluid type, follow it.
Step-by-Step
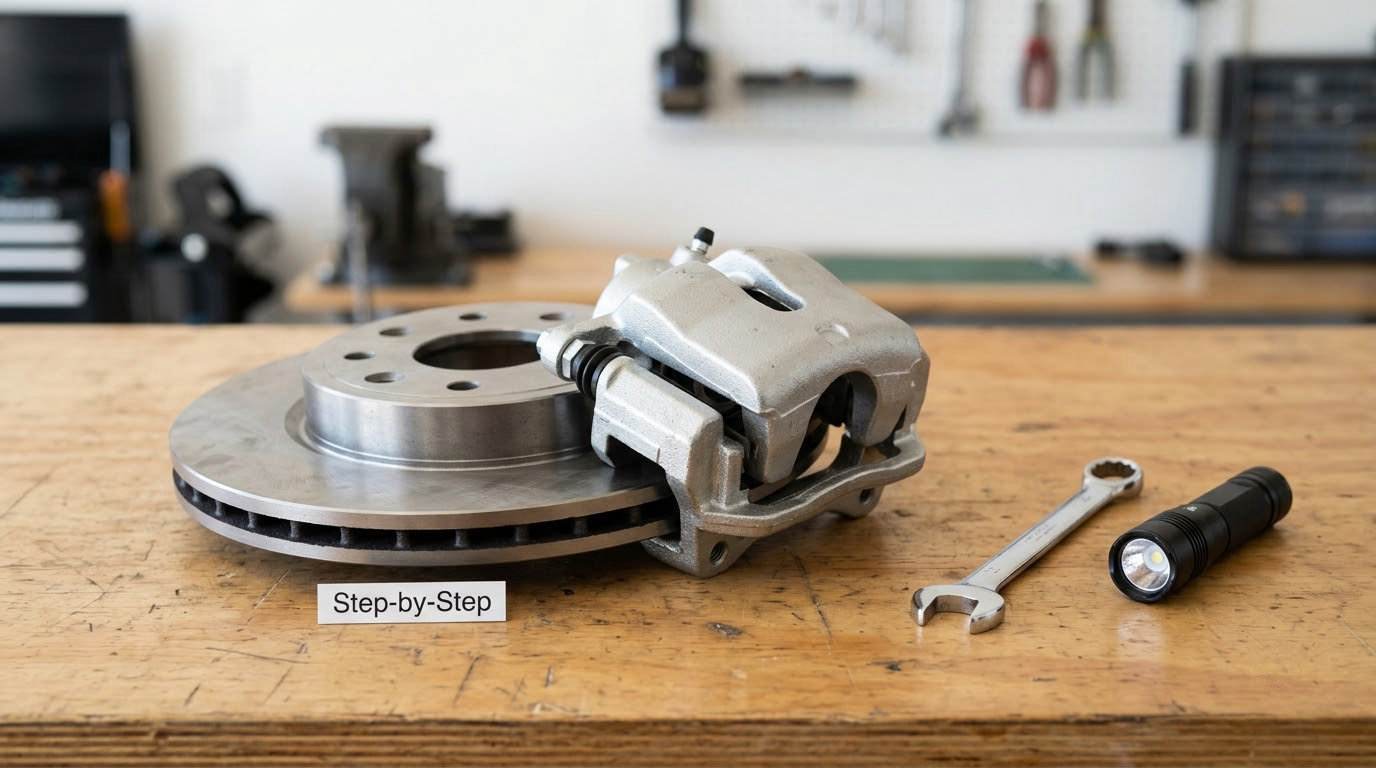
Work in this order and verify each step before moving on. If you find a cracked rotor, a leaking caliper, a perished hose, or damaged suspension hardware, stop the garage work there and get a qualified brake technician to look at the car.
How to inspect the visible brake components
Take one wheel off at a corner, which lets you check the front and rear on the same side. Look at the pad friction material or the brake shoe lining and compare it with the wear limit in your manual. A pad worn past the limit line is finished, not a maintenance item.
Check the rotor or drum face for the difference that matters here. Surface rust is a thin, even, brownish film that wipes off with a finger and does not leave grooves. Pitting is corrosion eaten into the metal, deep enough that you can catch a fingernail in it. Surface rust clears itself with a few firm stops. Pitting does not, and it wears pads faster until the rotor is machined or replaced.
Look for wetness around the caliper body, at the hose fittings, and inside the wheel rim. A rust stain on the rotor edge that fades under a wipe is different from a wet film that keeps coming back. Also check hose condition for cracking or swelling, and look over the caliper mounting bolts and the suspension hardware behind the caliper for rust bloom or a cracked body. A seized slider often shows up as heavy rust on one side of the caliper and none on the other.
Warning signs that mean a shop, not a rag and a spray can: the pedal travels farther than usual, fluid is pooling under the car, the caliper body is wet, the rotor is visibly scored or has a crack, or metal-on-metal clanking shows up under light braking.
How to remove surface rust from the braking surface
Do this only if you are working on the brake and it is off the road. On the car, a gentle first drive clears light film on its own, and you should not be cleaning friction surfaces with the wheel mounted where debris can fall onto the pad.
Spray the rotor or drum braking area with brake cleaner, let it sit for the time the can specifies, then scrub the braking surface with a thin wire brush working in the direction of rotation. Wipe it dry with clean rags. The aim is to remove the film, not to strip the metal. Aggressive sanding takes material off a rotor that is already near its minimum thickness, and never sand a rotor below that figure or you have turned a free fix into a replacement.
Check the friction material afterward. If the pads or shoes picked up cleaner or debris, they come off and get cleaned or replaced before the car goes back on the road. Verify the work by looking for an even, matte, rust-free surface across the full swept area.
How to lubricate and protect the brake hardware
The goal is to keep metal-to-metal parts moving. The caliper slide pins and their rubber boots, the parking brake pivot points and cable ends, and selected hardware threads are fair game for a manufacturer-approved brake lubricant or anti-seize.
Keep every drop off the pads, the shoes, the rotor or drum friction surface, and the hydraulic side of the system: the master cylinder, the caliper pistons, and the hard lines. Grease on a friction surface destroys braking until the contaminated part is cleaned or replaced, and oil on a hard line is a leak you cannot undo with a wipe. Ordinary penetrating oil is a temporary aid to free a stuck part, not a permanent fix for a seized one, and a water-based spray is not a brake lubricant at all.
Verify the job by moving the caliper on its slides or working the parking brake lever through its full travel. It should move smoothly with no gritty feel. If it still binds, the surface underneath needs cleaning rather than more lubricant.
How to check the parking brake and pedal on a rarely driven car
Here is where disc and drum brakes behave differently. On a disc car the parking brake is usually a cable squeezing a caliper, and leaving it set for months is mostly unnecessary. On a drum-brake car — common on older sedans, pickups, and SUVs at the rear — the parking brake is the main parking brake. Left engaged, the shoes sit against the drum for months and rust together, and light pedal pressure can lock the rear axle.
With the engine off, press the pedal fully and release it several times, then press again and confirm the pedal comes back to the same height every time. A pedal that stays low after a long sit usually means a leak or a master cylinder problem, not pads, and the car should not be driven.
Find a safe spot with a moderate grade, apply the parking brake, and let the engine idle briefly to check that the car holds. Then release it completely and confirm the car does not creep when you shift out of park or leave neutral. On level ground, creep is normal on many automatics; on a grade it is the real test. A stiff pedal, pulling to one side under light braking, grinding, or a parking brake that will not adjust or release all need diagnosis rather than adjustment by feel. If the pedal will not move freely after pumping it, stop and get the car to a shop.
How to test the brakes after a long period of storage
Start in a parking lot or a quiet street with no traffic. Pull into the open, set the parking brake, and pump the pedal with the engine off. Turn the engine over and idle rather than revving it, and check the brake pedal is still firm and returns fully.
Begin moving at walking pace and apply a single light stop. A short squeal or a momentary click that fades after a few stops is surface rust shedding and is expected. Then increase demand gradually in stages, and after each stop check:
- Does the pedal stay firm, or does it sink toward the floor?
- Does the car pull to one side, or wander?
- Do you feel vibration through the pedal or steering wheel?
- Do you hear grinding, clanking, or scraping that stays after the rust clears?
- Is there any fluid visible under the car or behind a wheel?
Verify the test by repeating the same stop two or three times and comparing. If the first stop felt worse and the second and third felt the same or better, that was surface rust clearing. If the pedal stays soft, the car pulls, or grinding continues through several stops, drive it no further and have the brakes inspected.
Common Mistakes
Most brake problems on a stored car come from skipping a check rather than from the wrong product.
- Driving off without pressing the pedal. Pads that have bonded to the rotor stay put on the first stop, and that first stop is the one that matters. Pump the pedal with the engine off, then make the first stop gentle and early.
- Spraying ordinary lubricant onto a friction surface. It works for a moment and then you have a braking problem. Lubricate the slide pins, pivots, and hardware only, with a product approved for brake components.
- Forcing a seized caliper. Prying hard against a stuck piston usually bends a slide pin or cracks a caliper body. Clean the slide surface and use approved penetrating oil, or hand the part to a shop.
- Leaving the parking brake set on a drum-brake car. Engage the transmission park or a gear and release the handbrake for storage. Drum shoes will still seize, but far less often.
- Ignoring dark fluid or a wet caliper. Brake fluid absorbs moisture over time, and fluid that has gone dark or cloudy is a flush job. Wiping it clean does not remove the water.
- Assuming a year in storage is harmless. Seals, hoses, and brake lines age whether or not the car moves. A year-plus sit with no driving deserves an inspection before the first real drive.
- Raising the car on a jack alone. The stands are cheap and the consequences of skipping them are not.
One tip that pays off: photograph the pad, rotor, and fluid condition before you clean anything. Six months from now, the photo tells you what changed without you having to remember.
Frequently Asked Questions
Do brakes go bad if a car sits?
Yes, but mostly through corrosion rather than wear. A few weeks of humidity puts light surface rust on the rotor or drum face, and that film rubs off within a few firm stops. Real damage takes longer: pads bond to the rotor, caliper sliders seize, drum shoes rust together under an engaged parking brake, and brake fluid absorbs moisture that corrodes the master cylinder and hard lines. Driving it briefly every couple of weeks prevents most of it.
Why is my brake pedal stiff after the car has been sitting?
A sealed brake system needs a few cycles to move fluid and re-extend a caliper piston that has crept in. With the engine off, press the pedal to the floor and release it fully, then repeat several times and hold pressure for a few seconds at a time. If the pedal still feels hard or will not return to the same height, something is sticking, leaking, or failing, and the car should not be driven until it is inspected.
How long can a car sit before the brakes seize?
There is no single number, because humidity and parking-brake habit matter more than the calendar. A garage-kept car in a dry climate can sit a season with nothing but surface rust, while a car parked outdoors in a wet region for a month can have noticeably sticky calipers. Treat any sit past three months without a drive as a prompt to inspect and test the brakes, and any sit past two years as a reason to have the fluid checked before the car moves again.
Should I pump the brake pedal while the car is in storage?
Pump it as part of a drive, not instead of one. Pushing the pedal on a parked car moves a little fluid but does not dry the pads, shed rust, or stop a caliper from seizing, and it does nothing for the tires or the battery. Forum advice on this is consistent: periodic driving is what helps. Ten to fifteen minutes of ordinary driving with a few firm stops, once a month or so, is worth far more than pressing the pedal on a stand.
Do I need to flush the brake fluid before long-term storage?
If the car is going to sit for a year or more, or the fluid is dark, cloudy, or past its service interval, flushing before storage makes sense, since fluid absorbs moisture and corrodes the master cylinder and lines from the inside. For a shorter sit, a check of the level and a clear colour in the reservoir is usually enough. A pedal that goes to the floor is never a storage problem to solve yourself; that is a leak and needs a shop.
Is it safe to drive a car after long-term storage?
Only after the test drive described above comes back normal. A squeal that fades within a few stops, a pedal that feels firm, and no pulling or fluid under the car usually mean surface rust and nothing more. A pedal that sinks, grinding that continues through several stops, or any leak means stop driving and get the brakes inspected. If you cannot complete the test, or you are unsure what you are hearing or feeling, have a brake technician check it before you load passengers or highway-drive.
Conclusion
Inspect first. That is the whole job in one sentence, and it decides everything else: clean the rotor or drum braking area only if light surface rust is there, lubricate only slide pins, pivots, and hardware, keep the parking brake released on a drum-brake car, and confirm the pedal returns fully every time. Then finish with the cautious test drive and only move on to a car park, a highway, or a passenger seat once the first few stops come back normal.
If any part of it is uncertain, your owner’s manual and a qualified brake technician will tell you more in ten minutes than a guess will.