
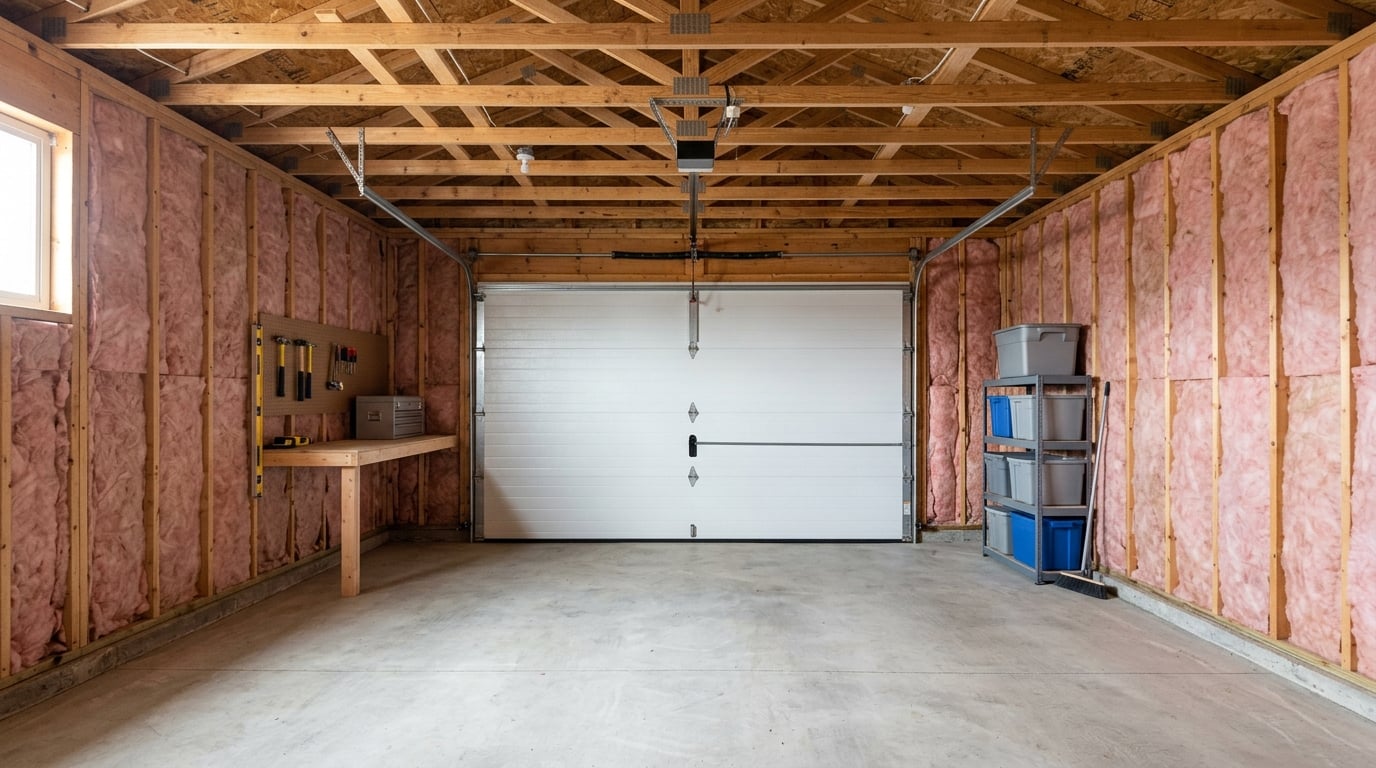
How much does it cost to insulate a garage? Most homeowners spend between 800 and 5,100 US dollars to have a standard two-car garage insulated professionally, or roughly 300 to 1,500 in materials if they do it themselves. That spread is enormous, and the gap between the low and high end is almost entirely explained by three choices: which surfaces you cover, which insulation you use, and who does the work. Here is how those decisions move the number.
Before the tables, one caveat worth stating plainly. All figures below are typical US ranges gathered from published cost guides and homeowner price reports, updated for October 2026. They vary by region and they change over time, so treat every number as a planning range rather than a quote.
Table of Contents
How Much Does It Cost to Insulate a Garage?
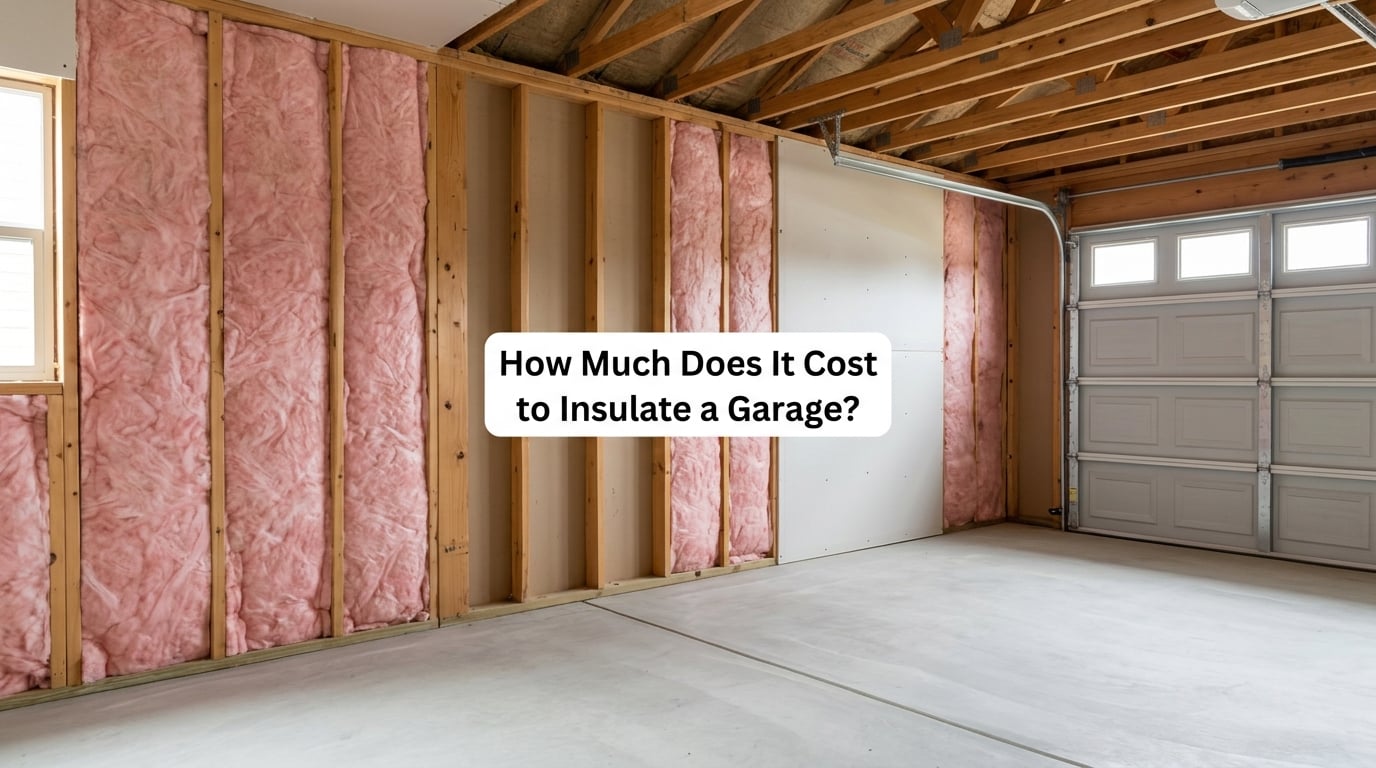
The single most useful thing to understand is that garage insulation is not one job. It is three separate jobs that get lumped together in most published averages: the door, the walls, and the ceiling. A quote without a stated scope is close to meaningless, which is why two quotes for the “same” garage can differ by thousands of dollars.
Cheapest of the three is the door. A garage door is usually a thin steel panel, and a retrofit insulation kit makes a meaningful difference to comfort and to how much heated air escapes. Walls and ceilings are the expensive work because of material quantity, labor time, and access.
Garage Insulation Cost by Project Type
Size drives everything, because material and labor both scale with surface area. A single-car garage is roughly 190 to 220 square feet of floor; a standard two-car is 400 to 576; a three-car runs 800 to 1,000 plus.
| Project | Typical size | DIY materials (US dollars) | Professionally installed (US dollars) |
|---|---|---|---|
| Door only, retrofit kit | 1 or 2 panels | 100 to 200 | 200 to 400 |
| Walls only, fiberglass batts | 1-car: 300-400 sq ft | 250 to 500 | 700 to 1,300 |
| Walls only, closed-cell spray foam | 1-car: 300-400 sq ft | Not a DIY job | 1,100 to 1,900 |
| Ceiling only, fiberglass batts | 2-car: 400-576 sq ft | 300 to 600 | 900 to 1,700 |
| Ceiling only, spray foam | 2-car: 400-576 sq ft | Not a DIY job | 1,300 to 2,600 |
| Full 1-car garage, walls and ceiling | 1-car: 700-800 sq ft total | 400 to 800 | 1,400 to 2,800 |
| Full 2-car garage, walls and ceiling | 2-car: 800-1,150 sq ft total | 700 to 1,500 | 2,600 to 5,100 |
| Full 3-car garage, walls and ceiling | 3-car: 1,600-2,000 sq ft total | 1,400 to 3,000 | 4,500 to 8,000 |
| Blown-in cellulose, whole garage | 2-car | 150 to 550 | 1,000 to 1,800 |
Two published averages sit inside that spread and are worth knowing. One cost guide puts the professional two-car job at 800 to 5,100 dollars, which is where the headline range comes from. Another puts the national average closer to 4,500, with insulation running 0.65 to 7.50 per square foot and labor 0.25 to 2.50 per square foot on top.
Those per-square-foot numbers are where most people get confused, so here is the surface math for a typical 22 by 26 two-car garage:
| Surface | Approximate area | Cost at 1.00-2.00 per sq ft | Cost at 4.00-6.00 per sq ft |
|---|---|---|---|
| Three exterior walls (open studs) | 390-450 sq ft | 390 to 900 | 1,550 to 2,700 |
| Ceiling (underside of joists) | 400-576 sq ft | 400 to 1,150 | 1,600 to 3,450 |
| Garage door | 1-2 panels | 100 to 200 (kit) | 700 to 2,000 (new insulated door) |
Multiply, add, and you have the basis for a sane quote. Anything dramatically outside the range usually means the scope is different than you assumed, not that the contractor is dishonest.
R-value targets by surface
R-value is a material’s resistance to heat flow, and garages need far less than living space. Buying R-49 batts for a garage is one of the most common and most expensive mistakes.
| Surface | Target in mild climates | Target in cold or hot climates | Notes |
|---|---|---|---|
| Walls | R-13 to R-15 | R-19 to R-21 | Match existing stud depth where you can |
| Ceiling | R-19 to R-21 | R-30 to R-38 | Ceiling can take more because heat rises |
| Garage door | R-6 | R-12 to R-13 | Foam board backer is common |
For a typical 2 by 4 wall, a single layer of R-13 or R-15 is the practical ceiling of performance. To reach R-21 you generally need 2×6 framing or a second layer, which is why upgrading the wall cavity often means rebuilding it.
What Insulation Materials Are Available?
Five materials cover almost every garage job, and the price gap between the cheapest and the most expensive is close to tenfold for the same square footage. The table below is installed cost per square foot, which is what most homeowners actually care about.
| Material | DIY material cost per sq ft | Installed cost per sq ft | R-value per inch | Best for |
|---|---|---|---|---|
| Fiberglass batt | 0.50 to 1.50 | 1.50 to 3.00 | R-3 to R-4 | Open stud walls, budget DIY |
| Mineral wool (Rockwool) | 1.20 to 2.50 | 2.50 to 4.50 | R-3 to R-4 | Soundproofing, fire resistance |
| Blown-in cellulose | 0.40 to 1.00 | 1.20 to 2.00 | R-3 to R-4 | Retrofit, attics, existing walls |
| Rigid foam board (XPS, EPS, polyiso) | 0.80 to 2.00 | 2.00 to 3.50 | R-4 to R-6 | Slab edges, rim joists, door panels |
| Open-cell spray foam | Not a DIY job | 3.00 to 5.00 | R-3 to R-4 | Irregular cavities, air sealing |
| Closed-cell spray foam | Not a DIY job | 5.00 to 7.00 | R-6 to R-7 | Highest R per inch, moisture control |
One more line item gets quoted constantly and confuses people: the board foot. Fiberglass is priced by the square foot of coverage, while spray foam is priced by the board foot, which is one square foot of material one inch thick. Closed-cell runs about 1 dollar per board foot, or 1 dollar per inch per square foot, and it yields roughly R-7 per inch. That is why a spray foam quote is not directly comparable to a batt quote even when both cover the same wall.
Homeowner price reports line up well with these ranges. One r/Insulation thread compared professional spray foam on the underside of a garage roof at 1,350 dollars for R-21 against 470 dollars of DIY material and 560 dollars for DIY R-21 mineral wool batts on the same target. Another DIYer reported about 1,200 dollars of fiberglass batt material for three walls plus the ceiling, and roughly 800 dollars of Rockwool for a 20 by 24 garage.
Spray foam is genuinely better at air sealing, which matters in a leaky garage, but it is not a reasonable default for the whole space. Fiberglass and cellulose cover most garages at a fraction of the cost, and blown-in cellulose in particular lands somewhere between 150 dollars on the cheap end and over 500 for low-dust product.
Garage door insulation
The door is the cheapest high-impact fix in the whole project, and it is where most people start.
| Option | 1-car door | 2-car door | Notes |
|---|---|---|---|
| Retrofit insulation kit, DIY | 100 to 150 | 180 to 250 | Roughly 100 per car in materials |
| Retrofit kit, installed | 200 to 350 | 300 to 500 | Fast job, usually one visit |
| New insulated steel door, single-layer | 700 to 1,100 | 1,200 to 1,800 | Adds R-6 to R-8 |
| New insulated door, double or triple-layer | 1,000 to 1,600 | 1,800 to 2,800 | R-12 to R-17, highest R per dollar here |
Weatherstripping and a bottom seal are far cheaper than either option and are worth doing first. Gaps along the jambs and header can leak more air than a thin insulated panel is trying to trap.
What Affects the Price
Once you know the ranges, the useful question becomes why your estimate differs. Nine factors account for nearly all of the variance.
Dimensions. Material and labor both scale with area, so a 24 by 24 garage is a different project from a 20 by 20 one even though people describe them both as two-car. Get the actual wall and ceiling measurements before collecting quotes.
Existing wall condition. Insulating open studs is the cheapest scenario. If drywall is already up, you are choosing between blowing insulation into holes from outside or removing the drywall. One published guide puts blown-in hole-and-plug work at 1.50 to 3.00 per square foot and full removal and redo at 1.00 to 3.00 per square foot, so demo is often the cheaper path despite sounding like more work.
Ceiling height and headroom. Overhead work costs more per square foot. In a garage with 8-foot ceilings, adding R-21 batts drops clearance to roughly 6.5 feet, which is uncomfortable for a workshop and a deal-breaker for storing a tall vehicle. Foam board applied to the underside of the roof deck preserves more headroom but is more expensive per square foot of coverage.
Material and R-value target. This is the single biggest lever. Moving from R-13 to R-30 batts roughly doubles material cost, and moving from batts to closed-cell foam multiplies it again.
Access. A garage with a vehicle, shelving, and stored stuff takes much longer to insulate than an empty shell. Clearing the space is the cheapest labor reduction available.
Electrical and lighting. Moving outlets, adding a ceiling receptacle, or replacing a garage door opener with a low-headroom model all add time and sometimes require a licensed electrician.
Moisture and ventilation. Insulating without addressing a damp garage or exhaust fan just traps moisture in the walls. Drywall rated for moisture is a small line item that prevents an expensive problem later.
Local labor rates. This varies more than most guides admit. The same fiberglass job can run meaningfully higher in high-cost metros than in lower-cost regions, and spray foam is priced by the board foot on top of an hourly crew charge, which widens the gap further. Get three quotes in your own zip code rather than relying on a national average.
Permits and inspections. In many jurisdictions, insulating a garage that will remain unconditioned needs no permit. Once you add a furnace, a rough-in, or convert the space to living use, building codes apply and an inspection is typically involved.
Timing matters less than people expect. Insulating in the off-season can nudge material prices down, but the labor savings are modest, and crews are often less busy in winter. When someone asks what time of year insulation is cheapest, the honest answer is that the swing is small compared with the difference between materials.
Ways to Save
Most of the savings come from narrowing the scope intelligently rather than buying the cheapest material. These are the moves that hold up.
Insulate the ceiling first if you only do one surface. Hot air rises, and a garage ceiling is where you feel the biggest temperature change. It is also the only surface that meaningfully helps if you run a space heater down there.
Right-size the R-value. R-13 in the walls and R-19 in the ceiling covers most garages in most climates. Paying 2x for R-30 in walls buys comfort you will not notice and money you will.
Buy materials during sales. Retailer promotions, contractor discounts for overstock, and end-of-season clearance are common on batts, mineral wool, and cellulose. Plan the job around a sale rather than the sale around the job.
Clear the garage before the crew arrives. Labor is the biggest single cost in a professional job, and much of that is moving your stuff.
Compare three or more quotes, with a written scope. Ask each one to state the surfaces, the material, the R-value, and whether drywall is included. Quotes written this way are directly comparable.
Skip the drywall at first. Installing insulation on open studs lets you confirm the air sealing worked before you cover it. Many people add drywall later, sometimes years later.
Air seal before you insulate. DIYers repeatedly describe sealing gaps, penetrations, and rim joist areas as the highest-value dollar-for-dollar spend in the project, and it can cost well under 500 dollars in materials for a two-car garage. Spray foam in the holes plus caulk and sealant on everything else is the most return on money step available.
One caution: there is a limit to how much you can save by cutting corners on the door. It is the cheapest surface and the biggest air leak, so a kit and a fresh bottom seal deliver more per dollar than any other line in the budget.
Frequently Asked Questions
How much would it cost to insulate a 24×24 garage?
A 24×24 two-car garage has roughly 600 square feet of walls and 576 square feet of ceiling, so about 1,150 square feet of surface to cover. Professional installation typically lands between 3,000 and 5,000 US dollars depending on material, while a full DIY job runs 800 to 1,600 in materials. Fiberglass and cellulose sit at the low end; spray foam lands at the high end.
Is insulating a garage worth it?
For an attached garage sharing a wall with conditioned living space, usually yes. That wall is a direct thermal bridge, and insulating it typically pays back in two to four years in cold climates while protecting pipes and stored items from temperature swings. For a detached, storage-only garage the return is mostly comfort rather than savings, so start with the ceiling and the wall facing the house.
What is the cheapest way to insulate a garage that still works well?
Insulate the ceiling with R-19 or R-21 fiberglass batts, use R-13 in the walls, and add a retrofit kit to the garage door. Seal air leaks with caulk and low-expanding foam first, because air sealing changes the result more per dollar than adding thickness. That combination typically costs 600 to 1,200 in materials and handles most of the comfort problem.
What R-value do I need for a garage?
Target R-13 to R-15 for walls in mild climates and R-19 to R-21 in cold or hot ones. The ceiling can carry more, so R-19 to R-21 is a reasonable minimum and R-30 to R-38 is worth it where winters are severe. Garage doors need much less, typically R-6 to R-13, since the panel is thin steel.
How much does it cost to insulate a garage door?
A retrofit insulation kit runs roughly 100 to 150 dollars for a single door and 180 to 250 for a double, based on what homeowners report spending in materials. Professional installation adds another 100 to 250. A new insulated door ranges from about 700 dollars for a single-layer single to 2,800 for a triple-layer double.
Do I need a permit to insulate a garage?
Usually not, as long as the garage stays unconditioned and you are not changing the structure. Permits typically come into play when you add HVAC, rough-in electrical, or convert the space into living area, because then building codes and inspections apply. Your local building department is the only reliable source for the answer where you live.
Start by measuring your actual wall and ceiling area, then decide which two surfaces matter most to you. Most projects are won by doing the ceiling and the shared wall in fiberglass, adding a door kit, and air sealing everything before anything goes in. Measure the space, pick the scope, and collect three written quotes against that same scope.