
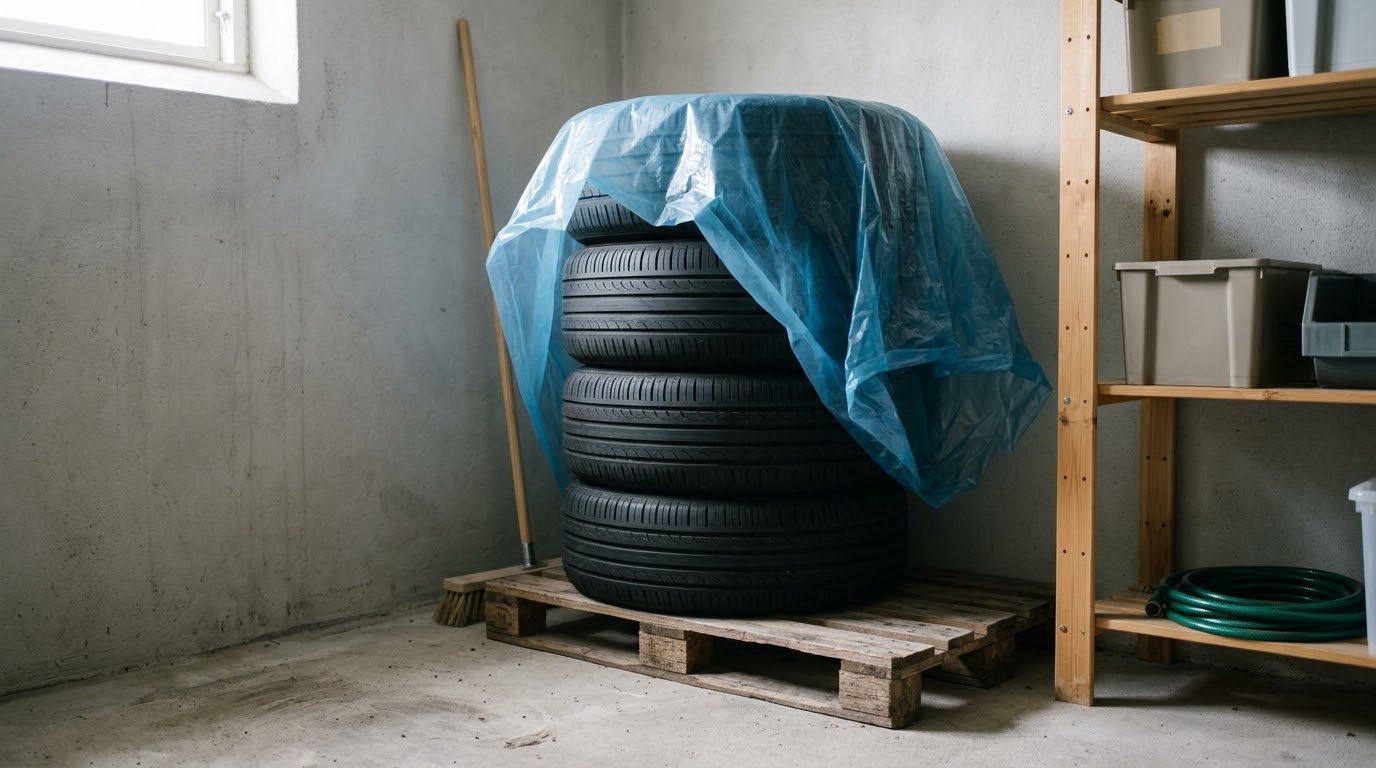
Knowing how to store tires over the summer comes down to five conditions: cool, dry, dark, sealed, and supported. Clean the rubber, bag each tire airtight and opaque, lift the set off bare concrete, store it in an orientation that protects its shape, and keep it away from ozone sources. Get those five right and a set of tires will sit through a hot season and go straight back on the car when the season turns.
If you’re swapping summer and winter sets, parking ultra-high-performance rubber through a hot summer, or just protecting a spare, this process takes an afternoon once you have the right supplies. The prep is less work than people expect.
- Clean the tires thoroughly, and skip tire shine entirely.
- Bag each tire separately in an airtight, opaque bag and label it with position, date, and tread depth.
- Store unmounted tires upright rather than lying flat in a stack.
- Keep the set in a cool, dry, dark space with stable temperature, away from motors, furnaces, and water heaters.
- Elevate the set off the concrete with a pallet, boards, or a rated rack.
- Spend five minutes a month checking for condensation, pests, and shifting.
- Read the DOT date code before you plan on using them again.
Table of Contents
- What You Need
- Step-by-Step
- Common Mistakes
- Frequently Asked Questions
- Can I store tires outside over the summer?
- Should I deflate car tires when storing them for summer?
- How long can tires be stored without being used?
- Should tires be stored with or without wheels?
- What is the best way to protect tires from sunlight?
- How do I know whether stored tires are still safe to use?
What You Need
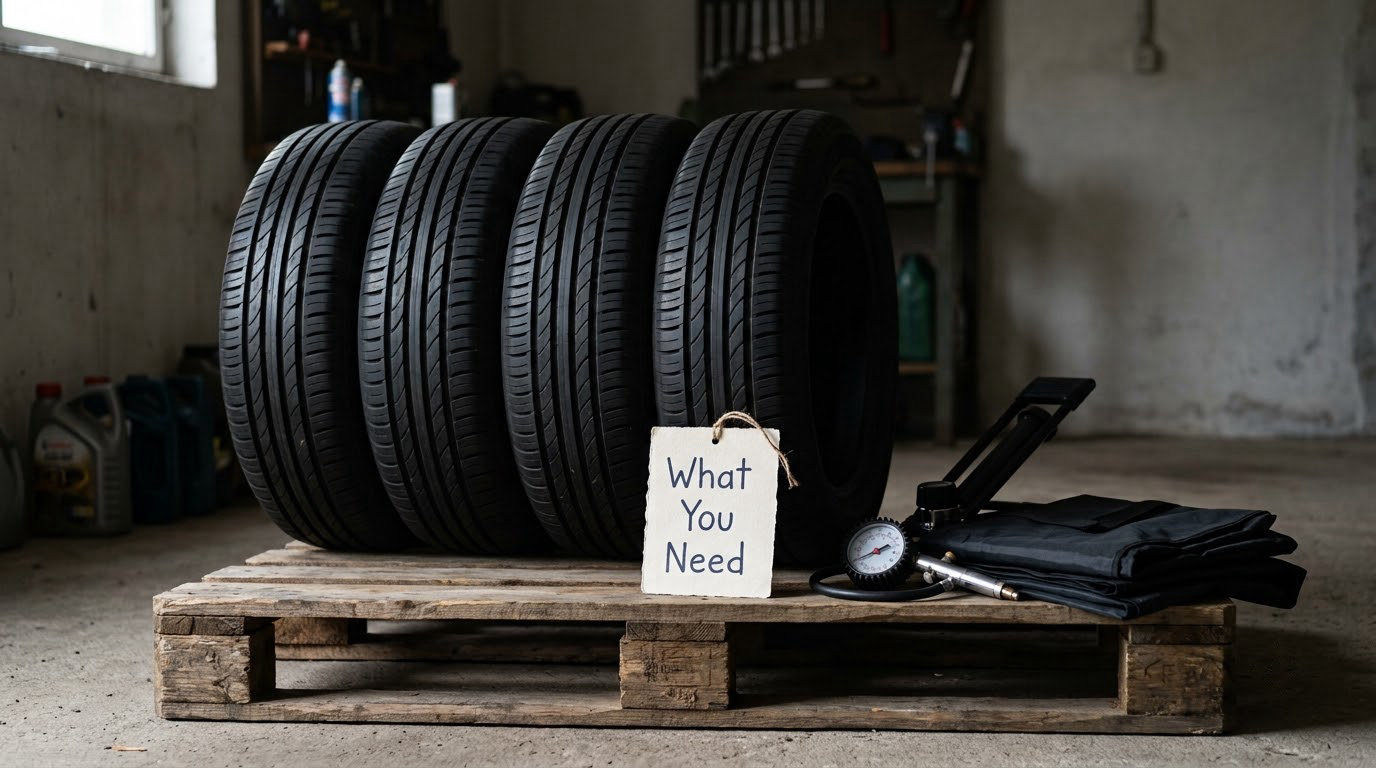
A tire pressure gauge you trust. A cheap pencil gauge drifts a few PSI high over time, and a compressor with a built-in gauge is not a substitute for checking pressure cold, which is when it matters.
Cleaning supplies: a stiff nylon brush, warm water, a little dish soap, and a clean rag. Road grime and brake dust hold moisture against the sidewall, and road salt is corrosive. Skip the tire dressing and tire shine entirely.
One breathable-style tire storage bag per tire, opaque and airtight. Heavy-duty contractor bags work in a pinch if you tape them shut. If you store a full set plus a spare, that’s five bags.
A storage surface. A wooden pallet, a pair of 2×4 boards laid flat, a heavy mat, or a rack rated for the load. A mounted tire and wheel assembly typically weighs 40 to 60 pounds, and hooks and rails need to be rated for that, not for a bicycle.
Absorbent material such as a few old towels or a roll of paper towels if you’re storing indoors, plus a small hygrometer if the space tends to be damp. And masking tape or a marker for labels, because an unlabeled tire is a tire you will squint at next spring.
Step-by-Step
How to Store Tires Over the Summer: Pick the Right Location
Aim for the coolest, darkest, most temperature-stable space you have. A climate-controlled basement ranks first. An interior room ranks second, and a finished corner of an attached garage is a reasonable third. A detached shed is a compromise. Outdoors under a tarp is a last resort that slows damage down rather than preventing it.
The reason summer-first storage matters is heat, not cold. Summer and ultra-high-performance compounds are softer than all-season rubber, with more antiozonant and fewer sacrificial additives, which makes them the first to stiffen and crack when a garage climbs past 100 degrees for weeks at a time. Keep the space shaded and as stable as you can manage.
Check what’s stored next to where the tires will sit. Ozone is the quiet killer. Electric motors, garage door openers, furnace blowers, water heaters, dehumidifiers, sump pumps, and even some fluorescent fixtures emit ozone, and it attacks the sidewall of stationary rubber. Give those appliances their own end of the garage and keep the tires as far away as the space allows.
Also rule out standing water, damp concrete, solvent and fuel cans, fertilizer, and anything that off-gasses. Success check: the spot is dark, stays within a narrow temperature range, and has no appliance within a few feet of the tire stack.
Clean and Inspect the Tires
Wash each tire with warm water, dish soap, and a stiff brush. Work around the sidewall lettering and the bead area, where brake dust collects. Let them dry completely before anything else happens, because a sealed bag around a damp tire traps that moisture for months.
Leave tire shine, silicone dressings, and petroleum-based protectants alone. They make a tire look great on the shelf and speed up the loss of the oils and plasticizers that keep rubber flexible. Clean rubber is dull, and clean rubber ages more slowly.
Inspect before storing, not after. Run your hands around the sidewall looking for cracks, bulges, cuts, or exposed cords. Check the tread for wear bars, uneven wear, or a spot that’s down to the fabric. Check the bead area for rust pitting if the tire was off a car for a while.
Write down what you see. Tread depth, date of storage, position on the car, and any damage you find. If something turns out to be a cut or bulge that you missed, you’ll thank yourself in eight months when you’re deciding whether to reuse the tire. Success check: the tire is dry to the touch, visibly free of grime, and documented.
Inflate or Deflate the Tires Correctly
For bare tires, this is easy: they hold no air at all. Store them at whatever pressure the manufacturer specifies, which for most is simply the recommendation to store them inflated to the vehicle’s door-jamb pressure if they’re on a wheel, and out of a bag if they’re loose.
For mounted tire and wheel assemblies, published advice genuinely conflicts, so here is where I land. Some tire shops and enthusiasts advise dropping pressure to around 15 PSI for long storage, on the theory that a lower pressure reduces the load on the sidewall. Other sources, including major retailers, advise simply leaving mounted assemblies at normal recommended pressure. I follow the second advice: keep the assembly inflated to the door-jamb pressure.
The reason is that pressure is what holds the tire’s shape off the rim. A significantly deflated tire carries its own weight at the bead, and a tire that sits that way for a season can pick up a permanent set or an irregular shape that’s annoying to drive and impossible to fully correct with air. Normal pressure costs nothing to maintain and keeps the profile round.
Whichever route you take, follow the tire and vehicle manufacturer’s storage guidance rather than a number you picked up from a forum post. And if a tire’s sidewall maximum pressure is lower than the door-jamb recommendation for your vehicle, the sidewall number wins. Success check: mounted assemblies are holding a pressure you wrote down, and no assembly is sitting fully deflated on its rim.
Protect Tires from Sunlight and Moisture
Bag each tire individually. An opaque, airtight bag blocks ultraviolet light, holds the air that keeps the shape, and keeps ozone off the sidewall. Squeeze the excess air out before you seal the bag, then tape or zip it shut. Big trash bags doubled up and taped around the tread work fine if dedicated tire bags are not in the plan.
Air is the enemy here in a specific way. Oxygen and ozone together are what attack a stationary sidewall, so sealing a tire inside a bag is meaningfully different from merely covering it. A loose tarp or an open cover blocks sun and rain but lets the air circulate freely, which is why enthusiasts bag their tires rather than throwing a cover over them.
Skip airtight plastic sheeting wrapped tight around a stack of tires, and skip piling an unsealed tire under a plastic drop cloth. Trapped moisture with no airflow is the setup that produces musty smells and surface mildew, and it does nothing for the ozone exposure. A breathable cover left loose is fine as a second layer over a bagged tire.
Bag the tires before they go into the space, not after. A bag is far easier to fit around one tire on the floor than four tires stacked in a corner. Success check: every tire is individually sealed, labeled, and there is no daylight or gap where air can move around the sidewall.
Store Tires Off the Ground Safely
This is where most of the available advice contradicts itself, so it’s worth being blunt about it. For a bare tire, standing it upright on the tread, leaning against a wall or a shelf edge, is the better choice. Laying bare tires flat in a stack concentrates the weight of everything above them into two small contact patches at the tread edges, which is exactly where a flat spot forms.
For a mounted assembly, store it flat and horizontal if you have the room, which spreads the load evenly around the full circumference. Vertical storage is a reasonable alternative when a full set of mounted assemblies simply will not fit, but only if the assembly is not carrying the weight of another assembly above it, and only if the hook is rated for 40 to 60 pounds.
| Storage method | Bare tire | Mounted assembly | Why |
|---|---|---|---|
| Upright, leaning on a wall or shelf | Recommended | Acceptable | No point load on the tread or sidewall; lowest risk of a flat spot for a loose tire |
| Flat, on a pallet or boards | Avoid stacking more than one high | Recommended | Distributes the weight of the full assembly around the whole circumference |
| Stacked tire on tire | Avoid | Avoid | Concentrates load into small patches and deforms the lower tire |
| Hanging by the sidewall or tread on a hook | Not recommended | Acceptable if the hook is rated for 60 lbs | Safe only when nothing rests on the tire and the hook is not crushing the sidewall |
Whatever the orientation, keep the set off bare concrete. Concrete is porous, it wicks moisture, and it stays cold and damp longer than the air above it. A wooden pallet, two 2×4 boards laid flat, a rubber mat, or a purpose-built rack solves it for a few dollars. Chock or strap the tires so a shift, a door closing, or a pet cannot send a 50-pound assembly rolling.
Leave a little room between stacked assemblies, and put a mat or piece of cardboard between rims so metal does not rub against metal. Success check: nothing is resting on a bare tread edge, every tire is off the floor, and nothing can roll on its own.
Check Tires Before Reinstalling Them
Plan a short inspection the week before you need the set. Pull each tire out of its bag and check whether condensation formed inside, then look at the bag for damp patches. Confirm the label still matches the tire.
Check pressure while the tires are cold, meaning they have not been driven on for at least three hours. Compare against the number on the driver’s door jamb, not the number molded into the sidewall. The sidewall is the maximum the tire can hold, and the door-jamb figure is the pressure the vehicle was engineered around. They are different numbers serving different purposes.
Read the DOT date code while the tire is right there. The last four digits give the week and year of manufacture, so 4524 means week 45 of 2024. Industry guidance from tire manufacturers, supported by federal tire-aging advisories, is to replace tires at six years regardless of remaining tread and to treat ten years as an outer limit, even on a tire that looks perfect. Fresh rubber that has been sitting unused is still aging rubber.
Inspect the tread and sidewall again, and look for a flat spot. A mild flat spot from a season of storage is normal and usually works itself out within a few miles of driving. A hard spot that does not soften, a bulge, a crack that has grown, or a tire that has gone brittle and smells sharply of chemicals is a replacement, not a reuse.
Balance the assembly and have the installer torque the wheels to the vehicle’s specification in the owner’s manual, in a star pattern. A tire shop will usually inspect stored tires at no charge, and that check is worth taking even if you do the work yourself. Success check: cold pressures are set to the door-jamb figure, the DOT codes are within your age budget, and nothing is cracked, bulged, or permanently deformed.
Common Mistakes
Leaving tires in direct sun. A west-facing garage window or a door that stays open in the afternoon is enough to cook a soft summer compound all season. Bagging and keeping the set in shade fixes this.
Overinflating or fully deflating without manufacturer guidance. Both extremes add stress over months. Normal pressure for a mounted assembly, and no pressure at all for a bare tire, is the straightforward answer.
Sealing tires in plastic. Wrapping an unwashed tire in airtight plastic traps moisture, and stacking plastic-covered tires with no airflow invites mildew. Clean and fully dry the tire first, then bag it.
Leaving the set flat on concrete. It does not kill a tire in one summer, but damp concrete and point loading both work on the same sidewall over years. A pallet is cheap and permanent.
Storing tires without inspecting them. Damage found before storage can be documented and priced. Damage found after storage looks like the storage caused it, and the argument is unwinnable.
Treating tire shine as protection. Petroleum and silicone dressings accelerate exactly the outgassing that keeps rubber supple. Skip them.
Ignoring a rodent problem. Mice and rats chew rubber, and a nest inside a bagged tire can go unnoticed for a season. If you store in a shed or carport, check inside the bags the first month and use metal containers where you can.
A few things worth keeping in mind for the summer specifically. Do not drive on summer or ultra-high-performance tires below about 40 degrees, even to move the car, and check them before a cold snap. If you must store a spare, it wants the same conditions as a full set, and a spare that has never been mounted is often a good candidate for that unused tire you keep rather than discard.
Frequently Asked Questions
Can I store tires outside over the summer?
You can, but it slows the damage down rather than preventing it. Direct ultraviolet light, big temperature swings, and standing water all attack the sidewall faster than a cool indoor space does. If outdoors is your only option, put the tires on a pallet, bag each one airtight and opaque, cover the stack with a light-colored tarp for shade, and check under the bags monthly for condensation and pests.
Should I deflate car tires when storing them for summer?
For a bare tire, there is no air to deflate in the first place. For a tire and wheel assembly, published advice conflicts, with some shops recommending a drop to roughly 15 PSI and major retailers advising you to leave it at normal pressure. Most owners should leave the assembly inflated to the door-jamb pressure, since pressure is what holds the tire’s shape off the rim, and follow the tire maker’s guidance if it says otherwise.
How long can tires be stored without being used?
There is no safe shelf life, because unused rubber keeps aging. As a practical rule, most tires are replaced at six years from the manufacture date and treated as finished at ten years, no matter how much tread is left. Read the four-digit DOT code on the sidewall to find the week and year of manufacture. A well-stored tire will usually outlast a badly stored one of the same age by a season or two, not by years.
Should tires be stored with or without wheels?
Store them the way you found them. If they came off the car mounted, keep them mounted, inflated to the door-jamb pressure, and lay the assembly flat if it fits. If they came off bare, store them upright, off the concrete, so no single patch of the tread carries the weight of another tire. The orientation that avoids a point load is the right one, and that is different for each case.
What is the best way to protect tires from sunlight?
An opaque, airtight bag is the single most effective step, because it blocks ultraviolet light and cuts off the airflow that carries ozone to the sidewall. Squeeze the air out and seal the bag, then keep the bagged tires in a shaded interior space so the bag is not doing all the work. A light-colored cover or tarp over the stack adds shade on top, but a tarp alone is not a substitute for bagging.
How do I know whether stored tires are still safe to use?
Check the DOT date code first, then look at the sidewall for cracking, weather checking, bulges, or exposed cords, and press the tread to see whether it still feels supple rather than brittle. A mild flat spot is normal and usually fades after a few miles. A hard spot that will not soften, a bulge, or a sidewall that has gone stiff and brittle means the tire is finished, even with tread left.
Start on swap day, not next month. Wash the tires, let them dry fully, bag and label each one, get them off the concrete, and get them as far from the water heater as the garage allows. That afternoon of work is the whole procedure, and it is what separates a set that comes back ready to drive from one that needs replacing a season early.