
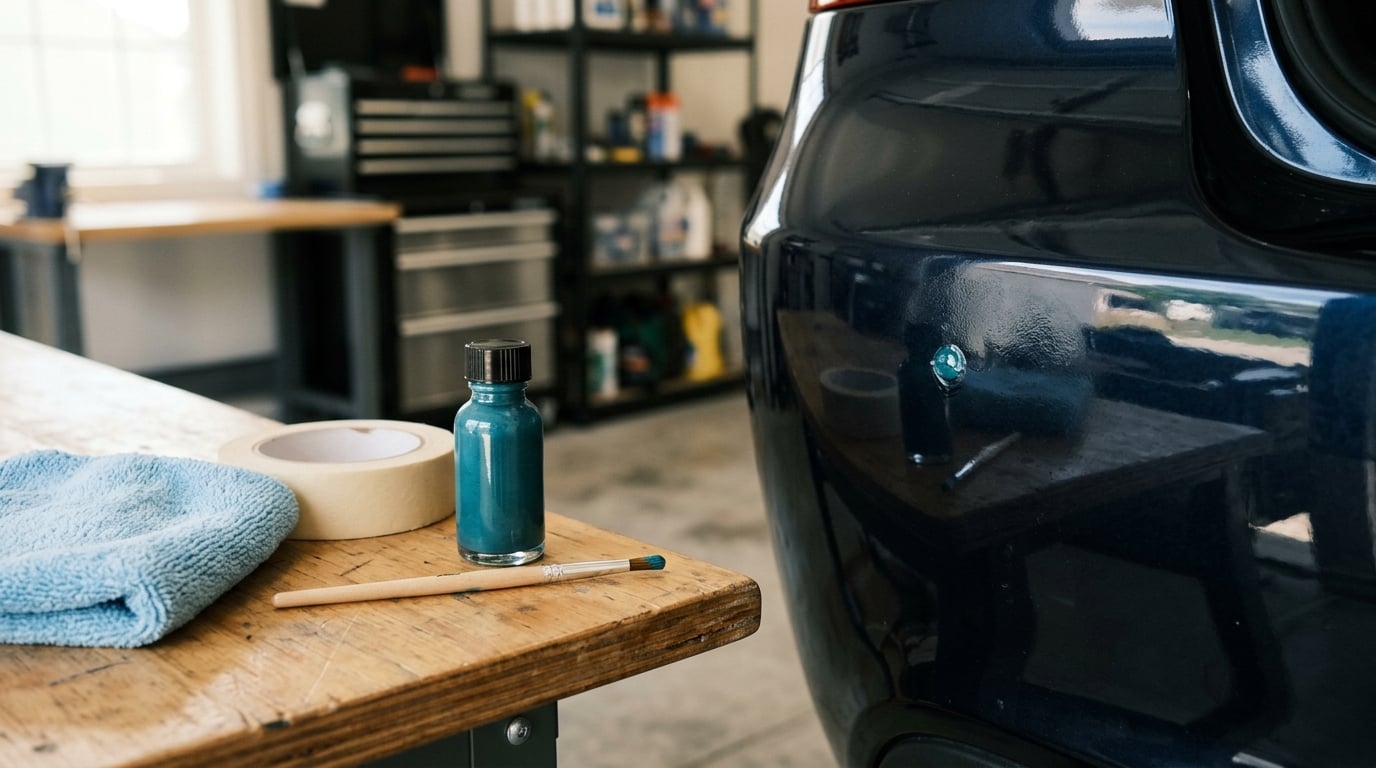
Most small stone chips are a garage job, not a body shop job. The fix is cleaning the crater, shaking the factory-matched touch-up paint so the metallic flake redistributes, dabbing a few thin layers into the hole, and sealing it with clear coat. Allow an afternoon for the repair and another day or two before the paint is fully cured.
The whole method rests on two things most guides never explain. First, you dab the paint in rather than brushing it across, because a stroke leaves a visible ridge and edge. Second, you fill only about half to three-quarters of the chip depth, because the solvent evaporates and the paint shrinks as it dries, so a crater filled to the brim ends up sunken once cured.
There is a limit, though. A chip that has reached bare metal needs primer, a chip that has started to blister or peel needs a body shop, and a metallic or pearl finish that will not blend from the driveway is a pro job no matter how good your color match. The table in Step 1 sorts that out before you open a bottle.
Table of Contents
What You Need
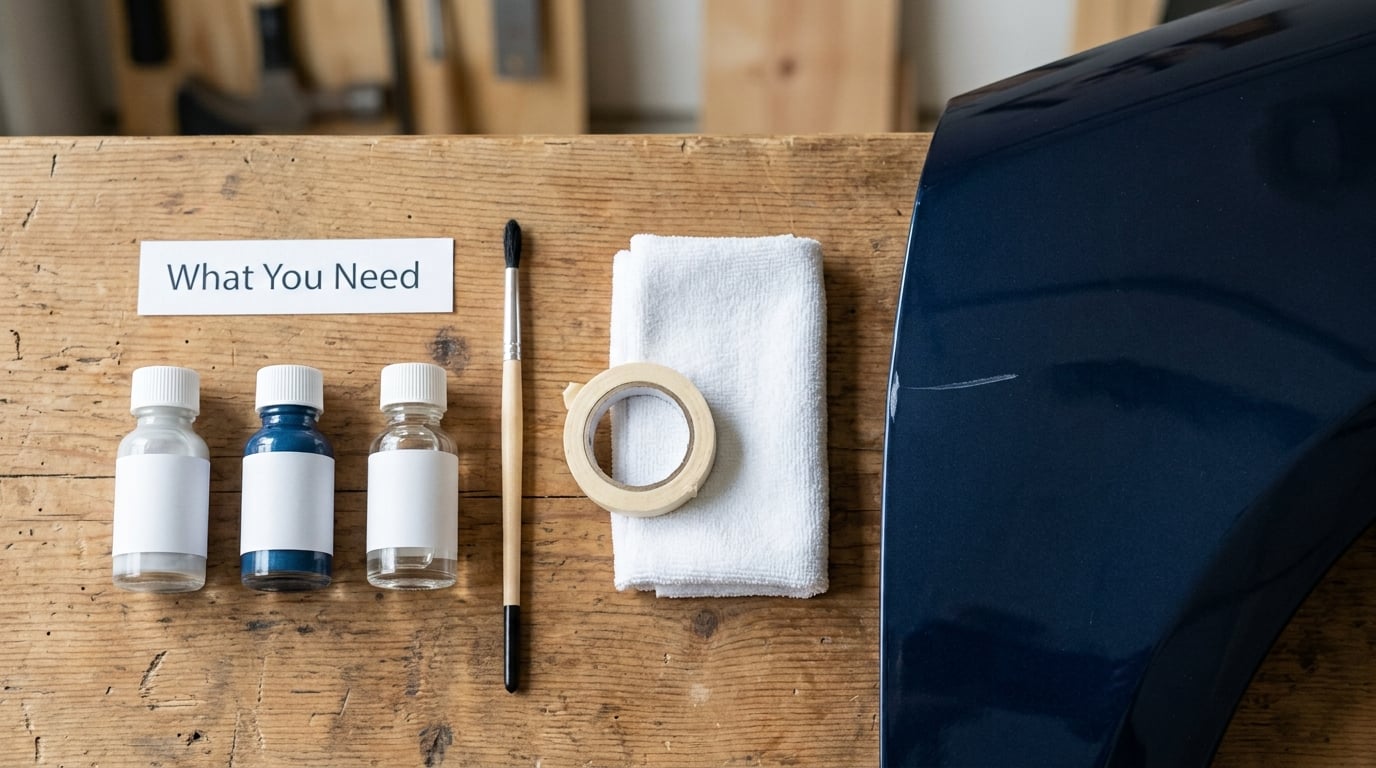
Everything below is cheap and most of it is optional. The only items you cannot skip are the paint matched to your car’s factory code and a clean way to degrease the panel.
| Item | Required? | What it is for |
|---|---|---|
| Touch-up paint matched to your factory paint code | Required | The color itself. Match the code, the finish type and the year of the panel, not just the color name. |
| Isopropyl alcohol or a panel prep product | Required | Cuts wax, sealant and road film off the surface so the new paint bonds to bare finish rather than to contamination. |
| Microfiber towel | Required | Drying the panel and wiping away the alcohol without scratching the surrounding glossy paint. |
| Fine-tip artist brush or micro brush | Required | Delivering a small, controlled amount of paint. A cheap size 5 or 6 artist brush is better than the stub that ships in a kit. |
| Toothpick | Optional | Useful for pushing paint into a narrow crater or for trimming a hanging paint fragment at the chip edge. |
| Clear coat (matching the factory finish) | Required on modern two-stage paint | The glossy protective layer over the color. Without it a spot repair looks flat and dull next to the surrounding panel. |
| Primer or rust converter | Only if bare metal is exposed | Stops corrosion before the color coat goes on. A chip down to metal without primer will bubble and rust from the inside. |
| Masking tape and a pencil | Optional | Marks every chip before you start and protects adjacent trim, molding or a contrasting lower body section. |
| Nitrile gloves | Recommended | Touch-up paint is solvent-based. Fingerprints on a fresh repair show as dark smudges that polishing will not remove. |
| 2000 to 3000 grit wet sandpaper, a rubber block or pencil eraser | Optional | Levels a proud repair after it cures. Use it on your touch-up, never on the chip edge itself. |
| Fine cutting compound and a soft polish pad | Optional | Restores gloss after leveling and blends the repair into the surrounding finish. |
Matching the paint to your finish matters more than matching the color name. Most cars built since the late 1980s use a two-stage system: a colored base coat with the flake suspended in it, then a clear coat over the top. Those cars need base coat plus clear. Solid older colors often use a single-stage paint that already carries its own gloss, and those need clear coat only if the paint you bought does not already include it.
Matte and satin wrapped finishes are a different category entirely. Most off-the-shelf touch-up paint will not blend into them, and a repair on a matte panel stands out more than the original chip did. Check whether your car has a matte wrap or a protective film before you buy anything.
Step-by-Step: How to Touch Up Paint Chips on a Car
How to Tell Whether the Chip Needs Touch-Up Paint or Body Repair
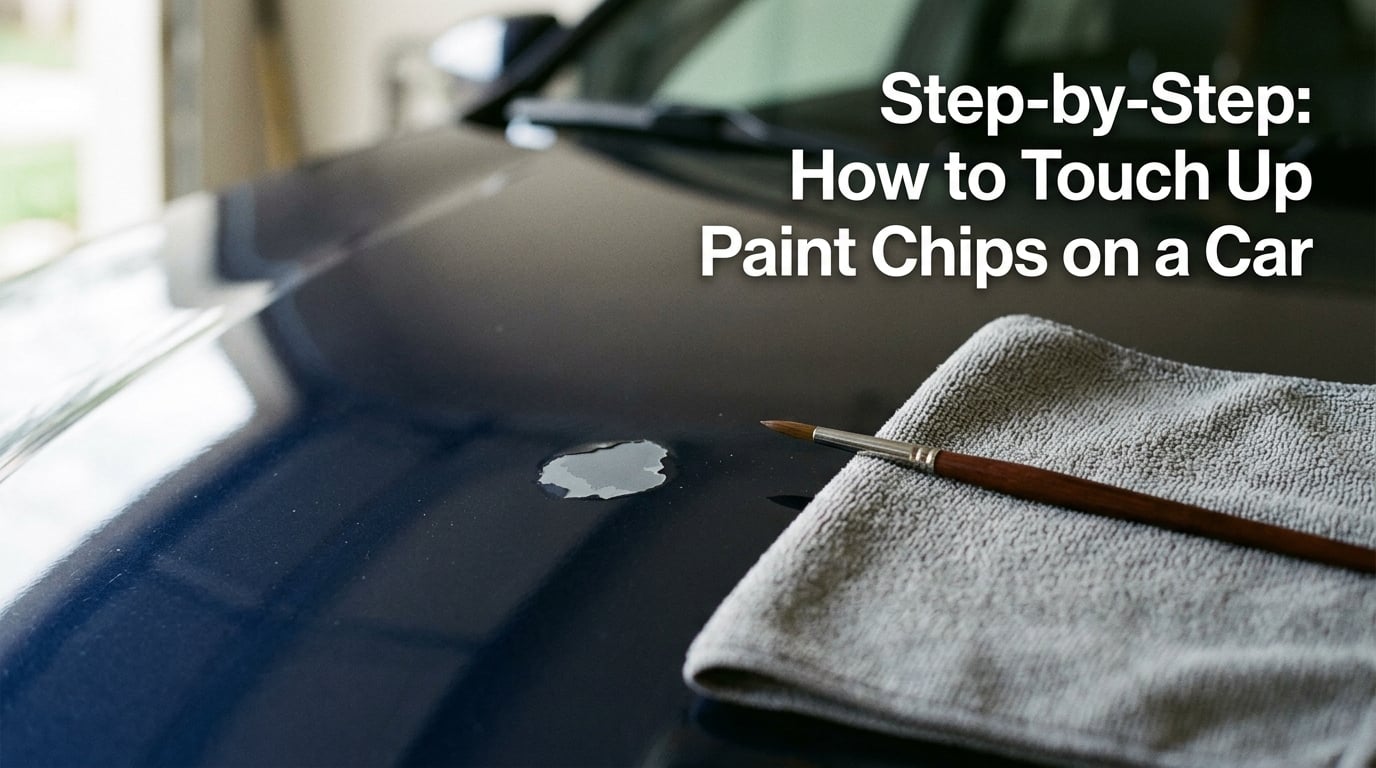
Look at the chip before you touch it, because the answer depends on how deep it goes. Fill a shallow crater and the repair is invisible. Find bare metal and you have a rust clock ticking, so the job becomes urgent rather than cosmetic.
| What you see in the chip | What it means | What to do |
|---|---|---|
| Only clear coat is missing; the color underneath is intact | Cosmetic and shallow | Straightforward touch-up. Prep, base coat, clear coat, done. |
| Color is gone but a dull gray or beige layer remains | You have reached primer or the etch primer under the color | Touch-up is fine. Clean thoroughly and make sure the primer is sound before coloring over it. |
| Bright silver or gray metal, no rust | Bare metal is exposed | Primer is not optional. Let the primer cure fully, then apply color and clear. |
| Brown or orange staining, or paint that is bubbling and lifting around the chip | Corrosion is already under the surrounding paint | Body shop. Sanding and repainting this yourself traps the rust and makes it worse. |
| The metal is pushed in and the paint follows the distortion | It is a dent, not a chip | Body shop for the dent. Paint on a dented panel always telegraphs the shape under clear coat. |
| The chip is wider than roughly the size of a pencil eraser | Beyond the craters a dab technique can blend | Body shop. A repair that large needs a spray blend, not a brush. |
| Peel across a whole panel or a loose flake near the chip | Clear coat failure or previous bad repair | Body shop. The whole panel needs refinishing. |
Two details here get missed. If a paint fragment is still hanging across the chip, trim it off with a razor blade or knife rather than leaving it to trap paint underneath. Experienced members on owner forums like the CRV Owners Club and Autogeek Online recommend exactly that trim before anything else, and it costs you nothing to do.
How to Clean and Prepare the Chip
Wash the area with car-safe soap, dry it, then wipe a small area around the chip with isopropyl alcohol or a panel prep solution. The alcohol removes wax, sealant and road film that would otherwise stop the new paint from bonding.
Work in shade, out of direct sun, ideally between about 50 and 85 degrees Fahrenheit. Cold paint flows poorly and dries cloudy; hot paint flashes off too fast and traps solvent under the surface. Park the car, let the panel cool, and keep your hand off the repair for the whole session.
Mask anything close to the chip: a chrome molding, a textured lower cladding, a two-tone break. A strip of tape along a paint line saves a lot of cleanup later. Then mark the other chips with a pencil so you can find them again once you are done with this one.
Do not sand the chip open. The crisp edge around a fresh rock chip is a natural bucket that holds the paint in place, and a guide that tells you to sand it flat is working against the physics of the repair. If the crater is deep, fill it with more thin coats rather than making the hole bigger.
How to Touch Up Paint Chips Without Making Them Worse
Shake the touch-up paint bottle for a full minute or two. The metallic and mica flake settles at the bottom during storage, and a good shake is the difference between a repair that blends and one that reads as a brown or silver dot in the middle of a metallic panel.
Load the brush lightly and dab. Tap the tip into the crater rather than dragging it across, and never stroke the paint along the chip. A stroke spreads paint over the healthy clear coat around the hole and dries as a raised edge that catches light differently from the surrounding finish, which is exactly the blobby look people end up trying to remove with acetone.
Fill about half to three-quarters of the chip depth. The thinner evaporates as it cures and the paint settles, so a crater filled flush to the rim will end up slightly sunken. Stop when the repair sits just proud of the surrounding surface.
Wait 10 to 20 minutes between coats, then add another dab if you still see a depression. Two or three thin layers beat one thick one every time, because a thick coat has more solvent trapped in it and will shrink, wrinkle or bubble as it off-gasses. On a deep chip, build from the bottom of the crater upward so each layer can settle into the one below.
When the color coat is dry to the touch, move to the clear. Do not rush this stage, because clear applied over a color coat that still has solvent in it traps that gas and turns the repair into a soft, hazy bubble you will have to sand off later.
How to Add Clear Coat and Blend the Repair
Modern two-stage paint needs clear coat. Without it the repair is flatter and slightly darker than the panel around it, and no amount of polishing will bring the gloss up. Use a clear coat matched to your finish: standard gloss for most cars, and matte clear for a matte or satin wrapped panel.
Apply it the same way, with a light dab and the same fine brush, letting the clear sit slightly proud of the color coat. It will level out as it cures. Some experienced detailers prefer a spray can of clear for a smoother result, since aerosol lays down a wider, more even film than a brush and gives you a better chance at an invisible repair, though the overspray needs masking and a controlled space.
Give the repair 24 to 48 hours to cure before you wash it, wax it or expose it to heavy weather. The paint will feel dry to the touch far sooner than that, so judge it by the clock rather than by the surface. Follow whatever cure time the paint manufacturer lists on the label, since formulas differ.
Leveling is optional. If the repair feels proud or catches your fingernail, after curing, wet sand it with 2000 to 3000 grit on a small rubber block, a folded cloth or even the flat end of a pencil eraser. Use a light touch and stay inside the repair. Sanding the chip edge itself is the fastest way to destroy the bucket that was holding the paint in. Then work in a fine cutting compound and finish with a polish to bring the gloss back to the level of the panel.
You will also see claims that a paint correction or a compound will hide a chip. It will not. Polishing removes surface defects in the clear coat, and it cannot replace color that is gone or metal that is exposed. It is a finishing step for a repair you have already made.
Common Mistakes
Almost every botched touch-up traces back to one of these. Read through the list before you start rather than after.
- Painting over dirt, wax or rust. The new paint will peel off in weeks. Fix: degrease with isopropyl alcohol or panel prep, and treat any rust with a rust converter before color goes on.
- Using nail polish. It is a completely different chemistry, it will not match, and it fails fast under sun and weather. It is fine for a tailgate lettering touch, not for a rock chip.
- Reaching for WD-40 or toothpaste. Neither removes a chip. WD-40 is a lubricant and leaves an oily film that stops new paint from bonding, and toothpaste is an abrasive that will haze the clear coat around the chip.
- Brushing instead of dabbing. This is the number one cause of the blobby edge people regret. Fix: reload a small brush tip and tap it in.
- Flooding the crater. A chip filled to the rim sinks as the solvent leaves. Fix: fill half to three-quarters and come back with a second thin layer.
- Sanding the chip flat before painting. You lose the edge that holds the paint. Fix: leave the chip edge alone and add coats instead.
- Skipping clear coat on a modern car. The repair stays flat and dull forever. Fix: match the finish and add clear.
- Painting in direct sun or in the cold. You get a hazy, poorly flowing film. Fix: work in shade between roughly 50 and 85 degrees Fahrenheit.
- Disturbing the repair too early. Touch-dry is not cured. Fix: wait the full cure time before washing, waxing or driving through heavy rain.
- Trusting a rattle can for a metallic or pearl finish. Spray paint and a two-stage pearl or tri-coat will not match, and the edge will show. Fix: use factory-matched touch-up paint, or go to a body shop for a sprayed blend.
If the repair looks blobby, the fix is to remove it rather than cover it. Wipe the excess with a lint-free cloth dampened with acetone, working quickly and lightly so the solvent does not dwell on healthy clear coat, then let the panel dry and start over with thinner layers. On a hardened repair, a small amount of thinner or panel prep softens it enough to level. Never push acetone into a chip that goes to bare metal, because it carries the corrosion right back in with it.
On color mismatch, four things are usually responsible: the wrong code or the wrong year, a sun-faded or oxidized panel that no longer matches its own factory paint, metallic flake that will not orient by hand, and a pearl or tri-coat color that genuinely cannot be brushed to match. The first is on you and is fixable. The other three are what a body shop blend exists for, and on a pearl or tri-coat metallic car that blend is the right call from the start.
Prevention is cheaper than any of this. Add paint protection film to the bumper and hood before the first long highway drive, keep more distance behind gravel trucks and construction traffic, wash by hand with a grit bucket rather than dragging the whole car across a sandy automatic brush, and treat road salt season as the clock on any chip you have not filled yet. If your car has a wrap or film on it, a chip usually means the film did its job and the paint beneath is intact.
Frequently Asked Questions
Can I touch up a car paint chip myself?
Yes, for most small chips. If the damage is only in the clear or color coat, with no dent, no rust and no peeling paint, a careful driveway repair comes out well. Clean the area, prep it with isopropyl alcohol, apply thin dabbed layers of factory-matched touch-up paint and seal with clear coat. If bare metal is showing, add primer first and treat it as urgent, since corrosion will spread under the surrounding paint.
How do I find the right paint color for my car?
Look for the paint or color code on a sticker on the driver-side door jamb, the fuel door, or inside the engine bay, and check the owner manual for a second location. Match the code together with the finish type, since solid, metallic and pearl codes differ. If the sticker is missing or unreadable, a paint supplier can look it up from the VIN. Older cars may have been repainted, so verify the code matches the panel color before buying.
Do I need clear coat over touch-up paint?
On most cars built since the late 1980s, yes. Modern paint is a two-stage system with a colored base coat and a separate clear coat on top, and a color-only repair will look flat and dull next to the original finish. Older single-stage paint often carries its own gloss, so check the product. If the touch-up paint you bought already contains clear, do not add a second layer. Let the color coat dry fully first either way.
How long does touch-up paint take to dry?
Touch-up paint feels dry to the touch within minutes, but that is not the same as cured. The solvent still needs to evaporate, and the film needs time to harden. Wait 10 to 20 minutes between coats, then allow 24 to 48 hours before washing, waxing or exposing the repair to heavy weather. Follow the cure time printed on your product, since formulas differ. Polishing or levelling should wait until the repair is fully cured.
Start at the door jamb. Find your paint code, buy matched touch-up paint and clear coat, and fill the smallest chips while they are still shallow. Half an hour on a warm day in the driveway handles a handful of them, and it keeps a chip that could have reached bare metal from ever becoming a rust problem.