
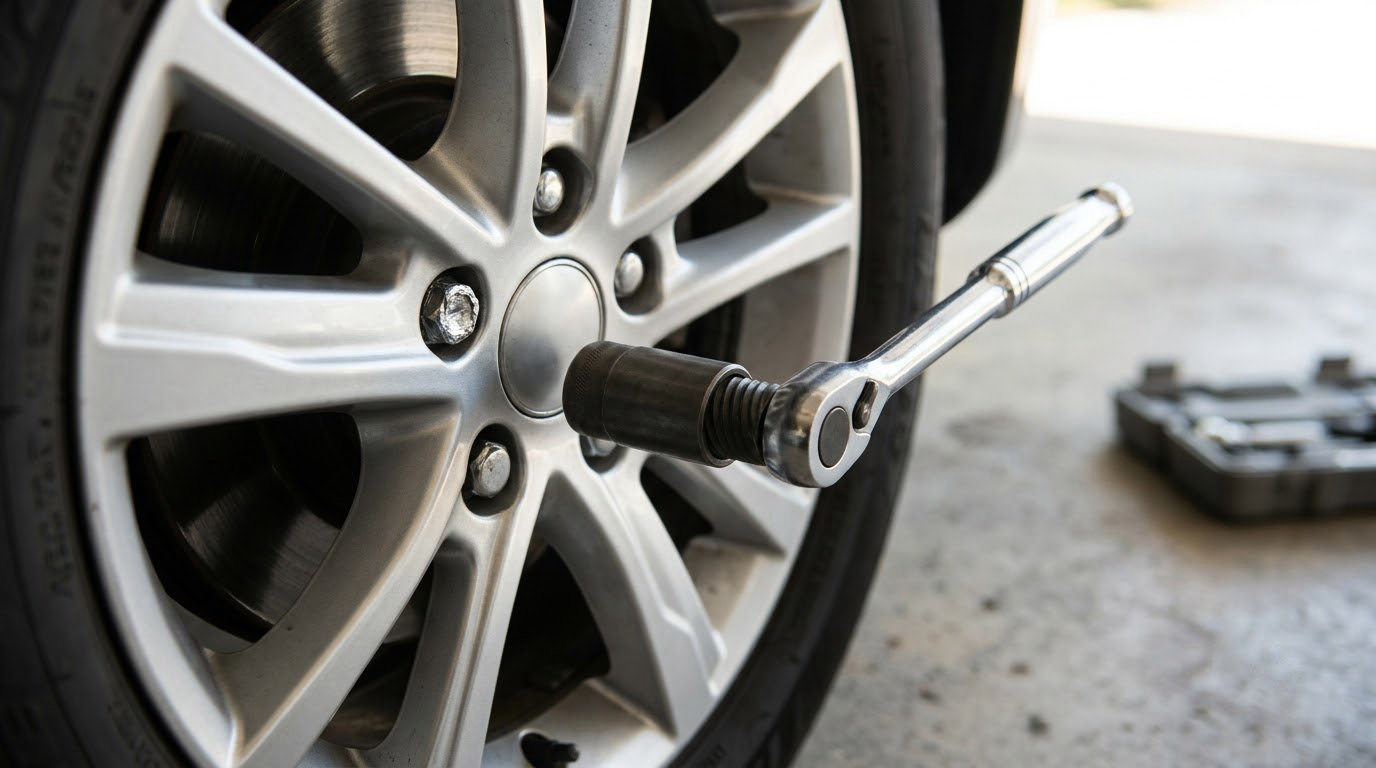
How to remove a stripped lug nut comes down to one thing: a gripping surface the wrench can actually hold. When a lug nut’s corners round off, a normal socket slides straight off it. You restore grip in stages — a correctly sized six-point socket first, then a lug nut removal tool that bites the damaged metal, then locking pliers if the socket will not seat. Past that, the stud itself often has to be cut out and replaced.
Most jobs take 20 to 40 minutes per wheel once the car is up on stands. A genuinely seized fastener with corrosion behind it can take an hour and a new stud.
Table of Contents
What You Need
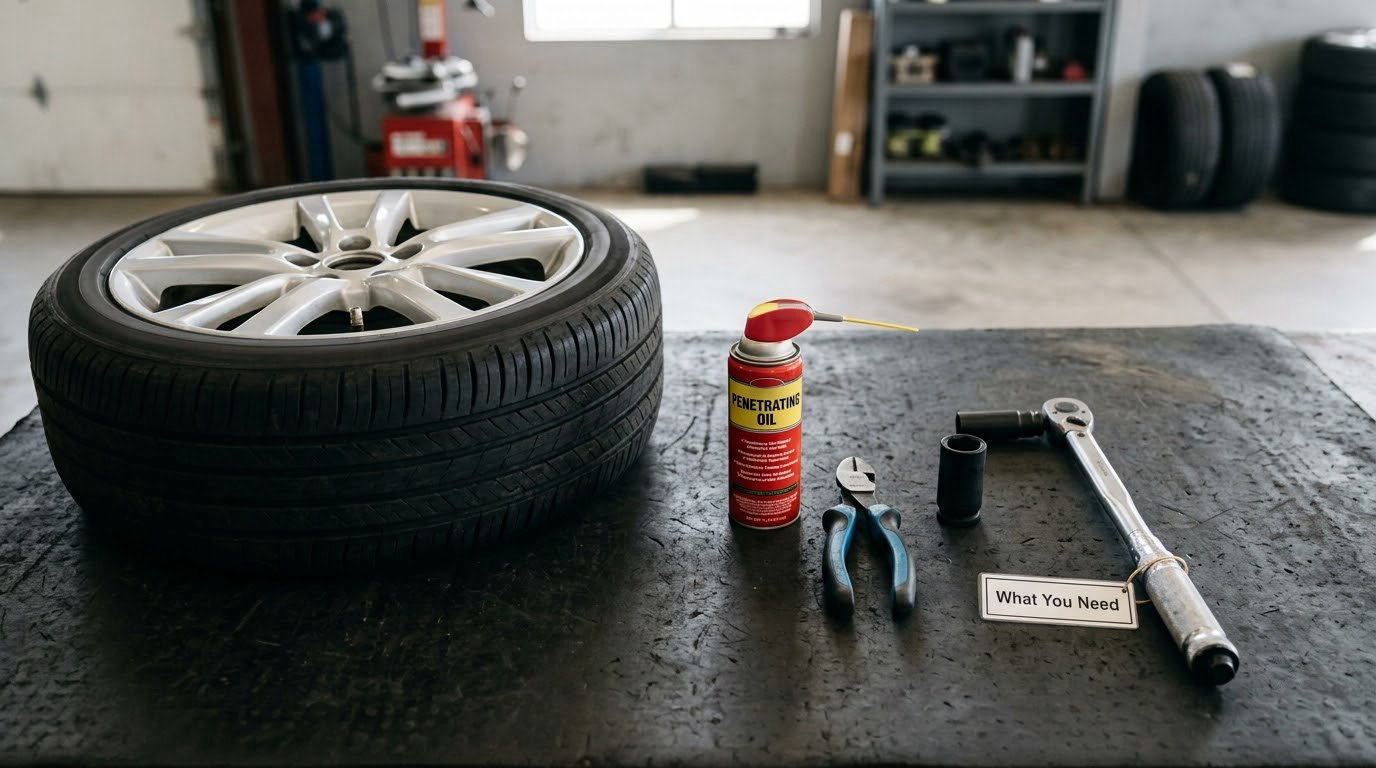
Match the tool to the fastener. A standard lug nut is hex-headed and needs a matching six-point socket. A locking or security nut has a special keyed pattern and needs the matching key, usually stored in the glovebox or under the trunk mat. A damaged head needs something with teeth.
Before you start, gather these:
- Correct six-point socket in the factory size for your vehicle, plus one size smaller as a backup. Common nut sizes are 19mm, 20.85mm and 21mm.
- Lug nut removal tool — a lug nut extractor socket with a reverse thread and teeth that bite into rounded metal. Buy the size that matches your nut, not a universal kit that stops one size short.
- Penetrating oil such as PB Blaster or Lucas Oil Penetrating Oil. A WD-40 Specialist Penetrant works; plain general-purpose WD-40 is a light lubricant and mostly sits on top of rust.
- Breaker bar and, if you have one, a mid-torque impact wrench. Never run a full-battery impact straight onto a nut that may be at its strip point.
- Locking pliers or a pinch wrench that bites flat on the nut body rather than on the corners.
- Torque wrench with a foot-pound or newton-metre range that covers your vehicle’s specification.
- Jack, jack stands and wheel chocks, plus safety glasses and gloves.
Masking tape around the damaged lug hole protects the wheel finish from a slipped socket. It takes thirty seconds and it is the difference between a scuff and a repaint.
Step-by-Step: How to Remove a Stripped Lug Nut
Work in this order and stop at the first method that frees the nut. Each step down costs more hardware than the one above it.
| Order | Method | Tool | Nut survives? |
|---|---|---|---|
| 1 | Correct six-point socket and penetrating oil | Socket, breaker bar | Usually yes |
| 2 | Lug nut extractor socket | Extractor, breaker bar | Often ruined |
| 3 | Pinch wrench or locking pliers | Pinch wrench | Sometimes |
| 4 | Replace the stud | Shop tools | No, replace both |
1. Identify the Fastener and Secure the Vehicle
Count your lug nuts. If every position has a nut, it is a lug nut setup; if the wheel has studs with no nuts, they are head-marked or spline bolts and the same escalation applies. Note the wheel size and whether any position uses a locking key, because that one is usually the reason a wheel will not come off at all.
Put the transmission in park or first gear, set the parking brake, and chock the wheel diagonally opposite the one you are working on. Crack the damaged nut loose a quarter turn before the jack goes under the car — the ground does half the work and the nut is not fighting the vehicle’s weight.
Then jack up and drop the car onto stands. A jack alone is never a support. Shake the car slightly to confirm the weight is on the stand and not the jack.
2. How to Remove a Stripped Lug Nut With a Six-Point Socket
The cheapest fix still works more often than people expect. Spray penetrating oil into the nut’s open end and, on an acorn-style nut, directly into the wedge slots. Give it at least ten minutes, longer if the fastener is coated in road salt.
Seat the correct six-point socket all the way down and turn in small controlled movements, pushing toward the wheel as you go. A socket that feels like it is slipping is a socket that is rounding the nut further — stop and reassess.
Never reach for a four-point socket. Those are made for damaged fasteners, not healthy ones, and using one on a sound nut is a fast way to strip the next nut on the car. One size down on a six-point socket is a legitimate attempt. A size that does not fit the nut at all is not.
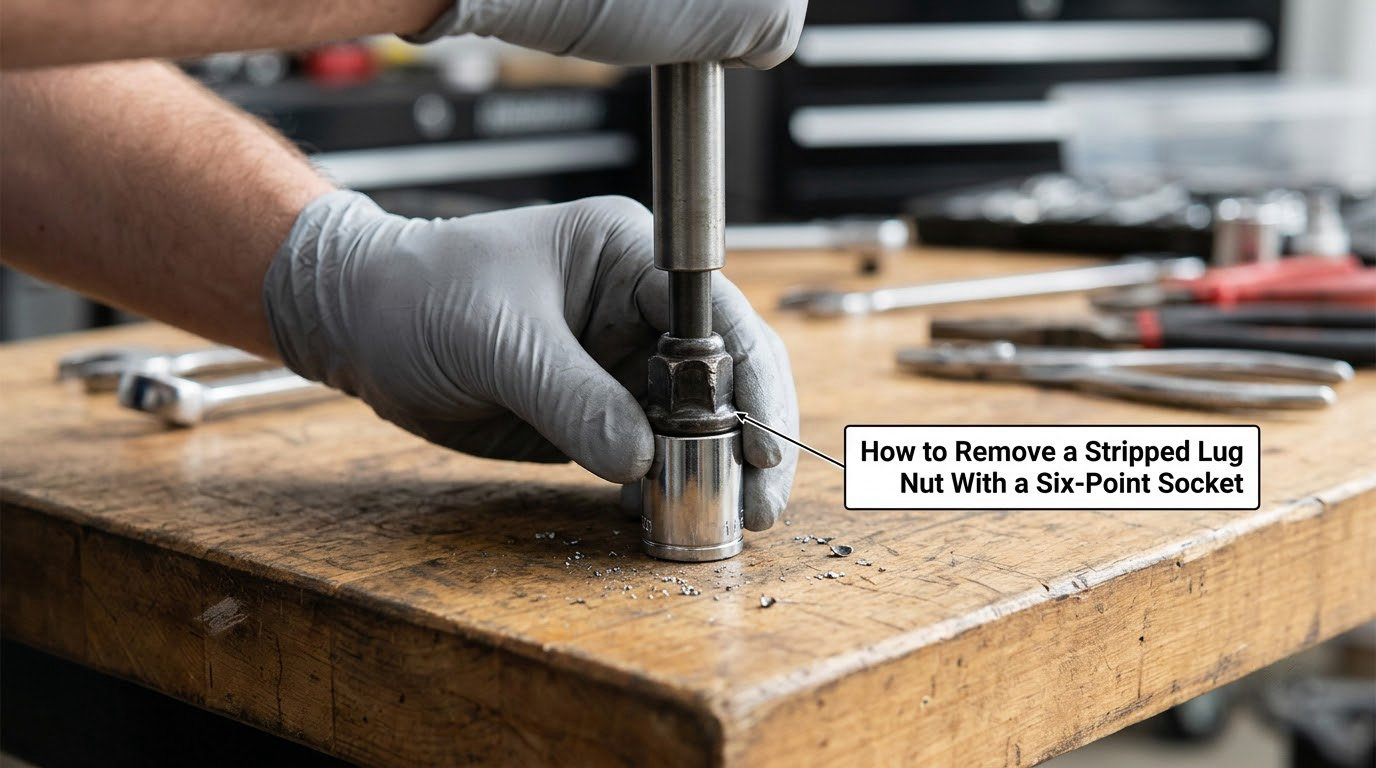
3. Use a Lug-Nut Removal Tool
A lug nut extractor socket is reverse-threaded, so turning it the normal way tightens it and biting the damaged corners as it goes. That is the whole trick, and it is why it works when a normal socket slides.
Select the extractor matching your nut size, then a smaller impact-rated socket or a hand ratchet to drive it. Thread it on loosely, centre it squarely over the nut, and tighten the driving socket until the extractor bottoms out on the nut’s flat face.
Set the impact to its lowest setting or use a long breaker bar with your body weight behind it. You will feel the extractor bite before the nut turns — a firm, sudden grab rather than a spin. A ratcheting or spinning extractor means it is not seated square, and hammering it harder will only damage the wheel. Back it out and start again.
Wrap the whole thing in a folded rag if the nut is at the end of its life and you are worried about the extractor snapping off and flying.
4. Grip the Nut With Vise-Grips or a Pinch Wrench
A pinch wrench clamps on the flat side of the nut and grips the stud itself, so it does not care that the corners are round. Locking pliers on the nut body work too, though a soft jaw is kinder to a plated nut.
Fold a rag between the jaws and the nut, or slip a sacrificial washer over the nut face, to stop the pliers biting through the metal. If the fastener is a bolt, clamp a nut onto the exposed threads and work that.
Keep the pull slow and straight. Yanking sideways shears the stud threads, and that is the moment a small job becomes a hub repair. If the nut moves more than a few degrees and the stud twists with it, stop.
5. Remove the Wheel and Inspect the Stud and Nut
Back the fastener out by hand the rest of the way rather than spinning it to the end, then take the remaining nuts off and slide the wheel straight off the studs. If the wheel will not come off with every nut removed, it is frozen to the hub — do not lever against the studs to free it. Loosen the hub-to-wheel bolts or take it to a shop.
Look at the stud threads under a light. Rounded thread crests, a nut that spun freely, or rust flakes pushed out of the hub all point to a stud that is done. Check the rotor and caliper for damage from a tool that slipped, and check the hub face for a clean, flat mounting surface with no burrs.
Replace any nut whose corners are deformed or whose threads are torn. If one nut needed an extractor, replace the set on that corner — a matched set costs less than a second comeback, and mismatched nuts have different seat depths. A nut with a nylon insert that has been crushed or spun out gets replaced too. Do not reuse a nut that came off with a chisel, a drill or a sacrificial socket hammered on.
6. Reinstall the Wheel and Torque the Fasteners Properly
Clean both mounting faces, fit the new nuts finger-tight, and tighten in a crisscross star pattern so the wheel seats evenly rather than cocking on the studs. Torque the wheel down onto the vehicle with your hands first, then lower it. Tightening a hanging wheel to full torque twists the hub and studs and is the most common way a fresh repair fails.
Once the car is on the ground and supported by its own weight, tighten in the same star pattern to the vehicle manufacturer’s specified value. Check the door jamb sticker or owner manual for the number and the unit — ft-lbs and newton-metres are not interchangeable. Recheck after 50 to 100 miles.
Common Mistakes and Better Alternatives
Using a socket that is too large. It is the most common cause of the problem in the first place. The socket rocks, you lean on it, and the nut rounds off. Find the factory nut size before you buy anything.
Hitting the nut with a full-power impact driver. It shears studs and cracks hub threads. Use a low impact setting, or a breaker bar with steady body weight. If you hear a clunk and the tool bounces, the socket is on a loose nut, not turning it.
Applying heat to an aluminum wheel. Heat expands the nut, which is genuinely useful on a steel stud, but it also weakens and can crack an alloy rim. On a cast alloy wheel, use the extractor instead.
Flooding the hub with penetrating oil. Keep it on the fastener. Overspray lands on the brake rotor and pads, and contaminated pads do not brake predictably until they are cleaned or replaced.
Reusing a stud with rounded threads. It will not hold torque, and the wheel can work loose on the road. Press the stud out from the back of the hub and press a new one in with the correct flange depth. That is shop work once the wheel is off.
Torquing the wheel while it hangs in the air. The rotor and hub carry a sideways load they were not designed for. Torque after the car is down.
Forgetting anti-seize entirely. On plain steel studs, a light film of anti-seize reduces galling and makes the next removal sane. Some manufacturers and some wheel materials specify a dry or intermittent threadlocker instead, and anti-seize changes the friction, so follow whatever your owner manual or wheel maker says.
One more thing worth knowing: if the extractor socket itself stays welded to the nut after it breaks loose, an angle grinder is the way off it. Slap a rag over the top, cut the extractor in half, then grind what is left down. Mask the wheel and wear eye protection.
Frequently Asked Questions
Can a stripped lug nut be removed without replacing it?
Often yes. A lug nut extractor socket or a correctly sized six-point socket will usually free a nut that only has rounded corners, and the nut can sometimes be reused if its threads and seat face are clean. Replace it anyway if the corners are visibly deformed, the threads are torn, or it came off with a chisel, a drill or a socket hammered on. Replace the whole set on that corner if one needed an extractor.
What is the best tool for a rounded lug nut?
A lug nut extractor socket matched to your nut size is the best tool. It has a reverse thread that tightens onto the damaged nut and teeth that bite the rounded metal, so it grips where a normal socket slips. Buy the exact size rather than a stepped set that may not include yours. A one-size-smaller six-point socket is the budget fallback, but expect to ruin it.
Does penetrating oil damage a wheel or brake rotor?
Applied to the fastener, no. Penetrating oil is a light oil and will not harm paint, alloy or steel, and it helps rust dissolve so you avoid the hammering that does damage. Keep it off the brake rotor and pads, where contamination can reduce braking until the parts are cleaned or replaced. Mask the rotor and spray only the nut, ideally covered with a rag.
What should I do if a lug nut breaks off completely?
Stop driving that corner and support the car properly. The stud is now the problem, not the nut, and no socket will help. Take it to a shop with a stud press, or replace the hub assembly if the stud will not press out cleanly. If the stud sheared below the hub face, the hub usually has to come off to press the remnant through.
Is it safe to hit a stripped lug nut with an impact wrench?
Not straight onto a nut that may be at its strip point. Full impact shears studs and cracks hub threads. The safe way is a low impact setting, or better, an extractor socket driven by a breaker bar with steady body weight. Never strike the nut or wheel directly with a hammer, and never use a full-power impact to free a nut that will not turn by hand.
Conclusion
The safest first move is the cheapest one: identify the fastener, find the correct six-point socket, spray penetrating oil and let it sit for ten minutes while the car is still on the ground. If the nut rounds further, stop and move up a step to a lug nut extractor socket rather than leaning harder on the same tool.
Set a hard line at the point where you would start cutting, drilling or hammering on the stud. That is the point the job stops being a nut removal and becomes a hub job, and it belongs in a shop with a stud press. Either way, finish with a matched set of hardware, a star-pattern tightening, and the manufacturer’s torque value applied after the car is back on its weight.