
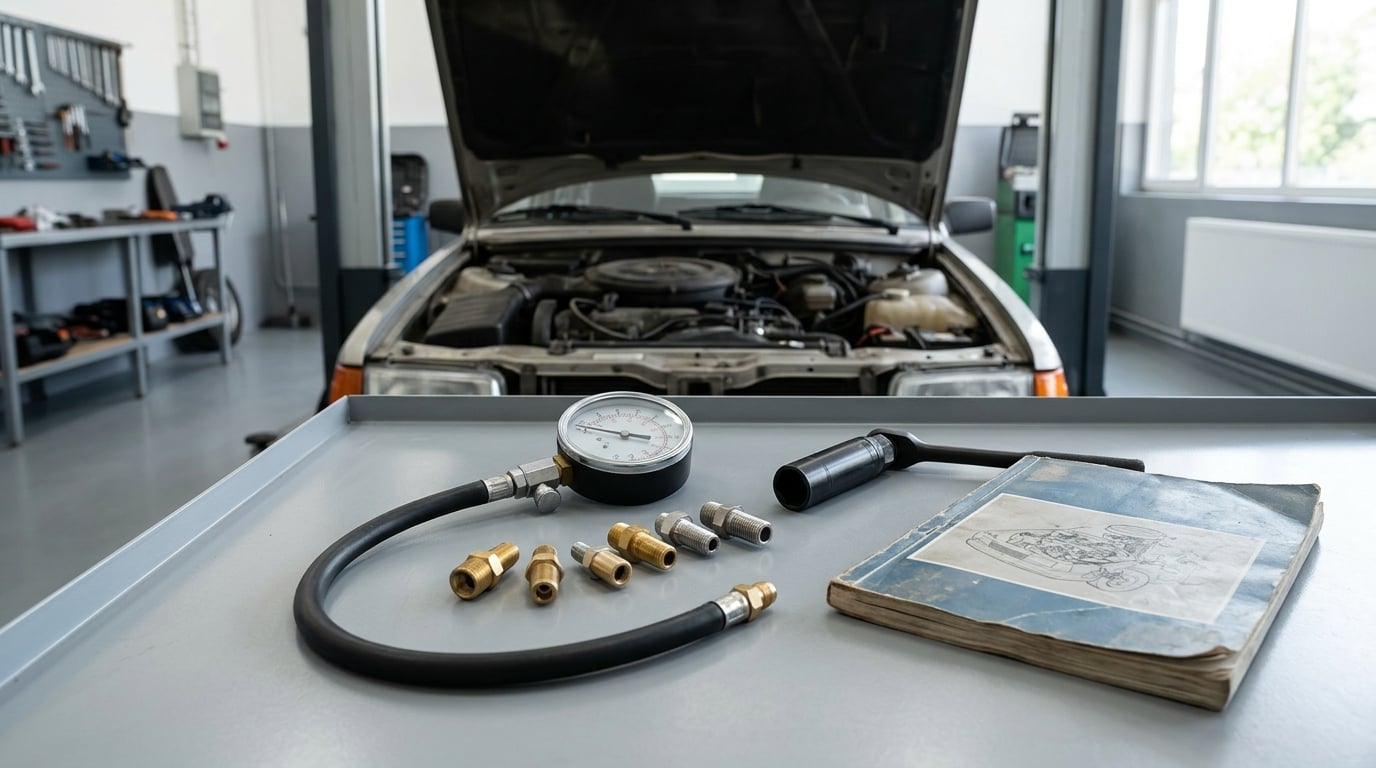
A compression test measures, in PSI, how much pressure each cylinder can hold when the engine is cranked with the throttle wide open and every spark plug removed. It takes about 30 to 45 minutes, needs one affordable gauge, and tells you in a single afternoon whether your rings, valves, head gasket or valve timing are worth worrying about.
Most of the guessing happens before the gauge ever comes out of the box. Warm engine, plugs out, wide-open throttle, same cranking speed on every cylinder. Get those four things right and the numbers speak for themselves.
Here is the whole procedure in six steps:
- Run the engine until it reaches normal operating temperature, usually 5 to 10 minutes of idling.
- Disable the ignition and the fuel supply, then pull every spark plug, not just one.
- Screw the correct thread adapter and gauge into the first cylinder.
- Crank with the throttle held wide open until the needle stops climbing, then release it.
- Write the reading down and move to the next cylinder, keeping the same crank technique.
- Compare the spread against the service manual spec, then decide whether a wet test is needed.
Short answer to the most-asked question: yes, you have to remove all the spark plugs. A screwed-in plug adds its own volume to the chamber and pressurises the gauge, so the reading on that cylinder is falsely high. Skip even one plug and you will spend an hour chasing a discrepancy that never existed.
Table of Contents
What You Need
You are looking at a short shopping list, and most of it you probably own already.
- A compression tester kit — a gauge, a hose with a check valve, and a set of thread adapters in the common metric sizes. A gauge that reads to at least 200 PSI suits a petrol engine; a diesel needs one rated past 400 PSI.
- The correct adapter for your engine — this is the piece that actually threads into the spark plug hole. Check the plug size in your service manual or measure the old plug’s thread with a thread gauge before you buy anything.
- A spark plug socket, ratchet and extension — deep sockets, because plug wells on transverse engines are long and awkward.
- A rag or stiff brush — for threads and for cleaning the plug tip as it comes out.
- Paper and pen — a recording sheet with one row per cylinder. Or a phone note, as long as you label the cylinders.
- Gloves and safety glasses — non-negotiable when you’re cranking an engine with the plugs out.
On buying versus borrowing: a basic gauge is cheap enough that most owners buy one, and a borrowed tester is fine if it was calibrated recently. The accuracy question comes up constantly, and the honest answer is that gauge quality matters less than technique. A slightly lazy needle with an inconsistent cranking speed will mislead you far more than a mid-range gauge will.
If you do not have a gauge at all, the workaround people mention on the forums is a ratchet with a hose and a bleeder valve. It lets you feel whether a cylinder is producing pressure. It is diagnostic only, not a measurement — use it to decide whether to buy a real tester, never to decide what your engine needs.
Step-by-Step: How to Do a Compression Test on an Engine
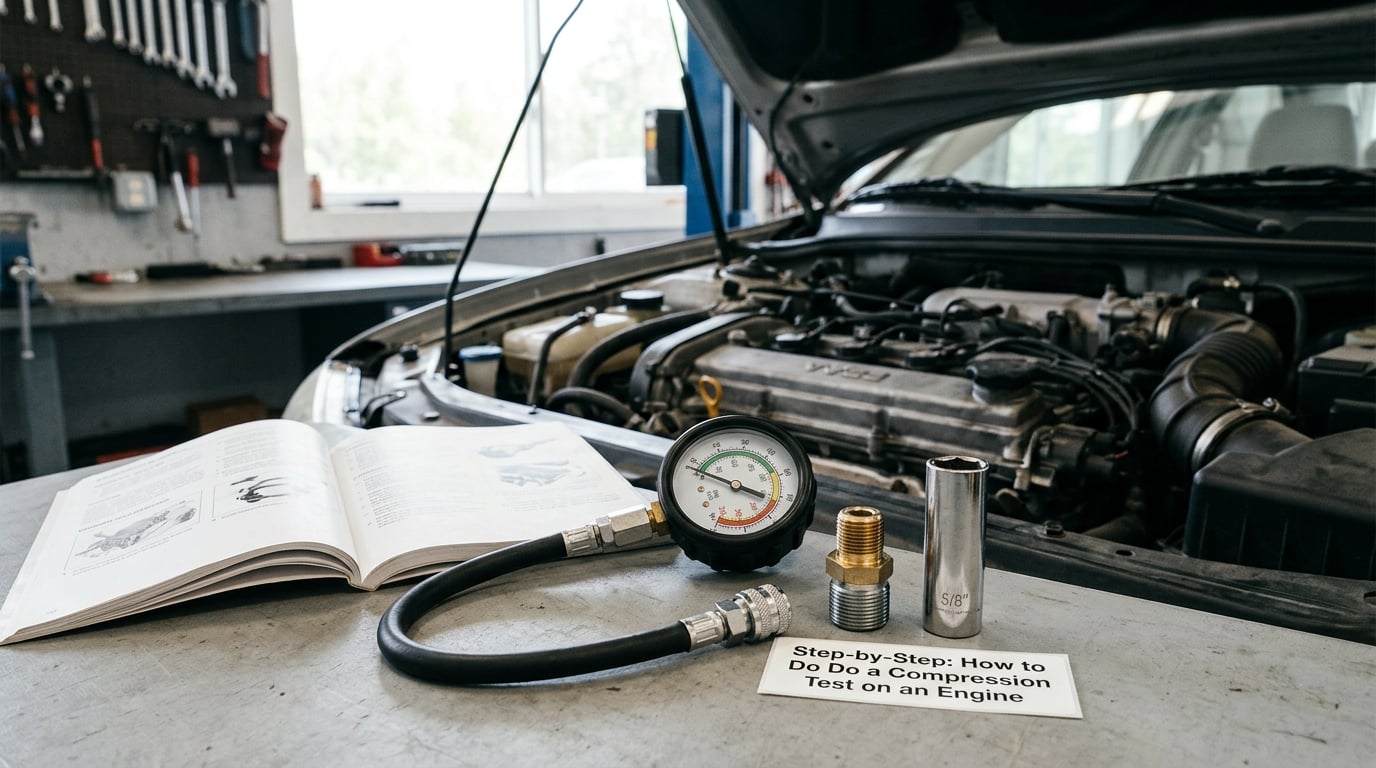
1. Prepare the engine safely
Let the engine idle until it reaches full operating temperature, then shut it off. A warm engine gives a truer reading than a cold one, and oil that has circulated is where you want it rather than pooled in the sump.
Park on level ground, in the driveway or with the tailgate clear, and set the parking brake hard. Work in a ventilated space: on a carbureted engine, the fuel system can drip into the intake throat once the engine is off, and the vapour hanging in a closed garage is a real hazard. Keep your hands, loose clothing and the gauge hose well clear of belts, pulleys and fans — and never crank the engine while someone else is sitting on the throttle with no warning.
Do the cooling system check at the same time. A low coolant level or a soft hose tells you the problem is not compression, and finding that out now saves you a weekend of gauge work.
2. Remove the spark plugs or ignition components
Disable the ignition first, the way your engine is built. On a distributor or coil-pack setup, disconnect the coil electrical connector or the lead. On coil-on-plug, unplug each coil at the connector. Never pull on the wiring itself — unplug at the plug housing and support the loom as it comes free.
Then disable fuel. On a fuel-injected engine, pull the fuel pump fuse or relay and let rail pressure bleed off for a few minutes. On a carbureted engine there is no pump fuse; instead, be aware that fuel can drain through the carburettor into the manifold, which is exactly why the area needs ventilation.
Pull the plugs one at a time with the socket, extension and ratchet, and keep them in cylinder order. If a plug looks burnt, oil-fouled or shiny, note which cylinder it came from — that note matters later. When all spark plugs are out, block the throttle pedal so the plate opens fully. On many cars you also need to disconnect the compressor clutch or the transmission will drag the engine down and skew the reading.
3. Connect the compression tester
Check the gauge first. Zero it, make sure the check valve on the hose is holding, and confirm the needle sweeps when you press the release valve. A tester that leaks will read low on every cylinder and send you chasing a phantom fault.
Fit the hose to the gauge, thread the correct adapter into the spark plug opening by hand until it is snug, then tighten it with the ratchet — firm, but not a hero. Cross-threading an aluminium or steel plug hole is a genuine and expensive self-inflicted wound. Attach the tester to the same cylinder you are about to crank.
4. Crank the engine and record each cylinder reading
Turn the key and crank. Hold the throttle wide open with your foot or a prop, and watch the needle. Crank until the needle stops climbing, which is usually around 3 to 5 seconds of cranking or about five to six compression strokes. Release the crank immediately once it peaks — long cranking only drains the battery and hammers the starter.
Record the number before you move on, and note which cylinder it was. Keep the cranking technique identical for every cylinder. Cranking speed has a huge effect on the reading, and an engine that cranks fast on one revolution and labours on the next will hand you numbers that have nothing to do with the seals.
Stay off the key between cylinders unless you are re-settling the needle, and give the gauge a moment to settle. Consistency in the technique is what makes the numbers comparable.
5. Repeat readings and shut down
Go back to cylinder one and do the whole set a second time. On a healthy engine, the second pass should land within a few PSI of the first. If the numbers are all over the place, something in your technique is inconsistent — a slow crank, a leaking valve on the tester, a battery that is going flat — and repeating is how you find out which.
Stop the test immediately if the battery starts to labour or the engine cranks unusually slowly. Once the readings start dropping across the board, they are describing your battery, not your engine.
Reassembly is where a lot of home jobs go wrong. Fit the plugs in the correct order, torque them to the manual specification rather than by feel, refit the coils until they click, reconnect the fuel pump fuse, and clear the codes the crank will have set. Then start the engine and confirm it idles evenly before you go any further.
How to Interpret Compression Test Results
Two things decide whether a result is good: the absolute PSI against the factory spec, and how closely the cylinders match each other. Experienced mechanics rarely judge a number on its own.
| Engine type | Typical cranking compression | Acceptable spread |
|---|---|---|
| Modern petrol (gasoline) engine | 125 to 175 PSI | Within 15 to 20 percent of the highest cylinder |
| Older or high-mileage petrol engine | 100 to 140 PSI | Up to 20 percent, judge the spread before the number |
| Turbocharged petrol engine | 125 to 175 PSI, no boost applied | Within 15 to 20 percent |
| Light diesel engine | 275 to 400 PSI | Within 15 to 20 percent |
| Motorcycle, lawn and small equipment engine | 90 to 140 PSI | Within 15 to 20 percent |
Outdated PSI charts are the biggest source of confusion. A 150 PSI reading is healthy on one engine and a warning sign on another, which is why the manual specification for your engine always wins over a generic chart. Look it up in the service manual’s engine mechanical section, or in the emissions or engine performance specification sheet. If you cannot find it, the compression ratio gives you a rough sanity check: most modern engines sit between 8.5:1 and 10.5:1, and roughly speaking every additional point of ratio adds noticeable cranking PSI.
Use this sheet to record the set. Writing as you go prevents the single most common error, which is losing track of which cylinder a reading came from.
| Cylinder | First pass (PSI) | Second pass (PSI) | Difference from highest |
|---|---|---|---|
| 1 | |||
| 2 | |||
| 3 | |||
| 4 |
Work out the spread by taking the highest reading, subtracting the lowest, and dividing by the highest. On a V6 producing 150, 148, 149, 105, 147, 146 PSI, cylinder 4 is 30 percent down — far outside any acceptable band, and it points at that one cylinder rather than the whole engine.
| Result pattern | Likely cause | Next test |
|---|---|---|
| One cylinder well below the others | Stuck or worn piston rings, a burned or bent valve, a damaged cylinder wall | Wet compression test, then a leak-down test on that cylinder |
| Two adjacent cylinders low together | Blown head gasket between those bores, a warped or cracked head | Check for milky oil, white exhaust smoke, and run a block leak-down test |
| All cylinders low and fairly even | Slipped valve timing, a jumped timing belt or chain, worn cam, heavy oil dilution | Verify timing marks before assuming rings or valves |
| All cylinders low and even, timing confirmed | General ring or valve wear, or the engine is simply worn out | Oil pressure test and a leak-down test across all cylinders |
| All cylinders even and within spec but the engine runs rough | Compression is not the fault — look at fuel, spark, vacuum leaks and sensors | Scan codes, check ignition, run a fuel trim test |
| One or two cylinders noticeably higher | Carbon build-up, oil wash, or heavy fuel from a leaking injector | Check plugs and injectors; a high reading is rarely a failure on its own |
Two caveats worth carrying into your decision. First, healthy high-mileage engines often show a spread wider than you expect, and owners regularly report one odd cylinder on a car that runs perfectly. Second, a very low cylinder can stay almost unnoticeable at idle because the ECU trims fuel around it — which is an argument for testing before you condemn an engine, not after.
A leak-down test is the natural follow-up. A compression test tells you how much pressure a cylinder holds; a leak-down test pushes a known volume of air into the cylinder and measures how fast it escapes and where you hear it.
| Compression test | Leak-down test | |
|---|---|---|
| What it measures | Peak cranking PSI per cylinder | Percentage of air escaping an open cylinder |
| Equipment | Threaded gauge and adapter | Air supply, regulator and hose |
| Best for | Deciding whether the engine is losing compression at all | Locating the exact leak — rings, valves, head gasket |
| Result style | One number per cylinder | A percentage plus an audible location |
| Typical order | Always first | Run when a cylinder reads low |
Common Compression Test Mistakes
Most bad readings are technique, not a sick engine. These are the ones that come up again and again.
- Leaving spark plugs in. A plug left in one cylinder inflates that reading and makes the rest look low. Pull all of them.
- Leaving the throttle closed. A closed throttle plate chokes the intake stroke and drags the low readings down with it. Hold it wide open for every cylinder.
- Ignoring the battery. A tired battery turns a healthy engine into an engine that “fails” the test. Load-test the battery first, or charge it, and re-run anything that came back low.
- Wrong adapter or a loose hose. Cross-threading, an adapter that bottoms out before the seal, or a check valve that has grit in it gives you a number that means nothing. Zero the gauge and check the valve before you start.
- Cranking at different speeds. One lazy crank and one fast crank produce a 20 PSI difference on the same cylinder. Keep your key position and foot pressure consistent.
- Cranking far too long. Once the needle stops climbing, more cranking adds nothing and drains the battery. Release the key.
- Testing cold. A cold engine gives lower readings than a warm one, and the comparison against the factory spec stops being fair.
- Removing ignition parts in the wrong order. Disabling the fuel system and then yanking plugs while the engine can still fire is how fuel gets where it should not be. Engine off, ignition disconnected, fuel disabled, then plugs out.
- Mis-numbering the cylinders. You need the firing order and cylinder numbering for your specific engine before you record anything, or the pattern diagnosis is worthless.
- Cross-threading the plug hole. Snug by hand first, then tighten. It is a five-second habit that saves a head.
On diesel engines, the extra steps are removing the glow plugs, using a diesel-rated gauge and adapter, and expecting a much higher number. On carbureted engines, plan for the fuel drain into the manifold and keep the area ventilated. On a small engine or a motorcycle, there is no throttle plate to worry about, the plug usually comes straight out, and a couple of short cranks is all it takes.
When to Take the Engine to a Mechanic
The test itself is firmly DIY territory, and it is worth doing on your own before anyone quotes you a repair. Book a shop test or a deeper investigation when the result points somewhere the home garage ends.
Run the test in the first place if you have loss of power, hard starting especially when warm, a rough or hunting idle, misfires, rising fuel consumption, exhaust smoke of any colour, or a car you are considering buying. A compression check takes an afternoon and either confirms the engine is sound or saves you from buying someone else’s problem.
Hand it to a shop when:
- One cylinder is far below the rest and the wet test only partly closes the gap. That points at rings or a valve, and a leak-down test is the next move.
- Two adjacent cylinders are low together, or you see milky residue on the dipstick, white exhaust smoke, or coolant in the oil. That is a head gasket question, not a rings question.
- All cylinders read low and even once timing has been verified. That is a bigger job involving the valve train.
- You cannot reach the plugs. On a transverse front-wheel-drive engine the plug wells are buried under intake manifolds and braces. This is a genuinely awkward job, not a skill problem, and an hour of your evening with the wrong tools is worse than an hour in a shop.
One last thing to keep in mind: the compression test is diagnosis, not repair. Owners often see the number jump after the wet test and assume the engine is fixed. It is not — the oil temporarily seals the leak and tells you which part failed, and the repair still stands.
Frequently Asked Questions
Should the engine be warm or cold for a compression test?
Warm. Run the engine until it reaches normal operating temperature, usually 5 to 10 minutes of idling, then shut it off and test. A cold engine gives lower readings and the result no longer compares cleanly to the factory specification in your service manual. If you have to test cold for access reasons, note it, because every reading will sit a little lower than the manual figure.
What PSI is a normal compression reading?
Most modern petrol engines should produce somewhere between 125 and 175 PSI at cranking, measured with the throttle wide open and every spark plug removed. Light diesels run far higher, typically 275 to 400 PSI, and small motorcycle or lawn equipment engines sit nearer 90 to 140 PSI. The number matters less than the spread between cylinders, which should stay within about 15 to 20 percent.
Why do my compression readings differ between cylinders?
Small differences are normal, and 15 to 20 percent between the highest and lowest cylinder is generally accepted. Larger gaps point at something specific: one weak cylinder usually means rings or a valve, two adjacent weak cylinders suggest a head gasket, and every cylinder reading low points at valve timing or general wear. Repeat the set before drawing conclusions, since inconsistent cranking speed also produces a spread.
Is a dry compression test safe to run?
Yes, and a dry test is the standard first pass. With the ignition disabled, the fuel system off and all spark plugs removed, nothing ignites, so the engine cannot run or fire. Wear eye protection and gloves, keep the hose and your hands away from belts and pulleys, work in a ventilated space, and release the key as soon as the needle stops climbing so you do not flatten the battery.
What should I do after a low compression reading?
Work out the pattern before buying anything. If one cylinder is low, squirt a little clean oil into it and crank again; a healthy jump points at the rings, a small jump at the valves, and no jump at the head gasket. Then run a leak-down test on that cylinder to hear exactly where the air goes. Also confirm valve timing before assuming wear, since a slipped chain drags every reading down together.
Conclusion
Start by warming the engine to full temperature, then take the whole set in one pass: throttle wide open, every spark plug out, same adapter, same cranking speed, reading written down as you go. Compare the spread before you compare the absolute number, because a uniform drop across all cylinders and a single weak cylinder are two completely different problems.
When the numbers do not line up, investigate the imbalance rather than arguing with a single PSI figure. Send us your per-cylinder readings along with the year, make, model and engine, and it is usually possible to narrow down what comes next.