
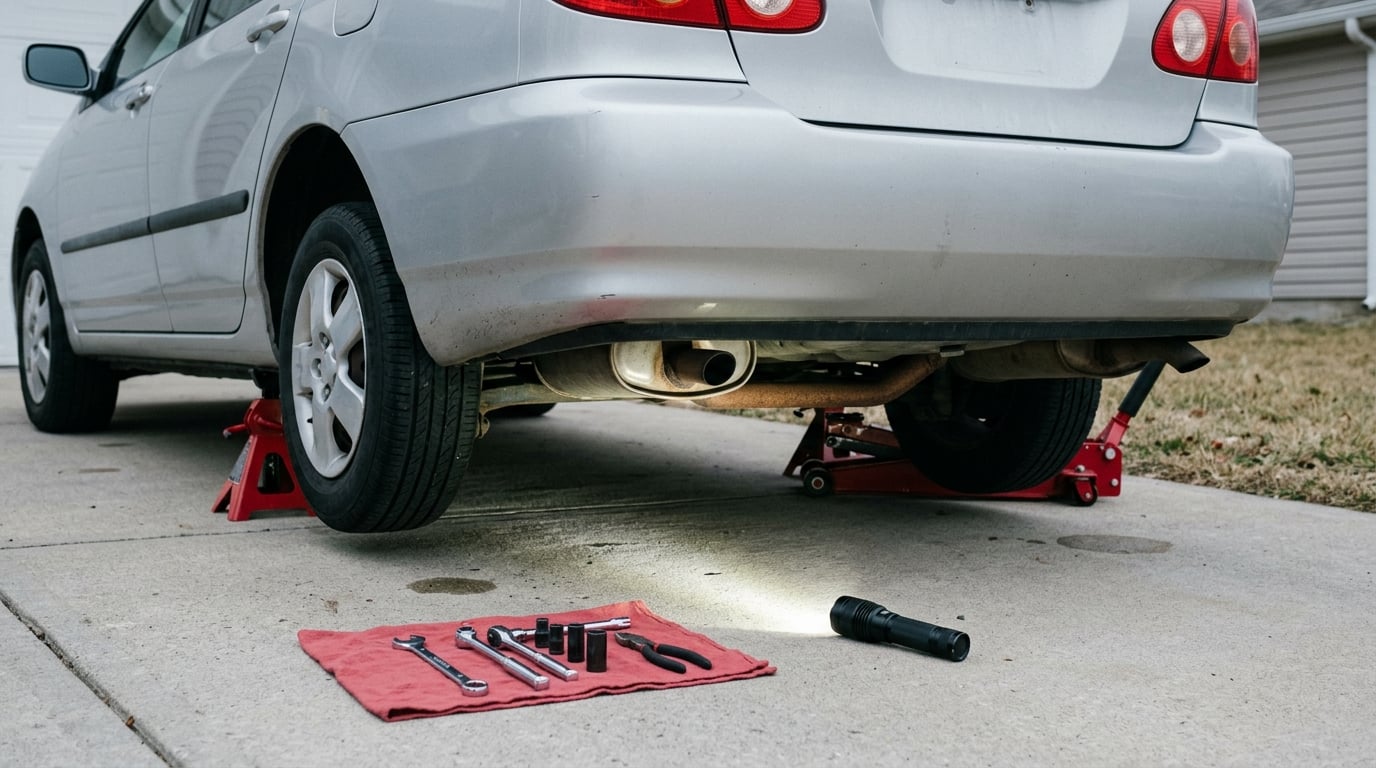
To quiet a noisy exhaust, find the source first and then repair it: tighten or replace loose heat shields, replace failed rubber hangers, seal small cracks and leaking gaskets, and replace a muffler or resonator whose internal baffles have rusted out. Most fixes take an hour in a driveway with basic tools.
That order matters. Plenty of people buy an insert or a new muffler, spend an afternoon on it, and hear exactly the same noise afterwards, because the real cause was a rusted-through flex pipe two feet ahead of where they were working. A noisy exhaust is nearly always one of four things, and all four are findable before you buy anything.
- Rattle that only shows up cold or over bumps means a loose heat shield, a missing rubber hanger, or a cracked insulator tab.
- Hiss that gets louder with engine speed means a leak, and the location is set by where the sound comes from.
- Roar or rasp on acceleration means failed internal baffles in the muffler or a broken resonator.
- Steady hum at one road speed means resonance, and a resonator or a baffled muffler is the fix.
- Sudden change in tone means something came loose, cracked, or fell off since the last time you listened.
Here is the process that gets you there.
Table of Contents
- What You Need for Exhaust Inspection
- How to Quiet a Noisy Exhaust Step by Step
- Common Mistakes When You Try to Quiet a Noisy Exhaust
- Frequently Asked Questions
- Is a noisy exhaust dangerous to drive with?
- Which exhaust noises need an immediate repair?
- Can the catalytic converter cause a loud exhaust?
- Do muffler inserts actually reduce exhaust noise?
- Do resonators make an exhaust quieter, and what happens if you remove one?
- Are additives or temporary sealants a good way to quiet an exhaust?
- What to Do First
What You Need for Exhaust Inspection
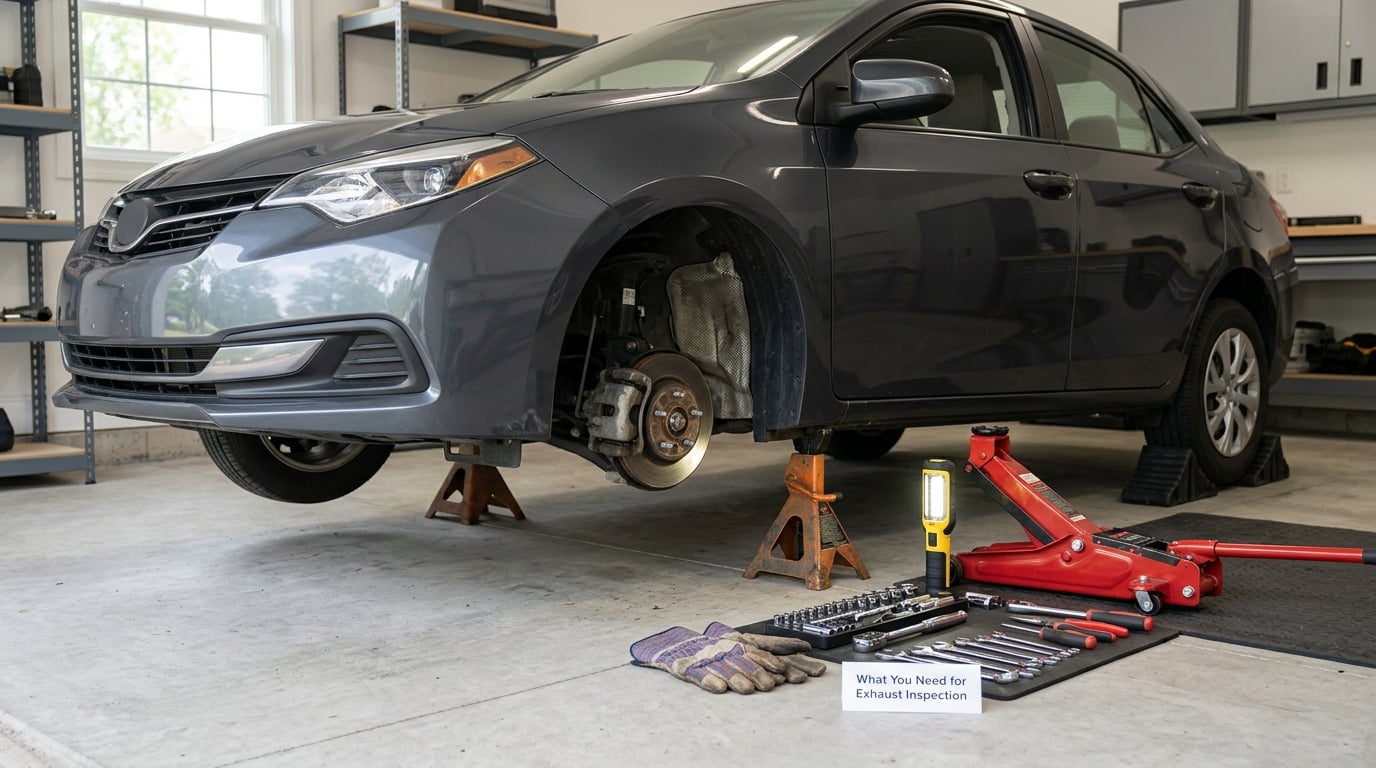
For a proper look underneath you need a floor jack, a pair of rated jack stands, and wheel chocks. A flashlight with a rubber grip is worth more than any other tool on this list, because you will be reading rust and thin metal by feel as much as by eye.
Add mechanic gloves, a socket and ratchet set, a combination wrench, a flat screwdriver for pry tabs, and a small inspection mirror. A phone camera zoom is a fine substitute for the mirror on tight underbody clearance.
For the repair itself you want exhaust-rated sealant, a spare exhaust clamp, and either a length of correct-diameter tubing or a replacement gasket, depending on what you find. Keep a shop rag and a bottle of soapy water in the kit for the leak test in step 3.
You can diagnose most of this from the driveway by driving the car forward a few feet, but a true undercarriage look needs the car raised and supported on stands. If you do not own stands and a jack, an inspection at a service center or exhaust shop costs less than a dropped car does.
Two safety notes before you start. Never work under a car held up by the jack alone, and give the exhaust an hour or two to cool after a drive, since the pipe and cat run several hundred degrees and will burn you through a glove. Follow the owner’s manual for lift points and for anything involving the fuel or emissions side of the system.
How to Quiet a Noisy Exhaust Step by Step
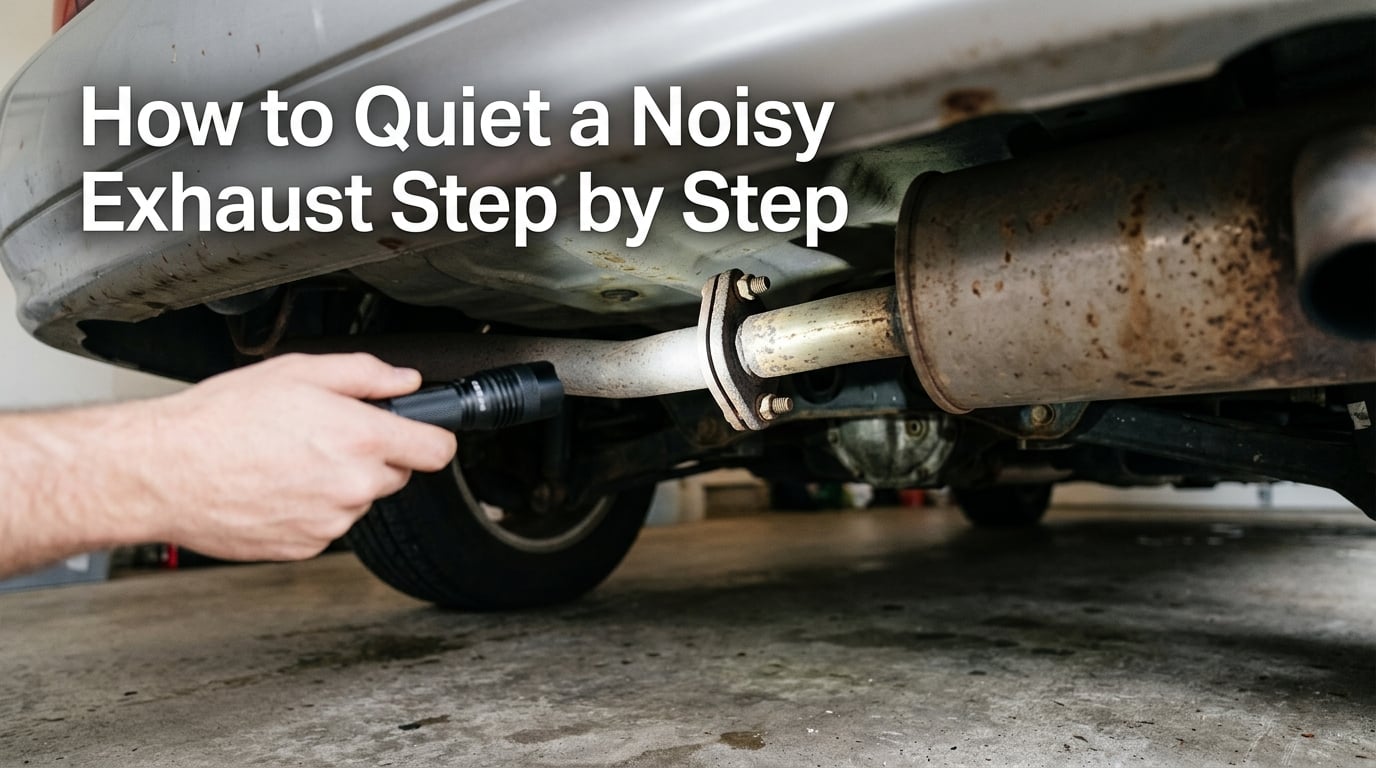
Work through these in order. Each step either finds the source or rules something out, and the order stops you from replacing a healthy muffler while a cracked pipe is still roaring.
1. Identify When the Noise Starts
Sit in the driver’s seat with the window down and listen through a full drive before you touch anything. Note the engine speed, the road speed, and whether the sound changes when you lift off the throttle. Write it down in your phone; ten seconds of notes saves an hour of guessing later.
A rattle that appears only on a cold start and disappears after a few minutes is almost always a heat shield or a rubber hanger. A hiss that rises and falls with the tachometer is a leak. A roar that only appears on hard acceleration points at the muffler baffles, and a hum that appears at one steady speed and vanishes above it is resonance in the pipe or the resonator.
Pops and backfire on lift-off are a different problem entirely. That is a combustion or fuel issue, not an exhaust noise, and it needs a diagnosis before you touch the exhaust.
Also check for a raw fuel or sulfur smell, and for a rasping sound at idle. Either one means stop and keep looking, because both point at a leak that can pull fumes into the cabin.
2. Check Loose Shields, Hangers, and Heat Covers
Start at the front of the system and work back. The heat shield over the catalytic converter is the most common rattle on any car, because it is a thin stamped plate held on by clips or small bolts that rust away long before the rest of the system does. Push on it by hand. If it moves, flexes, or clatters, that is your noise.
Rubber exhaust hangers do the same job at every connection: they let the pipe move with the suspension so it does not transmit noise into the body. A hanger that has hardened, split, or fallen out lets steel pipe bang against its flange under load. Check each one, including the one near the tip where the weight is highest.
Fix what you find by tightening the shield fasteners back to the manufacturer torque, and if the clip or bolt is rusted through, replace it with equivalent hardware rather than bending something back into place. The same goes for hangers: a new rubber isolator of the correct size takes a minute to fit.
Do not clamp a heat shield tight against the pipe. It exists to control temperature, and crushing it flat against the metal can create a ticking spot of its own. A rattle gone after this step is a rattle solved for nothing.
3. Listen at the Connections
Park the car on level ground, set the parking brake, and start the engine. Have a helper lie safely beside the car with a flashlight, or use the phone on the ground if you work alone, while you sit in the driver’s seat and vary the engine speed slowly from idle to about 2,500 rpm.
Work along the pipe and note where the hiss is loudest. Hiss concentrated at the front pipe, at the manifold joint, or at the flex section usually means a leak right there. Hiss that seems to come from everywhere often points at the flex pipe or a loose clamp further back.
Ticks and light tapping that follow the engine exactly are the sound of a leak opening and closing with pressure cycles. A scraping or pulsing sound at a joint is a flange gasket that has stopped sealing.
The soapy water test confirms it. Mix dish soap and water in a spray bottle, run the engine, and spray each joint. Bubbling at one spot is a leak at that spot, and the bubbles get more vigorous as you rev. Wipe the joint dry first, since a light film of condensation will fool you.
4. Find Corrosion, Cracks, or Disconnected Sections
With the car cool, run your hands along the full length of the pipe, from the manifold to the tip. Look for rust-through holes, longitudinal splits along a weld seam, and separated flange bolts where a joint has pulled apart. The flex section behind the catalytic converter is the usual weak point, because it flexes every time the engine moves and it sits in a puddle trap where road salt sits.
A hole you can put a finger through, a section that has dropped out of its clamp, or a flange that is visibly cracked has gone past a sealant repair. Black soot streaking on the underside of the pipe or heat shield is the giveaway that exhaust gas is escaping and burning around the leak.
Severe corrosion, a detached component, or anything on the catalytic converter itself is a job for a qualified exhaust professional. The converter runs at very high temperature and contains a ceramic honeycomb, so a cut-and-weld attempt on it usually ends with a part you have to replace twice.
5. Check the Muffler and Resonator
A healthy muffler gives the exhaust somewhere to lose energy, through internal chambers that reflect and cancel sound and, in an absorption type, packing that soaks it up. A hole in the shell, a burst seam, or a broken internal baffle lets the gas run straight through, and you hear the raw pulse of the engine as a roar or a rasp that gets worse on throttle.
That is different from an external rattle, which changes as you drive over bumps and fades when the car is stationary. If the noise follows the revs and the shell is intact, the failure is inside.
The resonator is the smaller chamber that cancels low-frequency droning, and it usually sits ahead of the muffler. A failed resonator substrate or a punctured shell gives a low hum or a rasp at steady speed. It can also hollow out silently and then let noise back in from the same spot a year later, which is why replacing a punctured resonator without checking the pipe behind it often means doing the job twice.
Confirming an internal failure usually needs a shop leak test or a lift on the hoist. If a shop test finds gas escaping from a body seam or an internal chamber, the replacement part is the answer rather than more sealant.
6. Repair Small Leaks Correctly
Clean the damaged area first, all the way back to bright bare metal, and let it cool fully. A bead of sealant over a greasy surface will peel off within a few heat cycles, which is what makes most DIY leak repairs look like they failed.
For pinholes and hairline cracks at a flange or a pipe seam, use an exhaust-rated high-temperature sealant or the manufacturer-approved adhesive for the joint, applied as a continuous band rather than a dab. Follow the cure time on the product before you start the engine, since most of these set through heat rather than air.
For a section of pipe, the durable answer is a sleeve: cut the pipe at the failed spot, slip a length of correct-diameter tubing over both ends, clamp it, and weld or clamp it properly. A splice that is only clamped will eventually rattle, and a rattle you cannot trace is worse than the original noise because it is new.
Avoid general-purpose silicone, penetrating oil as a sealant, and any adhesive that is not rated for exhaust temperature. They bake, crumble, or melt, and some of them make the leak worse. Check the owner’s manual for the specified sealant on sealing joints, and replace leaking clamps and damaged gaskets with the correct parts rather than reusing them.
7. Test and Reassemble
Reinstall the heat shields, tighten the flange bolts evenly to the specified torque, refit the hangers, and reinstall the tip. Then check clearance: nothing should be able to reach the exhaust when the suspension moves through its full range.
Repeat the test you did in step 1. Cold start first, because a shield rattle that only shows up cold is the one you cannot evaluate on a warm car. Then vary the engine speed and road speed the same way, and drive the same route if you can.
If the noise is gone, you are done. If it is quieter but still there, you have probably found a second fault, and the same checklist will find it. If you ever notice fumes in the cabin, a new rattle under load, or a change in how the engine runs, stop driving and get it looked at. A leak ahead of the oxygen sensors can also trigger a check engine light and cost you an emissions test.
Common Mistakes When You Try to Quiet a Noisy Exhaust
Replacing parts before locating the source. This is the most common mistake. Install an insert or a new muffler on a car that has a rusted flex pipe and the noise is unchanged, except now you have two problems. Listen, look, and soap-test first, every time.
Using the wrong sealant. Household silicone, epoxy, and general silicone-based products are not rated for exhaust temperature. They cure soft, harden, and crack, and they can seal a leak in a way that makes the next repair harder to find.
Overtightening exhaust fasteners. Exhaust flanges are thin steel, and they strip easily. Tighten to the specified torque, in stages, and stop the moment the gasket is compressed rather than when the bolt stops turning.
Blocking heat shields or exhaust flow. A heat shield pressed flat against the pipe ticks, and anything stuffed into the pipe to slow the exhaust down raises backpressure and costs you power. A longer pipe is not the same as stuffing the pipe.
Ignoring leaking clamps. A clamp that is no longer tight enough to seal a joint will weep under load, and the leak is louder on acceleration. Replace it with the correct size and torque it properly rather than stacking extra washers behind it.
Working on a hot exhaust. The pipe, the cat, and the muffler stay hot long after you park. Let the system cool, wear gloves, and have a bucket and water nearby if you are working underneath a car that was just driven.
Treating cabin sound deadening as an exhaust fix. Mat under the carpet and closed-cell foam soften what you hear inside the car, and they are worth doing for road noise. They do not reduce what comes out the tailpipe, and no amount of material in the cabin substitutes for a sound path that is sealed and baffled.
A few habits keep the noise away. Wash the underbody with the road salt off, particularly the seams and the flex section, and check the same points each year. Take a longer drive now and then so condensation inside the system can evaporate instead of pooling and corroding the shell. If the car has a cat-back system, remember that it was never built to be quiet, and set your expectation accordingly.
Frequently Asked Questions
Is a noisy exhaust dangerous to drive with?
Often it is fine to drive, but a few noises are not. A leaking exhaust ahead of the cabin can pull carbon monoxide into the vehicle, so treat any hissing, a raw fuel smell, or fumes in the cabin as a reason to stop and repair it. A part hanging loose is a road hazard, and internal muffler damage can send debris out of the tailpipe. If the car runs normally and the noise is a rattle from a heat shield, drive it to a shop rather than towing it.
Which exhaust noises need an immediate repair?
Prioritize hissing, since that is gas escaping, and anything that changes the engine’s behavior, such as a check engine light, a misfire, or a sulfur smell. A cracked or hanging section of pipe is unsafe. Loudness on its own, with the engine running cleanly and no fumes in the cabin, is usually a comfort and legal issue rather than a safety one, and it can be scheduled rather than handled the same day.
Can the catalytic converter cause a loud exhaust?
Rarely on its own, but it is worth ruling out. A converter can develop a rattle from loose internal substrate or a broken heat shield, and a failed or removed one changes the backpressure in the system, which changes the note of the whole exhaust. Because the honeycomb runs at very high temperature, any physical damage to the converter body is best left to an exhaust professional rather than patched with sealant.
Do muffler inserts actually reduce exhaust noise?
Yes, within limits. An insert works by routing the exhaust gas through a narrower, longer path so the pressure waves interfere with each other, and a good one typically takes several decibels off the tailpipe reading. The catch is that it cannot fix a leak, a failed muffler baffle, or a missing resonator, and fitting one on a system that is loud at the source gives a small improvement at best. Diagnose the source before you fit anything.
Do resonators make an exhaust quieter, and what happens if you remove one?
A resonator is a tuned chamber, and its job is to cancel the low-frequency droning you hear at steady road speed rather than the overall level. That makes it a good match for a highway drone and only a partial answer to a loud system. Removing it makes the car slightly louder than stock, not quieter, which surprises a lot of people who assume any part of the exhaust is a noise source.
Are additives or temporary sealants a good way to quiet an exhaust?
No. Additives aimed at the catalytic converter are for emissions symptoms, not noise, and temporary sealants and foil tape fail quickly on a part that cycles from cold to several hundred degrees. A pipe repair sleeve that is properly clamped or welded lasts; tape wrapped around a cracked pipe gives you the same noise next week plus a new rattle to chase.
What to Do First
Start the car only after you have confirmed the area is clear, then stand behind it and listen before you get underneath it. Decide whether you are dealing with a rattle, a hum, or a hiss, because each one sends you to a different part of the system.
Check the heat shields, the rubber hangers, and the flange bolts first. They are cheap, they are visible, and they account for more cold-start noise than anything else on the car. If the noise follows engine speed, soap-test the connections and find the leak. If the shell is intact and the noise follows the revs, the failure is inside the muffler or the resonator.
Hand it to a qualified exhaust professional when you find severe corrosion, a detached section of pipe, a damaged catalytic converter, internal exhaust damage, or fumes in the cabin. Everything else on this list is a driveway job with the right tools and an hour of patience.