
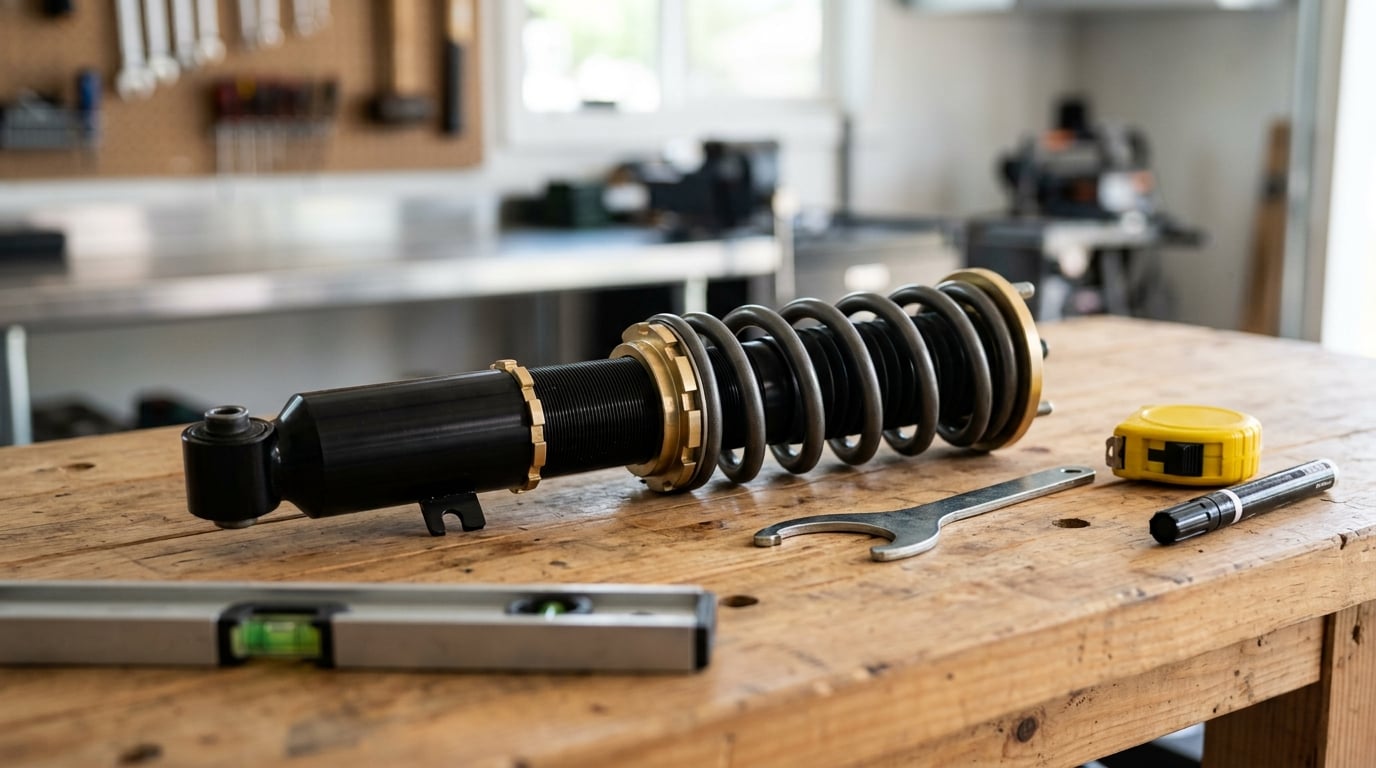
To figure out how to set coilover ride height, you change the assembled length of the strut: loosen the lower locking collar, rotate the shock body or spring perch with spanner wrenches, measure until you hit the target, then tighten the collar back to torque. It takes about two hours per axle with basic tools, and the measurement point matters more than the number itself.
The trouble is that ride height is quoted four different ways, and each method gives a different figure for the same car. Get that wrong and you’ll chase a target you can never reach. Here’s the safe way through it, in the order you should actually do it.
Table of Contents
- What You Need
- Step-by-Step: How to Set Coilover Ride Height Safely
- Step 1: Confirm the Target Ride Height
- Step 2: Park and Support the Car Safely
- Step 3: Measure the Starting Height
- Step 4: Choose the Correct Spring Perch
- Step 5: Adjust and Lock the Perches
- Step 6: Set Lowering Pins or Lock Collars
- Step 7: Recheck Both Sides
- Step 8: Verify Clearance and Finish the Assembly
- Step 9: Perform a Final Road Test
- How to Set Coilover Ride Height a Second Time After the Car Settles
- Common Mistakes
- Frequently Asked Questions
- What is the correct ride height for coilovers?
- Should I set ride height with the suspension compressed or extended?
- Do coilovers change ride height when driving?
- Do I need an alignment after setting coilover ride height?
- Why are my coilover adjustment collars rotating or moving?
- When should I get professional installation instead of doing it myself?
- Conclusion
What You Need
Before you touch a spanner wrench, get the number you are aiming for from a source that knows your specific car. The order of authority is your coilover manual, then the suspension manufacturer, then whoever built or aligned the car.
Anything you find on a forum is a starting point, not a specification. Forum builders quote figures like front 4.25 inches and rear 4.65 inches from the lower control arm centerline to the ground, which is a legitimate method, but it is only comparable to another number measured the same way.
Your working target depends on four things: the coilover itself, the vehicle, your spring rate, and whether the manufacturer is describing static or dynamic height. A track setup and a daily-driven street setup rarely share a number.
Here is what to have on the bench before you start:
- Manufacturer ride-height spec. The target figure and the reference point it is measured from.
- Tape measure or ruler. Measuring height at fixed points on both sides.
- Coilover spanner wrenches. Gripping the slotted adjustment hardware without marring it.
- Tape or paint marker. Marking the current collar position so you can count clicks.
- Floor jack and rated jack stands. Lifting and supporting the car safely.
- Wheel chocks and lug wrench. Keeping the car stationary while it is up.
- Socket set and penetrating fluid. Breaking seized collars loose.
- Torque wrench. Re-tightening the collar to the manufacturer figure.
- Spirit level. Confirming the car sits level on the floor.
- Flashlight. Seeing collision marks and thread damage behind the spring.
Shop rag and gloves are worth having too. A clean rag stops you dropping a spanner into a wheel well, and gloves matter when you are handling a shock that still has oil on it.
Step-by-Step: How to Set Coilover Ride Height Safely
Step 1: Confirm the Target Ride Height
Find out which measurement the suspension manufacturer actually specifies. Common references are fender lip to hub centerline, rocker panel or frame rail to ground, and lower control arm centerline to ground. Each one produces a different number on the same car.
The suspension manufacturer’s written specification takes precedence over anything generic you find online, and it takes precedence over your own memory of where the car used to sit. If the manual is vague or missing, contact the manufacturer before you cut a spring free. That single question can save a broken perch.
Step 2: Park and Support the Car Safely
Park on level, hard ground. Apply the parking brake, switch the engine off, and chock the wheels that stay on the ground. Break the wheel fasteners loose before lifting, while the wheel is still carrying weight and the lug nuts are not yet under full load.
Lift the vehicle at the manufacturer-approved lift points only, then lower it onto rated jack stands rated for the vehicle’s weight. Working under a car supported by a floor jack alone is how people get hurt. Never reach under a supported vehicle to check anything.
With the front up, remove the wheel. Repeat at the rear when you get there, and keep the stands under the chassis for the whole job.
Step 3: Measure the Starting Height
Measure before you change anything, on both sides, at the same points. Put the tape on the same fender edge and the same chassis landmark each time. Tilted tape reads are the single most common source of a 10 mm discrepancy between two people in the same garage.
Write both numbers down. If the specification calls for the lowest or widest relevant point, record that instead of the fender gap, because fender gap tells you nothing about clearance once the wheel and tire change.
Pro-touring builders make a related point: a car never reads identical on all four corners after corner weighting, so a small difference is expected rather than a fault.
Step 4: Choose the Correct Spring Perch
Perch position changes how much the spring is compressed inside the assembly, which changes preload and ride height together. Raising the perch shortens the free length available to the spring, so the spring sits more compressed and the car sits lower. That also eats droop travel.
Two things to check before moving anything. First, whether the perch position you intend is a position the manufacturer approves for your spring length and perch hardware. Second, whether the spring can physically clear the perch hardware at that setting, or whether you are about to thread the spring into collision.
Minimum preload guidance matters here too. If the kit specifies a minimum spring length or a minimum gap, staying under it risks the spring going into negative preload, where the shock gets overloaded on droop and the inner fender guard pays for it.
Manual unclear? Contact the suspension manufacturer. It is a five-minute phone call and the cheapest part of the whole job.
Step 5: Adjust and Lock the Perches
Support and align the assembly first, then loosen only the hardware you need. Make one small controlled adjustment, re-measure, and repeat until you reach the target. Turning one position at a time keeps the two corners comparable.
Retighten to the specified torque once you are there. If the kit uses a perch bracket fastened to the strut, torque the bracket bolts to the manufacturer figure rather than guessing by feel.
One hard rule: do not turn a perch against an installed threaded spring. Rotating a perch into a spring that is already threaded on can damage the spring end, and the damage may not show up until the spring lets go under load.
Step 6: Set Lowering Pins or Lock Collars
Some systems use adjustable lowering pins, lock collars, or interchangeable hardware instead of a rotating perch. These change the supported length of the assembly, so they set the height of the whole unit rather than the spring seat.
Adjustment positions have to match across the axle. If one side sits on the second pin and the other on the first, the car will drive crooked and the alignment shop will spend an hour working out why.
Proper preload also keeps the hardware secure. When a collar carries real preload, it stays seated; when the spring is left loose or negative, threads can unseat under load and you get a knocking noise and a height that changes under braking.
Count clicks, not vibes. Mark the collar position with a paint marker before loosening it, then count positions as you go. That gives you a repeatable number you can apply to the other side instead of guessing.
Step 7: Recheck Both Sides
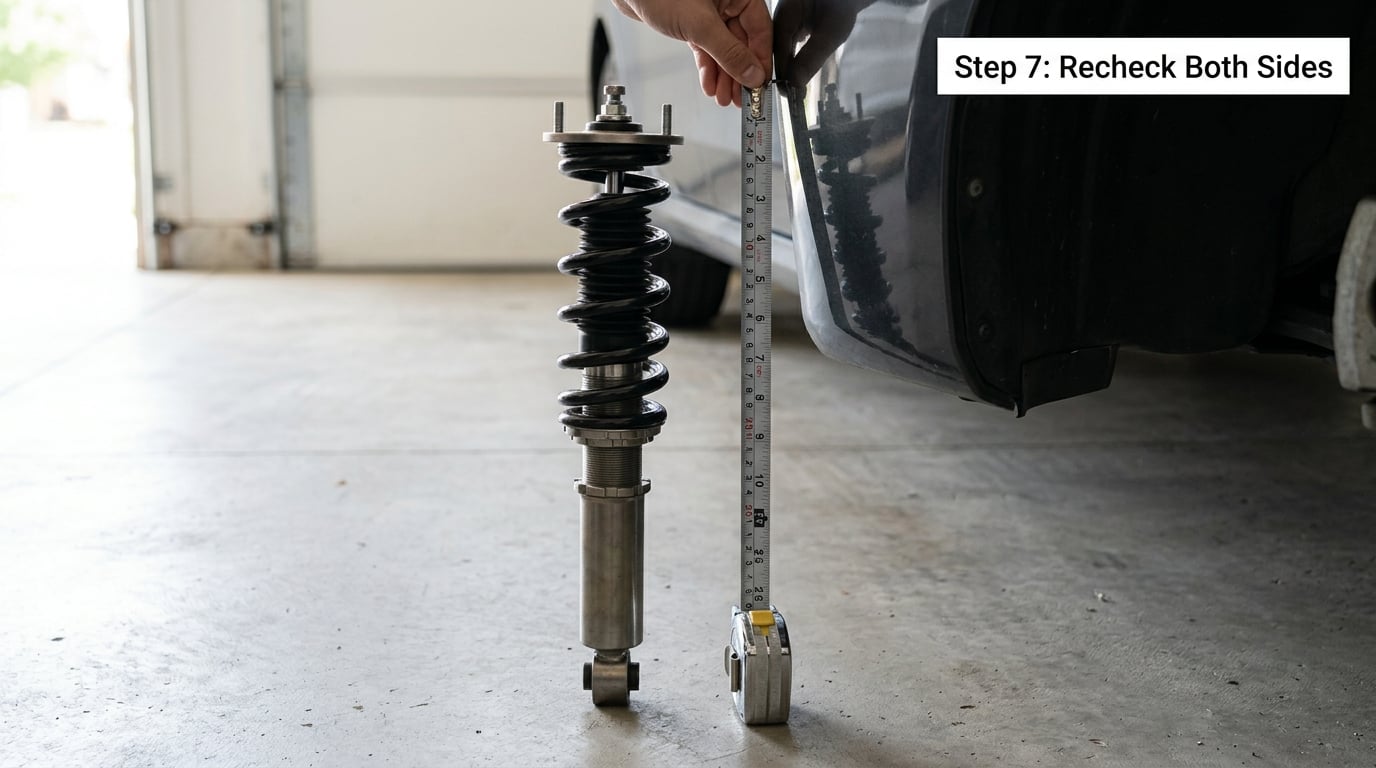
Compare the left and right readings, then take each one a second time to confirm it. Repeatable readings are the test: if the two measurements of the same point disagree by several millimetres, your technique changed, not the car.
Make equal small corrections rather than chasing one corner. If a corner refuses to hold the target, something else is wrong, and pushing harder on the adjustment will not fix it.
Step 8: Verify Clearance and Finish the Assembly
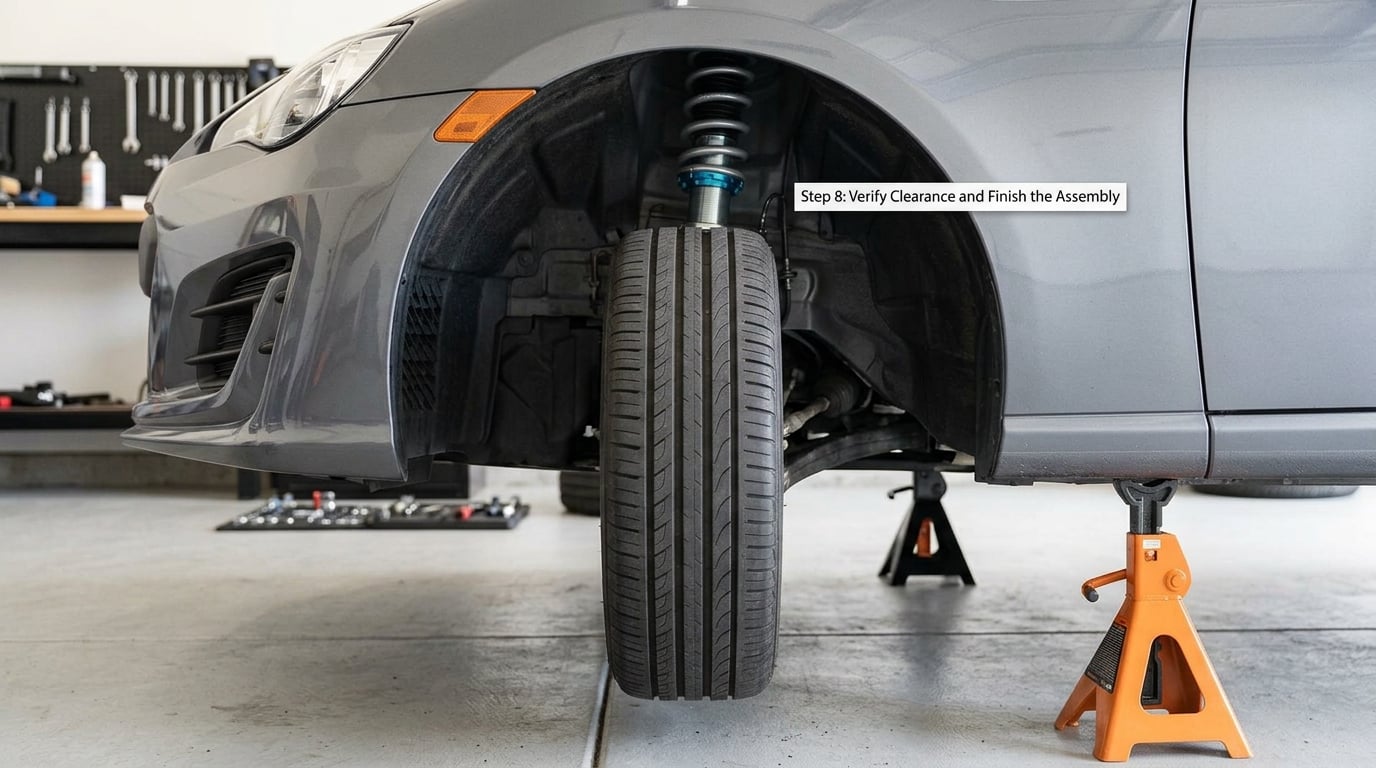
Walk the car through full suspension travel and full steering lock with everything still loose enough to move freely. Watch the fender-to-tire gap, the inner fender liner, the brake line, the driveshaft, the exhaust routing and the sway bar link.
You are looking for clearance, not a gap that looks generous. A tire that clears the fender at rest can still contact the liner under full compression, and a brake hose that looks fine at rest can stretch into the sway bar on droop.
Confirm every fastener is tightened to the manufacturer specification, the locking collar is snug at the intended position, and nothing shows rubbing, binding, or damaged threads. Scrub any shiny marks on the spring or perch before driving.
Step 9: Perform a Final Road Test
Remove the jack stands in the correct order and lower the vehicle fully, then torque the wheels in a star pattern. Give the car a visual once-over from standing height: is one corner visibly higher, and is the car sitting level front to rear?
Start the test drive slowly and close to where you are working. Watch for shimmy in the steering wheel, a bounce over expansion joints, and any noise from the front as you roll into a dip at low speed. Increase speed gradually once nothing looks or sounds wrong.
Inspect the setup again after driving, with the car back on stands, looking at your marks to see how far the suspension actually moved. Get a professional wheel alignment whenever you changed the height, and treat the car as unsettled until that is done.
How to Set Coilover Ride Height a Second Time After the Car Settles
Set, drop, settle, re-measure, set again. That loop is how experienced builders work, and skipping the second pass is how cars end up sitting uneven after a fresh install.
Here is the sequence: set the height with the car on stands, lower it fully onto its springs, measure both sides again, and make any small corrections. Do that twice if needed. Then take a short drive, park it on level ground, and measure a third time once the suspension has taken a real load cycle.
Re-check again after a few hundred miles of ordinary driving. New springs and bushings settle, and a car measured the morning after installation is often not where it settles to. Forum consensus is consistent on this: re-measure after break-in, because the first reading is rarely the final one.
Common Mistakes
Measuring the wrong location. The reference point changes the number. Pick the point your specification names, and use it every time you measure.
Relying on visual symmetry. A car that looks even can sit uneven by more than you would guess. Measure, then look.
Lowering without checking tire clearance. Run the suspension through full travel before you call the height done, not after.
Confusing spring perch position with spring preload. Perch position changes the compressed length and therefore preload. More preload raises the car and eats droop; it does not increase spring rate. Going low on preload alone is what makes a lowered car harsh and bouncy.
Tightening hardware with the spring twisted. If you turn a perch against a threaded spring to gain height, you can damage the spring. Support and align first.
Mismatched left and right adjustments. One side on a different pin, click or perch position leaves the car crooked and the alignment unfixable.
Over-lowering for appearance. There is a floor below which you lose clearance, lose droop travel and start loading the bump stops on every bump. Stop at the specified height even if more is technically possible.
Skipping the alignment. Changing ride height changes camber, caster and toe. A vibrating steering wheel after lowering is nearly always an alignment problem, not a shock problem.
Frequently Asked Questions
What is the correct ride height for coilovers?
The correct ride height is whatever the suspension manufacturer specifies for your coilover, vehicle and spring rate, measured from the reference point they name. There is no universal number. If your manual quotes fender-to-hub gap, use that; if it quotes rocker or lower control arm to ground, use that. Mixing reference points is why two people can measure the same car and disagree by an inch.
Should I set ride height with the suspension compressed or extended?
Set it with the suspension at normal ride position, fully extended to where the springs carry the car weight, and the car sitting level on hard ground. Do not judge height with the suspension hanging, compressed, or with the wheel off and the strut dangling. Extension matters: a strut measured unloaded sits longer than the same strut under load, so the number you take will not match the number on the ground.
Do coilovers change ride height when driving?
Yes, but that is suspension travel, not a change in setting. As the car moves, the springs compress under braking and bumps and extend over crests and under roll-in, so measured height changes constantly. What should not change is static height. If your car measures differently at rest after driving than it did before, something is loose, the bushings have settled, or the collars have moved.
Do I need an alignment after setting coilover ride height?
Yes, whenever the height changes. Ride height moves the relationship between the suspension geometry and the road, so camber, caster and toe all shift with it. That shift is the usual cause of steering wheel shimmy, uneven tire wear and vague handling after a lowering job. Record your chassis ride height at the time of the alignment so the shop sets camber and toe for the height the car is actually sitting at.
Why are my coilover adjustment collars rotating or moving?
Usually one of three things. The collar was not torqued to specification. The preload is low or negative, so the spring is not holding the perch firmly against its seat. Or the spring end is worn or damaged and can no longer transmit load. Mark the collar position, check the preload against the manufacturer minimum, and inspect the spring ends under a light before assuming the collar is at fault.
When should I get professional installation instead of doing it myself?
Get a shop involved when you are working on a vehicle with complex geometry, when the manufacturer documentation for your kit is missing or unclear, when a collar will not break loose without force, or when you suspect the spring or perch is already damaged. Shops are also worth it for the alignment itself. If the target height is a track number rather than a street number, have someone who works on that platform set the droop and bump stop limits.
Conclusion
Start with the number, not the tools. Get the ride height your coilover manufacturer specifies for your car, confirm which reference point it is measured from, and record both starting heights before you loosen a single collar.
After that, the job holds to four rules. The car stays on rated jack stands at approved lift points for the whole of the adjustment. Both sides get equal, repeatable measurements from the same landmarks. You check clearance through full suspension travel and full steering lock before anything is tightened. And you drive it slowly, on level ground, with an alignment done afterwards.
Two hours of careful work gets you a car that sits where you intended and can be set up properly from there. Rush the measurement or the support, and you get a crooked car, a broken spring, or a steering wheel that shakes at speed.