
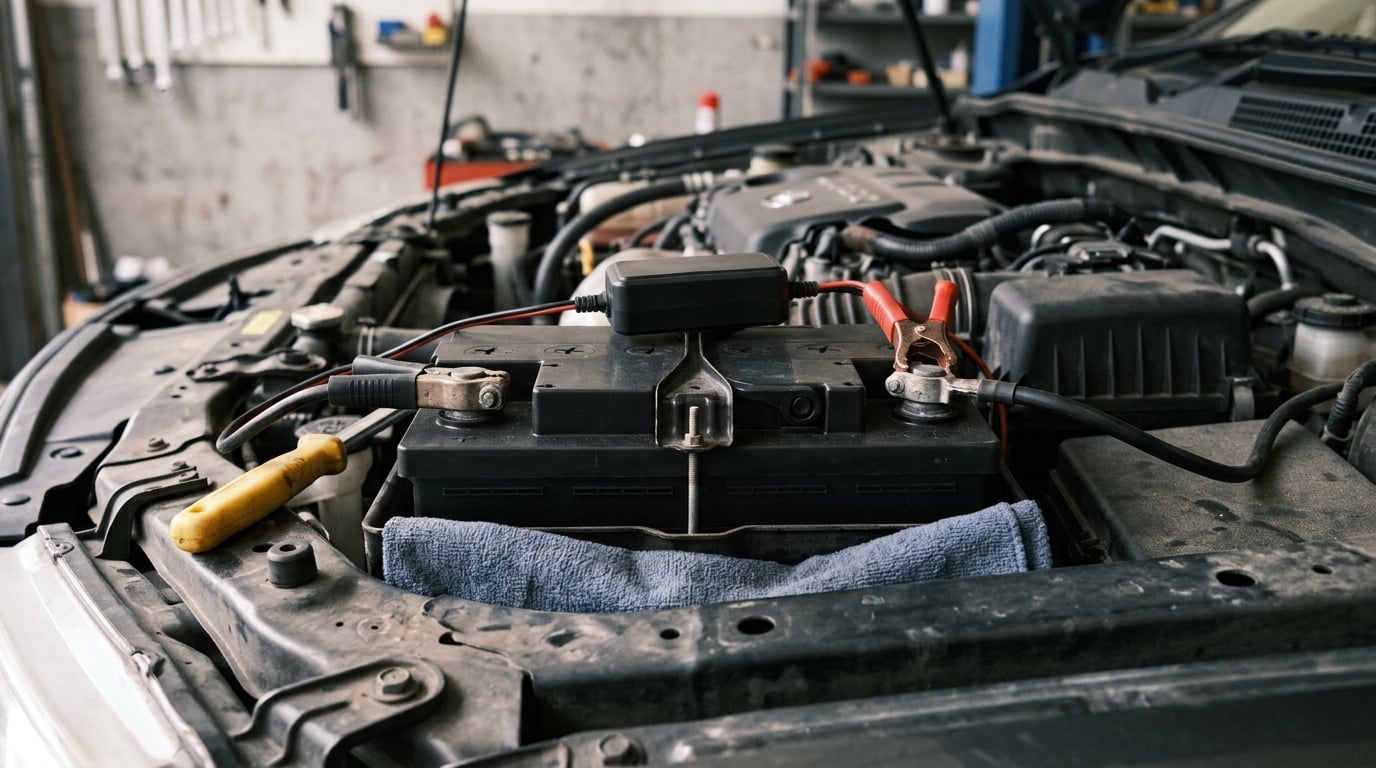
Connecting a memory-preserving battery maintainer before you loosen anything is the whole trick. That is how to disconnect a car battery without losing settings: the modules never lose power, and your presets, clock and seat memory survive the swap. On most cars the job takes 20 to 30 minutes with a basic wrench set, and the difficulty is low. The catch is that a disconnect is not guaranteed to leave every setting untouched, so read on before you start.
I have swapped enough batteries in my own driveway and on customers’ cars to know the pattern. The reset problems almost never come from the disconnect itself. They come from lifting a terminal while the car is still awake, or from finding out afterwards that the radio wanted a security code nobody had written down.
Here is the routine I use, with the reasoning behind each step. Updated for 2026.
Table of Contents
- What You Need
- How to Disconnect a Car Battery Without Losing Settings: Step-by-Step
- 1. Check the Owner’s Manual and Expect a Power Reset
- 2. Record Settings You May Need to Restore
- 3. Choose the Right Memory-Preservation Method
- 4. Prepare the Vehicle and Connect the Maintainer
- 5. Disconnect the Negative Terminal First
- 6. Disconnect the Positive Terminal and Work Safely
- 7. Reconnect the Battery in Reverse Order
- 8. Power Up and Test the Vehicle
- Common Mistakes
- Frequently Asked Questions
- Does a modern car battery disconnect still erase settings?
- Can I disconnect a car battery without losing settings on a modern BMW?
- Is it safe to remove only the positive battery terminal?
- Will my radio presets and window settings work again immediately?
- Do I need to drive the car after reconnecting the battery?
What You Need
You do not need a workshop for this job. You do need to be organised, because the hardest part is remembering what your car remembers.
- The owner’s manual for your vehicle. It covers battery location, terminal layout, and any battery-specific shutdown procedure, which matters on hybrids and on vehicles with alarm systems.
- A correctly rated memory-preserving maintainer. Look for a unit designed for the OBD2 port or a constant 12V socket, rated for your vehicle’s battery type, with a status light showing it is actually supplying power.
- Insulated terminal tools. A 10mm wrench or the correct size for your clamps, plus a socket set. Some vehicles use 8mm, 12mm or 13mm.
- Terminal protection. A folded shop towel, a rubber mat, or terminal boot covers so a loose clamp cannot arc against a bracket or the body.
- A written or photographed record of your settings. Radio stations and audio settings, clock, mirror positions, seat memory buttons, window and sunroof positions, and any other convenience settings you would miss.
Add a wire brush or terminal cleaner if the clamps are crusted, and have a rag ready. Corroded terminals are the reason a lot of people are in the driveway in the first place.
What a memory saver actually is: a small device that supplies a low, steady 12V current to your car’s electrical system through the OBD2 port or a 12V accessory socket, keeping modules powered while the main battery is removed. Owners search for it under several names, including memory keeper and ECU memory saver, and they are the same category of tool.
How to Disconnect a Car Battery Without Losing Settings: Step-by-Step
1. Check the Owner’s Manual and Expect a Power Reset
No, disconnecting a car battery does not reliably keep every setting. A maintainer protects most of them, but a power reset can still touch the clock, radio presets, one-touch window and sunroof memory, seat and mirror positions, and learned throttle or idle behaviour. Stored fault codes can clear too, which is a bonus or a problem depending on why you were in there.
Plan for a short reset-and-restore window after the job. Assume you will spend five minutes putting things back the way you like them.
2. Record Settings You May Need to Restore
Photograph or write down what you would hate to lose. Radio frequencies, input source, bass and treble, clock and date, mirror positions, seat memory settings, and the positions of the windows and sunroof.
Most importantly, find your radio security code. This is the one item a maintainer cannot protect and the one thing you usually cannot recover on your own. It lives in the owner’s manual, in the glovebox documentation, or on a card with the radio, and a dealer can look it up from the VIN if you have neither.
3. Choose the Right Memory-Preservation Method
Not every backup method is equal, and the popular homemade option has a real failure mode. Comparing them directly:
| Method | What it protects | Setup | Watch out for |
|---|---|---|---|
| OBD2 memory saver | Radio presets, seat and mirror memory, fuel trims, window auto-up, fault codes | Plug into the OBD2 port under the dash on the driver’s side before touching the battery | Confirm your make and model is supported; a few vehicles block data link power at the port |
| 12V socket adapter | Most comfort settings and clock memory | Plug into a constant-power socket, then confirm it is live with the engine off | Silently fails on cars where the cabin socket is switched rather than constant |
| Second battery with clips | The same coverage as a maintainer | Clip to the vehicle’s battery cables before removal | Add an inline fuse so a swinging clip cannot short the terminals |
| Portable jump pack | Settings, if left connected and switched to maintain mode | Connect to the battery with the vehicle off | Many packs cut output when the engine starts, which is a reset trigger |
| Nothing | Very little | None | Full reset, plus the hassle of reprogramming everything afterwards |
Check the socket before you trust it: with the vehicle locked and off, leave a cheap test light or multimeter in the accessory socket. If it lights without the key on, that port has constant power. If it does not, that method will not work on that car.
An OBD2-connected saver is only the right choice when your vehicle documentation or the manufacturer supports it. Do not assume every diagnostic port will safely power vehicle modules.
4. Prepare the Vehicle and Connect the Maintainer
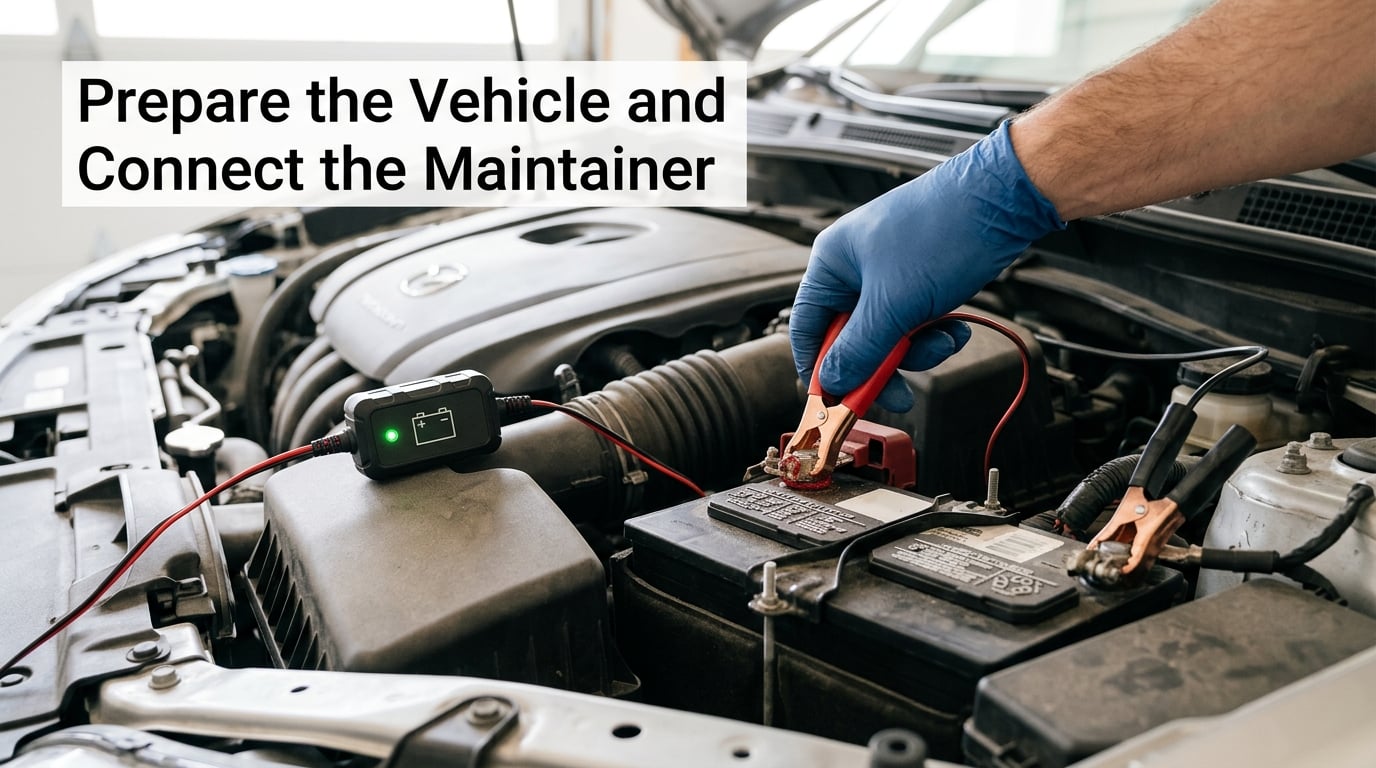
Park on level ground, in gear or in park, with the parking brake firmly on. Engine off, accessories off, keys and phones out of the cabin so nothing wakes a module mid-job. Some manuals call for a specific shutdown sequence with the ignition on before keying off, so check yours first.
Connect the maintainer before loosening either terminal, matching polarity exactly: positive to positive, negative to negative. A reversed maintainer is a bad afternoon. Confirm the status light shows the unit is supplying power, then you can start loosening clamps.
5. Disconnect the Negative Terminal First
Find the terminal marked with a minus sign, usually on one side of the battery and often on the driver’s side. Loosen the nut just enough to break the clamp free, then lift the cable straight up and off. Do not let the wrench rest on the battery casing, because the case is a conductor connected to the other post.
Removing the negative first means any tool that slips grounds itself through the chassis instead of arcing across the battery. That is the entire reason for the order, and it is worth being strict about it.
6. Disconnect the Positive Terminal and Work Safely
Use insulated tools, keep the wrench from bridging both posts, and take your time. A short across a battery makes a flash, a puff of smoke and possibly a thrown tool, and it happens in a second.
Do not smoke, drop a tool, or touch electrical contacts. Stop and reassess if the battery is swollen, cracked, leaking, or hissing, if a clamp is deeply corroded or melted, or if anything about the vehicle does not match the manual. A damaged battery is a technician job, not a driveway job.
7. Reconnect the Battery in Reverse Order
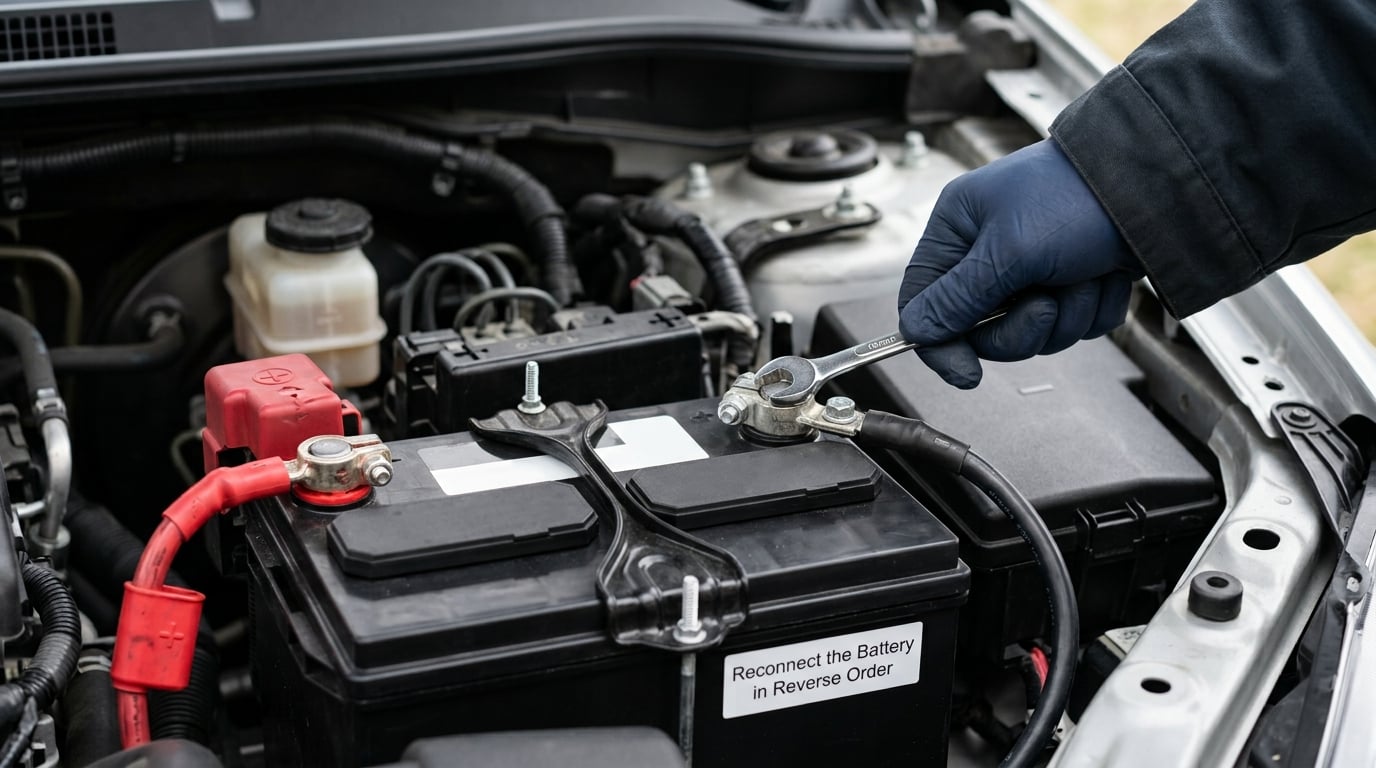
Do your work, then reconnect positive first and negative second. Seat each clamp by hand before you take the wrench, tighten firmly without forcing anything, and give each clamp a small wiggle to confirm it is seated.
Check the maintainer indicator again to confirm the vehicle is still being protected, then run through the accessories briefly, start the engine, let it idle for a couple of minutes, and only then unplug the maintainer. Pulling it off first is the same as disconnecting the battery.
8. Power Up and Test the Vehicle
Expect the first start after a disconnect to be slower to crank, and expect the idle to hunt for a moment before it settles. That is normal. Check the dash for warning lights, reset the clock, confirm your radio stations are still there, and test each power window by pulling the switch fully up and holding it for a few seconds so the auto-up function relearns.
Then check the things people forget: sunroof operation, seat and mirror memory buttons, the dash cluster display mode, and steering wheel buttons. If an adaptation has to be restored, a warning light stays on, or the engine runs badly, stop guessing and check the manual or a qualified technician.
Common Mistakes
Nearly every bad battery-swap story traces back to one of these.
- Removing the positive terminal first. The rule exists for a reason. Always take the negative off first and put it back on last.
- Letting the wrench bridge the terminals. One moment of carelessness is all it takes. Insulated tools, and never rest the wrench across the battery.
- Trusting a switched socket. A maintainer plugged into a 12V socket that only wakes with the key is doing nothing at all. Test it with the engine off.
- Using an unsupported OBD2 saver. Confirm your make, model and year appear in the device documentation before relying on it.
- Connecting the maintainer backwards. Check polarity twice. Reverse polarity can damage the unit, the socket circuits, or both.
- Working on a damaged battery. Swelling, cracks, leaks or a burnt clamp mean stop.
- Unplugging the maintainer too early. The vehicle has to be powered up and settled before the backup source comes off.
- Assuming every module keeps its memory. This is the one that catches experienced owners. On a modern BMW, a battery disconnect commonly triggers module adaptations, and some vehicle functions need to be reselected or relearned even with a maintainer connected.
Two habits fix most of the rest. Photograph your battery terminals and cable routing before you remove anything, so reassembly matches the factory layout. And keep your owner’s manual open on your phone through the whole job, because it will tell you about battery-specific shutdown and relearn steps that no general guide can know.
Frequently Asked Questions
Does a modern car battery disconnect still erase settings?
Often, yes. A memory-preserving maintainer connected before you loosen the terminals prevents most of it, but some vehicles still lose the clock, radio presets, seat and mirror memory, window auto-up, or learned throttle and idle values. Treat the disconnect as if a reset is likely, write down your radio security code first, and budget five minutes to put things back.
Can I disconnect a car battery without losing settings on a modern BMW?
Usually, yes, with a properly rated OBD2-connected maintainer plugged in before you touch the terminals. Expect that some adaptations will still need restoring after reconnection, particularly throttle body, idle, and window or sunroof programming. Follow the BMW manual for the specific model, and use a qualified technician if warning lights persist after the relearn steps.
Is it safe to remove only the positive battery terminal?
It will not damage the car outright, but it is the wrong way round. Removing the positive first leaves the negative still attached to the chassis, so any tool that touches the body completes a circuit through the battery. Always remove the negative first and reconnect it last, and keep insulated tools on the clamp nuts.
Will my radio presets and window settings work again immediately?
Radio presets usually return right away if a maintainer did its job, otherwise you will have to retune them and enter a security code. Power windows usually need a relearn: hold the switch in the fully up position for several seconds until the motor beeps or the window stops adjusting. Expect the first crank to be slow and the idle to hunt briefly.
Do I need to drive the car after reconnecting the battery?
A drive helps modules relearn, but it is not required. Running the engine for several minutes with the accessories cycling is usually enough to let the ECU relearn idle and throttle values. Drive the car soon afterwards so the battery charges properly, and keep an eye on warning lights that do not clear on their own.
Start with the manual and your radio security code, attach the maintainer before you loosen a single clamp, then take the negative off first and put it back on last. After that, walk the checklist before you drive away.