
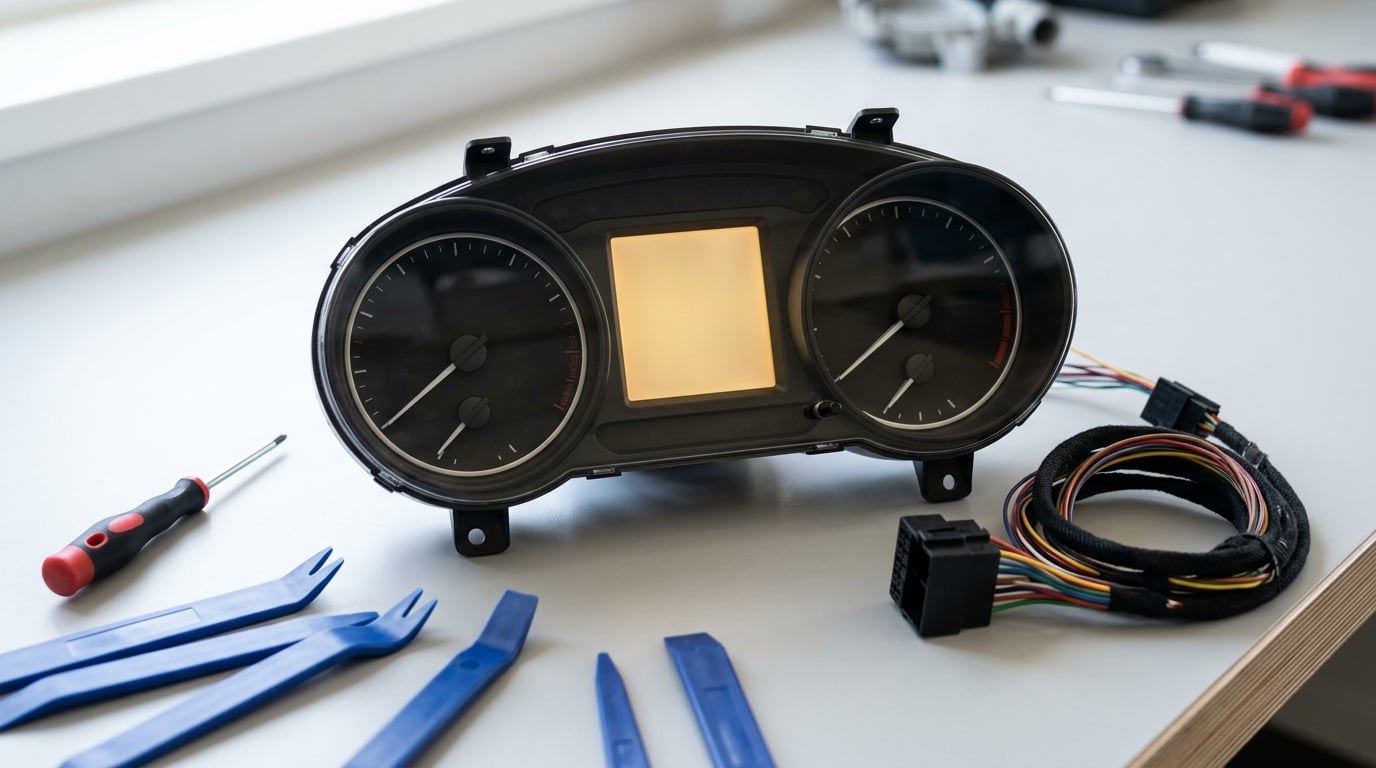
BMW pixel dash repair explained in one line: a pixel dash fault is the LCD in your instrument cluster losing pixels, so the odometer, message centre and warning text drop out in columns or blocks while the gauges carry on working. On most cars the cause is a heat-bonded ribbon cable giving up, and for most owners the honest job is swapping the cluster rather than microsoldering it.
BMW calls the driver display the pixel dash, which is where the confusing language comes from. Owners use the same words for the display, the screen and the symptom of dead segments, and shops quote a different scope under each name. Before you spend money, it helps to know that what most people are describing is the instrument cluster: the unit behind the steering wheel holding the speedo and tachometer, the fuel and temperature gauges, the odometer, the warning lights and the small monochrome screen that prints check-engine messages.
That cluster is more than a display. It drives the gauge needles with small stepper motors, drives the backlight, talks to the rest of the car over the CAN network, and keeps the odometer reading in its own memory. A pixel fault takes out the LCD and nothing else, which is why the car still starts, still drives, and still shows every gauge correctly while the mileage reading has half vanished. That split between working gauges and dead pixels is the single most useful clue for telling a display problem from a wiring or module problem.
There are three realistic routes. You can send your original cluster to a bench repair shop for the ribbon cable work, swap in a donor cluster yourself and program it, or pay a dealer for a new cluster and programming. This guide covers the owner-facing work, which is the diagnosis, the removal, the swap and the reset, plus an honest look at where the job stops being a garage job.
Table of Contents
- What You Need
- Step-by-Step BMW Pixel Dash Repair Explained
- Common Mistakes
- When to Visit a BMW Specialist
- Frequently Asked Questions
- Can I repair a BMW instrument cluster myself?
- Do you have to program a new instrument cluster?
- Why is my instrument cluster blank after a battery change?
- Is it cheaper to repair a BMW cluster or replace it?
- What are the common problems with a BMW instrument cluster?
- Is a cluster swap with the correct mileage legal?
- Conclusion
What You Need
You need the correct replacement instrument cluster, a basic hand tool set, trim-removal tools, electrical contact cleaner, a stable power source and your owner manual. The part number match matters more than any tool in that list, because a cluster that is close but not correct will either refuse to code or code with missing gauges.
- Replacement cluster or donor unit sourced by the part number on your existing cluster, not by the body style or the model year alone.
- Trim tools a plastic pry set, a T20 and T25 Torx, and a small flat screwdriver. Plastic, not metal, around the dash, because the piano-black trim on older BMWs scratches and snaps easily.
- Sockets and drivers a metric set covers nearly everything on these cars. Our guide to metric vs SAE sockets explained covers why mixing the two is a bad habit on a German car.
- Battery terminal cover and a memory-saver or backup supply so the clock, radio presets and window one-touch settings survive.
- Electrical contact cleaner and a lint-free cloth for the connector pins.
- Diagnostic access at minimum an OBD-capable scanner, ideally a laptop running ISTA with an ENET cable for the coding and fault-read steps.
- Owner manual for the battery disconnect procedure, the airbag warning sequence and the cluster-specific menu path on your car.
Identifying the exact platform takes ten minutes and saves you from buying the wrong part. The cluster itself carries a printed BMW part number with a ten-character code ending in an E-cable date, for example a number that resolves to a specific production window. Read that number off the back of your unit, write it down, and match it to the chassis code in your VIN. Then check the cluster type, since a base cluster, a Step-Up cluster and an M Sport cluster on the same car are not interchangeable, and colour or trim level is not a reliable proxy.
Also check the connector type before you commit. Earlier clusters use a single large plug, while many later ones use a smaller two-part connector, and the harness side of that plug is part of the car, not the cluster. If the donor unit needs a different plug, the job grows by a wiring step.
Step-by-Step BMW Pixel Dash Repair Explained
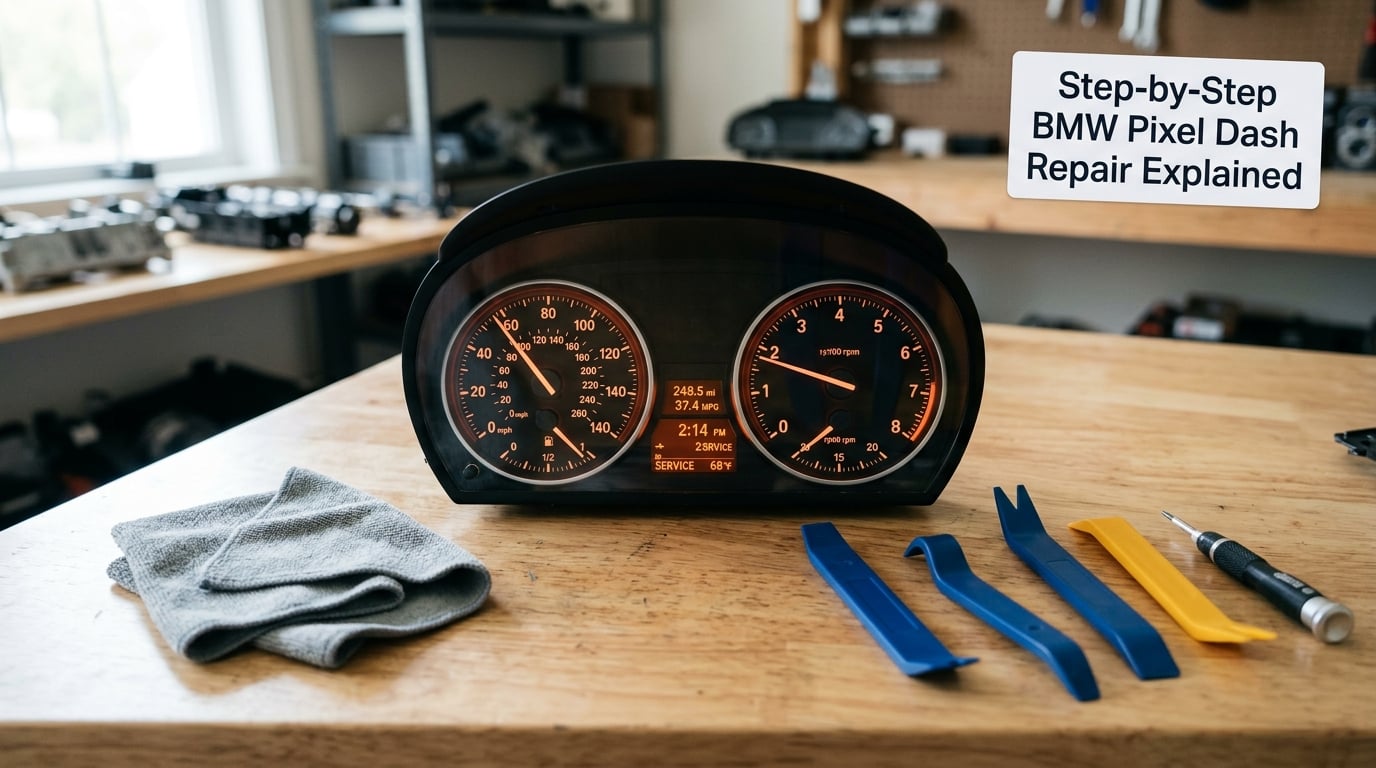
The sequence below runs in the order that saves parts. Diagnose first, rule out the cheap causes second, remove third, install fourth, and only then worry about programming and testing. Skipping straight to a purchase is how people end up with two clusters on the bench and the same fault in the car.
1. Confirm the Exact Warning and Diagnose the Cause
Start by photographing the warning or the dead area while the ignition is on. A phone photo of the screen, the odometer reading and any active warning lights is worth more than any description you could type later, and it costs you nothing.
Next, work through the display settings. Most clusters have an instrument menu reached from the steering wheel controls or the centre console, and it is common to find brightness turned all the way down, a contrast setting pushed to the edge, or a language or unit change that rearranged the layout. Cycle through the display modes and watch whether the missing areas change shape. If the dead block moves or changes size when you switch modes, you have a driver or logic fault rather than a hard ribbon bond failure.
Then compare what you are seeing against the usual causes. A column of missing pixels that always sits in the same place, with the gauges, backlight and needles all normal, points at the LCD-to-board connection. A completely dark screen with no backlight and no gauges suggests power or the backlight driver. Needles that freeze mid-travel while the display still works points at the stepper driver or its power rail. Warning lamps that stay on with no actual fault, or a cluster that drops out entirely after a battery disconnect, points at the memory side of things.
Decide which system is complaining before you touch a tool. Roughly speaking, a clean split between working gauges and dead segments is a cluster-internal display problem. Anything involving multiple modules, missing data or a car that will not crank points away from the cluster and toward wiring, the DME or a body control module. That distinction is the whole diagnosis, and skipping it is how a cluster swap turns into a three-day chase. Get it right, and this pixel dash repair explained step by step stays a weekend job with one part on the bench.
2. Check the Easy Fixes Before Replacing the Cluster
Do the cheap checks before you buy anything, because a surprising share of cluster complaints clear themselves. A full ignition cycle with the key held, or a proper battery disconnect with a fifteen-minute wait, resets the cluster memory and resolves the large share of faults that appear right after a battery change.
Inspect the cluster connector where it meets the dash harness. Unplug it, look at the pins for green corrosion, brown heat discolouration or a pin pushed back into the plastic, and clean gently with contact cleaner and a lint-free cloth. Do not use a metal pick or a stiff brush on the terminal; you will lift the plating and make the fault intermittent instead of fixed.
Check battery and charging condition properly. A weak battery or an alternator that is not holding voltage will make a marginal cluster look like a dead one, and a cluster swap in that situation buys you a week. Our read on high mileage oil explained, does it work for BMW covers why a worn engine and a tired charging system often show up together on high-mileage cars, and cluster faults sit right in that family.
Finally, clear stored faults with a scanner and see whether the cluster messages come back after a drive cycle. A software glitch that a re-code fixes is real, and it is cheap. The honest test is whether the dead pixels return after a week of normal driving, because a genuinely failed bond does not heal itself.
3. Remove the Old Instrument Cluster Safely
Removal is the part that goes wrong through impatience. Switch the ignition off, open the driver’s door so the remaining capacitance drains, and disconnect the negative battery terminal first with the key out of range. Wait a full fifteen minutes before touching anything near the steering wheel or the trim, because the restraint circuits hold stored energy even with the battery gone.
Take the trim off in the order the clips were installed, from the outer edges inward. On most of these cars that means the driver-side knee panel or side trim first, then the upper dash trim surrounding the cluster binnacle, then the cluster hood. Every one of those clips is a small plastic barb in a hole that has already been opened maybe a hundred times, so they break more often than they release. Use plastic pry tools, work at the clip roots rather than the tips, and keep a small tray under the dash for the fasteners you will be losing sight of.
The cluster itself comes out of the binnacle once the trim clears. It usually sits on locating pins or a guide rail and leans forward when you pull it gently toward you. Do not lever it from the top edge. Once the cluster is proud of the dash, swing it forward and reach the connector behind it before releasing any secondary brackets. Press the connector latch in, do not pull on the wire loom, and expect the connector to be tight, especially on cars with aftermarket alarms fitted.
Take a photo of the connector before and after, and photograph any trim damage now while you still have the old part in hand. If a screw strips during removal, stop and deal with it rather than leaning harder, and our guide to how to retap a stripped thread covers the clean ways to recover a thread in the dash bracket.
4. Install and Reconnect the Replacement Cluster
Fitting the new cluster is the reverse of removal with two extra checks. Verify the part number on the replacement against the number on the unit you pulled out before it goes anywhere near the car. Check the connector keying so the pins line up, seat the connector fully until the latch clicks, and give the loom a gentle tug to confirm it is home. A connector that is half-seated can burn a driver’s pin the first time you crank the car.
Slide the cluster back onto its locating pins and let it settle into the binnacle rather than pushing it. Refit the hood and the trim, starting with the upper pieces and working outward, and press each clip home with the palm of your hand until you feel the barb engage. A clip that is only half pushed looks fine from the driver’s seat and rattles itself loose within a few hundred miles.
Reconnect the negative battery terminal and switch the ignition on without starting the engine. That initialization sequence is diagnostic in itself: the cluster should sweep the needles through their full travel, light every telltale in turn, show the odometer and trip computer, then settle to normal. Watch for a needle that stalls halfway, a telltale that stays latched or a display that comes up blank. Any of those means stop and reseat the connector before you go any further.
5. Program, Pair, and Test the Repair
A replacement cluster generally needs its data written to it before it will show the right gauges, and on some cars it will not let the vehicle start until that is done. On older chassis, coding is often as simple as entering the cluster menu on a driving school computer with the ignition on. On newer cars you need ISTA with an ENET cable and a working licence, and you perform the instrument cluster replacement target in the diagnosis section so the DME, the body module and the cluster agree on the vehicle.
Match the cluster to the car before you code it. The VIN, the chassis number and the vehicle order have to line up with what is stored in the cluster, and component protection can block a coding attempt that comes from a cluster pulled out of a different car. That is where the well-known warning about donor units comes from: an unprogrammed donor can leave you with a car that cranks but does not start, or a cluster that codes with every gauge missing.
The test drive is the last step and the one owners skip. Verify the odometer reading matches the vehicle record before you leave, then drive far enough to cycle through the display modes and let a full fuel cycle run so the range and consumption fields populate. Re-read the fault memory with the scanner. If the pixel blocks have not returned and no new cluster-related codes are stored, the repair is confirmed.
One more item deserves attention here: the odometer reading. When a cluster is replaced or its memory is rewritten, the correct mileage has to be written into the new unit to match the vehicle record. That is a sync to the true mileage, not a rollback, and altering an odometer to read anything other than the actual distance is a federal offence under the US odometer statutes and illegal in most other countries. Any shop that will not state in writing whether it changes the mileage is a shop to walk away from.
Common Mistakes
The failures below are the ones that cost owners a second trip, a second part or a second cluster.
- Buying on model year instead of part number. BMW revises cluster hardware mid-production, and two units from the same year can carry different board revisions. Match the ten-character part number, not the year.
- Disconnecting power in the wrong order. The negative terminal comes off first and goes on last, and you wait a full fifteen minutes after disconnecting before working anywhere near the steering wheel or the front trim.
- Forcing plastic clips with a screwdriver. The trim barbs are one-time parts. Pry from the root with a plastic tool, and buy a replacement trim piece before you start if yours already looks tired.
- Skipping coding. A cluster that bolts in and lights up can still show empty gauges or hold a mismatch code. Code it, even when the display looks fine.
- Replacing the cluster when the cause is wiring. Corroded harness pins, a chewed connector behind the knee panel or a poor ground will produce the same dead display every time, and the new cluster will fail identically.
- Not photographing the connector and trim first. Once the dash is apart, the evidence that helps you or helps a shop is gone.
- Installing a donor cluster from a different car without pairing it. Expect a no-start condition, missing gauges or a body module fault code, and budget for the coding session that fixes it.
- Leaving the mileage question unasked. Get the mileage handling stated in writing before the part is ordered, every time.
When to Visit a BMW Specialist
Stop the garage work and take it to a specialist when the fault reaches beyond the cluster. The clearest signals are damaged or corroded harness wiring behind the dash, repeated cluster-related fault codes from more than one module, and a vehicle that will not crank or start after the swap because of a DME or component protection mismatch.
A few more cases belong in the same bucket. A cluster with a cracked lens, a hazed or delaminated screen, water inside the housing or a dead backlight LED is usually beyond a cable repair, because the bench route fixes the conductive bonds and not the physical damage. On modern G-series cars, curved glass displays are supplied as complete units and the repair method that works on an E39 does not transfer. If your car has a curved OLED-style cluster, do not open it and do not attempt the piezo soldering route on it.
Finally, be honest about the car. A cluster swap on a vehicle with an unresolved electrical fault, a poor battery or an existing mod list is not going to hold, and the fault will follow the new cluster. Specialists are also worth consulting when you cannot confirm the exact part number, when the donor unit came from a different market, or when you need the programming capability that an owner setup may not include.
Frequently Asked Questions
Can I repair a BMW instrument cluster myself?
Partly. Diagnosis, removal, the swap and a simple reset are all owner-level work on most BMWs, and the dash trim comes off with plastic pry tools and a Torx driver. Resoldering the LCD ribbon bonds, clearing component protection and writing vehicle data to a new cluster need specialist equipment and software. If the gauges and backlight work and only segments of the display are missing, the DIY route is a cluster swap rather than a bench repair.
Do you have to program a new instrument cluster?
Usually yes. A replacement cluster has to be matched to the vehicle so the gauge data, VIN and component protection all agree, otherwise you may get missing gauges, a body module fault code, or a car that cranks without starting. Older cars are often coded through the instrument menu with a driving school computer, while newer ones need the manufacturer diagnostic software with a network cable and a licence to run the instrument cluster replacement target.
Why is my instrument cluster blank after a battery change?
Disconnecting the battery wipes the cluster and several other modules of their stored data and settings, and on some cars the cluster comes back in a locked or demo state. Hold the ignition, cycle it a few times, or disconnect the negative terminal again and wait fifteen minutes before reconnecting it. If the cluster stays blank with no backlight and no gauges, the cause is power or wiring rather than a reset, and a scanner read will show where it is.
Is it cheaper to repair a BMW cluster or replace it?
For a genuine LCD bond failure, bench repair of your existing cluster is usually the cheapest route and keeps your original unit with its stored data. A donor cluster swap sits in the middle because the part still has to be bought and then programmed. A new cluster from a dealer sits at the top of the list once labour and programming are counted. Actual figures move constantly, so ask each route for a written quote covering part, labour, programming and return shipping.
What are the common problems with a BMW instrument cluster?
The big four are dead or dropping LCD segments from a degraded ribbon cable, a failing backlight or dim flickering display, frozen or twitching gauge needles from the stepper driver stage, and total failure from a voltage regulator or processor fault. Memory faults show up as telltale lamps that stay lit or warning text that never clears. Battery disconnects also cause blank clusters that clear with a proper reset, which is why the reset step comes before any part purchase.
Is a cluster swap with the correct mileage legal?
Writing the true mileage from the vehicle record into a replacement cluster is legal, and it is what a correct job should do. Rolling the reading back or forward to hide distance travelled is odometer fraud under US federal law and illegal across most countries, and it shows up in service history, title records and inspection. Get any mileage handling stated in writing before work starts, and keep the invoice and the vehicle record together.
Conclusion
The first move for any owner is to photograph the fault, write down the cluster part number from the unit behind your wheel, and rule out the power and software causes before a single part is ordered. That order matters, because a reset fixes a large share of cluster complaints and the remaining ones are usually a genuine ribbon cable failure with a clear route to a fix. BMW pixel dash repair explained the other way round, part first and diagnosis later, is how owners end up buying the same cluster twice.
From there the decision is straightforward. A bench repair of your original cluster suits a real pixel fault with a sound lens. A donor swap suits a car you want running this weekend and can program. A dealer replacement suits a car with damage, water or a curved modern display that no bench shop will touch. Confirm the exact platform and part number, keep the mileage question in writing, and then the job is a normal garage afternoon.