
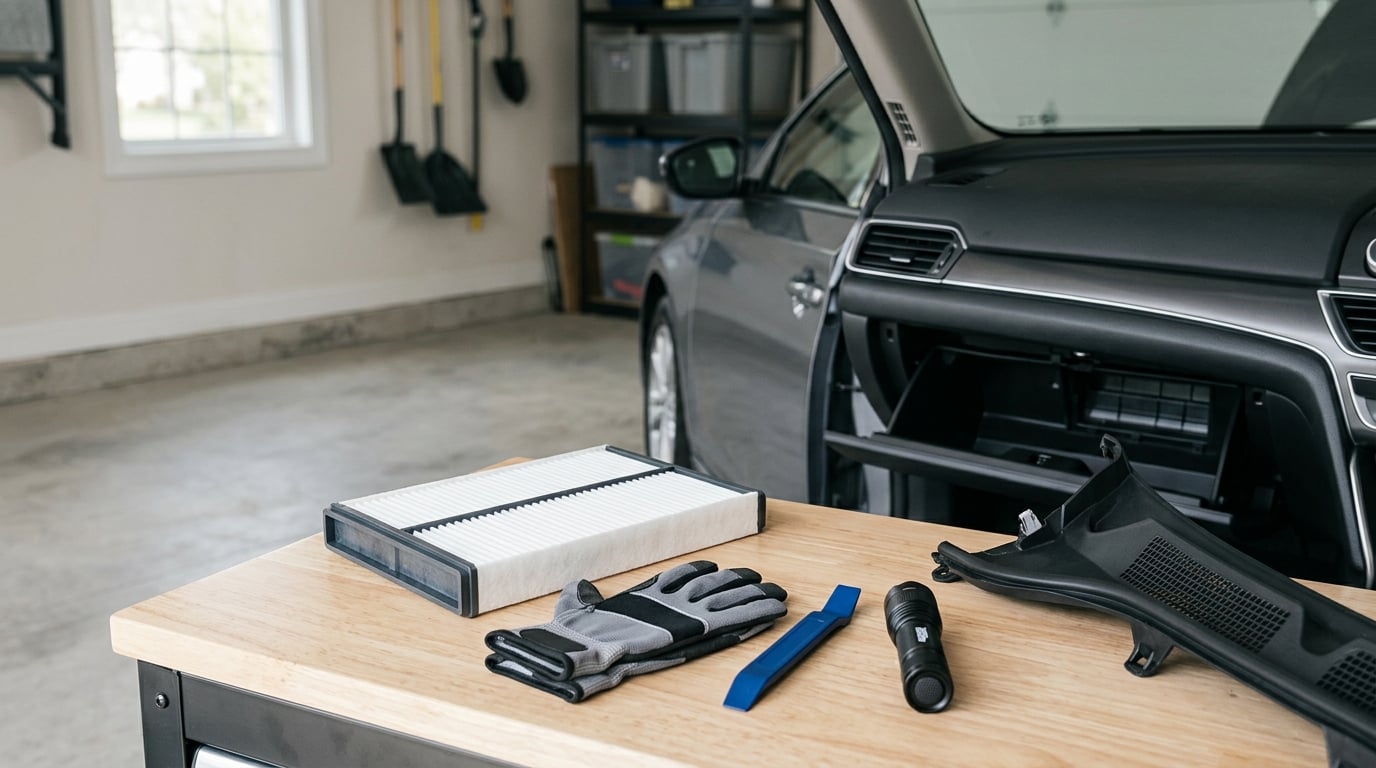
BMW cabin filter replacement step by step takes 15 to 30 minutes on most models, and the only tools it really asks for are a Torx T20, a trim tool and your hands. The filter sits under the cowl at the passenger side of the engine bay, so the hood comes up first, not the dashboard. I will walk through the whole job, from confirming you have the right element to testing the airflow once the cowl is back on.
BMW calls the part a microfilter, and it is the same thing as a cabin air filter. It is a pleated element that traps dust, pollen, leaves and road grime before the air reaches the cabin, and it is one of the easiest things on the car to change yourself.
If you have never touched it, treat your owner’s manual as the authority for access points. Every generation does the housing slightly differently.
Table of Contents
- What You Need
- BMW Cabin Filter Replacement Step by Step
- Common Mistakes
- Frequently Asked Questions
- How often should a BMW cabin air filter be replaced?
- Which way does the BMW cabin filter arrow point?
- Do I need to remove the whole BMW dashboard to replace the cabin filter?
- How do I know if my BMW cabin filter is the wrong size?
- Can I reuse the old cabin filter after cleaning it?
- What is the difference between a BMW cabin filter and engine air filter?
What You Need
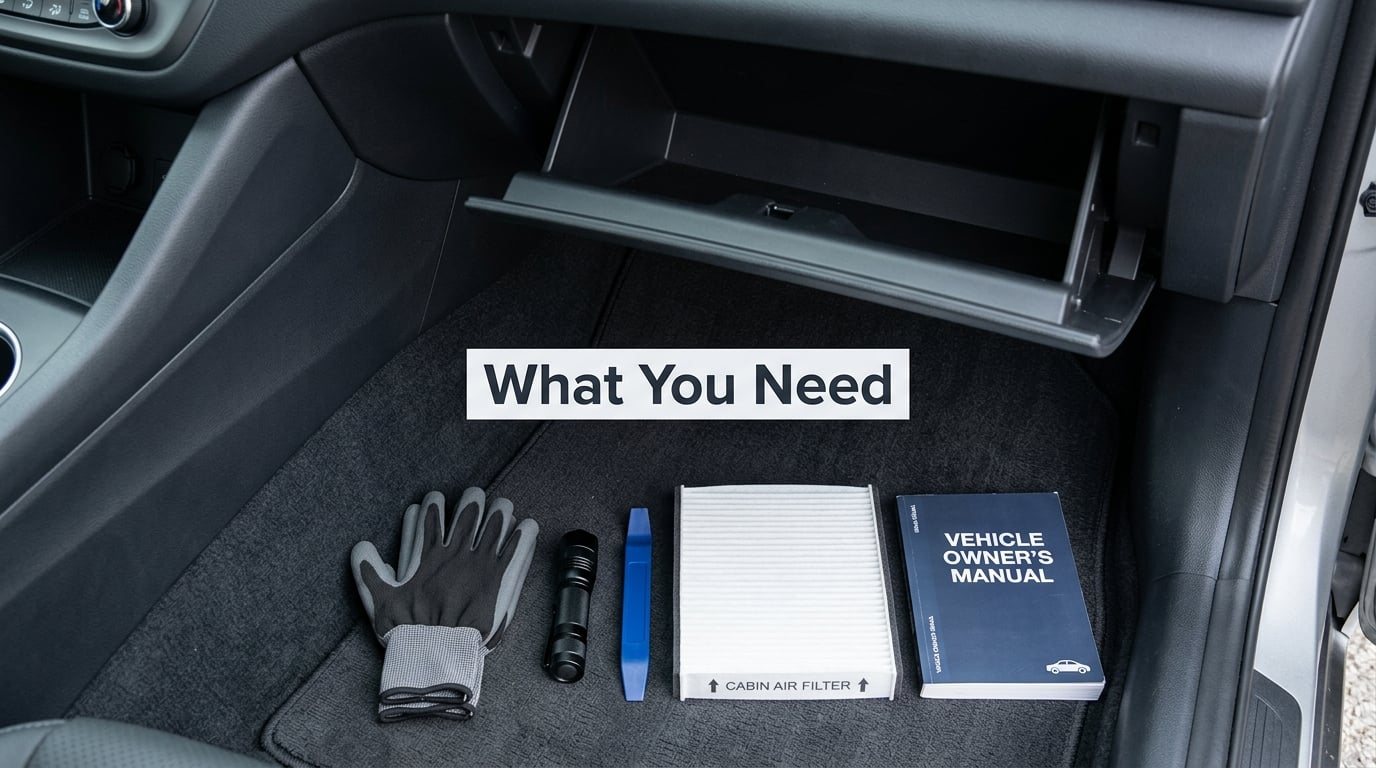
Start with the part, not the tools. A filter that is a few millimetres off will still slide in, but it will not seal, and you will get whistling or weak airflow that looks like a blower fault.
- The correct microfilter for your chassis code and production year. Some cars take one long element, others take two shorter elements clipped or taped together, which is where the common “why does my BMW have two cabin filters” question comes from.
- Torx T20 bit and driver. Some housings use Torx-head screws, others use clips and locking tabs. Have the correct bit before you start, because a stripped screw head ends the job.
- 10mm socket for cowl fasteners on some models.
- Plastic pry tool or trim tool. Never use a screwdriver blade against painted plastic or a weather seal.
- Gloves and a small flashlight. The housing is dark, cramped and full of sharp edges.
- A phone or camera to photograph the washer hose routing and the filter orientation before anything comes apart.
- A plastic bag to carry the old element out. You do not want to tip years of dust into your garage.
How to verify the right filter before you buy it
Match three things: model, chassis code and production year. A BMW parts catalog, a dealer with your VIN, or a reputable aftermarket listing that asks for all three will get you a correct part. Part number 64 31 9 312 318 is the genuine element cited for a number of F-series applications and is a useful cross-check, but the number alone is not proof it fits your car.
Measure the old element before you throw it out. Length, width and depth, plus whether the housing takes one piece or two, tell you immediately if a listing is close but wrong. Visually similar aftermarket parts are sold on this basis constantly.
On cost, the part itself is a small outlay. Dealer quotes for this job are dominated by labour, and owners have reported quotes in the hundreds on cars where the whole job needs a single Torx tool. Shop on part quality, not on brand name alone, and read our note on priming a new oil filter if you want the same careful approach on the engine side.
Change interval and whether your car even has a filter
BMW schedules the cabin microfilter by mileage, commonly somewhere between 30,000 and 50,000 miles depending on model and market, and your manual has the figure for your car. Most owners go far longer than that, often because the reminder never appeared and nobody thought about it.
On older chassis there may be no cabin filter at all, so check before you buy parts. A quick way to confirm is to look for the filter access cover under the hood on the passenger side, or to ask a dealer with your VIN.
BMW Cabin Filter Replacement Step by Step
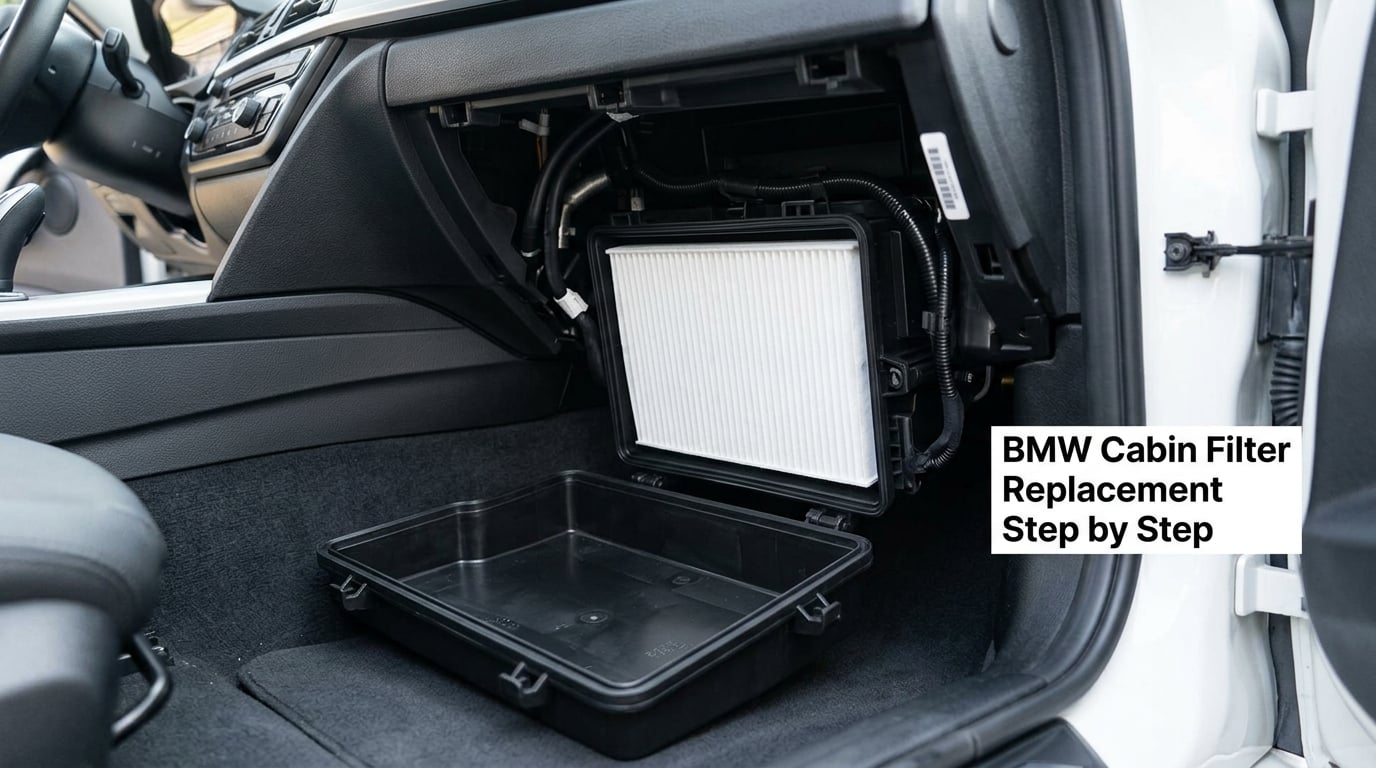
This is the sequence. Take your time at the housing rather than rushing the trim, because most damage happens during reassembly, not removal.
Step 1: Confirm the Correct Filter and Service Interval
Before you touch a fastener, confirm what your car takes and how many elements the housing holds. Chassis codes in the same family can differ: an E46, an E90, an F30, an F48, an F25 or G01 and a G29 do not all use the same element or the same access route.
Note the interval your manual specifies so you can set the next reminder. Then photograph the old filter in place. That single photo tells you the orientation later, which saves guessing with a new element half in the slot.
Step 2: Park Safely and Access the Filter Housing
Switch the ignition off, select park, set the parking brake and open the hood. Let the engine bay cool down if you have just driven, and keep the key away from the ignition so the car cannot be started while you are leaning over the cowl.
Work on the passenger side of the engine bay. On LHD cars the housing is usually straight above the passenger footwell, behind the windshield. On RHD cars, owners consistently report more disassembly is needed to get to it, so allow extra time and expect to move aside a few more trim pieces.
Remove the rubber weather seals and cowl access panel by pulling them out of their channels. On E-series cars there is a pin in front of the hood lifter bottle and the cowl clips have to be pressed together before the panel will lift.
Photograph the windshield washer hose routing before you unhook anything. Those hoses run across the access panel, and owners have reported connected services and electronics errors after a filter change that turned out to be a reseating issue. Take one picture and you can rebuild it exactly.
Step 3: Remove the Old Cabin Air Filter
Unhook the washer nozzle hoses at the cowl and move them aside gently. They are short plastic lines and they kink or crack if you yank them.
Release the filter cover. On many housings you lift the front edge and pull it toward you, off rear guide pins or locking tabs. On others the cover is held by screws, and one owner recommends starting each screw part-way and not overtightening so you cannot strip the housing.
Look at the old element before you touch it. Note which face the airflow marking is on, then slide it straight out. The lower element often sits beneath a retaining tab, so expect to catch the edge of it and likely scrape a finger.
Pull it slowly and keep it level. A clogged element sheds dust, leaves, grass and whatever else has accumulated in there, and tipping it into the housing defeats the whole job. Do not blow it out with compressed air either. The media tears and the filter is scrap, which is why most shops refuse to do it.
Step 4: Inspect and Clean the Filter Housing
Look into the housing with your flashlight before the new element goes in. Check the rubber seal around the cover for splits or flattening, and look for moisture or a greenish film on the plastic, which points to a drain or evaporator problem rather than a dirty filter.
Vacuum out loose debris and lift out leaves by hand. Wipe the accessible plastic surfaces with a damp cloth. Keep water and cleaning spray out of the HVAC case, and do not direct compressed air into the duct, because that pushes dust straight toward the blower and the evaporator.
If you find standing water, mould or a broken seal, deal with that before the new filter goes in. A fresh element will not fix airflow that is restricted somewhere else.
Step 5: Install the New BMW Cabin Filter
Air enters the housing from outside the car at the windshield and travels toward the blower and into the cabin, so the printed airflow arrow or airflow marking on the frame points in the direction the air moves, toward the rear of the car and the blower.
Some housings also print the direction on the cover or the housing rib. If the element and the housing disagree with your reading, trust the housing and check your manual, because a backwards element is the single most common installation mistake.
Feed the element in without crushing the pleats. The sealing lip around the edge has to sit flat and unbroken, and any part of the frame edge that kinks will leak air past the media. Push the element down until it sits square and fully seated behind the retaining tab.
On dual-element housings, join the two pieces as supplied, taped portion forward. Take the rear mat out of the passenger footwell if the opening is tight; removing it gives a few millimetres of extra clearance and that is often the difference between seating it neatly and wrestling it.
If the filter resists, do not force it. Pull it back out, check the tab and the seal lip, and try again square to the opening. Resistance usually means something is folded or the element is turned the wrong way.
Step 6: Reassemble and Test the HVAC System
Refit the cover, the cowl access panel and the rubber weather seals, pressing the clips back into their channels until they latch. Reconnect the washer nozzles to the correct positions you photographed earlier. Close the hood, then check that water hits the windshield when the washers run, because a misrouted hose shows up there and nowhere else.
Start the car and run the fan through every speed. Listen for changes in tone, check that air reaches every vent including the defogger, and run the air conditioning briefly. A note on airflow you can feel is a filter change working.
If airflow is still weak after the change, work through it in order: filter not seated or installed backwards, housing still dirty or wet, blower resistor or motor, then a clogged evaporator. Cleaning the housing and reseating the filter resolves most post-change complaints.
Finally, reset the service interval reminder if your car logged the microfilter service, and clear any fault codes that appeared while the trim was off.
Common Mistakes
Almost every problem with this job traces back to one of the following.
- Buying a close-looking part. Fix: match chassis code and production year, and measure the old element before disposal.
- Installing the filter backwards. Fix: the airflow marking points the way the air travels, toward the blower and the cabin. Check the housing printing if it is unclear.
- Crushing the pleats or kinking the sealing lip. Fix: feed it in square, do not shove it, and push until it sits flat.
- Forcing the cowl clips and weather seals. Fix: warm the rubber slightly with a hairdryer and press clips with fingers. Broken clips mean water running down the inside of the windshield.
- Forgetting the washer hoses. Fix: photograph the routing first, and test the washers after reassembly.
- Leaving the housing unseated or rattling. Fix: start housing screws part-way, align the cover with its guide pins, and tighten evenly without stripping the plastic.
- Skipping the housing clean. Fix: vacuum it out every time. A clean filter in a dirty housing still gives poor airflow.
- Assuming a blower fault when the filter was the problem. Fix: test airflow at every speed before condemning the blower, and remember how a UV dye check works when you need to trace an air or fluid leak properly.
Two more habits worth keeping. Start housing screws by hand before using a driver, and never spray cleaner or water into the HVAC case. If the old filter comes out looking like a used vacuum bag, that is normal, and it is a good reason to shorten your next interval.
If you enjoy the hands-on work but hit a seized fastener or a housing that will not release, how to remove a stuck oil filter covers the same principle on the engine side.
Frequently Asked Questions
How often should a BMW cabin air filter be replaced?
BMW schedules the cabin microfilter by mileage, typically somewhere between 30,000 and 50,000 miles depending on model and market, so check your own manual for the exact figure. Most owners go much longer, often because the service reminder never came up. If you drive mostly in dusty or leafy conditions, or notice a musty smell, weak airflow or worse pollen symptoms, change it sooner. A yearly check of the housing takes two minutes.
Which way does the BMW cabin filter arrow point?
The printed airflow marking points the way the air moves, from the windshield intake toward the blower and into the cabin, so it faces the rear of the car with the hood open. On dual-element housings, the taped join faces the front. Some housings also print the direction on the cover. If the element and housing markings disagree, trust the housing and confirm in your manual.
Do I need to remove the whole BMW dashboard to replace the cabin filter?
No. On almost every BMW the filter housing is reached from the engine bay on the passenger side, under the cowl at the base of the windshield. You remove rubber weather seals and the cowl access panel, not the dashboard. Right-hand-drive cars need noticeably more trim disassembly than left-hand-drive ones, but no dashboard removal. Allow 15 to 30 minutes on most models.
How do I know if my BMW cabin filter is the wrong size?
It will still go in, but it will not seal. Signs are whistling at high fan speed, airflow that feels weak or uneven, dust appearing on the vents within days, and a sealing lip that sits proud rather than flat. The reliable check is to measure the old element for length, width and depth, and to confirm whether the housing takes one piece or two, before ordering.
Can I reuse the old cabin filter after cleaning it?
No. Pleated cabin filter media is designed for one service life, and cleaning it with a brush, a vacuum or compressed air tears the fibres and lets finer dust through. Owners and shops both warn against blowing filters out with compressed air for that reason, and the element is scrap afterward. Replace it, and vacuum the housing while the cover is off.
What is the difference between a BMW cabin filter and engine air filter?
They serve the same idea but different systems. The cabin air filter, called a microfilter on BMWs, sits in the HVAC housing under the cowl and cleans air coming into the cabin. The engine air filter sits in the intake tract and cleans air entering the engine. A clogged cabin filter gives you musty smells, weak blower airflow and fogged windows; a clogged engine filter hurts power and economy.
Start with the housing, not the part. Pop the hood, work on the passenger side, pull the rubber seals and cowl access panel, and take a photo of the old filter in place before anything comes apart. Everything after that is straightforward, and doing it on a schedule beats paying dealer labour for a job that needs one Torx tool.