
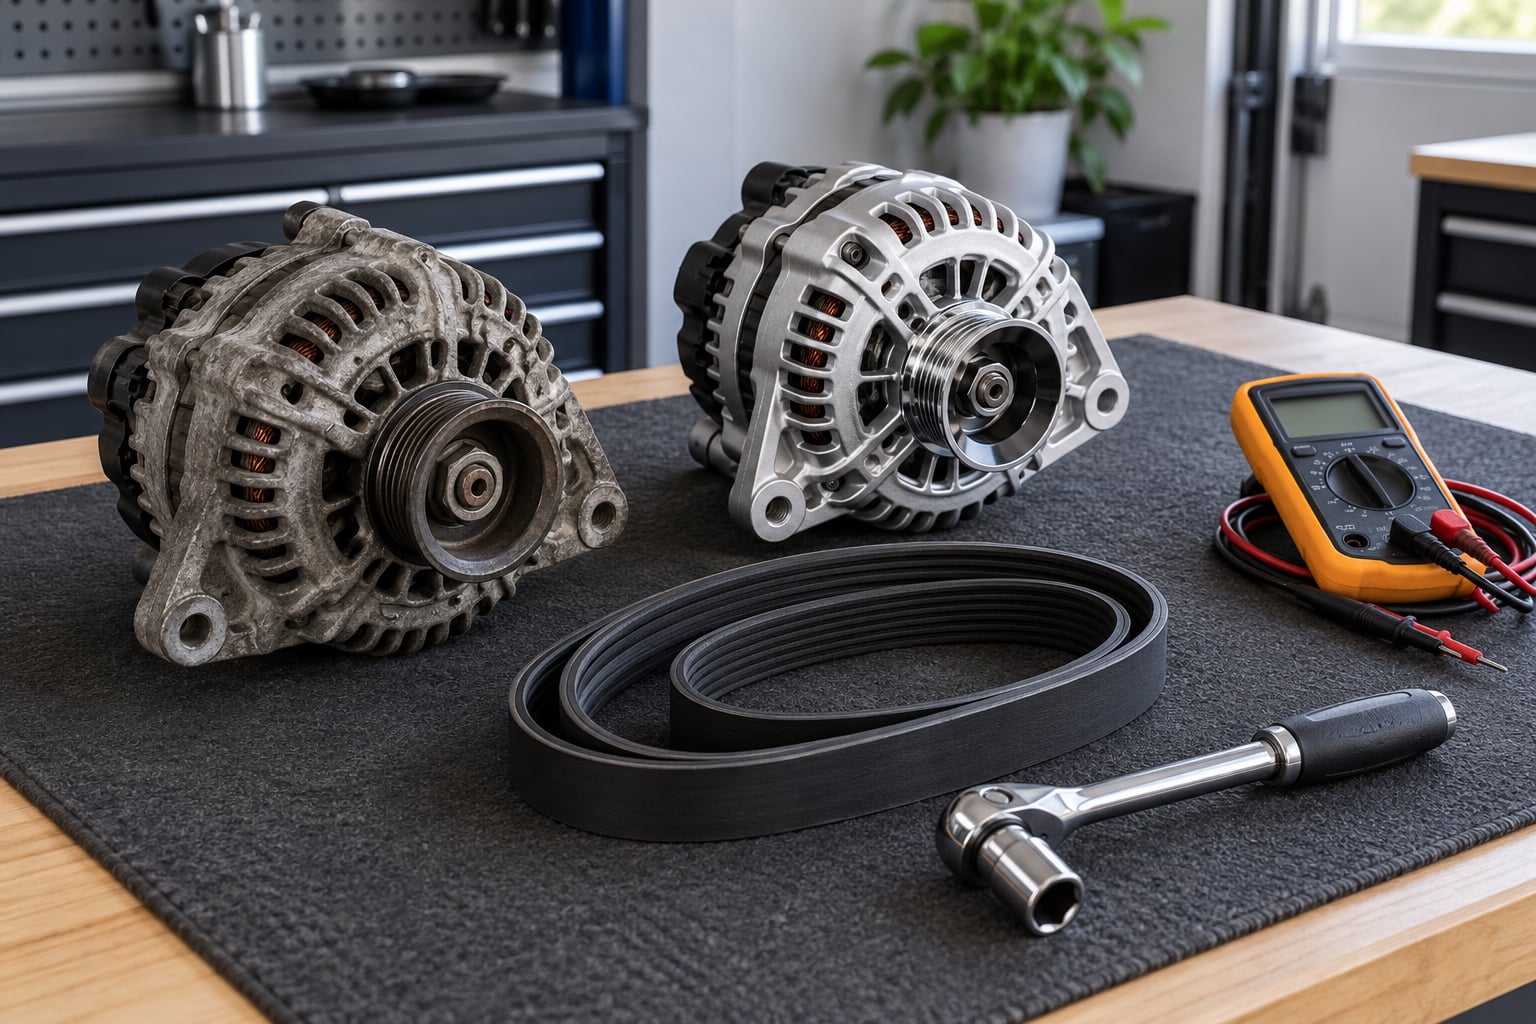
An alternator swap is one of those jobs that looks complicated in a video and turns out to be fairly ordinary once you know the order of operations. To replace an alternator you confirm the fault with a multimeter, match the correct unit to your BMW, disconnect the battery, come the belt and the wiring harness, fit the new unit, then verify charging voltage before you drive. On most BMWs this is a two to three hour job once you have the part in hand, though access is what decides the difficulty, not the procedure itself.
Two things decide whether this goes well. The first is testing before you disassemble, because a tired battery or a corroded ground will send you straight back to the driveway with a new alternator and the same warning light. The second is part matching: BMW alternators differ in amperage, pulley type, connector layout and even which side of the engine they sit on. BMWs also carry memory systems that lose radio codes, window settings and throttle adaptations when the battery is disconnected, so that comes before anything else.
What follows is a model-aware procedure rather than one generic set of steps. Procedures vary by engine and year, so treat the service manual for your chassis code as the final word, especially on torque figures and memory-saving procedure.
Table of Contents
- What You Need
- Step-by-Step: How to Replace an Alternator
- 1. Confirm the Fault Before You Replace the Alternator
- 2. Match the Replacement Alternator
- 3. Disconnect the Battery Safely
- 4. Remove the Serpentine Belt
- 5. Disconnect and Remove the Alternator
- 6. Install the New Alternator
- 7. Reconnect the Battery and Electrical Connections
- 8. Prime, Start, and Verify Charging
- 9. Check Under Load and Road-Test
- Common Mistakes
- Frequently Asked Questions
- Conclusion
What You Need
Start with the part, not the tools. An alternator is a cheap-looking item with many near-identical variants, and the wrong one shows up as a rattling mount, a connector that will not latch, or a belt that sits at the wrong angle. You will also want the belt if the car is due for one, since a belt comes off during this job anyway and a fresh one costs less than a second teardown.
- Replacement alternator matched to your chassis code, engine and year
- Serpentine belt and any idler or tensioner hardware your model uses
- Socket set in metric sizes, plus a ratchet, extensions and a breaker bar
- Multimeter that reads DC voltage accurately, with a test lead clamp on the positive side
- Terminal cleaning supplies: wire brush or terminal cleaner, baking soda and water for corrosion, dielectric grease for the connector pins, plus a clean rag
- Support equipment: a jack and rated axle stands if access comes from underneath, wheel chocks either way, and good lighting
- Gloves and eye protection, plus a memory saver or the equivalent battery backup unit if your BMW requires one
- The service manual for your vehicle, printed or on screen, for torque specifications and connector locations
One warning about the battery. A perfectly healthy battery can still need replacement after you discharge it during fault-finding or leave it sitting while the job stretches over a weekend, and a battery that was marginal before you started will usually not recover. If you are not sure which of the two parts has failed, start with how to tell if it is the battery or the alternator, test the battery before you begin, keep the vehicle on a battery maintainer while it is apart, and budget for a new battery if the resting voltage is already poor.
Step-by-Step: How to Replace an Alternator
1. Confirm the Fault Before You Replace the Alternator
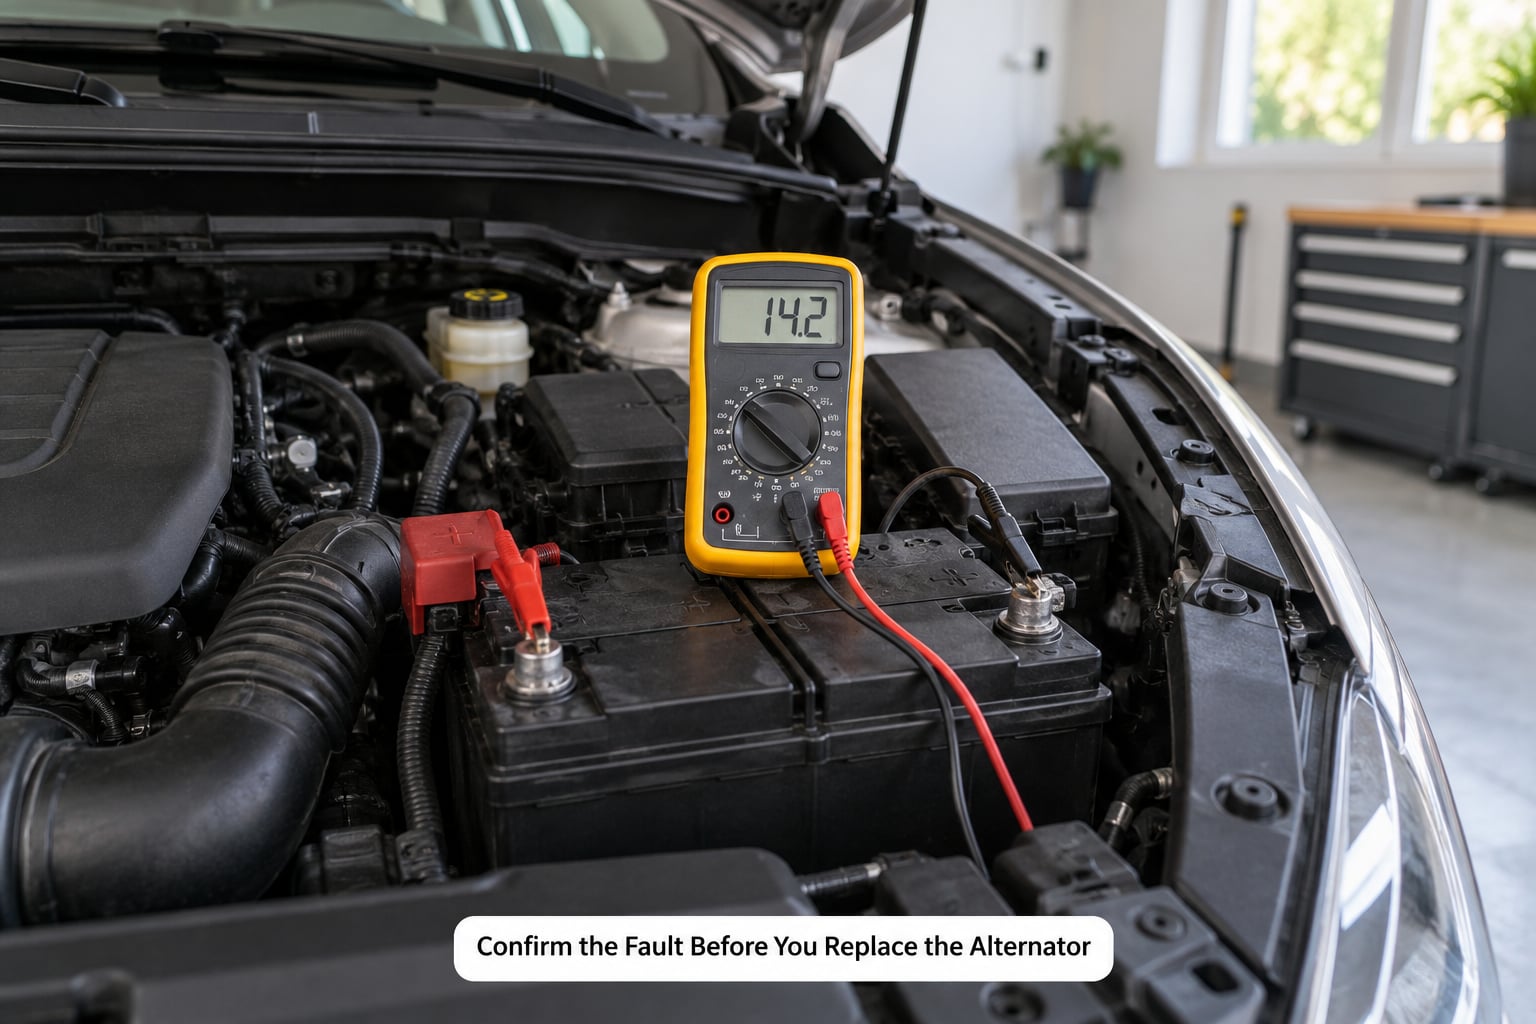
Measure the battery with the engine off first. A fully charged 12-volt battery usually rests around 12.6 volts, and anything under about 12.2 volts suggests it is discharged or worn out on its own.
Start the engine and watch the meter. A healthy charging system typically puts roughly 13.5 to 14.8 volts at the battery while the engine idles, and running headlights and the climate blower usually nudges the reading up a little rather than pulling it down. If the reading sits near 12 volts, the alternator is not charging. If the engine dies as soon as you unplug the battery while it runs, that is a clear alternator fault as well.
Now check voltage drop across the alternator itself. With the engine running, probe between the alternator B+ output terminal and the battery positive post. More than about half a volt of difference points at a bad cable, a corroded connector or a poor ground path rather than a dead alternator. A good result here, combined with low charging voltage, means the alternator is the problem. If your BMW has a voltage regulator controlled by the engine, expect a charging fault code to confirm the diagnosis.
If you want the diagnosis nailed down before buying anything, our guide to how to test an alternator with five easy checks on a BMW runs the same meters in a longer order.
2. Match the Replacement Alternator
Order by specification, never by shape. Start with the chassis code on the body or on the VIN plate, then the engine type and model year, and confirm the amperage rating against the old unit.
Check four things against the part coming out of the box: the mounting bracket and bolt pattern, the pulley type and whether it carries an overrunning clutch, the wiring connector shape and pin count, and the position of the unit relative to the belt. Some BMWs moved the alternator between the engine and firewall across model years, and a few use different pulley widths on the same engine. The amperage rating should be equal or higher than the original, not lower, and the pulley diameter should match so belt tension stays where the tensioner expects it.
If the new unit arrives with a different connector than the old one, stop and get an adapter or the correct part rather than cutting and splicing wires.
3. Disconnect the Battery Safely
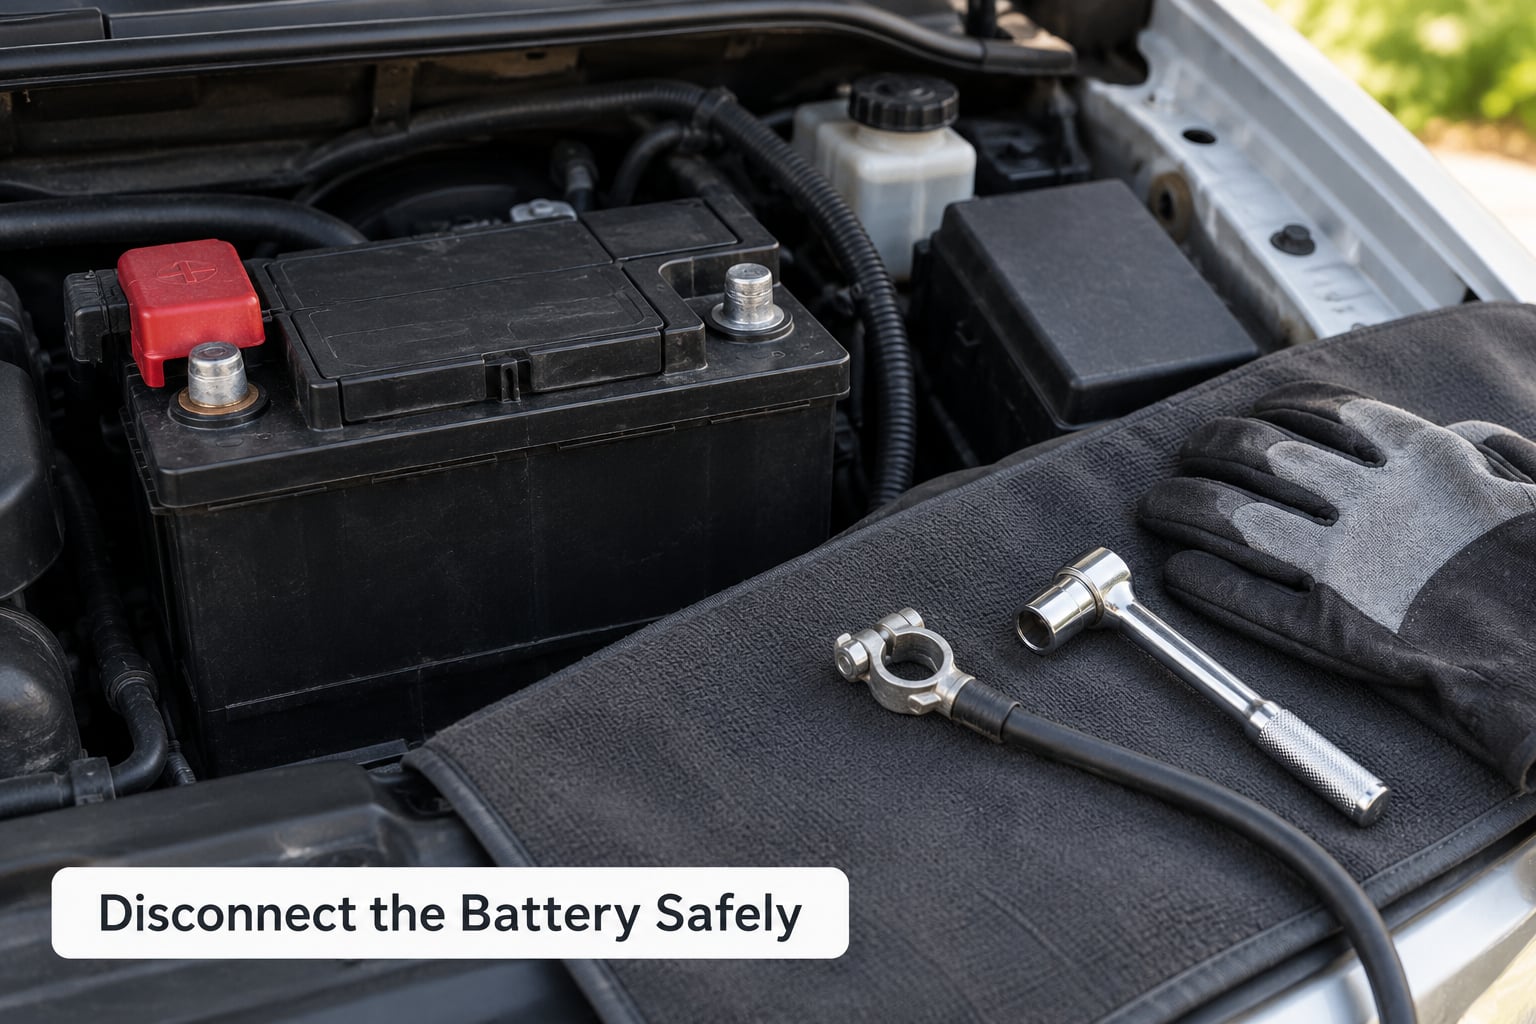
BMW electronics hold their settings in memory, and a flat battery can cost you radio codes, window and mirror calibration, throttle or steering adaptations, and on some models a trip counter or a coded owner menu. Connect a memory saver first, following the unit’s instructions and the order specified in your service manual.
Then disconnect the negative battery cable first and tuck it aside so it cannot swing back and touch the terminal. On many BMWs the battery sits in the luggage compartment rather than under the bonnet, on the right-hand side, and the terminals may be tucked under a trim panel, so check both locations before assuming it is missing. If the vehicle has a second battery in the boot, isolate it too. Only remove the positive cable once the negative is off your hands.
Wait a few minutes after disconnecting before you work on the electrical side. Modules keep drawing for a short while and you do not want a live circuit while you unplug the harness.
4. Remove the Serpentine Belt
Photograph the belt routing before you touch anything, and take two angles. Once the tensioner swings, the path is no longer obvious, and a wrong routing is a leading cause of belt failure a few thousand miles later. Check for a routing diagram under the bonnet lid or in the service manual as a backup.
Relieve tension with the specified tool. Most BMWs use an automatic tensioner that you rotate with a breaker bar on the pulley bolt while you work the belt off the smooth pulley, and some designs use a separate release tool or a locking pin. A manual tensioner needs a loosening point plus a new tension setting afterward, so do not treat the two systems the same way. If your model runs an auxiliary belt alongside the main one, it comes off too. Support the alternator as you go, because on some engines it is the belt tension that holds it against its mounts. Our step-by-step BMW serpentine belt guide covers the tensioner variants in more detail.
5. Disconnect and Remove the Alternator
Take close-up photos of the wiring before you unplug anything, including the orientation of each connector. Unplug the harness connector and any separate sensor plug, releasing the locking tab rather than pulling on the wires. Label anything unfamiliar with masking tape so the reinstall is not guesswork.
Remove the main B+ cable nut and the cable, insulating the end immediately so it cannot arc against the housing. Then unbolt the mounting fasteners, taking note of any spacer or bracket that comes off. Support the alternator as the last bolts come out and lift it clear without twisting the pulley shaft or levering on the housing, which is aluminium on most units and cracks easily. If this is your first pass at how to replace an alternator work, allow yourself more time at this stage rather than at the test stage.
6. Install the New Alternator
Clean the mounting surface and the alternator bracket back to bare metal. This is the electrical ground path for the unit, and corrosion under a mounting bolt is a quiet cause of a charging system that never quite works. Wipe it with a wire brush, degrease it, and a thin film of dielectric grease on the mating surfaces keeps moisture out.
Transfer any hardware, spacers or brackets from the old unit, position the new alternator on its mounts, and run the bolts up by hand before tightening. Confirm the pulley lines up with the belt plane, then route the belt along the original path. With an automatic tensioner, rotate the pulley to seat the belt fully on every pulley; a belt that sits proud on one groove destroys itself quickly. Tighten the mounting bolts to the torque specification in your service manual, tightening in stages rather than cranking one bolt to final torque.
7. Reconnect the Battery and Electrical Connections
Reconnect the harness connectors first, each one returned to the position you photographed, and confirm every latch clicks. A connector that looks plugged in but is not fully seated will leave you with an intermittent charge fault that only shows up on a long drive.
Clean the B+ terminal and the cable end, then tighten the main power connection to specification. Reconnect the battery with the engine off: positive first, negative last. Never swap the charging cable between posts, and never bridge the connection with an unrated jumper or a length of household wire. The main charging cable carries serious current, and an improvised connection is a fire risk rather than a shortcut.
8. Prime, Start, and Verify Charging
Before you crank the engine, walk around the job once. The belt is seated in every groove, nothing is resting on the belt, the connectors are locked, the battery is connected, and the tools are clear of the fan and the pulleys. Also make sure you are not about to start with the car in gear or in park with no brake on.
Start the engine and watch the instrument cluster. The battery or charging warning light should go out within a second or two. Listen for a new squeal or a charging whine from the new unit, which can point to a misalignment. Then set the meter across the battery: with the engine idling, expect roughly 13.5 to 14.8 volts. Your BMW’s specified charging voltage is the figure to trust if it differs, since some models regulate slightly differently depending on temperature and battery state.
9. Check Under Load and Road-Test
A passing idle test is not the end of it. With the engine running, switch on the headlights, the climate blower and the heated rear window, and watch the battery voltage. It should stay in roughly the same band rather than sagging toward 12 volts. A reading that falls under load points at a bad connection, a weak alternator or a tired battery.
Look for a hot alternator housing, a burning smell, visible belt dust on the alternator, or a belt that shows glaze. Any of those and you stop the engine and go back to the mount and the belt rather than driving. When the loaded test holds steady, take a short drive, then recheck the voltage and the belt tension at the next stop. Retorque the mounting bolts after a short run if your service manual calls for it, since they can settle as the housing seats.
Common Mistakes
Most repeat alternator failures trace back to one of the following, and each has a simple correction.
Wrong alternator specification. Ordering by appearance gets you a unit with a different amperage rating, a different pulley or a connector that will not fit. Check the chassis code, engine, amperage, pulley and bracket against the old unit before the box is opened.
Reversed battery polarity. Connecting the negative cable first or last against the service manual’s order can damage modules. Follow the specified sequence and, on many BMWs, save the electronics before you disconnect at all.
Loose or contaminated B+ connection. This is the most common cause of an alternator that tests fine on the bench and fails in the car. Clean both surfaces, tighten to specification, and check the voltage drop across the connection with the engine running.
Unclean mounting surface. Corrosion between the alternator casing and its bracket ruins the ground. Brush it back to metal before fitting the new unit.
Damaged O-rings or seals. On engines where the alternator sits close to the block, a split casing seal means coolant intrusion. Replace the seal with the unit and check the coolant level afterwards.
Incorrectly routed or under-tensioned belt. A belt routed one groove off, or tensioned by hand rather than by the automatic tensioner, fails early and can throw. Photograph the routing and let the tensioner set the tension.
Overtightened mounting bolts. Aluminium housings crack, and a cracked housing means coolant in the windings. Tighten in stages to the specified figure.
Unplugged sensors left behind. A small temperature or charge-signal plug that never goes back in can stop the engine charging properly on some models. Photograph every connection before disassembly.
Skipping the post-install load test. A good idle reading hides a marginal alternator and a tired battery. Test with headlights and blower running, and only drive once the loaded voltage holds.
Two quick habits prevent most of the above. Take the photos before you touch anything, and run the multimeter both before and after the job so you know whether you actually fixed the fault.
Frequently Asked Questions
How long does it take to replace an alternator?
A straightforward swap takes two to three hours on a BMW with good access, including the belt, the wiring and the voltage checks. Longitudinal engines with a top or side mount are usually quicker. Transverse layouts and models buried behind the wheel, the fan shroud or the intake can push it to four hours or more the first time, because the access work is the job, not the alternator itself. Order the part before you start, not after the old one is out.
Should I replace the battery when replacing the alternator?
Sometimes. If a bad alternator drained the battery, the battery may never recover and you will be stranded on the next cold morning. Test it first: a rested voltage around 12.6 volts or higher suggests a healthy battery, while a reading near 12.2 volts or below means replace it. Replacing the alternator without also fitting a sound battery is the most common reason a repair seems not to have worked.
Can I drive a car immediately after replacing the alternator?
Only after the checks pass. Run the engine, confirm the warning light goes out, and verify charging voltage of roughly 13.5 to 14.8 volts at the battery, then repeat the reading with headlights and the climate blower running to put the system under load. If the voltage holds and there is no belt noise, heat or smell, a short drive is reasonable. If anything sags or squeals, leave the car parked and go back to the connections.
Is a remanufactured alternator as good as a new alternator?
For most drivers, a remanufactured unit from a reputable supplier is the better value. The housing, bearings, stator and housing hardware are reused, while the worn parts that actually fail, the diodes, brushes, regulator and rotor, are new, and you usually get a longer warranty than a cheap new unit carries. Buy from a seller that offers a lifetime warranty and a core return, and match the amperage, pulley and connector to your car exactly.
When should I have a BMW mechanic replace the alternator?
Hand it over when access is the problem rather than the procedure: a transverse engine with the alternator behind the wheel, a unit buried under the fan shroud, the airbox or the charge-air cooler, or any job that needs the car on a lift to reach. It also makes sense if you are without metric tools, a multimeter or support equipment, if the mounting bolts are seized or stripped, or if a memory saver is required and you do not have one. A shop also gives you a warranty on the work, not just the part.
Conclusion
How to replace an alternator comes down to four things done in the right order. Confirm the fault with a multimeter so you are not replacing a good alternator. Verify the replacement against your chassis code, engine, amperage, pulley and connector. Follow the model-specific procedure for memory saving, belt routing, wiring and torque specifications, since those are where the differences between BMWs live. Then do not drive until the belt is seated and quiet and the charging voltage holds under load. Get those four right and the job is finished, not just nearly finished.