
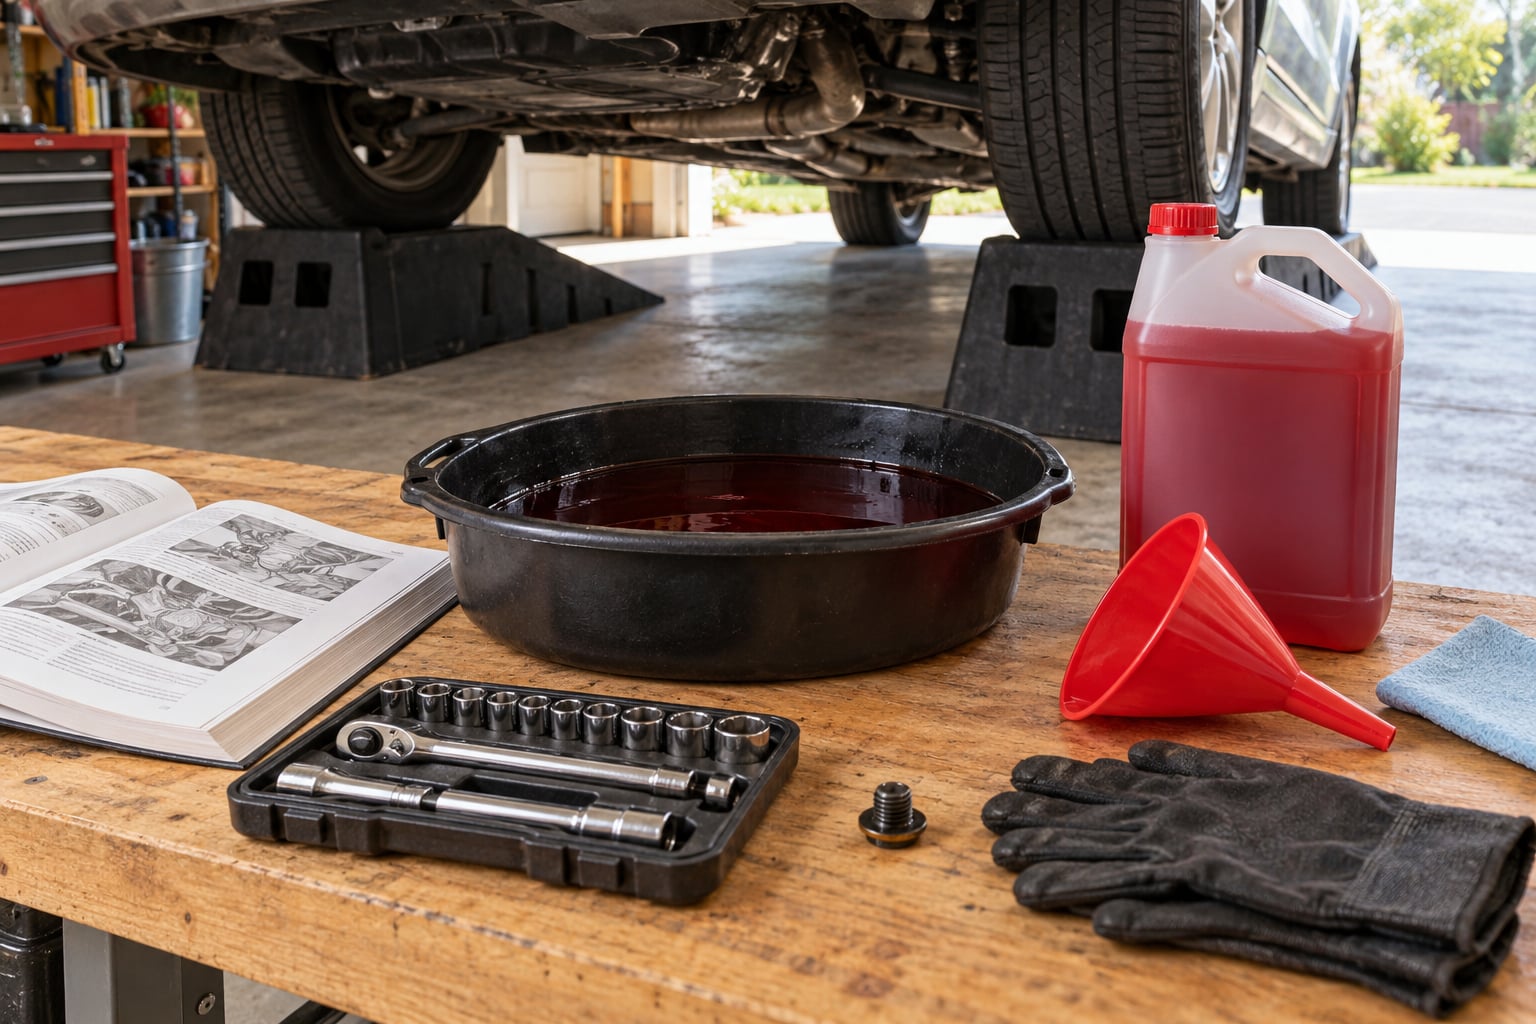
Changing transmission fluid at home is a drain-and-fill job most owners can finish in an afternoon with a drain pan, a socket set and the exact fluid their owner’s manual calls for. You pull a plug or drop the pan, catch what comes out, refill to the specified level, and check for leaks. Expect an hour or two, and expect to replace roughly half the fluid in the system.
What separates a smooth job from an expensive one is reading the manual first. Transmission fluid is not interchangeable across brands, and many transmissions only give up their fluid through a pan drop or need a specific temperature before the level check reads true. Get those two facts straight and the rest is straightforward.
One warning before we start. If your car already slips, bangs into gear, or smells like burnt toast, a fluid change is diagnosis, not maintenance. Stop driving it and let a shop look at it.
Table of Contents
- What You Need
- Step-by-Step: How to Change Transmission Fluid at Home
- Step 1: Confirm the transmission type and required fluid
- Step 2: Check the fluid condition before draining
- Step 3: Warm the transmission only if the manual allows
- Step 4: Raise and support the vehicle safely
- Step 5: Drain the old transmission fluid
- Step 6: Inspect the old fluid and reinstall the plug
- Step 7: Add the correct amount of new fluid
- Step 8: Check the level, leaks, and final operation
- Common Mistakes
- Frequently Asked Questions
- Can I change my car’s transmission fluid myself?
- Do all transmissions use the same fluid?
- How much transmission fluid does a drain-and-fill need?
- Should the transmission be warm when I check the fluid?
- Is a transmission flush better than a drain-and-fill?
- What does contaminated transmission fluid look like?
- Final Transmission-Fluid Checklist
What You Need
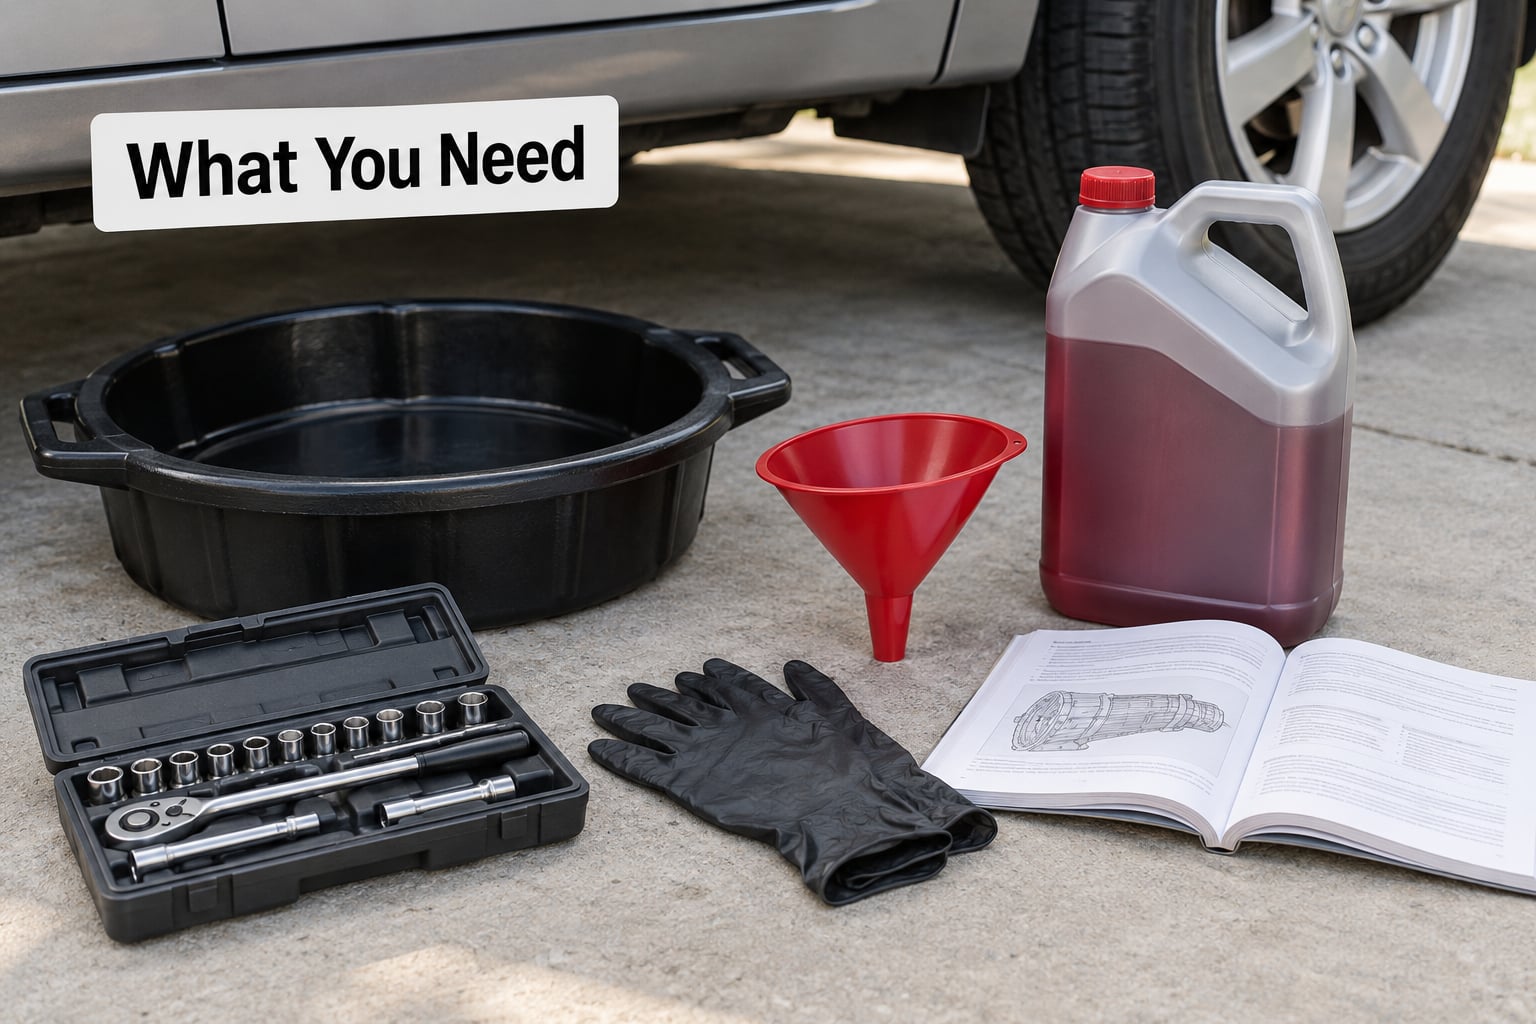
Gather everything before the car goes up on the stands. A job that stops halfway because you cannot find the right socket is the most common way a two-hour task turns into an evening.
- The owner’s manual for your exact vehicle, plus the service manual if you have one. This is where the fluid specification, capacity, drain procedure and fill level live.
- The approved transmission fluid, in the quantity your manual lists plus one spare quart. Buy the brand and specification the manufacturer names.
- Drain plug hardware, including a new crush washer or O-ring if your transmission uses one, plus the drain plug itself if yours threads in easily.
- A suitable drain pan, low and wide enough to clear the exhaust and wide enough to catch the flow. A shallow pan means a second trip to the driveway.
- A funnel that mates with the fill port, and a hand pump or a bottle you can pour and control.
- Fluid-resistant gloves and safety glasses, plus absorbent card and a plastic bag for the old fluid.
- Ramps rated for the vehicle weight, or four properly rated jack stands, plus wheel chocks.
- Basic hand tools: sockets and ratchet, a drain plug socket or hex bit that fits, a torque wrench, a flashlight, and a pan gasket scraper if you drop the pan.
Two things people bring that they should not. Do not buy a generic “multi-vehicle” automatic transmission fluid because the label says it fits most cars; Toyota’s WS, Honda’s DW-1 and multi-vehicle ATF are genuinely different formulas. And do not plan on a filter or a pan gasket unless your manual lists them as part of this procedure, because the two jobs are not the same job.
While the car is still up, remember the rest of the fluid change family on a BMW or any other car. We have a guide on how to do an oil change on a BMW that covers the same support and drain discipline if you are doing both in one afternoon.
Step-by-Step: How to Change Transmission Fluid at Home
Step 1: Confirm the transmission type and required fluid
Figure out what the car actually has before anything else: a conventional automatic, an electronically controlled automatic, a CVT, or a manual gearbox. The level check differs between them, and so does the fluid.
Then open the manual to the maintenance section and find three things: the fluid specification, the total system capacity, and the fill or level procedure. Many manuals call out a specific fluid temperature for the final level check, which is not a detail you can skip.
BMW owners should read this part twice. Some transmissions use a fluid the dealer sells and expect you to buy by the liter, and some are filled through a preset fill port with the fluid conditioned inside the machine, which is not something you can do in a driveway. Our piece on the BMW transmission fluid change lifetime fill myth covers that reasoning in more detail.
Step 2: Check the fluid condition before draining
Pull the dipstick or check the designated level point before you drain anything. That sample tells you what you are dealing with, and it is the only chance you get to look at it before it hits the pan.
Follow the manual’s conditions exactly: engine running or off, transmission in park or neutral, and the fluid at a stated temperature. Checking a cold dipstick against a hot-marked scale is how people end up either low or overfull.
Read the fluid against your nose and your eyes. Fresh fluid is translucent red or amber. Fluid that smells burnt, has a varnish or sludge texture, or carries bright metallic glitter means stop. Grit that looks like coarse sand is worse than a fine haze. Brown fluid on an older car is a judgment call, and so is fluid with a mild burnt smell on a car that has never had the service done.
Step 3: Warm the transmission only if the manual allows
Some procedures want the fluid warm so it drains completely and refills without aerating; others want it cool so you do not open a hot case. Only your manual knows which one you have, and it is usually written in one sentence.
Bring it up to operating temperature the way the manual describes, usually by driving the vehicle for a normal trip after a short cold start. You want the dash normal, not a blinking warning light.
Revving it in park with the transmission in neutral to warm it faster can overheat the fluid and cook the seals. It is the fastest way to turn a routine service into a rebuild. If a warning indicator is lit, do not drive it around to warm up.
Step 4: Raise and support the vehicle safely
Park on level concrete, in park or gear, with the parking brake set hard. If you are using ramps, approach straight and slowly and stay on the ramps squarely. If you are using stands, jack each corner, set a stand at each factory support point, lower the vehicle onto the stands, then pull the jack.
Chock the wheel that stays on the ground. Keep the transmission in park, keep clear of the exhaust and catalytic converter, and wear gloves and glasses. And never put any part of your body under a car resting on a jack alone.
Rear-wheel-drive cars often get the job done faster with the rear wheels off the ground, but a drain-and-fill through the pan still works fine with the car supported at all four corners. Use whatever the layout gives you.
Step 5: Drain the old transmission fluid
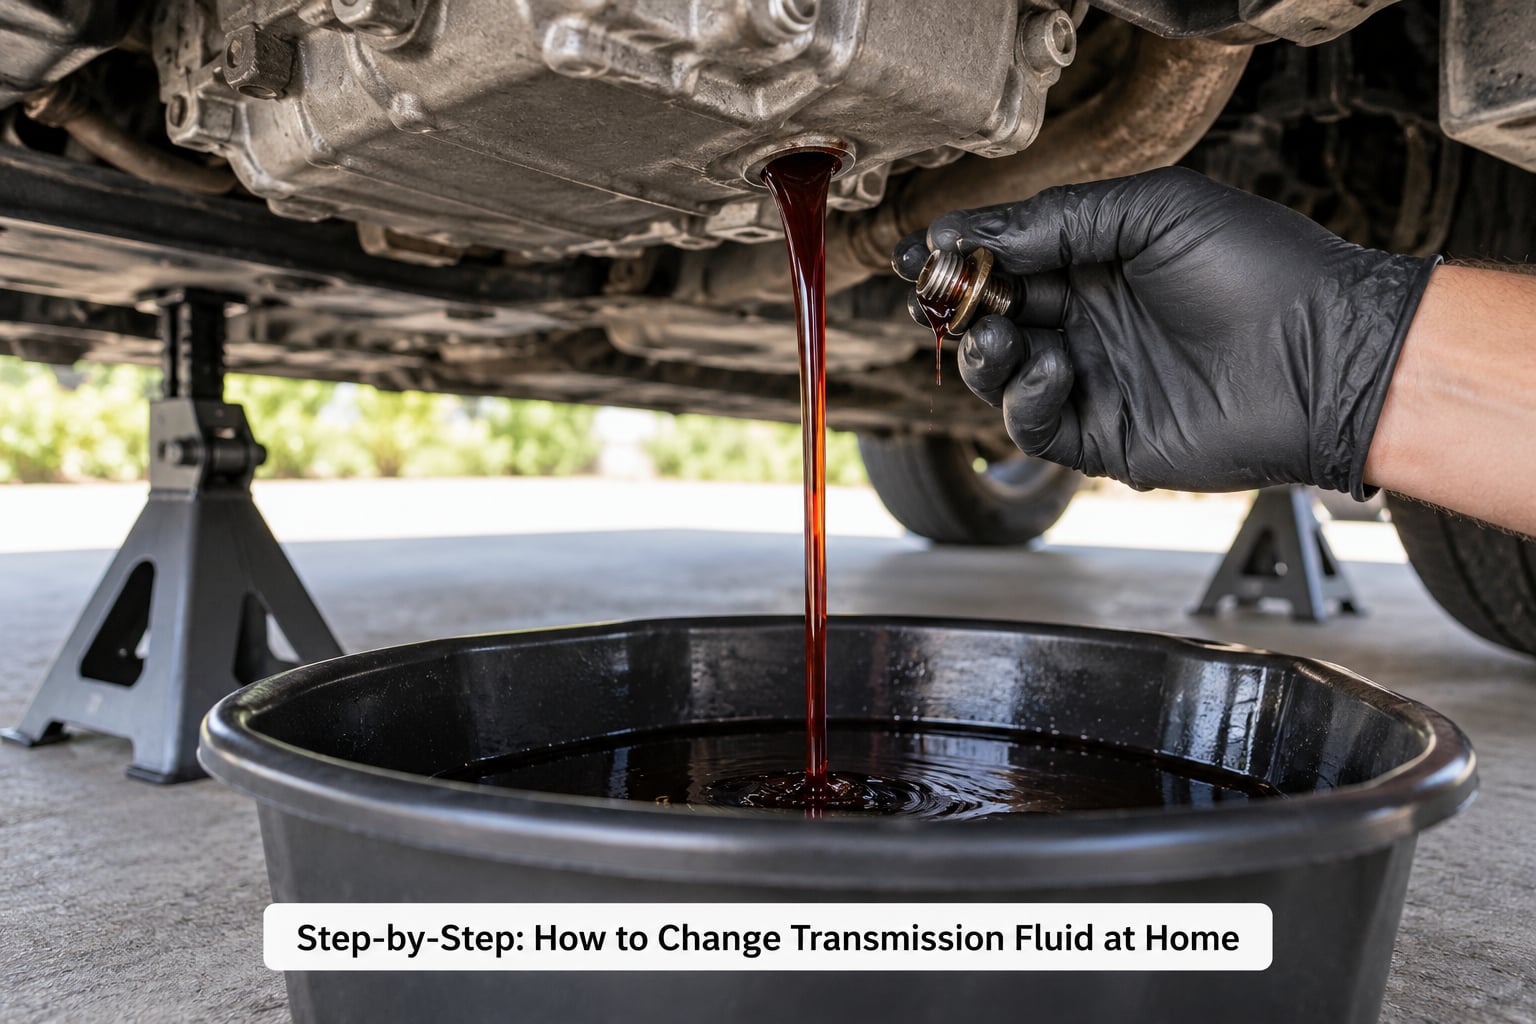
Find the drain opening the manual specifies. A plug-style service port is common on many transmissions, where removing a plug in the pan or case lets the fluid run out and the same or a nearby plug takes the refill. Other cars need the transmission pan removed, which also exposes the filter and gasket.
Place the pan directly under the opening before you touch a fastener, and have absorbent card ready. Fluid follows gravity and finds the floor. Open the plug slowly, let it steady, then let it run until it slows to a drip.
Do not assume every transmission empties through that plug. Some hold a large share of the fluid in the torque converter and the valve body passages, which is exactly why a drain-and-fill replaces part of the fluid rather than all of it. If your manual calls for a drain-through-fill method by removing the fill plug instead, follow that instruction rather than guessing.
Step 6: Inspect the old fluid and reinstall the plug
Look at what you caught. A few pints of clear red fluid is normal for a car with any service history. Very little fluid means it had been low. A magnet in the plug or pan that holds a heavy pile of fuzz and grit points to wear inside.
Coarse metallic shavings are a hard stop. Fine, uniform glitter on a high-mileage transmission is common and different in character. Thick black sludge, water contamination or a heavy burnt smell are all reasons to get a shop opinion before you pour anything back in.
Clean the plug and the sealing surface, fit a new crush washer or O-ring if the manual calls for one, and hand-start the threads before tightening. Aluminum drain plugs strip and snap easily, so snug it by hand and then tighten to the specified torque. If you dropped the pan, clean the mating surface, scraper it flat, and fit the correct gasket rather than reusing a crushed one.
Step 7: Add the correct amount of new fluid
Pour in only the fluid the manual specifies, and treat the system capacity as a ceiling rather than a target. A drain-and-fill takes roughly half to two-thirds of total capacity; the rest stays in the converter and passages and gets topped off through the level check.
Work in smaller amounts. Slow the pour so the funnel lip stays full and you do not aerate the fluid, because aerated ATF foams and gives you a false high reading on the dipstick.
Use whatever level method the manual describes: a dipstick, a fill-plug level check, or an electronic check through the instrument cluster with the transmission at a stated temperature and gear selector position. Add, run the procedure, recheck, and stop at spec.
Step 8: Check the level, leaks, and final operation
Finish the level check at the temperature the manual requires, not at convenience. Too cold and you will top off a full transmission. Warm the transmission through a normal drive cycle if that is the specified condition, then check again and adjust.
Torque converter and cooler lines, pan rails and the pan itself are common leak points. Crawl under the vehicle with the engine off and a light, look at every plug and seam, and check your pan again after a short drive. Fresh fluid seeping from a drain plug means the washer or the torque was wrong, and it will not stop on its own.
Move the transmission through its range where the manual allows it, either by driving gently or by selecting each gear with the vehicle properly parked and braked. Smooth engagement is the goal. Harsh engagement, flare or a shudder is a level or air problem, so recheck before you drive far.
Then write down the date and the mileage in the service record. Intervals are usually given as miles, and the next change starts from where this one ended.
Common Mistakes
Almost every transmission failure attributed to a DIY fluid change traces back to one of these. They are all avoidable.
- Using the wrong fluid. Multi-vehicle ATF is not a safe substitute for a manufacturer-specific specification. Buy what the manual names, in the manual’s quantity.
- Skipping the temperature requirement. A level check taken cold or at the wrong selector position is not a level check. It leads directly to overfill, and an overfull transmission shifts hard and runs hot.
- Overfilling. The dipstick measures level, not emptiness. Filling to the capacity number on the carton is the most common single error, and excess fluid has nowhere to go but into your driveway and your seals.
- Losing the drain plug washer. A single-use crush washer or O-ring is the seal. Reuse it and you get a slow leak that shows up as starry fluid on your driveway weeks later. Fit a new one.
- Draining through the wrong opening. Some fill ports are not drain ports, and some service plugs are not where the parts catalog suggests. Follow the manual, not a forum post about a different year of the same car.
- Ignoring debris and smell. Sludge, coarse metal or a burnt smell means the transmission is already failing. Fresh fluid in a damaged transmission can flush debris into the valve body and finish the job.
- Unsafe support. Jack stands rated for the vehicle, on real support points, with chocks. Never under a jack alone.
- Expecting a drain-and-fill to be a flush. A drain-and-fill replaces part of the fluid. A machine flush exchanges much more through the cooler lines and can be the wrong choice entirely on a high-mileage or already-slipping unit.
A couple of maintenance notes while you are down there. Most auto parts stores accept used automatic transmission fluid at no charge, or take it to a household hazardous waste site, so do not pour it down a storm drain or a grass patch. If your manual lists a transmission filter in the pan, replacing the filter and gasket at the same time is the complete job; doing a drain-and-fill and leaving the old filter in place only filters the fluid you did not remove. On cars with a separate differential fluid service, our BMW differential fluid change guide covers that drain-and-fill and the same clean-drain discipline.
On high-mileage cars with unknown history, many owners run two or three drain-and-fill cycles a few hundred miles apart instead of one, which shifts more of the old fluid out through repeated partial exchanges. Honda owners in particular tend to steer clear of flush machines and stay with drain-and-fills, and that caution has a reason behind it.
Frequently Asked Questions
Can I change my car’s transmission fluid myself?
Yes, on most vehicles a drain-and-fill is a straightforward garage job. You need a drain pan, the correct sockets, the exact fluid your manual specifies, and safe support for the vehicle. Where it stops being a driveway job is when your transmission needs a machine flush, a preset or conditioned fill, or a pan drop on a vehicle with limited access. Check the manual before you buy fluid.
Do all transmissions use the same fluid?
No. Specifications differ between manufacturers and sometimes between models and years from the same brand. Some fluids are low-viscosity lockup fluids designed for efficiency, some are heavily friction-modified for older torque converters, and CVTs and manual gearboxes need their own fluids entirely. A multi-vehicle ATF is not a substitute for a specified formula. Use what your owner’s manual names.
How much transmission fluid does a drain-and-fill need?
Most drain-and-fills take roughly half to two-thirds of the transmission’s total system capacity, because much of the fluid stays in the torque converter and internal passages. Your manual lists both the system capacity and a fill quantity or level procedure. Buy the stated amount plus one spare quart, add in stages, and let the level check set the final figure rather than the container.
Should the transmission be warm when I check the fluid?
Often yes, but follow your manual. Many procedures specify an exact fluid temperature with the engine running and the selector in park or neutral, and checking cold against a hot-marked scale gives a wrong result in either direction. Some fill procedures want the fluid cool instead. Never rev the transmission in neutral to warm it quickly, because that overheats the fluid and can damage the seals.
Is a transmission flush better than a drain-and-fill?
A flush exchanges more fluid through the cooler lines using a machine, and it costs more and takes longer. Whether it is better depends entirely on the transmission’s condition. On a healthy unit it is reasonable; on a high-mileage transmission that is already slipping, the aggressive flow can move debris into the valve body. For an unknown-history high-mileage car, a drain-and-fill or several staged ones is the safer choice.
What does contaminated transmission fluid look like?
Fresh fluid is translucent red or amber and smells mild. Burnt fluid turns dark brown to black and carries a sharp burnt or fishy odor, usually with varnish and sludge in it. Metallic particles in the pan mean wear, and coarse bright shavings are a stop sign. Water contamination looks cloudy and milky with a slightly foamy dipstick reading. Any of these deserve a shop assessment before you refill.
Final Transmission-Fluid Checklist
Before you lift the car: confirm the transmission type, read the fluid specification and capacity in the owner’s manual, and buy that fluid with a spare quart. Find the drain opening the manual names, and get the new crush washer or O-ring and the correct socket in hand.
Before you pour: the vehicle is on rated supports with the wheels chocked, the old fluid is in the pan, and you have looked at it. No coarse metal, no sludge, no burnt smell. If any of those showed up, the job is a diagnosis now, not a refill.
After the refill: check the level at the temperature and selector position the manual specifies, inspect every plug and seam for leaks, and drive it gently to confirm smooth shifts. Record the date and mileage so the next interval is easy to calculate.
And if your vehicle needs a machine flush, a preset or conditioned fill, or has symptoms that need diagnosing, take it to a qualified transmission shop. That is not admitting defeat. That is knowing which jobs belong in a driveway and which belong on a lift.