
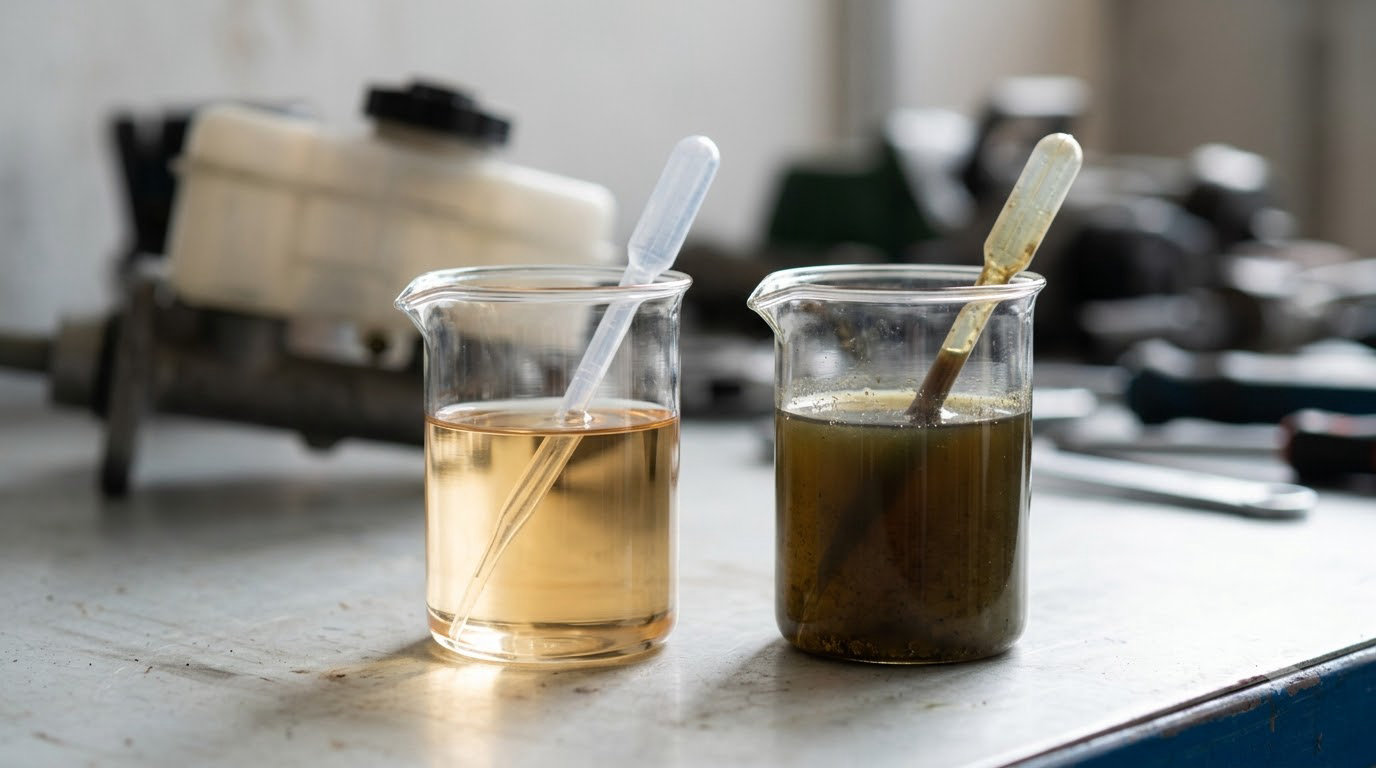
You can tell if brake fluid is contaminated by looking for five things: dark fluid with sediment in it, a cloudy or separated sample, a pedal that sinks or feels springy, longer stopping distances or fade under repeated stops, and rust or metal residue around the lines and calipers. None of those is proof on its own, which is the part most guides get wrong. Clear fluid is not proof of clean fluid. Only a moisture test settles it.
The whole check takes about fifteen minutes on a cold engine, needs a flashlight and a clean cup, and almost every step is free. A strip or pen tester adds a few dollars and turns a guess into a number.
Brake fluid is hygroscopic, meaning it pulls moisture out of the air and through the rubber hoses and reservoir seal no matter how well the system is sealed. That moisture is the contaminant that matters most, because water boils at a fraction of the temperature the fluid is rated for and turns into vapour that swallows hydraulic pressure.
This guide walks through the free visual checks first, then the cheap DIY tests, then what a shop actually measures. It follows the plan in your owner’s manual for fluid type and service interval throughout. If your manual says something different from what you read here, the manual wins.
Table of Contents
- What You Need
- Step-by-Step
- Common Mistakes
- Frequently Asked Questions
- Can brake fluid be contaminated even if it looks clear?
- What color is contaminated brake fluid?
- How often should brake fluid be tested and replaced?
- Can I drive with old or contaminated brake fluid?
- Does dark brake fluid always mean it needs to be replaced?
- What type of brake fluid should I use in my BMW?
- Conclusion
What You Need
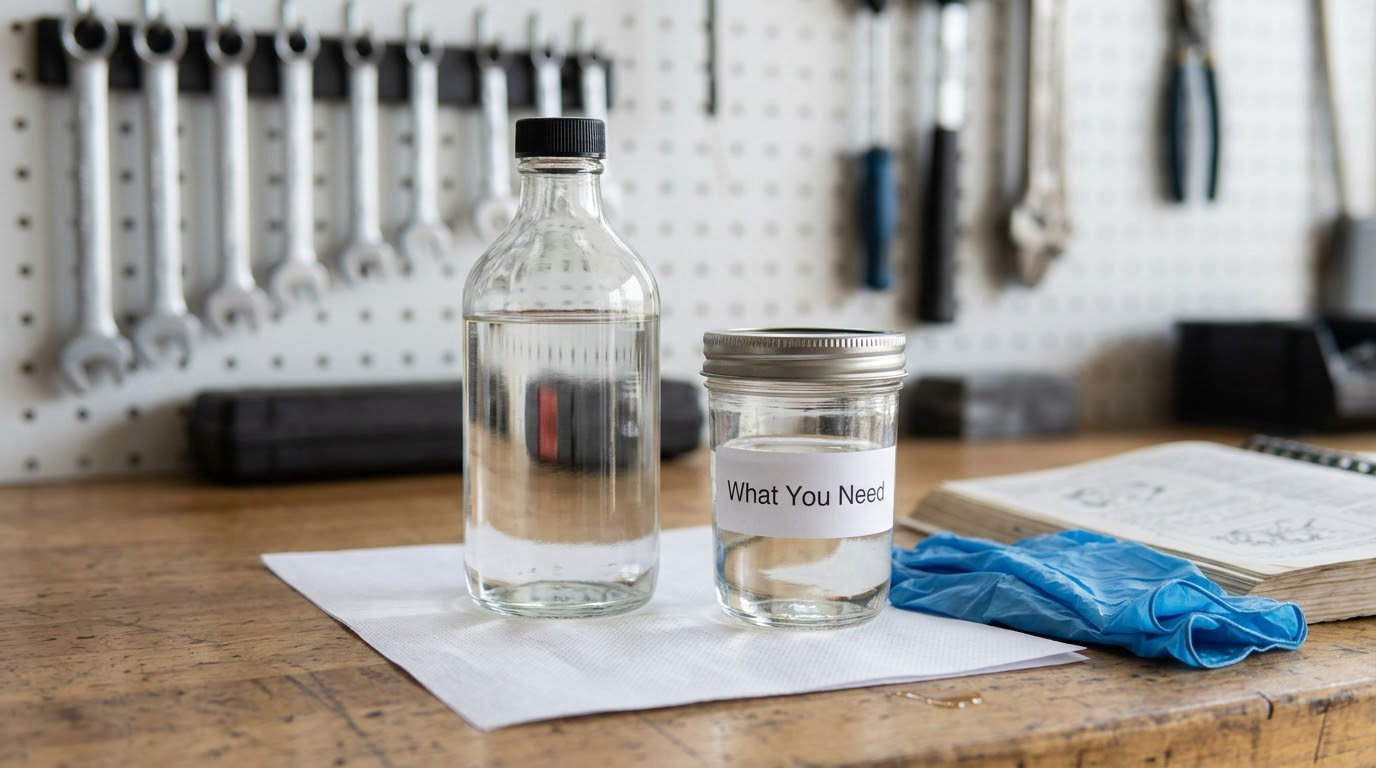
A contaminated brake fluid check needs less gear than most people assume. You need the vehicle’s service manual, one clean transparent container you will not drink from, a sheet of white paper, nitrile gloves, eye protection, a flashlight, and a rag to catch drips. The manual matters because the fluid specification is printed on it or on a sticker inside the reservoir cap, and the wrong specification is its own kind of contamination.
Confirm the spec before anything else. Most cars and crossovers use DOT 3 or DOT 4, performance models and many modern vehicles specify DOT 5.1, and silicone DOT 5 is a special case that must never be mixed with glycol fluids. Check the cap sticker, the manual, or the fluid printed on your existing bottle. If the spec is DOT 4 and you pour in DOT 3, the fluid still works at temperatures you will never reach, but you have lowered the margin for a mountain descent with a loaded car.
Add a flashlight. The reservoir is translucent plastic, often mounted in a dark corner of the engine bay on the firewall, and half of what you are looking for is sediment settled in the bottom of the tank where a direct overhead view misses it.
Worth adding: a cheap brake fluid test strip or a pen-style moisture tester. Neither is laboratory gear, and both turn the most common question in this topic — is it actually bad? — into a number you can act on. A multimeter is optional and only for the voltage test in Step 5.
Step-by-Step
Before the five steps, here are the five warning signs the rest of this guide is built around. If you recognise two or more, skip straight to Step 5 and get the fluid tested.
- Dark fluid with grit or sediment in the reservoir or on the dipstick, especially if the fluid is brown-black rather than amber.
- Cloudy, milky or separated fluid — the one visual cue that reliably means something, usually water above roughly 3%.
- A pedal that sinks, feels soft, or goes springy and does not return the same way each time.
- Longer stopping distances, fade, or a brake warning light after several stops in a row or on a descent.
- Rust, residue, or weeping fluid around the brake lines, caliper bores, wheel cylinders, or the master cylinder area.
Step 1: Check the Fluid Color and Clarity
Fresh brake fluid is usually clear, or a pale amber that looks like weak tea. Older fluid is amber, then darker amber, then brown. That darkening is mostly oxidation of the base fluid and the dye that gives it colour, and on its own it tells you very little. Fluid can go deep brown and still be well inside spec. Fluid can also look like clean honey straight through the reservoir while sitting at 3.8% water, which is a number bad enough to boil it during a hard stop.
So judge clarity, not darkness. Hold the reservoir up to a light and look through the wall rather than down into it. What matters is whether the fluid is transparent all the way through, and whether anything is floating or settled in the tank.
Signs that something other than age is going on:
- Visible particles — black specks, brown grit, or bright copper-coloured flecks. Bright metal particles point at wear inside the system, and copper in particular traces back to the brazed copper-alloy lining inside steel brake lines.
- Cloudiness that does not clear when the sample is swirled.
- Two layers, with a denser one pooled at the bottom of the container.
- A milky or emulsified look — small water droplets suspended in glycol. This is the single visual cue that works, and it usually means water content well past the manufacturer limit.
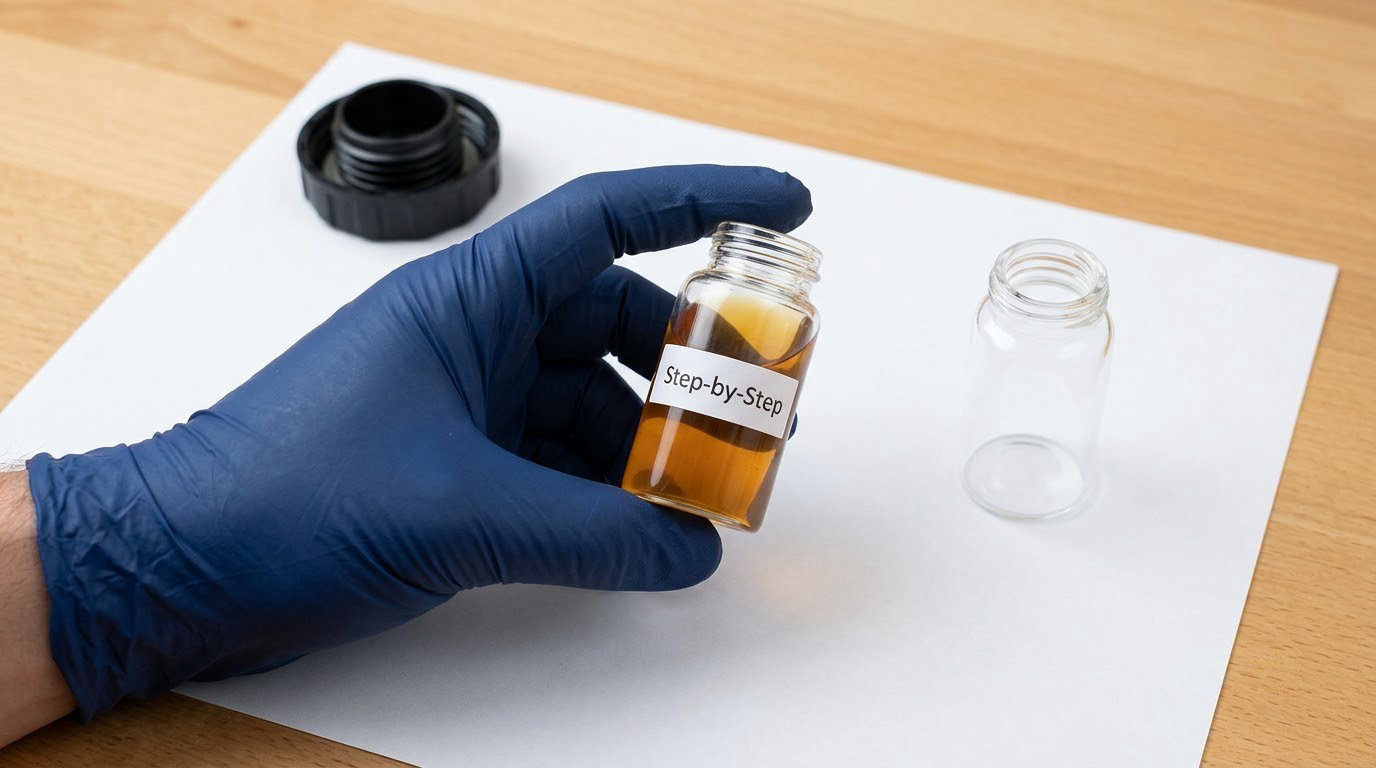
Do the sample test properly: draw fluid from the reservoir with a clean syringe or siphon tube into a clear glass, hold it up to a light, and set it on white paper. Colour reads much truer against white than against the black plastic of a reservoir. Never pull fluid from a bleeder or a caliper to judge it, because that sample comes from the low point of the system and tells you about one corner of it, not the whole.
Step 2: Look for Signs of Moisture or Separation
Water in glycol brake fluid does not mix. It separates into droplets, and those droplets collect at the lowest point in the system. Visible separation is the clearest home signal that moisture content has climbed past the point where the fluid still boils above the temperature your brakes reach.
What to look for in a sample: small round bubbles clinging to the sides of the glass, droplets on the surface that rejoin slowly, a clear watery layer sitting under darker fluid, and a general haze that gives the sample a milky edge. Any one of those in a cold sample is worth acting on. Water content is measured as a percentage of the fluid by weight, and 2% is the commonly cited change point because manufacturers set minimum wet boiling points relative to it.
Two details most people get wrong. First, a sealed bottle of fluid on a shelf will not separate — contamination that happens in the car happens where the fluid lives, and that is inside hoses, the reservoir, and the ABS modulator. Second, heat hides separation rather than creating it. On a hot engine, water vapour stays mixed in the fluid; park the car for a few hours on level ground and the droplets come out of solution and show you what the tester would have told you immediately.
That is the practical version of a moisture test you can do with no tools at all: check cold, check level, check after the car has sat.
Step 3: Inspect the Reservoir and Brake System
Pop the reservoir cap and look around the master cylinder area, then follow the lines. A translucent reservoir makes this easy. An opaque one means you remove the cap and use a flashlight, or pull a sample with a syringe.
Things worth finding:
- Fluid above the MAX line. Fluid expands as it ages and heats, and a reservoir at MAX usually means degraded fluid that someone topped off rather than replaced.
- Fluid below the MIN line. Low fluid is the one warning sign with a nasty hidden cause, and it is covered in the mistakes section below.
- Green, blue or purple tint on the cap or inside the reservoir, which means someone has put coolant or windshield washer fluid in the brake reservoir. That is contamination serious enough to stop the car and flush the system.
- Crust, white powder, or weeping residue around the master cylinder, the caliper, or a wheel cylinder — signs of fluid weeping out and reacting with the metal outside.
- Rust on flexible hoses or hard lines, particularly at crimped fittings, and any sign of a hose that has gone hard and swollen.
- Corroded or sticky caliper slide pins and bores, which are the internal symptom people usually blame on the fluid rather than the cause.
Modern cars with EPDM flexible hoses and a sealed reservoir are much better at keeping water out than older cars with rubber hoses, so on a newer vehicle a failed test is more often additive depletion, corrosion, or a fluid that has simply aged in place than it is water ingress. On an older car with many miles, expect the water story. Either way, the visual inspection tells you where you are; it does not tell you the number.
Do not open the reservoir cap on a hot system. Pressurised fluid at brake operating temperature escapes as a scalding jet and will burn you through a fingertip before you can react.
While you are at it, check what the fluid spec means for mixing. DOT 3, DOT 4 and DOT 5.1 are all glycol-based, and DOT 3 can be topped up with DOT 4 — DOT 4 simply has a higher minimum boiling point, and DOT 5.1 is a borate formulation that behaves better still. What you must never do is introduce silicone DOT 5, or any brake fluid from a different base, into a glycol system. The two do not blend, and the silicone fluid separates, forms droplets, and gives you a system that behaves nothing like the one the car was engineered for. Some brands market DOT 5 as mixable; check the label and stay with the manual. And note the practical asymmetry: topping a DOT 3 car up with DOT 4 is fine, but if a car has been running DOT 5 all its life, converting it back to glycol means new hoses, new seals and a full flush.
Step 4: Compare Driving and Pedal Symptoms
Symptoms narrow the search, and they are often the first clue you get because nobody opens the reservoir until something feels wrong. The catch is that almost every contaminated-fluid symptom has a mundane mechanical twin, so treat this as a filter rather than a verdict.
- Pedal sinks further than it used to and holds there. Water, or air. The pedal travels, pressure builds slowly, and the pedal stays down instead of firming up.
- Pedal is springy and rebounds. Compressible air, or fluid that has boiled into vapour. The pedal pushes back, which feels different from a slow sink.
- Firm pedal, long stopping distances, fade after repeated stops. This is the pattern that points hardest at moisture: the fluid works cold, then loses its vapour resistance once it heats up. It often appears on a mountain descent or in stop-and-go traffic and disappears after the car cools.
- Brake warning light on the dash. Low fluid level, a parking brake fault, or an ABS problem. Read the actual code before assuming it is fluid.
- Uneven pedal across a single firm-to-soft transition. Often a sticking caliper or proportioning valve rather than contamination.
A simple decision list for a soft pedal:
- Cold, first stop of the morning, slow sink — water contamination is the leading suspect. Confirm with a moisture test before you buy parts.
- Sink that gets firmer with each pump within a few seconds — air in the system, or fluid that has boiled. A bleed may clear it, but if the fluid failed a moisture test, a bleed alone leaves the bad fluid in the master cylinder and the ABS modulator.
- Soft all the time, with no change as it warms or cools — think worn pads, a sticking caliper, or a master cylinder seal, not fluid.
- Firm pedal, poor braking, fluid at MIN — the caliper piston retracting into its bore past the seal is a real and increasingly common failure on some models. Low fluid plus worn pads is a combination you should not drive on.
- Pedal fine, warning light, ABS code — this is a different conversation. Get the code read.
Elevated-humidity climates, coastal towns, vehicles that tow, and cars that sit parked for weeks all contaminate faster. So do hybrids and EVs, for a reason worth knowing: regenerative braking does most of the slowing, so the friction brakes run cooler, and cooler brakes never cook the moisture out. The fluid ages quietly for years and the first time you need real stopping power is on a cold day in the rain.
Step 5: Use a Brake-Fluid Tester or Professional Inspection
This is the step that ends the guessing. If you take one thing from this guide, take the numeric limits below, because a verdict without a number is not actionable — ask any shop what it measured, and in what units, before you accept it.
DIY options, in order of usefulness:
- Brake fluid test strips. Dip a strip in the fluid, wait the time printed on the packet, and match the pad colour against the chart. Most measure water content, some also flag copper. Cheap, ten seconds, and good enough to catch a genuinely bad sample.
- Pen-style moisture testers. A small device with two probes and an LED. One probe goes in the fluid, the other touches the positive battery terminal, and the reading is a moisture percentage between roughly 0 and 5%. Some models report conductivity as well. Read the manual for the meter setting; the most common error is using the wrong range and getting a reading that means nothing.
- The multimeter voltage test. Used by some technicians to spot dissolved metals and water. Set the meter to millivolts or DC volts, connect the negative lead to the negative battery post, and lower the positive lead into the fluid without touching the reservoir. Clean fresh fluid reads near zero; a reading around 300 mV or above suggests contamination. One caution: it is a screening check, not a measurement. It cannot tell you the water percentage, and a good-looking voltage reading does not clear the fluid.
What a shop or lab actually measures. A shop electronic tester reports moisture percentage, and often copper in ppm, in a few seconds. A lab analysis goes further: total acid number, pH, iron content, and the dry and wet boiling points. The dry boiling point is the temperature at which the fresh fluid boils; the wet boiling point is where it boils once water is added, and the gap between them is the part that matters, because the wet figure is what your brakes face in real conditions.
| Reading | Limit | What it means | Action |
|---|---|---|---|
| Water content | 2% | Commonly cited manufacturer change point; the level the minimum wet boiling point is set against | Flush on the schedule, sooner if the car tows or idles outdoors |
| Water content | 3% or more | Vapour-lock risk during hard braking; milky appearance usually visible | Do not drive hard. Flush promptly |
| Copper | 200 ppm | Motorist Assurance Program guideline for replacing fluid | Flush, then have the lines and caliper bores inspected |
| Iron | 100 ppm | Wear debris circulating in the system | Flush and have the calipers, hoses, and master cylinder checked |
| pH | 6.0 or below | Acids from fluid breakdown; corrosion risk ahead | Flush |
| Total acid number | 1.0 mg KOH/g or above | Acid load high enough to attack internal components | Flush, and look for the reason the fluid aged fast |
| In-fluid voltage | 300 mV or above | Dissolved metals and water in the fluid | Treat as contaminated. Confirm with a proper test |
| Test method | What it detects | Cost | Limitation |
|---|---|---|---|
| Visual and smell check | Cloudiness, separation, sediment, colour | Free | Misses fluid that is clear and already at 3% water |
| Test strip | Water content, some models flag copper | Low | Coarse percentage, easy to misread the colour chart |
| Pen tester | Water percentage, sometimes conductivity | Low | Small sample, single point in the system |
| Shop electronic tester | Water percentage, copper ppm, boiling point | Usually bundled with an inspection | Still a spot check unless the fluid is flushed first |
| Lab analysis | TAN, pH, iron, dry and wet boiling point | Highest of the options | Slow, and overkill unless a failure is already suspected |
When a test result comes back bad, ask for the numbers and the method before you accept a parts list. A fluid test result on its own does not justify replacing an ABS modulator or a master cylinder, and that combination — bad fluid, then a large hydraulic component replacement — is a pattern plenty of owners have been handed. Internal corrosion may well need attention, but it should be demonstrated with a measurement, not inferred from one number.
On a used car, this is the cheapest test you can ask for. Before you buy, ask the seller to have the fluid tested and give you the printout. A seller who declines is telling you something.
Common Mistakes
Judging by colour alone. This is the big one, and it fails in both directions. Dark fluid can be serviceable. Clear fluid can be dangerous. Colour is a clue about age, not about condition, and treating it as a verdict sends people to flush perfectly good fluid while ignoring the real problem.
Opening a hot system. The reservoir is pressurised and the fluid is at brake temperature. Take the cap off cold, on level ground, and let the engine sit for a few hours first.
Touching the fluid, or mixing types. Skin contact with glycol fluid irritates skin and eyes, and a trace of petroleum fluid or coolant in the reservoir ruins it. Wear gloves. Keep every container dedicated to brake fluid, and never pour brake fluid into a bottle that has held anything else — even a drop of oil changes the fluid’s behaviour.
Topping off a low reservoir without finding out why. A low level usually means worn pads or a leaking caliper. The reservoir compensates as the pad material wears, and the caliper piston keeps retracting into its bore past the seal. Once that happens the piston no longer returns when you lift off, and that corner of the braking system can lose pressure entirely. If the reservoir is below MIN, check pad thickness before you add a drop.
Skipping the owner’s manual. The fluid specification, the service interval, and whether the vehicle needs a specific fluid type are all in there. The general two-year rule is a floor, not a replacement for the schedule your car was sold with.
Treating a bleed as a flush. Bleeding pushes fluid out and takes air with it. Flushing exchanges the fluid in the system for new fluid. If the fluid is contaminated, a partial bleed leaves the bad fluid trapped in the ABS modulator and the corners of the block, which is exactly the fluid you wanted gone. Ask for a full flush with the correct procedure for your vehicle, and note that some ABS systems need a specific bleed sequence.
Continuing to drive after a failed test. If a test reads badly, the car can still be driven gently to a shop. What you should not do is keep driving hard, tow, or run long mountain descents with fluid you know has failed. If the pedal is soft, the fluid is below MIN, fluid is weeping anywhere, or there is fluid in the reservoir that did not come from a brake bottle, stop driving and arrange a tow.
One more worth knowing: brake fluid is a glycol-based chemical and it is genuinely unpleasant to handle and to pets. It is mildly toxic if swallowed and it will irritate skin and eyes. Keep used fluid in a sealed container and take it to a household hazardous waste facility or an auto shop that accepts it, not down a drain and not on the ground.
Frequently Asked Questions
Can brake fluid be contaminated even if it looks clear?
Yes, and that is the most common way a bad fluid gets missed. Fresh-looking amber fluid can already be carrying 3% or more water, because moisture dissolves into glycol invisibly and only separates into visible droplets once there is enough of it. Colour tells you about age. A moisture test strip, a pen tester, or a shop measurement tells you about condition.
What color is contaminated brake fluid?
There is no colour that reliably means contaminated. Dark brown or black usually means age and oxidation, and that fluid can still be inside spec. The colours that do matter are the ones you cannot choose: milky white from suspended water, or green, blue or purple from coolant or washer fluid in the reservoir. Those are stop-and-flush signals, not warnings.
How often should brake fluid be tested and replaced?
Follow the service schedule in your owner’s manual first. The commonly cited baseline is every two years or 30,000 miles, which suits DOT 3 and DOT 4 in normal driving. Shorten that if you live somewhere humid, tow, or drive long descents. Test the fluid at every service visit so you have a trend rather than a single bad afternoon.
Can I drive with old or contaminated brake fluid?
Gently, to a shop, if the pedal is firm and the fluid is at the correct level. Not if the pedal is soft or springy, not if the reservoir is below MIN, and not for hard driving, towing, or mountain descents, where boiling the fluid can cost you the pedal entirely. Any weeping fluid, or fluid in the reservoir that is not the colour brake fluid should be, means arrange a tow.
Does dark brake fluid always mean it needs to be replaced?
No. Darkening happens as the base fluid oxidises and the colour dye breaks down, and plenty of brown fluid is still well within spec on moisture, acidity, and boiling point. Treat dark fluid as a reason to test rather than a reason to replace. If the test comes back clean, you have bought yourself time, not spent it.
What type of brake fluid should I use in my BMW?
Check the sticker inside the reservoir cap or the fluid specification in your manual before buying anything. Most models of this era use DOT 4, and some specify DOT 5.1. Silicone DOT 5 is the exception and must never be mixed with glycol fluids. If the car was previously filled with DOT 5, it needs a complete change of hoses, seals, and fluid to go back to glycol.
Conclusion
Start with the fluid specification in your manual, then look at the fluid cold against a light and against white paper, with the car parked level. If what you see is anything more than clear amber, get a number: a test strip, a pen tester, or a shop measurement against the 2% and 200 ppm lines above. If the pedal is soft, the reservoir is low, or fluid is weeping, have the car looked at before you drive it hard or far. And if a result comes back bad, ask for the percentage and the method before you accept a parts list.