

A bad ground is one of the cheapest faults to fix and one of the most annoying to chase, because the car often gives you three different symptoms for the same corroded bolt. To test a ground connection on a car, set a digital multimeter to DC volts, put one probe on the negative battery terminal and the other on the ground point you suspect, then switch the circuit on. Under 0.1 volts is healthy, more than 0.2 volts means the connection is bad. Budget about half an hour, and the only real skill involved is knowing where to put the probes.
The catch is that most guides mix two different tests together, and they answer different questions. An ohms reading with the engine off is a quick screening check. A voltage drop reading with the engine running is the only one that proves the connection works under the load it will actually see. Get that distinction straight and the diagnosis usually takes less time than the arguing.
Table of Contents
What You Need to Test a Ground Connection on a Car
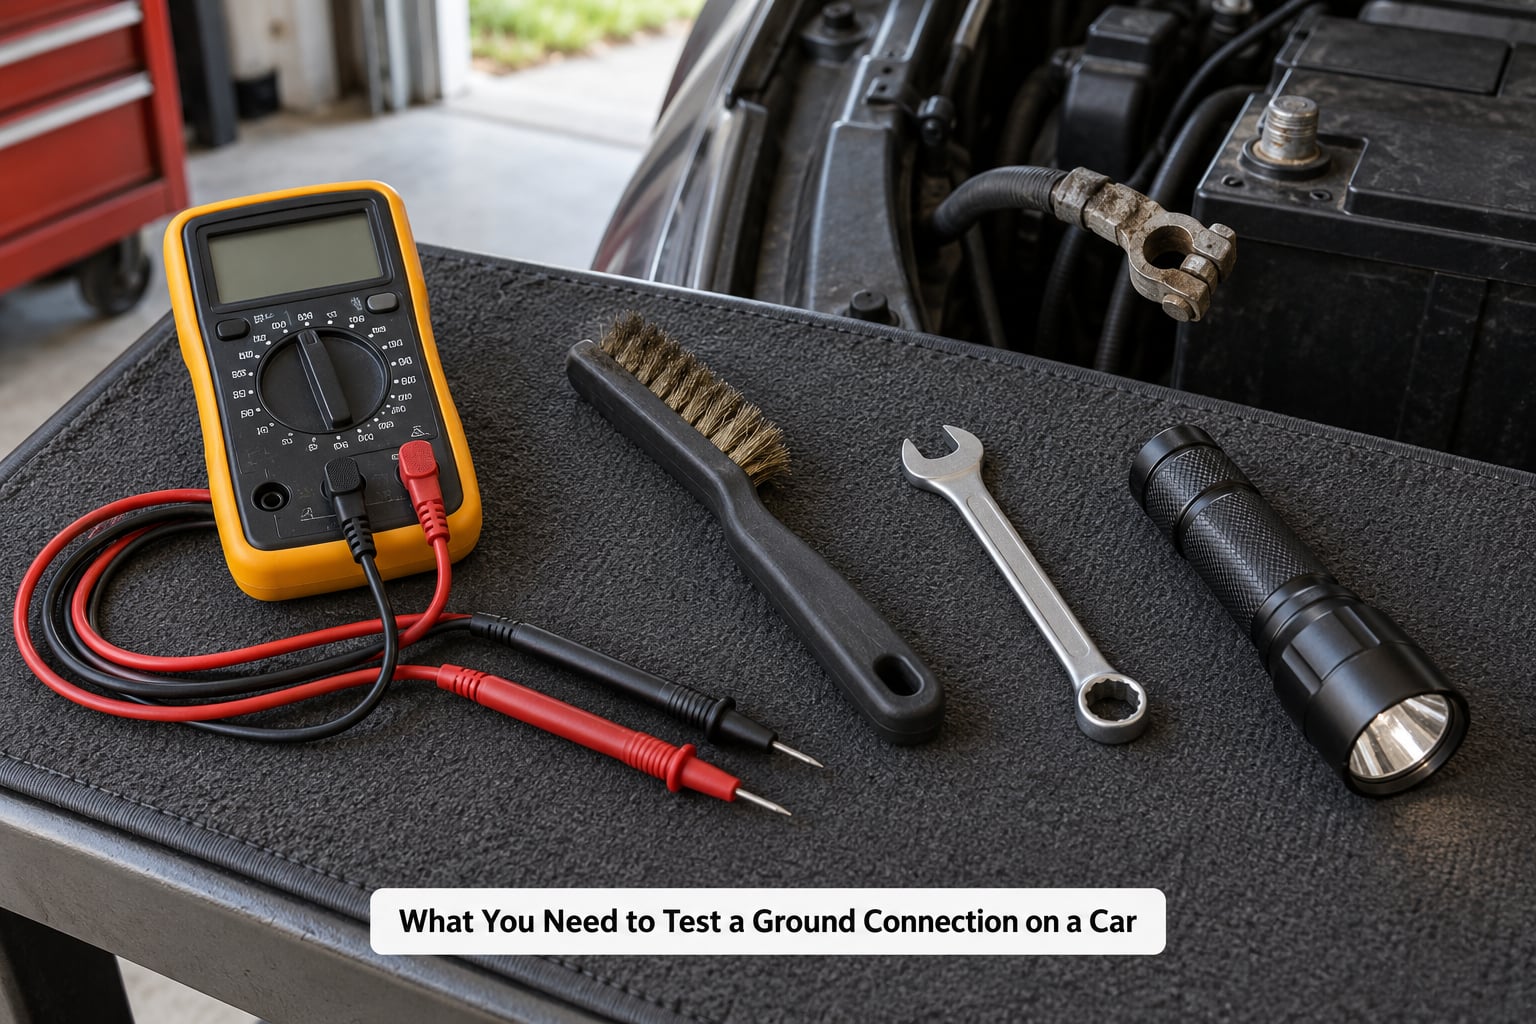
You do not need much. Most of the tools are ones you already own, and the two that matter are a meter and a jumper cable.
- A digital multimeter with a DC volts setting and an ohms setting. Auto-ranging is fine; a manual meter works too. Read the manual once so you know where the ranges are, because grabbing the wrong range mid-test is how meters get cooked.
- A 12V test light if you have no meter. It gives you a yes or no answer and nothing more.
- A known-good jumper cable, ideally the heavy-gauge one with the clamp handles. This is how you confirm a diagnosis in about two minutes.
- A wire brush or abrasive pad, a battery terminal cleaner, a rag, and a small combination wrench, usually 10 mm.
- Safety glasses and gloves. Batteries vent acid, and a wrench bridging two terminals is a genuinely bad idea.
- Your owner’s manual or a wiring diagram, to confirm which bolts are factory ground points before you start probing.
Which test suits a beginner? The voltage drop test in DC volts. It has one step, one number and a clear pass mark, and there is no way to damage anything with it. Ohms testing is a second opinion, useful for finding an open circuit but unreliable on its own for judging quality.
A test light is the cruder option. It shows you that current is flowing or that it is not, which makes it good for a quick check and useless for the last tenth of a volt. If you want to know whether a ground drops 0.08 volts or 0.3 volts under load, you need the meter.
Step-by-Step: How to Test a Ground Connection on a Car
Step 1: Get Safe and Identify the Circuit
Park on level ground, engine off, in park or neutral with the parking brake hard on. For any ohms work, disconnect the negative battery terminal first and keep the key out of your pocket so nothing wakes up while the key is loose.
Before touching a ground point, work out what is actually misbehaving. If the car will not crank, the circuit is the starter solenoid and its ground. If the headlights flicker, it is the headlight circuit. If the battery dies overnight, it is a parasitic draw and you need a different approach entirely. Check the fuses for that circuit too, and if you have not done it before, it is worth reading how to test a fuse in a car first, because a bad ground and a blown fuse produce almost identical symptoms.
While you are at the battery, make sure it is not simply flat. A battery at 12.4 volts that has been sitting will crank slowly and fool you into hunting a ground fault that is not there. Our guide to testing a car battery at home in five minutes takes care of that in one step.
Step 2: Inspect Every Ground Point by Hand
Take a flashlight and look at the grounds before you measure anything. On most cars you will find a battery-to-chassis strap, a battery-to-engine strap, an engine-to-transmission strap, one or two engine-to-firewall straps, and bolts at the strut towers, seatbelt mounts and ECU that also serve as ground points.
Look for a greenish or bluish crust, a rust bloom, a swollen or split lug, a bolt that turns by hand, and shiny paint where a lug is bolted to the body. That last one is the sneaky one: a factory ground bolt installed onto a painted bracket can corrode through in a few years and nobody notices because the wire still looks fine from above.
Push and wiggle each strap while the engine is off. A ground that moves is a ground that has failed, no meter needed. Tighten the loose bolts while you are there, then move on to measuring.
Step 3: Screen the Ground With Ohms, Engine Off
This is the quick check. Battery disconnected, meter on the lowest resistance range. Touch the two probes together first and note the number, because your leads themselves have resistance, usually around 0.1 to 0.3 ohms on a cheap set.
Now probe from the negative battery terminal to the ground point you are testing. An open circuit or an OL reading means the path is broken somewhere. A reading close to your probe baseline means the path exists. Subtract the probe figure, not zero.
Here is where most people get an answer they cannot trust. A wire with a bad crimp, a strand of corrosion inside the lug, or a strap that is fine at rest can still read under a tenth of an ohm, because no current is moving. This test finds broken grounds. It does not reliably find bad ones. And ignore anyone who tells you under 5 ohms is acceptable, which is a residential wiring threshold from electrical guides about house wiring, not a car. On a 12 volt circuit, five ohms of resistance would swallow a fifth of the system voltage.
Step 4: Run the Voltage Drop Test With the Engine Running
This is how to test a ground connection on a car with a multimeter properly, and it is the test that counts. Reconnect the battery if you took it off. Set the meter to DC volts, on a range that can read at least 20 volts so you do not cook it.
Put the black probe on the negative battery terminal and clamp or hold the red probe on the ground point being tested. Now make the circuit draw current. Turn the headlights on, run the blower on high, switch on the heated seat, or start the engine. Do not test an idle circuit, because nothing is flowing and any reading you get is meaningless.
Read it live. Under 0.1 volts is healthy. Between 0.1 and 0.2 volts is worth cleaning and rechecking. Above 0.2 volts is a failed ground, and the higher the number the worse the connection.
If you want to be precise about which part of the path is bad, do it in stages. Keep the black probe on the battery negative and touch the red probe to each end of the run in turn: engine block end of the strap, chassis end, battery end. The segment where the number jumps is the corroded segment. That technique is how you isolate one bad spot out of six grounds instead of guessing.
Step 5: Repeat the Voltage Drop Test While the Engine Cranks
A starter motor draws more current than anything else in the car, so cranking is the best stress test there is. Set up exactly as above, then have someone turn the key while you watch the display.
A healthy ground stays under 0.2 volts even while the engine cranks. If the reading climbs to 0.4 or 0.5 volts during crank but sits at 0.05 volts when idle, the fault is in that run and it will explain a crank-but-no-start perfectly.
Do it with the engine off too, using a known-good jumper as the temporary ground. If the symptom changes when you add the jumper, you have found it. That is a diagnostic result in itself, and it is why the jumper cable is on the list.
Step 6: Confirm With a Known-Good Jumper Cable
This is the fastest confirmation step and it works on any car, meter or no meter. Clamp one end of the jumper cable to the negative battery terminal and the other end directly to the bare metal of the engine block or the suspect ground bolt, bypassing whatever connection you suspect.
Then try the car. If a rough idle smooths out, if slow cranking picks up, if the flickering headlights steady, that ground was the problem. If nothing changes, the fault is somewhere else and you have not wasted a part.
One warning about this method. It works in park or neutral with the parking brake on, and it works for a starter or lighting circuit. Do not clamp a jumper across a battery while the engine runs to jump-start the car, and treat fuel-injected engines with respect, because a stray spark near vapour is not worth the diagnosis.
Common Mistakes When Testing a Car Ground
Measuring ohms on a live circuit. Never. An ohms test pushes its own small current through the meter and compares readings, which on a powered circuit produces nonsense and can damage the fuse inside the meter. If you want to know whether something is live, switch to DC volts first. For any ohms reading, the battery comes off.
Forgetting the meter’s own lead resistance. Short the probes together and read the number before you trust any result. Then subtract it. A ground reading of 0.3 ohms with 0.2 ohms of probe resistance is really 0.1, and a reader who skips this step declares a good ground bad and replaces a perfectly fine strap.
Probing paint, rust or a dusty bracket. Paint and rust are insulators, so an OL reading on a painted surface tells you nothing about the ground. Scrub to bright bare metal first or clamp the probe onto a lug or clean bolt face. Do the same when you clamp the jumper cable, because a jumper that grips paint is just as useless as a probe that does.
Using a residential pass mark on a car. The advice floating around that under 5 ohms is fine comes from household wiring pages. Automotive thresholds are far tighter, because a starter motor moves hundreds of amps through that strap and any resistance at that current becomes a voltage drop big enough to stop the engine. Judge on volts under load, not on ohms at rest.
Confusing a voltage drop with a resistance reading. They measure different things in different states. Ohms answers whether the path exists. Volts under load answers whether the path is good enough. A ground can pass one and fail the other, and when that happens the under-load reading is the one to believe.
Assuming a dead battery is a dead battery. A bad ground looks a lot like a tired battery: slow cranking, no start, a battery that reads fine on a charger and dies overnight. If your battery keeps going flat but the alternator output is correct, measure the voltage drop from battery negative to engine block with the engine running before you buy anything.
Ignoring intermittent faults. A connection that fails only on a bump, in cold weather or when the engine is hot will read perfect every time you test it parked. Wiggle the strap while you watch the voltage reading, test on a wet morning, and test the fault again when it is hot. Heat and movement crack corroded contacts open and closed.
Aftermarket audio deserves its own note. A ground bolted to a seatbelt mount or a seat rail is not a chassis ground, and it rattles. Audio noise that appears when the ignition is turned, or headlights that dim when the bass hits, are both ground loop symptoms, and they get fixed by moving to a factory ground point on bare metal, not by adding a second wire to the same bad bolt.
Frequently Asked Questions
How do I know if a car ground connection is bad?
Look for the cluster, not the single symptom: dim or flickering headlights, slow cranking, crank but no start, warning lights with no stored code, or a battery that drains overnight. Confirm it with a voltage drop test in DC volts. Black probe on the negative battery terminal, red probe on the ground point, circuit switched on. Above 0.2 volts is a bad connection.
What should a voltage-drop test show on a good ground?
Under 0.1 volts while the circuit is drawing real current. Between 0.1 and 0.2 volts is borderline and worth cleaning and retesting. Above 0.2 volts is a failed ground. The load matters: measure with the headlights on, the blower on high, or while the engine is cranking, because a healthy ground under load is the only meaningful reading.
Can I test a car ground with a test light?
Yes, for a yes-or-no answer. Clamp one lead of the 12V test light to the positive battery terminal and touch the other to the ground point. If the light comes on, current is returning through that point and the ground has continuity. It cannot tell you 0.08 volts from 0.3 volts, so once you have a suspect, confirm it with a meter.
Should I measure resistance from a ground to battery negative?
You can, and it is useful for spotting a completely broken ground, but treat it as a screen rather than a verdict. Disconnect the negative battery terminal first, set the meter to the lowest ohms range, short the probes together to get their own resistance, then subtract that from your reading. OL or open means broken. A low reading does not prove the connection is good under load.
How do I find an intermittent ground problem?
Make the fault happen while you watch the meter. Set up the voltage drop test with the black probe on the negative battery terminal and the red probe on the suspect ground point, then have someone rock the car, wiggle the strap, or work the affected circuit while you watch for the reading to climb. Testing again when the engine is hot, or after a cold, damp night, often brings it back.
Conclusion
Start with your hands, then your meter, in this order. Inspect and tighten the grounds, screen with ohms to catch anything fully open, then run a voltage drop test with the engine running and the circuit under load. That reading decides it: under 0.1 volts is fine, over 0.2 volts is the fault.
If the number is high and you are not sure which of six ground points is guilty, probe each end of the run in turn and find the segment where the voltage jumps. If everything measures fine but the symptom is still there, clamp a known-good jumper from the battery to the engine block and see whether the behaviour changes. That one test closes most of the remaining cases.
One thing worth knowing before you pull a starter or chase a battery: if the car only refuses to start when it is hot, the ground is rarely the culprit. A cooling fan that no longer pulls air is a much more common reason a BMW cranks and stalls on a hot day, and our BMW cooling fan clutch test takes five minutes to rule out.