
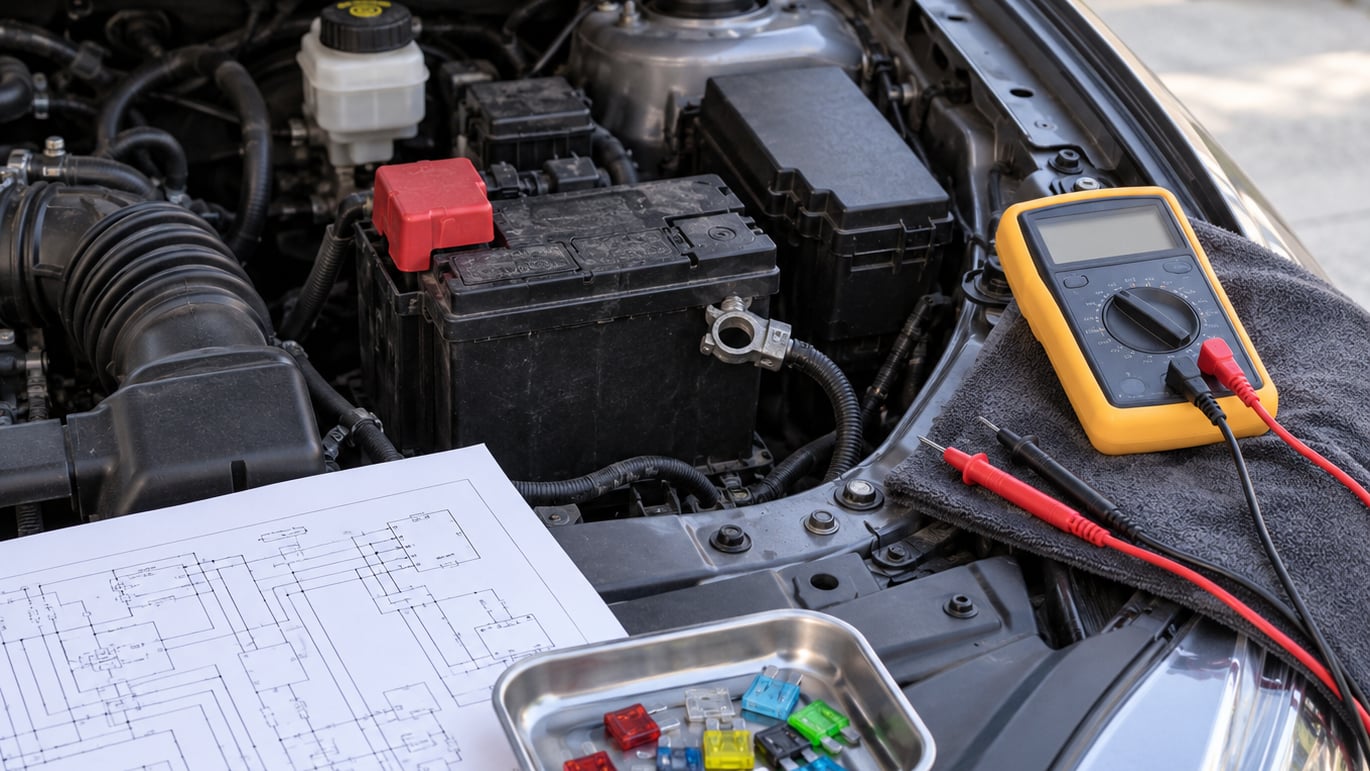
A short circuit in a car is an unintended path that lets current bypass the wiring it was meant to follow, usually to the body or to another live feed. To find a short circuit in a car, confirm the symptom, pull the fuse for that circuit, prove the fault with a multimeter or test light, then split the circuit in half again and again until the reading points at the wire, connector or component that is at fault. Most home mechanics finish this in an evening, provided the short sits in an accessible circuit.
The whole method rests on one idea: divide and conquer. Every time you disconnect something in the middle of a circuit and the fault disappears, you have halved the area you need to search. That is faster than following every wire end to end, and it is how technicians work.
One warning before anything else. Never fit a higher-amp fuse to stop a fuse blowing. The fuse is the weakest link on purpose, and a bigger fuse simply lets the bad wire heat up until it melts, which is how a small problem turns into a burned harness or a fire.
Table of Contents
What You Need
Gather this before you touch a single screw. Half of all abandoned diagnoses fail because the owner could not find the right diagram, not because the testing was hard.
- The owner’s manual for your exact year, model and trim. It carries the fuse assignment chart and the location of each fuse box.
- The correct wiring diagram for the circuit, showing connectors, splices, ground points and any shared power feeds.
- A digital multimeter that reads volts, ohms and continuity. A cheap meter is fine for this work as long as it is accurate and you know how to switch modes.
- Fused jumper leads or a clamp-style current meter. Fused leads matter more than most people expect; an unfused jumper is a fire waiting for the wrong circuit.
- An automotive test light if you want to trace a short without a meter at all.
- A fuse puller and basic hand tools: trim tool, screwdrivers, pliers, socket set.
- A flashlight or headlamp. Most fuse boxes live in dark footwells and under the hood lip.
- A battery disconnect procedure. Know which terminal, which direction of the wrench, and what memory systems you may lose.
- Optional: a scan tool with live data and active tests, which turns a lot of guesswork into readings.
One caveat on documentation. Some manufacturers place full wiring diagrams and service information behind a dealer or subscription portal, and a shop computer can read codes and run module tests that a handheld scan tool cannot. If your circuit falls under those systems, plan on either buying access or paying for the diagnostic time.
Step-by-Step: How to Find a Short Circuit in a Car
1. Confirm the electrical symptom
Start by proving the problem exists and writing it down. Note which fuse blows, what you were doing when it blew, whether it happens every time or only sometimes, and which systems died at the same moment.
A blown fuse on its own is not a diagnosis. It can also come from a bulb with the wrong wattage, an accessory drawing more current than its fuse rating, a relay that has welded, or a motor dragging on its bearings. Any of those will reproduce the same symptom without a short.
Before pulling anything, check the easy things:
- Battery voltage with the engine off and the terminals clean and tight.
- Corrosion, heat discoloration or bulging at the battery posts and the ground strap connection.
- Melted insulation, a burnt plastic smell, or a connector that looks toasted near the fuse box.
- Whether one circuit fails only when another is switched on. That pattern usually points to a shared ground or a body control module, not a dead wire.
- Whether the fault appeared right after an install: an alarm, stereo, trailer harness, light bar or camera.
Write the symptom down in one sentence. If you cannot, keep going until you can, because every later step depends on knowing which circuit you are chasing.
2. Find the circuit diagram and fuse assignment
Look up the fuse number, its amperage, and every circuit that fuse protects. Diagrams usually show a single circuit number splitting into several protected branches, and each branch is a separate place the fault could hide.
Note the power source (battery, ignition switch, relay or fuse feed), every connector along the path, the load at the end, and the ground point. Ground points are where several circuits tie into the body or engine block, so a fault there can kill circuits that share nothing else.
Pay attention to any note about shared feeds or jointly protected circuits. If two different symptoms appeared together, those branches are worth testing first.
3. Disconnect the battery safely
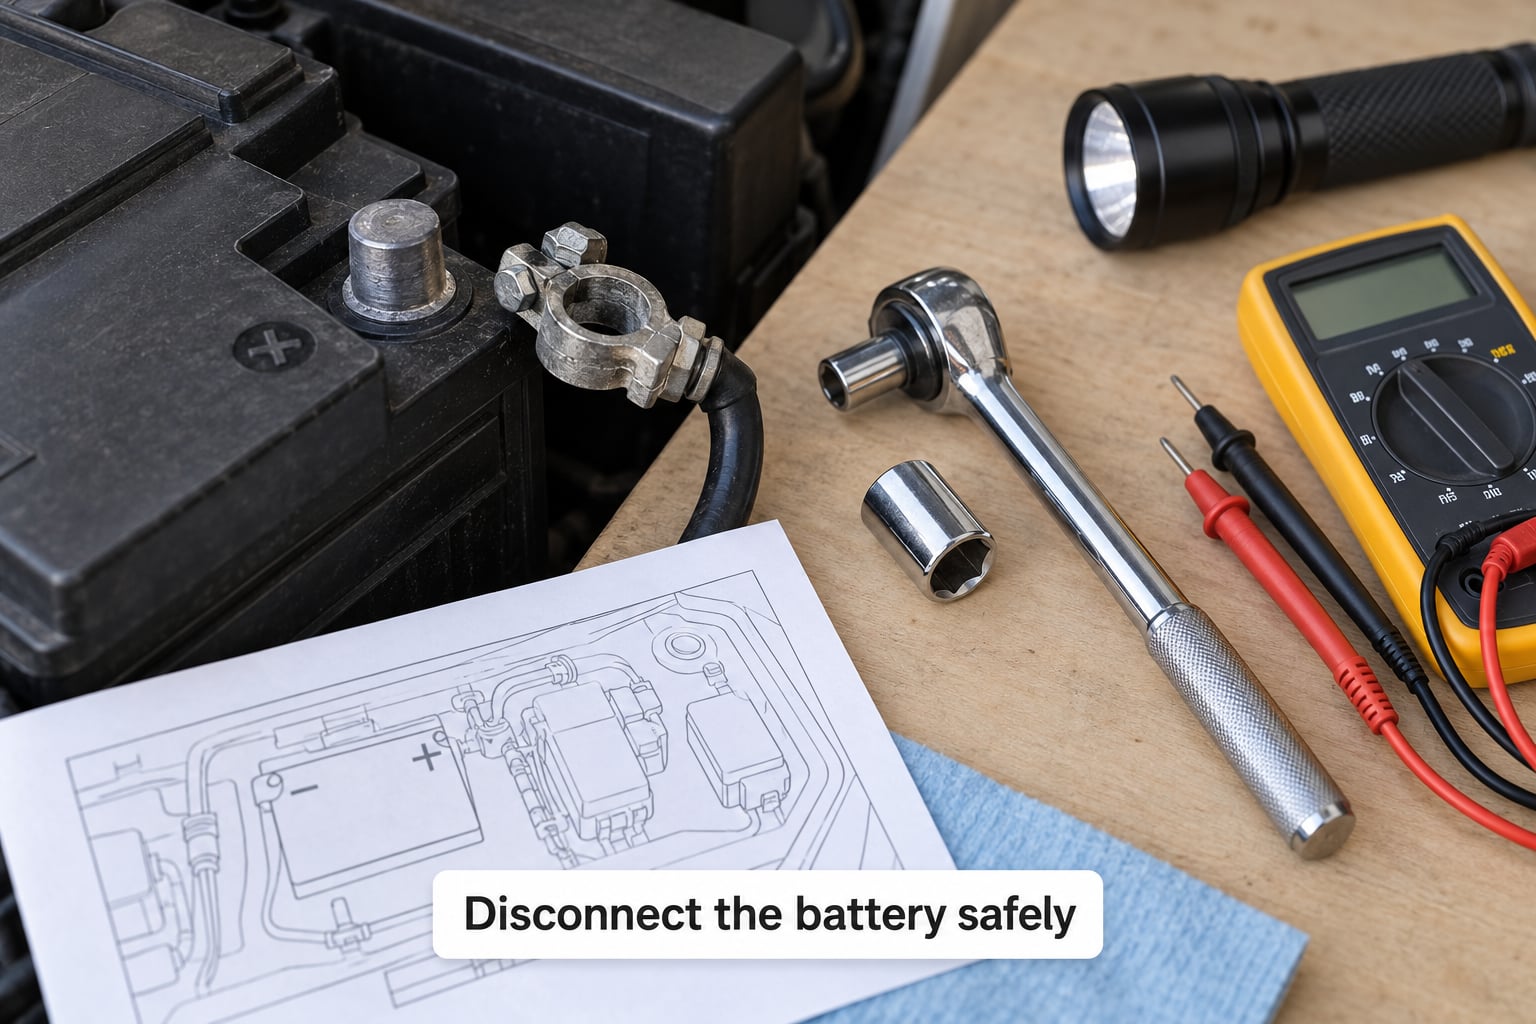
Disconnect the negative battery cable before any resistance or continuity measurement. Measuring a live circuit with an ohmmeter gives you nonsense readings at best and a damaged meter at worst.
Most vehicles use a 10 mm or 13 mm wrench, but some use a Torx or a captive clamp. Identify the negative post first; it is usually marked with a minus sign or a NEG marking. Loosen the clamp, lift it off, and tuck the cable clear of the terminal so it cannot spring back onto the post.
Plan for the side effects. Radio presets, clock, window one-touch and seat memory may reset, and the alarm can arm the moment you reconnect. On a vehicle with a coded radio or a battery monitoring system, ask the dealer for the code before you start. Never pry a clamp off with a screwdriver; you will bend the terminal and create a resistance problem that mimics a bad ground.
4. Test the fuse and its socket
Pull the suspect fuse with the plastic puller and look at it. A blown fuse shows a thin, darkened or broken element between the two blades. A clean-looking fuse can still be the wrong part; check the amperage printed on the body against the diagram.
Now inspect the socket itself. Look for heat discoloration, melted plastic, a loose blade or a terminal that has relaxed so the fuse barely makes contact. Owners on shop forums repeatedly report melted fuse box terminals that keep blowing a brand new fuse long after the original wire problem was fixed. If you see scorching, stop and plan on repairing the terminal or the fuse box, not just the wire.
Next, measure voltage on both sides of the socket with the key off and then with the key on. With the key off you should see battery voltage on the feed side and near zero on the load side. The load side picking up voltage means something is back-feeding that branch, which is useful information.
Continuity or resistance measurements only belong on a de-energized circuit. A meter in continuity mode on a powered circuit can beep for reasons that have nothing to do with your fault.
5. Perform an active or load test
With the battery still disconnected, set your meter to continuity or resistance, place one probe on a known good ground such as a chassis bolt, and touch the other probe to the load side of the fuse socket. A steady beep or a low ohms reading confirms a short to ground exists in that circuit.
Then repeat at the connector that divides the circuit. Each round narrows the search. Record what you read at every point; a written log prevents you from testing the same branch twice.
Powered testing is the other option. An automotive circuit breaker replaces the fuse and trips when current exceeds the rating, so the wire gets a controlled warning instead of melting. Connect it where the fuse was, switch the circuit on, and watch. Many experienced owners treat an inexpensive circuit breaker as the best short finder on the market, because it identifies the offending circuit without a meter at all.
Two limits on that method. Never put a test light or an improvised high-current jumper on a circuit feeding a module, an airbag circuit, or anything with sensitive electronics; the surge that finds the short can also destroy the ECU. And on modern CAN-bus networks, probing wires at random can wake modules, cause fault codes or trigger unwanted actions, so check the diagram first.
6. Isolate protected branches one at a time
This is the step that does the actual work. Work from the power feed toward the loads, and disconnect one branch at a time, retesting after every disconnection.
Useful split points, in rough order of convenience:
- The fuse box itself, one row at a time if the circuits share a bank.
- A relay. Unplugging a relay such as a horn, stop lamp or fuel pump relay removes one whole group of loads at once.
- A multi-pin connector in the middle of the run.
- A switch or control module on the power feed, which kills every branch downstream of it.
- The load itself, such as a bulb, motor or solenoid.
How to read the result: when the beep stops, the fault is inside what you just removed. Reconnect it and confirm the fault returns, so you are not fooled by a marginal connection. Then repeat the same split process inside that branch.
If removing a single relay cures several symptoms at once, suspect the shared element: a common ground, a spliced feed, or a body control module that feeds those circuits.
7. Pinpoint the shorted wire or component
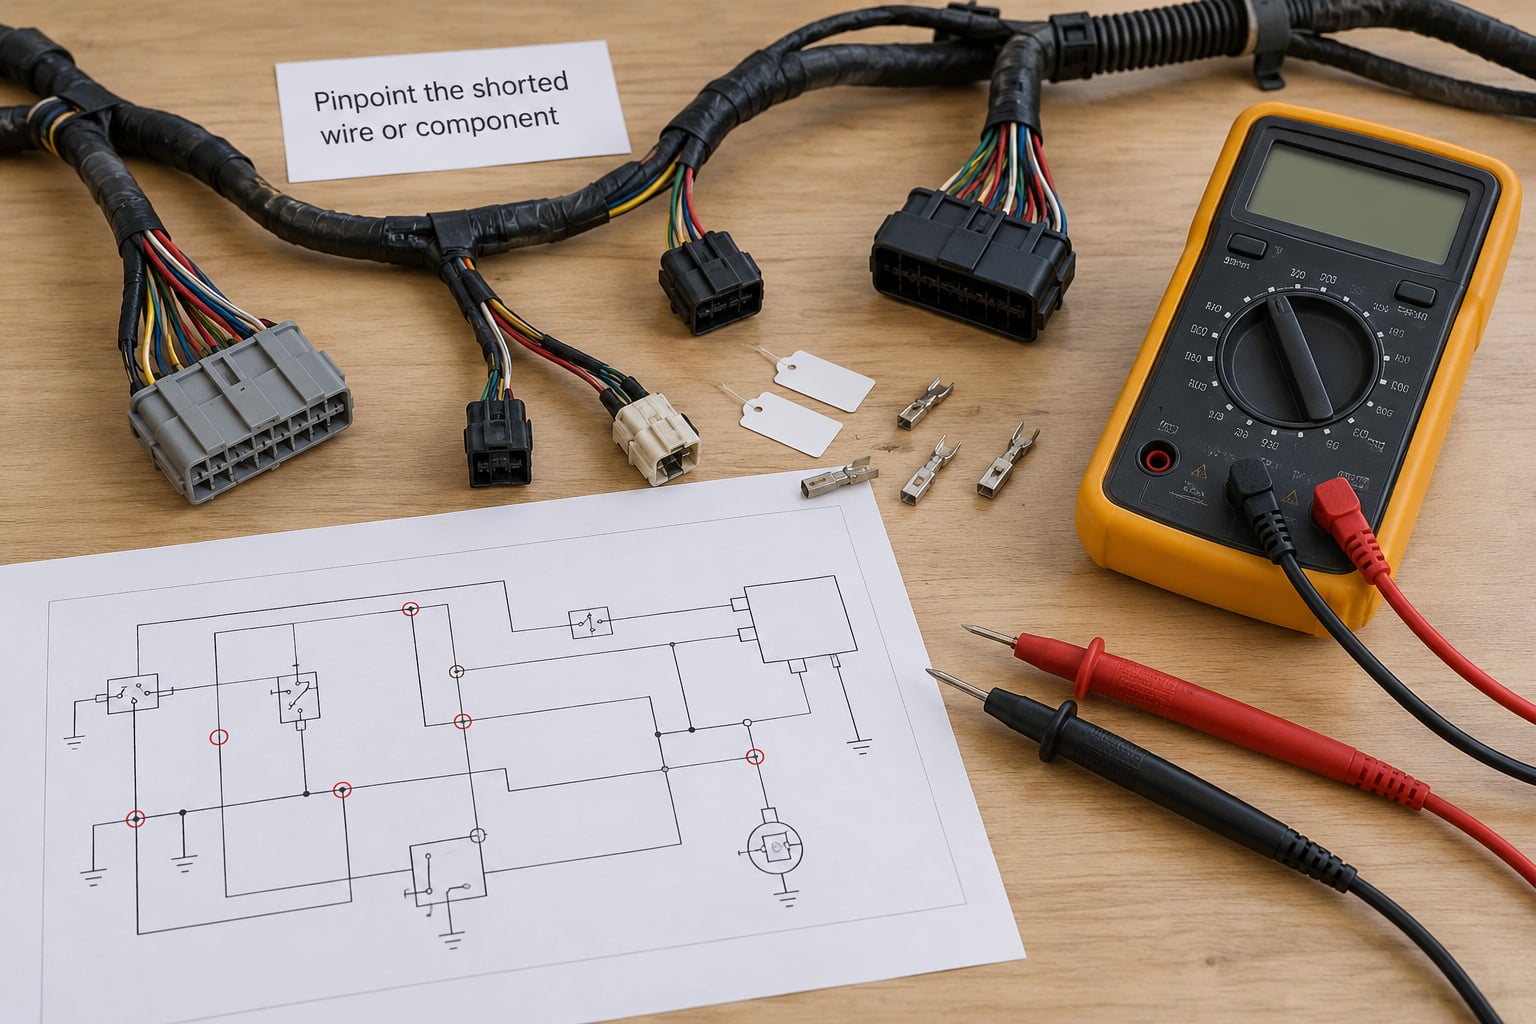
Keep halving until the reading isolates one wire segment, connector or component. Then look at it physically rather than trusting the meter alone.
What usually causes a short in an automotive harness:
- Chafing at a hinge or a moving part. The paint wears through a wire where a door or hood passes, and the bare copper finds the body. Owners point to hinges, hinge springs and hood hinges more than anything else.
- Water in a connector or door boot. Salt water is conductive, and a damp connector often keeps blowing a fuse until it dries and looks perfect.
- Rodent damage. Rodents chew harness sections near the firewall or under the hood for warm shelter, and they prefer the insulation, not the wire.
- A coin or object in a 12V socket. This is the single most reported cause of a 12V socket fuse that blows every time the key turns.
- Trailer or tow harness faults. A short anywhere in trailer wiring blows interior power fuses, and the fuse is nowhere near the problem.
- Aftermarket installs. A tapped wire, a poorly crimped ring terminal, or a screw driven through a harness during a camera or amplifier installation.
- An internally shorted motor or solenoid. Windings can break down to the case or shaft. Test the component out of the circuit where you can.
- A pinched wire inside a connector. Terminals backed out of the housing and crushed under the latch.
Where resistance or powered current points at a spot, look there hard. On an intermittent short that only appears over bumps, flex the harness in small increments while someone watches the meter, then use a cold spray on suspect connectors to make the fault come and go on command. A thermal camera narrows this down further by showing which section of the harness heats up while the circuit is energized.
On 12V load circuits, a short before the fuse melts the wiring outright. Past the fuse, the same fault just blows the fuse, which is why finding one early matters so much.
8. Repair, reassemble, and verify
Fix what you found rather than guessing at parts. Replace a damaged wire section with the same gauge and colour, or better. Use a proper butt splice with adhesive-lined heat shrink, crimp it with a ratcheting tool, and keep the splice out of moving areas and out of the engine bay where possible.
Repair the rest of the damage too. If chafing caused the short, secure the harness with clips or spiral wrap at the pinch point, otherwise you will be back for the same fault. Replace burnt connectors or a melted fuse box terminal rather than reusing them, and refit any seals you disturbed so water stays out.
Put the original fuse rating back. The fuse is sized to protect the wire, not the device.
Then verify, in this order:
- Reconnect the battery and confirm the correct fuse stays in.
- Operate every function on the circuit and check for odd behaviour, not just for a light coming on.
- Clear stored fault codes and watch for new ones.
- Check current draw on the repaired circuit if the fault was a persistent heavy load. It should sit near the spec on the diagram.
- Road test over rough surfaces if the original fault was intermittent.
Common Mistakes
Almost every botched diagnosis comes down to one of these, and each has a simple fix.
- Upsizing the fuse. The fix is to stop fitting bigger fuses and find the fault. A 30A fuse in a 15A circuit lets the wire cook, and you lose the harness instead of the fuse.
- Pulling the wrong fuse. Fuse assignments changed across model years. The fix is to confirm the number and amperage on the diagram for your exact year before you touch anything.
- Measuring resistance on a live circuit. The reading is meaningless and the meter can be damaged. Disconnect the battery, or at minimum disconnect the module and the load from the circuit.
- Testing through a module or airbag connector. Probing certain pins back-feeds the electronics or crosses an airbag squib. Skip those pins entirely and test at the load end.
- Damaging battery terminals or connector pins. Pry tools and force turn a small terminal into a resistance fault. The fix is to use the right tool, and to straighten or replace any terminal you distort rather than leaving it.
- Replacing parts without tracing the circuit. Swapping a module, a switch or a relay at random rarely helps and hides the evidence. Trace it, then replace the failed part.
- Skipping the branches that share a fuse. One fuse protects several circuits, so pulling it tells you the circuit group, not the circuit. Keep splitting.
- Confusing parasitic drain with a short. A parasitic draw is a small current that runs with the key off and slowly flattens a battery. A short trips a fuse, sometimes instantly. If the fuse stays good and the battery dies overnight, you have a drain problem and you need a different test: put your meter in series with the negative cable, close up the circuit and watch the draw, then pull fuses one at a time until the reading drops.
Frequently Asked Questions
How can I tell whether a car has a short circuit or a normal blown fuse?
A single blown fuse is often just a surge or an overloaded accessory. A real short shows the same fuse blowing repeatedly, sometimes the instant the circuit is switched on. Test the load side of the fuse socket to ground with the battery disconnected: a low resistance or steady beep confirms a short. No reading means the fuse did its job and you should look at bulb wattage, accessory draw and relay contacts instead.
Can I test a car circuit with a test light instead of a multimeter?
Yes, and it is the standard method many experienced owners still use. Put the test light across the two fuse socket terminals with the fuse removed. If it lights, the circuit has an unintended ground. For finding it, connect the light in series with the negative battery cable and pull fuses one at a time until it goes out. Keep the test light off module, sensor and airbag circuits, where the current surge can cause real damage.
Why does replacing a car fuse cause it to blow again?
Because the underlying fault is still there, and the new fuse is only the part that gave up. Common causes include chafed wiring against a hinge, water in a connector, a coin in a 12V socket, a damaged trailer harness or a motor drawing excess current. If the replacement fuse blows immediately, stop replacing fuses and bisect the circuit until you isolate the branch that carries the fault.
Does a short circuit always mean a damaged wire?
No. A short can come from a component with a failed internal winding, a pinched wire inside a connector, a corroded ground point, or a loose terminal that has arced to the housing. That is why you confirm with resistance testing and then inspect physically. Replacing a whole harness when the actual fault is one corroded ground bolt wastes an afternoon and a lot of money.
When should I take a short-circuit diagnosis to a mechanic?
Hand it over when the fault sits inside a module you cannot test at the pins, when it involves airbag or high-current circuits, or when manufacturer service information and a scan tool are required to reach the circuit. Also stop and get help if the harness runs behind the dashboard, under trim or through a body module, if the fault is intermittent on rough roads, or if repeated testing has already damaged terminals or insulation.
Conclusion
Write down the symptom first, because every step after that depends on it. Find the correct fuse and wiring diagram for your year and model, disconnect the negative battery, and prove the fault with a resistance or continuity check rather than by swapping fuses.
From there, split the circuit one branch at a time until the reading points at a single wire, connector or component. Inspect it, repair it, restore the original fuse rating and verify normal operation and current draw before you call it done.
Stop and hand the job to a professional the moment the procedure runs into airbag wiring, a high-current feed, a module you cannot test at its pins, or documentation behind a dealer subscription. That is not giving up. That is how you avoid turning a fuse problem into an expensive one.