
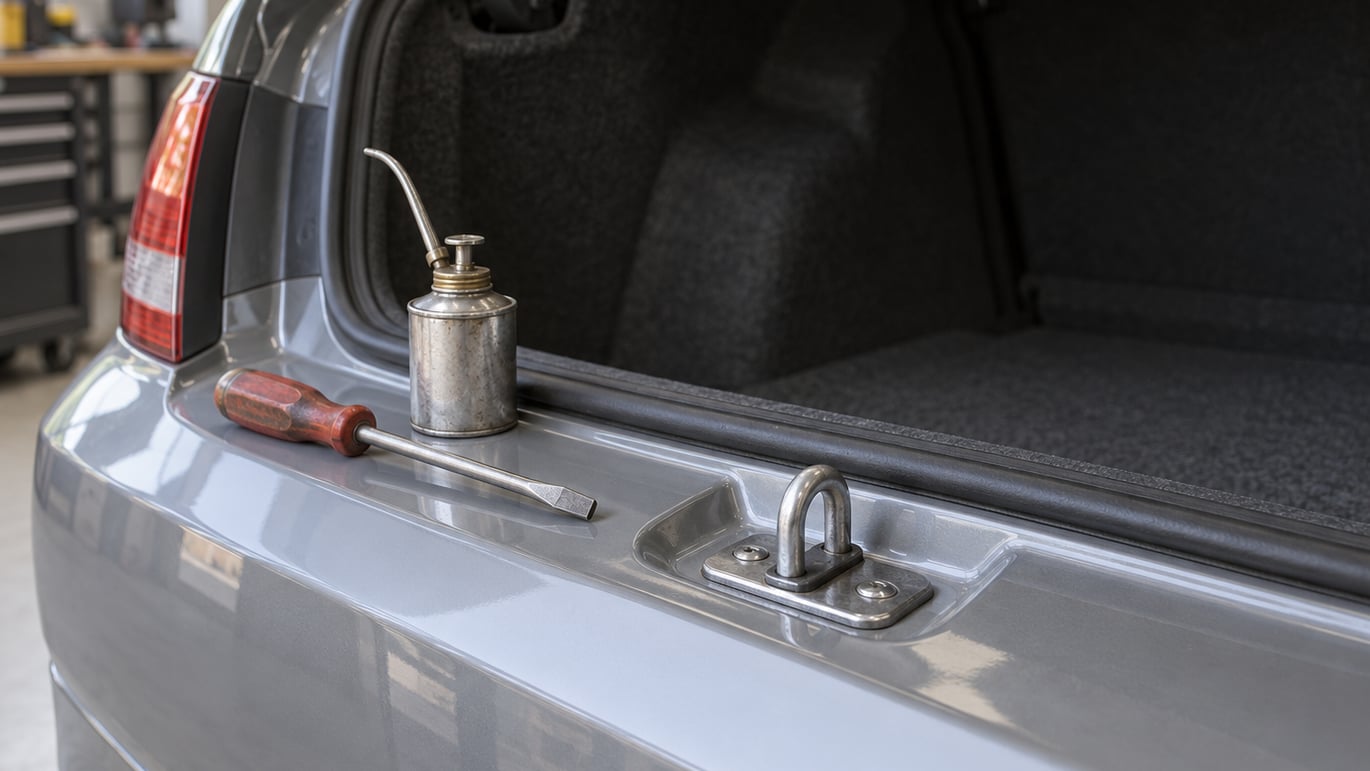
A trunk that won’t latch almost always fails for one of three reasons: something is physically in the way, the striker is out of position, or the latch itself is jammed or broken. Start with the low-risk checks below and most owners never need a part. Budget 30 minutes for a clean latch or a striker adjustment, and a couple of hours if the latch assembly has to come out. This guide is written for the current 2026 generation of cars and vans, where the latch, striker and release solenoid are separate parts you can service individually.
The trunk latch is a mechanical hook. A pawl inside the lid housing closes over a U-shaped striker bolted to the body, and the key fob or interior pull only releases that pawl. It never locks the trunk for you. So a dead fob tells you almost nothing about a latch that refuses to close, and a trunk that pops straight back open is a geometry or wear problem, not an electrical one.
Table of Contents
- What You Need
- Step-by-Step: How to Fix a Trunk That Won’t Latch
- Frequently Asked Questions
- Is it safe to drive if the trunk will not latch?
- Why does my trunk latch by hand but not with the key or remote?
- Can a trunk light staying on keep the trunk from latching?
- How do I know whether the latch or the trunk lid hinge is the problem?
- Do I need to replace the entire latch assembly?
- When should I take a trunk that will not latch to a mechanic?
What You Need
Most of this job is done with hand tools you probably own. Gather everything before you start, because a half-finished trim panel or a live wire is an annoyance to deal with in the middle of a job.
- The owner’s manual for your specific year, make and model
- Vehicle-specific trim removal tools (plastic pry tools, non-marring)
- Replacement trim clips, since a few always snap on the way out
- A flashlight or headlamp, because the latch recess is dark and awkward
- Flathead and Phillips screwdrivers
- Socket and wrench set, typically 8mm, 10mm and 13mm plus a T-40 Torx
- Wire stripper, crimp terminals and electrical tape
- A multimeter for the solenoid and wiring checks
- Penetrating oil or a quality silicone lubricant
- A flat file, small block of wood and a machinist square
- Replacement striker bolts and thread locker, if the fasteners are stripped
Before you remove any interior trim or touch a wire near the latch, disconnect the negative battery terminal and insulate the cable end so it cannot swing back and touch the post. Many cars keep the trunk release live and some latch position sensors are powered constantly. Work from the manual for your car rather than guessing which fastener releases which panel, because trim pieces are easy to crack.
Park on level ground, in gear with the parking brake set, and chock a wheel if you will be working underneath the rear of the car. Keep your hands out of the hinge path and never stand behind a trunk lid that you are about to release.
Step-by-Step: How to Fix a Trunk That Won’t Latch
Work in the order below because each step rules out a whole category of causes and the earlier ones cost nothing. Confirm the symptom first, then rule out obstruction, then alignment, then the mechanism, then the electrical side.
1. Confirm Exactly How the Trunk Fails
Pull the trunk release, or lean into the cargo area and pull the manual cable or strap if the car has one. Watch what happens rather than reaching for the lid.
Write down which of these you actually have, because each one points somewhere different:
- It bounces back open as soon as it touches the striker. That is almost always alignment or overbite, where the pawl closes past the striker instead of seating on it.
- It stays up a few inches and hangs there. The pawl is holding something other than the striker, most likely a child-seat guide, a cargo loop, or a swollen weather seal.
- It will not close fully at all. Look for a bent panel, a shifted hinge or a hinge adjustment that has moved.
- It appears closed but nothing locks. The pawl is resting against the striker without engaging, and the latch is likely loose inside the housing.
- A warning light comes on with the trunk closed. That points to a latch-position switch or a wiring fault rather than a mechanical binding.
Then test the latch by hand. Reach through the aperture and operate the pawl with a flathead screwdriver while the lid is held part way open. If it moves freely and snaps over the striker cleanly, the latch is healthy and the problem sits upstream with alignment or obstruction. If it is stiff, will not move, or feels gritty, the mechanism is the issue. Never force the lid shut to test this, because a lid that binds will chew the weather seal and bend the striker.
Worth ruling out unrelated faults before you buy anything. If the lamp on the dash is an engine warning light rather than a trunk lamp, the latch has nothing to do with it, and you need to work out how to fix a car that misfires before touching the trim. The same goes for noise: a hum that rises and falls with road speed is a tyre or wheel bearing problem, and that guide covers what causes a humming noise that changes with speed.
2. Check for Obstruction or a Misaligned Lid
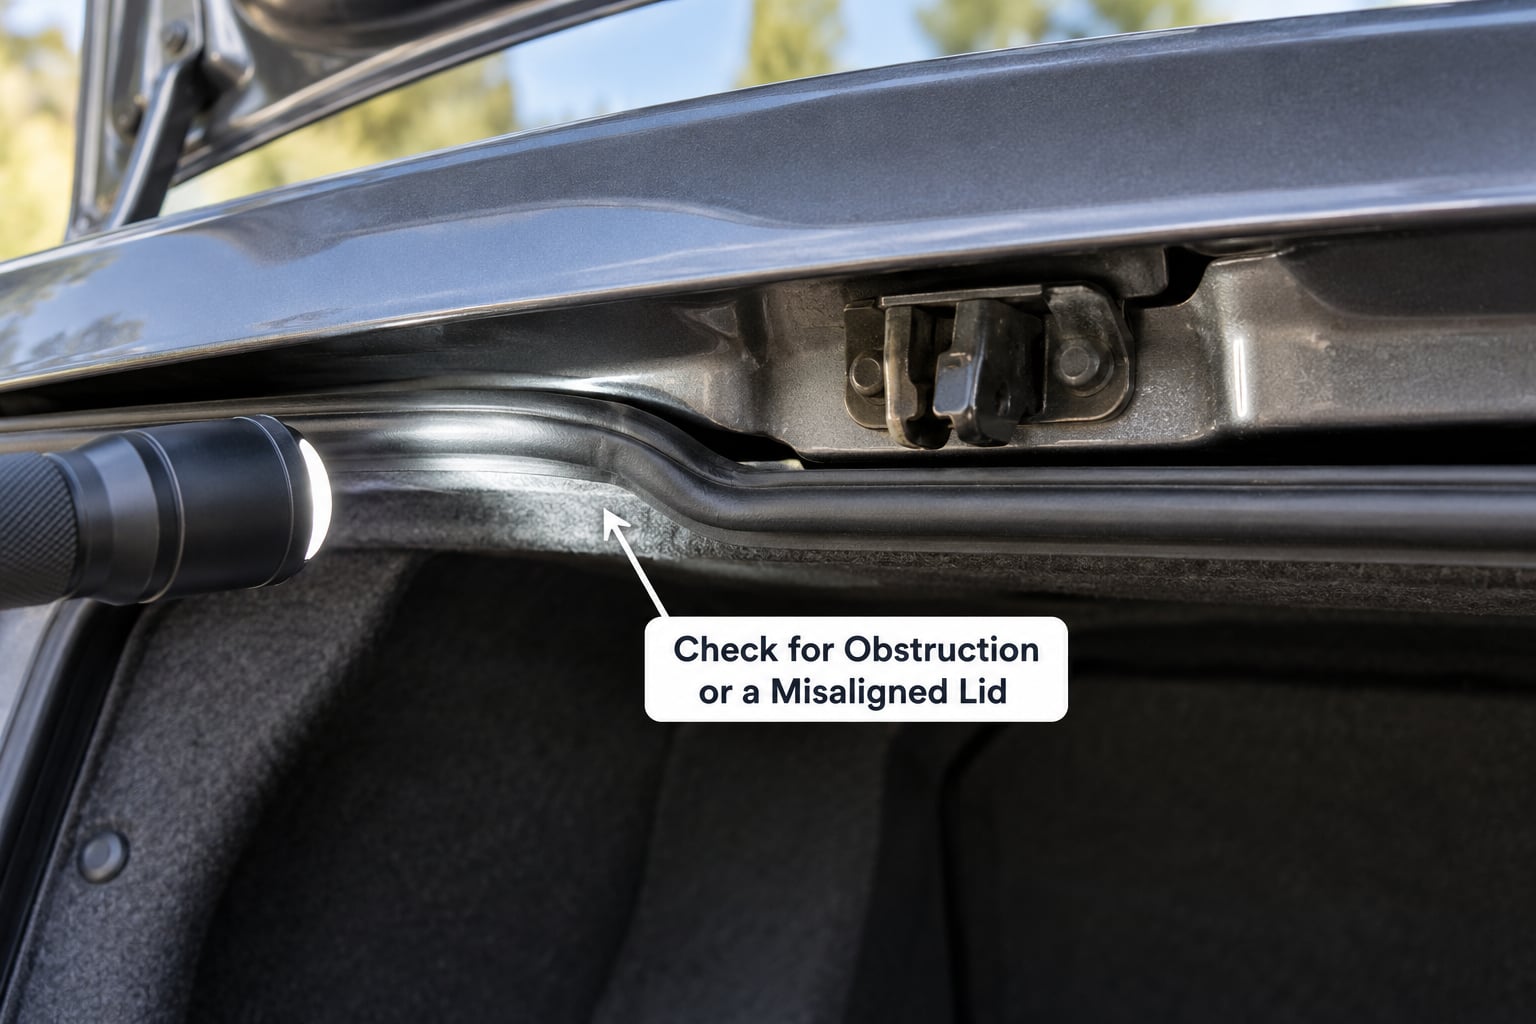
Load the trunk with everything you normally carry and try again before touching a tool. Cargo sliding forward on the first bump is a common cause that disappears at the dealer lot.
Open the lid fully and inspect the aperture. Look at the weather seal all the way around, since it can take a set after heat and rain and pinch the lid near the striker. Pull the trunk carpet back and check for a flattened or displaced panel, a melted liner from a work light, or a bag that has been folded into the well. Remove the cargo floor and lift mat, and check for anything tied down with straps that now sit in the striker’s path.
If you have ever fitted a child seat, the top tether anchors and the guide bars can intrude into the closing area. Some guides will not fully latch until the seat is removed or pushed forward.
Next, measure the gaps. Close the lid gently until it is a few inches from closed, then compare the gap on one side versus the other, and the front of the lid versus the rear. An even gap usually means the lid is simply sitting slightly high or low, which the striker slots can absorb. A gap that changes along the length of the lid points at a bent panel, a shifted hinge or a latch set too far back in its mounting position. Straighten things here before you adjust the striker, or you will chase the symptom.
3. Inspect and Align the Striker — the Top Reason a Trunk Won’t Latch
The striker is the U-shaped loop bolted to the body at the lower edge of the opening. Look at it directly in good light. Check for bends, especially on the side that faces away from you when the trunk is open, since that is the edge the pawl strikes first.
You are looking for several specific defects:
- Rust or scale building up on the inside of the U, which stops the pawl from dropping into place
- A loose striker that rocks when you press it with a finger
- Slotted or stripped bolt holes, which usually mean the striker has been moving for a long time
- Broken mounting tabs or a cracked bracket, common after a rear impact
- Paint overspray or a seam sealer blob narrowing the opening
Clean the striker with a wire brush and a rag, then remove the bolts and inspect the mounting slots. On most cars the striker sits in elongated holes, and that is your alignment adjustment: slide it to correct the gap you measured in step 2, and angle the face of the U so it points squarely at the centre of the latch. A machinist square against the body panel is more reliable than eyeballing it.
Tighten the bolts until the striker no longer moves under a firm push, then close the lid slowly by hand and watch whether the pawl enters the loop on both sides at the same time. If the pawl drops in smoothly and holds, you are done. If it only catches one side, back the bolts off and change the angle slightly rather than pushing the striker harder against the lid.
You will hear owners talk about overbite, which simply means the latch closes too far over the striker or sits too far out from it, so the pawl can never fully engage. Moving the striker toward the centre of the opening reduces overbite; moving it outboard increases it. If the bolts will not hold torque, apply thread locker to the fasteners, or remove the assembly and retap the damaged threads. A two-pack epoxy thread repair also works if the threads are beyond saving.
Do not force a bent striker straight by hammering it. That makes the metal work-hardened and it will bend again on the first hard close. Prying with a long screwdriver against a padded block is gentler, and if the loop is truly kinked, replace it; it is a cheap part and bolts on in a few minutes.
4. Check the Trunk Latch Mechanism
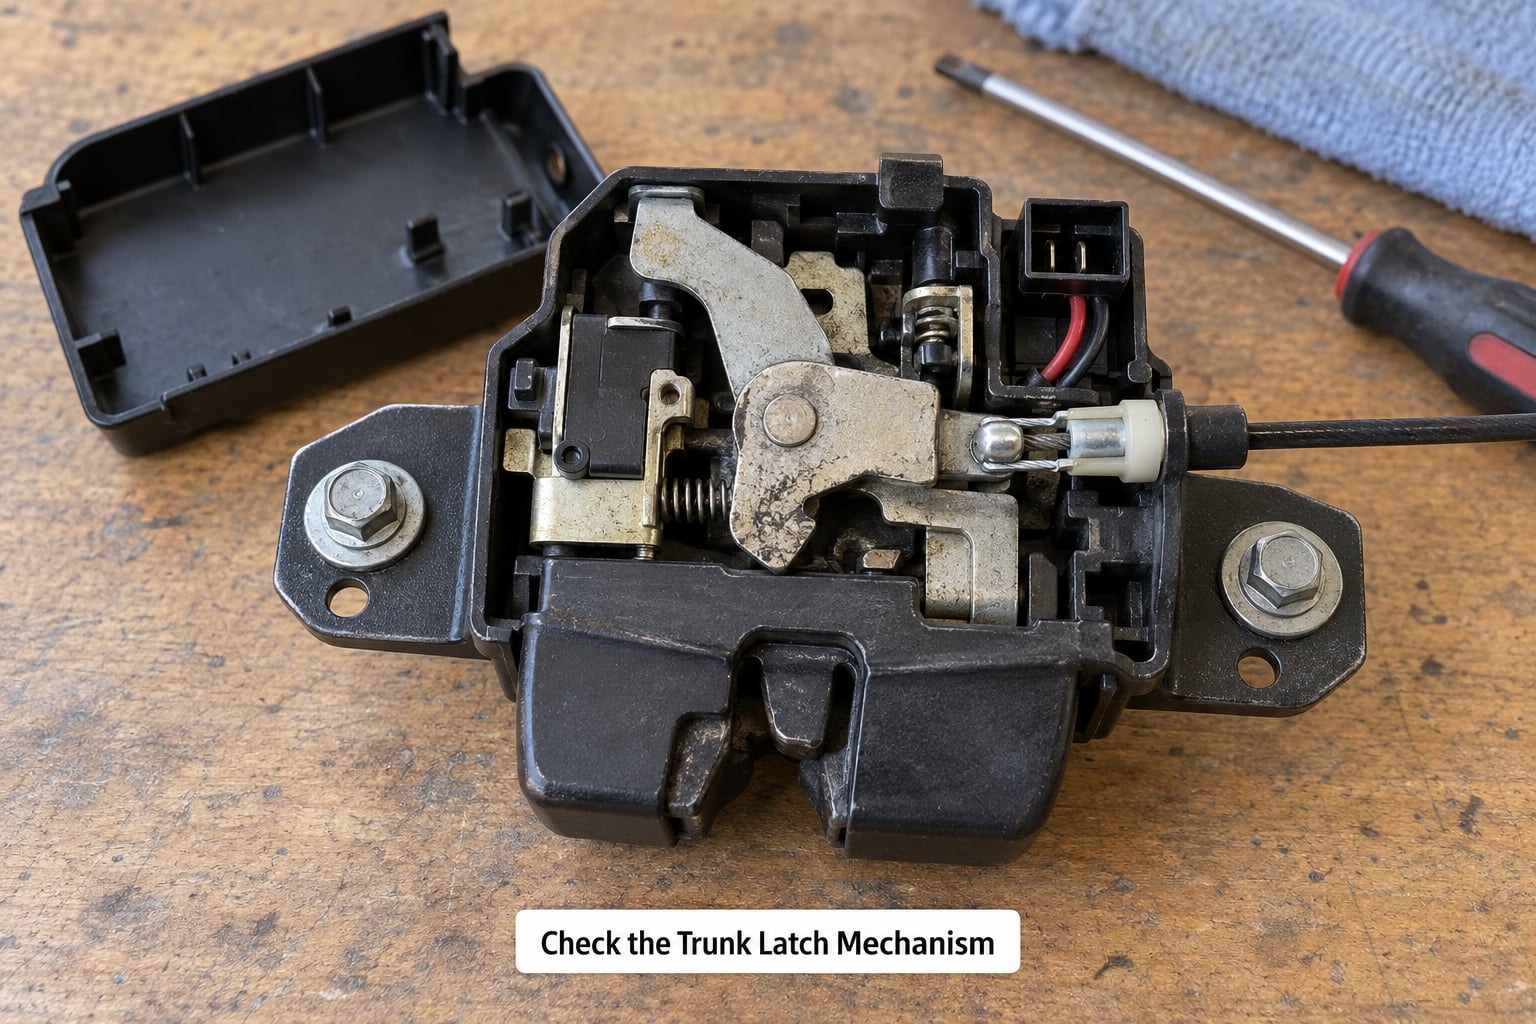
If the striker is straight and the latch will not hold, the problem is inside the housing on the lid. Follow the owner’s manual for removing the trim panel that gives access to the latch, usually a cloth or plastic cover on the underside of the lid or behind the rear trim board in the cargo area. Pop the clips gently, keep every one, and never lever with a screwdriver blade against a painted surface.
With the latch exposed, look for the usual wear patterns:
- A pawl that sits part way open and will not snap closed, usually packed with dried grease
- A broken pawl return spring, or a pawl that has a visible crack at its pivot
- A broken plastic housing with a tab missing around the cable anchor
- A latch cable or strap that is disconnected, frayed, or set to the wrong tension
- Corrosion on the latch-position switch contacts or on the electrical connector pins
Clean everything before you decide anything. A toothbrush and a rag with brake cleaner or degreaser, followed by a light film of silicone lubricant on the pivot points, fixes a surprising number of latches that owners were about to replace. Stay away from spraying WD-40 or any heavy oil onto the latch-position switch or into the electrical connector, because oil and moisture on those contacts cause corrosion and intermittent warning lights.
Work the pawl back and forth with a flathead screwdriver until it moves freely, then refit the cable or connector and confirm the latch clicks shut on the striker. Confirm that the mechanism works with the lid off the vehicle first, because it is much easier to observe the pawl when the lid is lying flat.
Replace the assembly when the housing is cracked, the spring has failed, the pawl is rounded or worn past adjustment, or the position switch contacts no longer work. Match the part by the label on the housing, since similar-looking latches differ in cable attachment and switch type. Replacing the latch is straightforward once the trim is off: unplug the connector, undo the fasteners, and swap it, but the calibration of the position switch is automatic on most cars and needs a scan on some.
5. Test the Release Solenoid and Wiring
On cars where the trunk release button, the key fob or the interior lever releases the latch electrically, the fault can sit in the circuit rather than in the mechanics. Test that only after the mechanical side is proven sound, otherwise you are chasing a wiring problem that does not exist.
With the negative terminal still disconnected, check the fuses listed for the latch or trunk release circuit in your manual and confirm each one is intact. Then reconnect the battery and test the latch again, watching for the solenoid click when you press the interior release or the fob button. No click means the problem is upstream in the switch, the body control module or the wiring.
Using a multimeter set to continuity or volts as your manual specifies, test the connector at the latch. A good circuit shows continuity when the release is commanded and an open circuit when it is not. A steady 12 volts with no movement at the solenoid means the solenoid has failed. No voltage at the connector when the button is pressed means the fault is in the button, the module or a broken wire between them.
Check the connector pins for green corrosion, bent tabs, or water intrusion and clean them with electrical contact cleaner before condemning anything. Inspect the harness where it crosses the hinge for chafed insulation, since that flexes every time the lid opens and is a frequent failure point. Use the wiring diagram in the service information rather than guessing, and always disconnect the battery before cutting or crimping a terminal.
6. Verify the Repair and Reset the Trunk
Reconnect the negative battery terminal, refit the trim panels and clips, and reinstall the cargo floor, mat and anything else you removed. Close the lid gently by hand rather than pushing it with your palm from a distance. A good latch catches the striker with a single firm pull and stays closed when you let go.
Test it three ways. Push the lid and confirm it holds with no bounce. Pull the interior release and confirm it pops fully open on the first try. Then use the key fob and the external button, and confirm both work without a second press. Many intermittent faults only show up electrically, so leave the car sitting for a few minutes and try again.
Check for a trunk or latch warning light with the trunk closed. If a lamp stays on or a latch-position fault remains, scan the car. A generic scanner will read the latch-position switch state and show whether the module sees the lid as closed; a scan tool can also relearn a swapped latch on models that require it. If the module reports the lid as closed but the latch does not hold, the problem is still mechanical and you go back to step 3 or step 4.
Common Mistakes
Most repeat failures come from one of a handful of avoidable moves:
- Forcing the lid shut. It bends strikers, tears weather seals and cracks the latch housing. Always lower it under control.
- Spraying lubricant everywhere. Heavy oil on the latch-position switch contacts causes corrosion and warning lights later. Lubricate pivots, keep oil off the connector and the switch.
- Adjusting the striker without measuring the gaps. If the lid is bent or a hinge has shifted, moving the striker only hides it for a while and puts odd load on the bolts.
- Bending a kinked striker back with force. It snaps back. File the burr, or fit a replacement loop.
- Snapping trim clips on the way out. Buy a handful of generic clips before you start rather than after.
- Crossing battery or solenoid connections. Use the wiring diagram and confirm polarity with the multimeter before reconnecting anything.
- Replacing a solenoid without checking the fuse and connectors. A failed fuse or a corroded pin looks exactly like a dead solenoid.
Once it works, spend two minutes a year keeping it working. Wash the striker and latch recess when you clean the car, brush off grit before it becomes a gasket, and put one drop of silicone on the pawl pivot once a year. Owners who lubricate before winter typically avoid the seized latch that shows up on the first freezing morning after rain.
Frequently Asked Questions
Is it safe to drive if the trunk will not latch?
Not really. An open trunk pulls exhaust and carbon monoxide into the cabin, and nothing keeps your cargo secure in a hard stop. If the lid can be closed and held with a proper strap, keep the trip short and drive with the windows down. If the trunk cannot be closed and secured at all, arrange transport or a repair before you drive. Never rely on tape, bungee cords or a rope for a long drive.
Why does my trunk latch by hand but not with the key or remote?
Because closing and locking are mechanical. The pawl on the lid closes over the striker when you pull the lid down, and the key fob or interior lever only releases that pawl. A fob that appears dead while the trunk still latches by hand almost always means a dead key battery, an out-of-range fob, or a sync issue after the fob battery was changed. Test a spare fob before assuming the car is at fault.
Can a trunk light staying on keep the trunk from latching?
Rarely, but it points at a real electrical fault. A trunk lamp that stays lit with the lid closed usually means a switch or wiring problem at the latch, and the same damaged harness can leave the latch-position switch reading open so the car thinks the trunk is still ajar. Check the bulb, the switch and the connector at the latch, and scan the car for a latch-position fault. This symptom pairs badly with an intermittent latch.
How do I know whether the latch or the trunk lid hinge is the problem?
Compare the gap on both sides of the closed lid and along its front and rear. If the gap is even but the trunk still bounces open, the fault is the striker or the latch. If the gap changes along the lid, a hinge has moved or the panel is bent, and adjusting the striker will only mask it for a while. Also watch the lid swing freely: a lid that drops toward one side as it opens points at the hinges and their adjustment.
Do I need to replace the entire latch assembly?
Not usually. Cleaning the housing, freeing a gummed pawl, lubricating the pivot and reconnecting a loose cable solves a large share of complaints. Replacement makes sense when the housing is cracked, the pawl spring or pivot is broken or rounded, the latch-position switch contacts are pitted, or the lid was buckled in a collision and no adjustment brings it back. Match the replacement by the label on the housing, not by shape alone.
When should I take a trunk that will not latch to a mechanic?
Take it in when the lid or quarter panel is visibly buckled, the hinge bolts are loose or the mounting points are torn, the striker bracket is cracked, or you are unsure about the wiring diagram. Collision damage needs measurement and sometimes panel work rather than a latch swap. Also stop and use a shop if the latch has failed twice after the same repair, since that points at something structural rather than a part.
Start by deciding which of the three categories you are in. Empty the cargo area and look for an obstruction or a pinched weather seal, then compare the gaps around the closed lid, then work on the striker alignment before touching the latch mechanism. Most of these repairs are one adjustment away from working, and you should know within about fifteen minutes whether this is a weekend job or a shop job.