
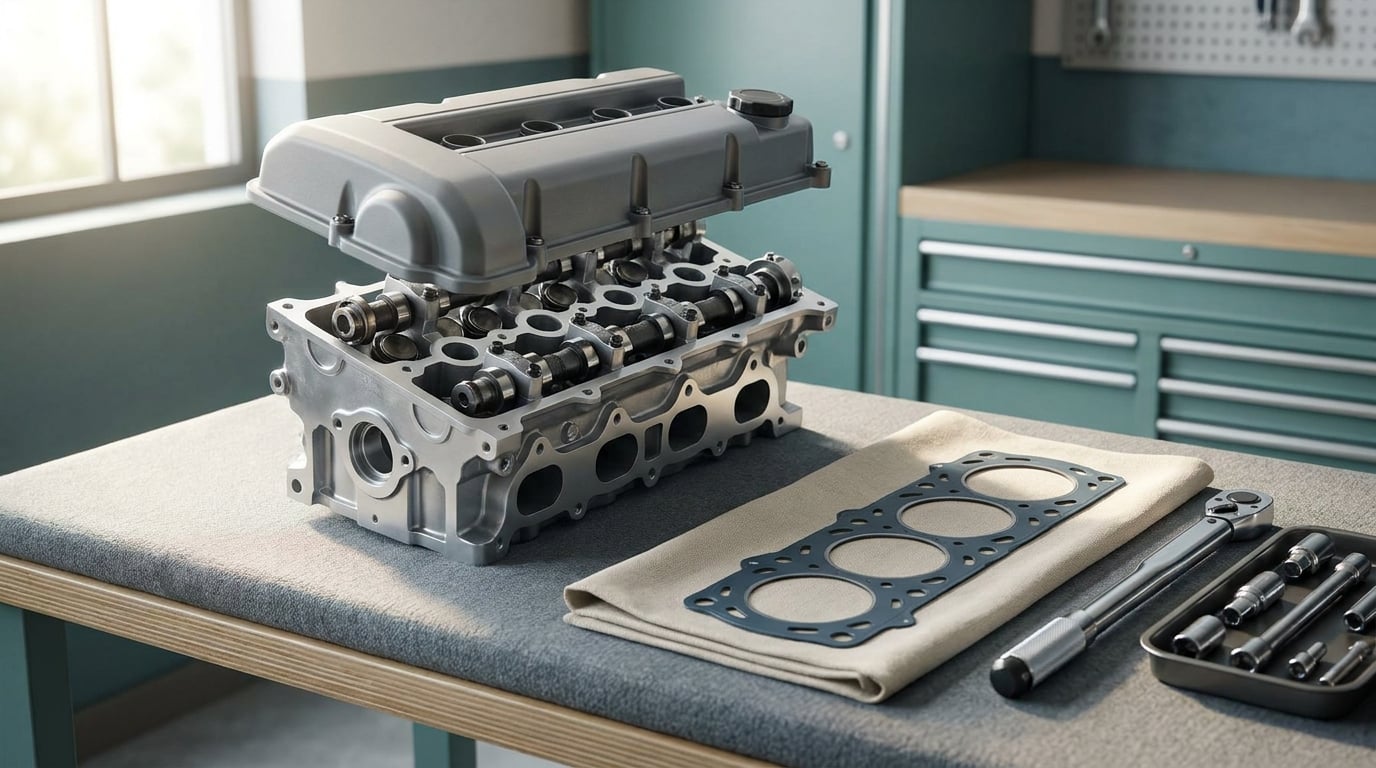
The valve cover gasket is the seal between the rocker (valve) cover and the cylinder head, and on many BMWs it is the reason a hot, sweet burning-oil smell shows up under the hood. This bmw valve cover gasket leak repair guide walks through the whole job: confirming the leak is really coming from that gasket, the tools and parts you need, the removal and reassembly sequence, and the tightening procedure. Access, bolt patterns and torque values differ sharply between engines, so treat anything here as the method and go to the service manual for the numbers on your chassis.
A warning before you start: on a BMW the oil that escapes usually runs to the back of the engine and down onto the exhaust manifold. Oil on a 900-degree exhaust is a genuine fire risk, and oil seeping into the spark plug wells causes hard misfires on N52, N54 and N55 engines. If that is what you are seeing, stop driving and deal with it rather than putting another few thousand miles on the car.
Table of Contents
- What You Need
- BMW Valve Cover Gasket Leak Repair Guide: Step-by-Step
- 1. Confirm That Oil Is Coming From the Valve Cover Gasket
- 2. Prepare the Engine and Workspace
- 3. Remove the Intake Parts and Access the Valve Cover
- 4. Remove the Valve Cover Without Damaging It
- 5. Inspect and Clean Both Sealing Surfaces
- 6. Fit the Correct New Gasket and Seals
- 7. Reinstall the Valve Cover and Torque the Fasteners Correctly
- 8. Reconnect Components and Refill the Engine With the Correct Fluids
- 9. Start the Engine and Verify the Repair
- Common Mistakes
- Frequently Asked Questions
- Can I drive a BMW with a valve cover gasket leak?
- How do I know if the oil leak is from the valve cover gasket?
- Do I need to replace the spark plug tube O-rings?
- Can I reuse the valve cover gasket?
- Why does my valve cover gasket leak keep coming back?
- Do I have to drain the coolant to replace a BMW valve cover gasket?
- What To Do First
What You Need
Two things decide whether this is a Saturday job or a weekend-and-a-half job: having the correct gasket on the bench before you pull anything apart, and having the repair information for your exact engine code in front of you. Get those right and the rest is disassembly and reassembly.
Parts
- The replacement gasket or gasket kit for your engine code. BMW parts sites cross-reference by VIN and engine number, and some engines use a multi-piece kit with separate spark plug tube seals rather than one molded piece.
- Any O-rings or semi-ring seals the manual calls out as one-time-use, including spark plug tube seals on engines that use them.
- Intake or charge-air intake gaskets if they will be disturbed, plus any coolant hoses or seals if coolant has to come off.
- Sealant, only in the form and quantity the manufacturer specifies for that gasket. Most modern molded rubber gaskets need none at all.
Hand and specialty tools
- A torque wrench in the range the cover bolts need, plus a swivel socket and a deep socket or triple-square bit where the fasteners sit down a wellshaft.
- The correct Torx, E-Torx or spline bit for the cover bolts. Many BMW cover bolts are one-time-use and stretch when torqued.
- Extension bars, a ratchet, and a small magnetic tray so hardware stays grouped by location.
- Plastic pry tools, a pick set and a nylon scraper. Pry the plastic covers apart with plastic, never a screwdriver.
- A UV lamp and fluorescent dye if you are not yet certain where the oil is coming from.
- Brake cleaner or gasket scraper plus a lint-free cloth for the sealing surfaces. A nylon razor blade works well for stubborn residue.
Fluids and consumables
- Engine oil in the quantity your service interval calls for, in the specification BMW requires for that engine.
- Coolant only if the removal sequence drains the cooling system, in the exact specification for that engine.
- Nitrile gloves, a drip pan, and a bag or sheet to lay parts on so nothing gets scratched on the ground.
Information you need on hand
Get the repair manual or BMW-specific service information for your VIN, and confirm the engine code before you order anything. The differences are not cosmetic:
| Engine family | Typical applications | Access notes |
|---|---|---|
| N52 | Early 3 Series, X3, X5 six-cylinder gasoline | Relatively open once the intake manifold is off. The most approachable BMW valve cover job. |
| N54 / N55 | Turbo six-cylinder 3 Series, 1 Series, X3, X5 | Crossover pipe, injectors or fuel lines and coils come out first. A full day, not an hour. |
| N20 / N16 / N18 | Cooper, MINI, 1 Series | Tight packaging, intake side is the main obstacle. Straightforward once access is there. |
| N63 / S58 | V8s in 5 Series, X5, M cars | Two covers, coil packs over each well, and oil running into the plug wells fast. Bank the money or the weekend. |
| B48 / B58 | Modern 3, 4 and 5 Series, X3, X5 | Compact, well-lit access, but the manifold and turbo plumbing sit right on top of the cover. |
Owners on the BMW forums consistently rate the older six-cylinder engines as beginner-friendly and the V8s as the ones to hand to a shop. My rule: if the car is a V8, or if a fastener breaks off on the first attempt, stop and reassess.
BMW Valve Cover Gasket Leak Repair Guide: Step-by-Step
Work on a level surface, park in shade or a garage, and let the engine cool completely before anything comes off. Hot oil on a plastic cover and hot exhaust surfaces are how people get hurt on this job.
1. Confirm That Oil Is Coming From the Valve Cover Gasket
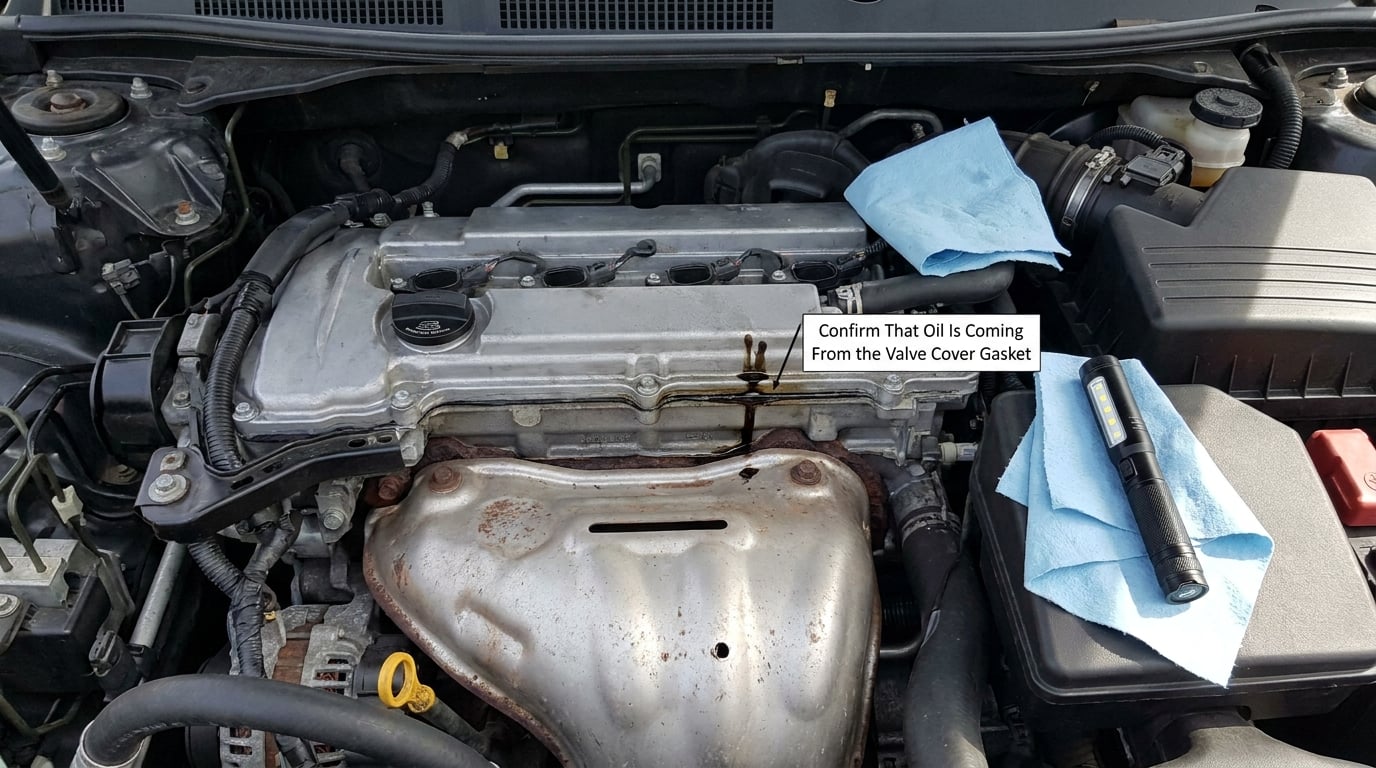
Do not skip this. On a lot of high-mileage BMWs the oil filter housing gasket or the oil pan gasket is the actual leak, and a valve cover gasket job will not fix it. The valve cover gasket leak runs downward from the top of the engine, typically to the rear, and pools along the exhaust manifold or the heatshield above it.
Wipe the area down dry with a rag, run the engine for a few minutes, and watch where the oil reappears. On a turbo six, a small amount of oil hiding under the exhaust heatshield on the passenger side is easy to miss, which is why owners on Bimmerpost suggest angling the engine to pool it. If the trace is still ambiguous, add fluorescent dye to the oil, idle, and inspect with a UV lamp. That method is covered in more detail in our guide to how to find an oil leak with UV dye.
You have confirmed the source when fresh oil beads along the gasket line or the cover flange, or when oil is present inside the spark plug wells. If it is not, move on to diagnosing the other common leak points before you buy a gasket.
2. Prepare the Engine and Workspace
Have the repair information for the exact chassis and engine open on a screen or printed out, including the torque values and the tightening order. Park level, apply the parking brake, and put a drip pan under the engine.
Switch off the ignition, then disconnect the negative battery terminal and secure it out of the way. On cars with an engine stop/start system, follow the manual’s shutdown procedure first so the system does not restart or cycle components during the work. Let the engine cool to room temperature. Remove the plastic engine cover if the car has one.
Cover or remove anything the cleaner could hit, and keep intake ports and open oil passages protected from debris.
3. Remove the Intake Parts and Access the Valve Cover
The order varies with the engine, but the typical sequence on a turbo six runs: air intake ducting, then the crossover pipe and charge pipe, the eccentric shaft sensor connector, the fuel rail and high-pressure lines where the layout requires it, the ignition coils, then the injector connectors. On some older inline-sixes the injectors themselves have to come out to reach the rear fasteners, which is exactly what one bimmerfest owner ran into on an E60 530xi.
Photograph every connector and hose before it comes off, and label anything ambiguous. Keep the fasteners in a magnetic tray grouped by location rather than in one pile. Never pull on a connector body to unplug it; release the locking tab first. And when a hose or bracket resists, check for a hidden bolt instead of forcing it.
Check the fuel pump fuse as the manual specifies before working around the fuel system, and keep ignition coils in a dry, protected spot since they are sensitive to impact.
4. Remove the Valve Cover Without Damaging It
Work through the cover bolts in the order given in the service information, loosening them gradually in several passes rather than one hard crack. The cover will often still be held by gasket friction at the end, so break the seal by gently rocking it rather than levering one corner hard against the head.
Hidden fasteners are common: some layouts tuck bolts underneath intake ports or behind the fuel rail, and the front and rear of the cover usually have more than the middle. If the cover will not lift evenly, stop and look for a bolt you missed rather than twisting the casting.
Before the cover comes fully away, note any fragile features: an integrated oil separator membrane, breather ducts, spark plug tube openings, wiring grommets, or sensors mounted in the cover. Set the cover on a padded surface, oil side up, and keep grit out of the openings.
5. Inspect and Clean Both Sealing Surfaces
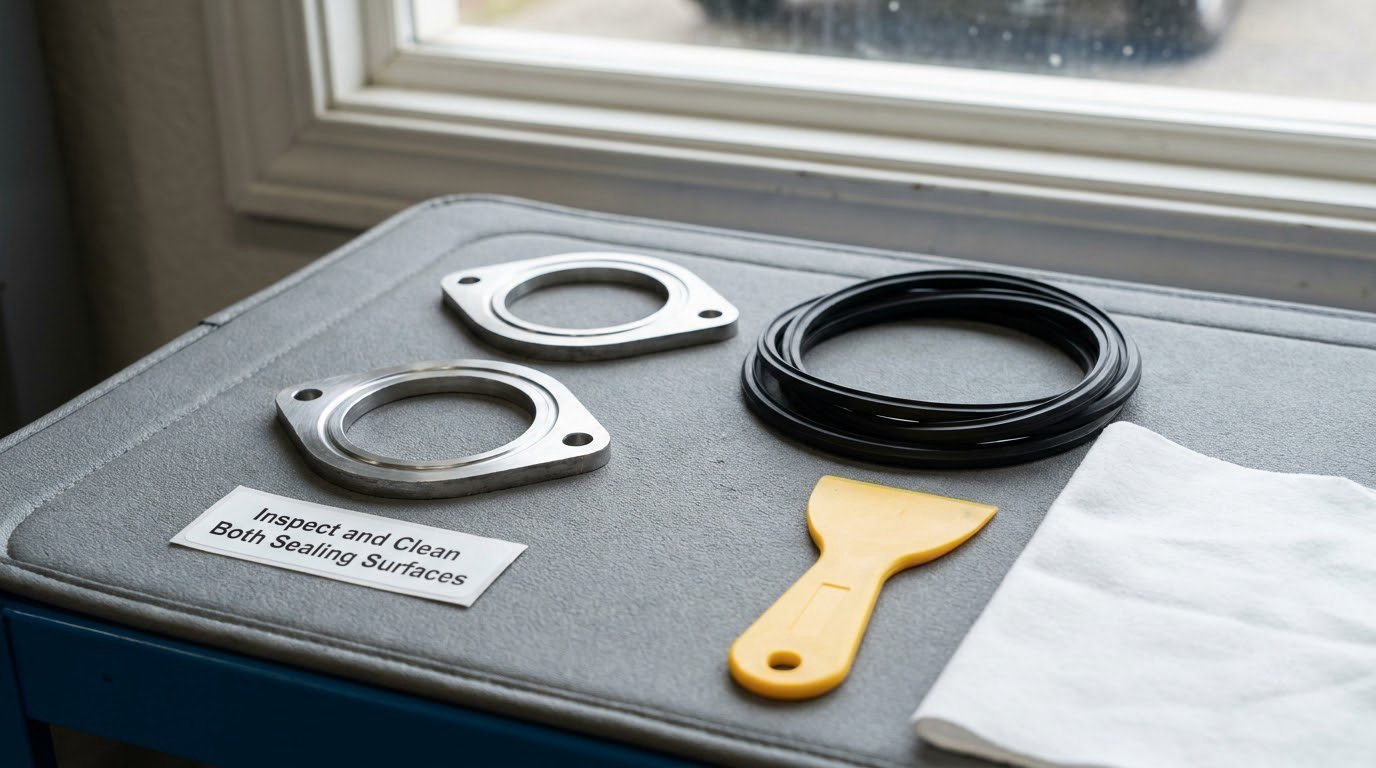
This is the step that decides whether the repair holds. Scrape the old gasket material off both the cover flange and the head with a plastic or nylon scraper, then wipe both with a clean cloth and a light mist of the approved solvent. Let them dry fully.
Look for gasket residue that has migrated into the bolt holes, semi-ring areas, and around the spark plug tube openings, and clear it. Then inspect the aluminium flange for flatness, cracks, scoring, raised edges, and distorted bolt holes, and check the cover for the same. Plastic covers warp and crack with age and heat cycles, and a new gasket will not fix a warped cover.
Never let cleaner spray into an open intake port or oil passage, and never use a coarse abrasive on a sealing face. If the head flange is warped beyond what a light skim corrects, that is a machine-shop conversation, not a gasket job.
6. Fit the Correct New Gasket and Seals
There are three common designs and they are not interchangeable. A molded one-piece rubber or FKM Viton gasket fits into a groove in the cover and is often reusable-looking but should still be treated as single-use. A multi-piece kit gives you separate seals, semi-rings and plug tube O-rings, and that is the correct choice when the manual calls for one. A metal carrier gasket is the most durable option and the least forgiving to work with, since it must sit flat and evenly compressed.
Check the orientation marks, tab cutouts and any alignment pin or mark moulded into the new gasket. Seat it by hand pressure all the way around rather than dropping one section first, and make sure no bead of gasket material or a strand of your gloves’ lint is caught under the flange.
Install every one-time-use seal at this stage: spark plug tube O-rings, injector O-rings, and coolant or oil seal rings listed in the manual. If the gasket design calls for a bead of high-temperature RTV silicone at a specific corner or along a specific rail, apply it exactly as the manufacturer shows, using a thin continuous bead. If the design is a dry molded gasket, adding sealant is as wrong as omitting it. Our guide to reading a torque spec chart explains how the staged and angle values are written.
7. Reinstall the Valve Cover and Torque the Fasteners Correctly
Lower the cover straight down without sliding it across the head, guide the fasteners in by hand for the first few threads, and tighten in stages. Start everything light, bring it down to a snug setting following the manual’s crossing or centre-out pattern, then finish at the specified torque and any additional angle the manual calls for.
Use new bolts where the manual says they are one-time-use. A stretched bolt will not hold its preload and the joint will weep. Never substitute a generic torque figure from another engine or another car; the N52 and N55 covers are not tightened to the same value, and both differ from the V8 covers.
If the cover is a two-piece design on a V8, do one bank at a time and keep the sealing faces clean between them.
8. Reconnect Components and Refill the Engine With the Correct Fluids
Reinstall the coils, injectors, fuel lines, crossover and charge pipes, sensors, brackets, wiring and shields in the reverse of removal. Photograph reference helped you once; compare against it now, because a harness routed across a hot pipe or a hose twisted the wrong way causes its own complaint later.
Torque the intake fasteners to specification. If coolant came off, refill with the coolant type specified for that engine, bleed the system using the BMW procedure, and check for trapped air at the heater core and radiator. Then refill the engine oil to the level on the dipstick and reset the service interval if you turned the battery off.
9. Start the Engine and Verify the Repair
Turn the key and watch it. Stand where you can see the old leak point and the underside of the hood, and check for oil at the cover flange, at the plug wells, and on the exhaust manifold before you reach for a rag.
Let it warm to full operating temperature, then shut it off and let it sit for ten minutes so the oil drops back down. Check the sealing line again with a clean rag. A small amount of oil in the plug tubes is normal on older engines, so confirm it is not growing between checks.
Shut it down immediately if the oil pressure warning comes on, the idle hunts badly, white exhaust smoke appears, the coolant level drops, or the smell under the hood is stronger than before. Those mean the problem is not solved, and a persistent new leak elsewhere is the signal to remove the cover and retrace the steps rather than adding sealant and hoping.
Common Mistakes
Most repeat leaks trace back to one of a handful of errors, and each one is avoidable.
- Reusing one-time-use bolts. They stretch at the specified torque and lose clamp load. Fit new bolts wherever the manual marks them single-use.
- Tightening in the wrong order or skipping the stages. Bring the cover down evenly through the manual’s pattern, then final torque. One side torqued first distorts the gasket before the other side is even touched.
- Over-torquing. This crushes the gasket and can warp the aluminium flange. Use the value for your engine code, not a number you remember from another car.
- Leaving old residue on the sealing faces. A thin ghost of the old gasket under the new one is enough to leak. Scrape, wipe, and check the bolt holes and semi-ring areas.
- Skipping the O-rings. Plug tube seals, injector O-rings and coolant seal rings are single-use. Reused ones leak just as reliably as the main gasket did.
- Using the wrong gasket or the wrong sealant. An aftermarket gasket that does not match the groove design, or a bead of RTV on a dry-molded gasket, will not seal. Match the part number.
- Contaminating open intake ports or oil passages. Solvent, swarf and old gasket debris wash straight into the cylinder. Mask and clean carefully.
- Pinching an O-ring under a flange or misrouting a hose. Both are visible during assembly and invisible afterwards unless you look.
- Ignoring a warped cover or a clogged PCV system. A clogged crankcase vent valve or hose raises pressure in the crankcase and blows out a brand new gasket. Owners on the BMW forums name this again and again as the root cause behind an otherwise good repair, so check the vent system while the cover is off.
If you find a cracked cover, a warped flange, oil pooled deep inside plug wells on a V8, or fasteners that will not break free, that is the point to hand the car to a shop. For context on what smoke from an exhaust can mean, see what causes blue smoke from the exhaust.
Frequently Asked Questions
Can I drive a BMW with a valve cover gasket leak?
Short trips are survivable, but you should not leave it. Oil running onto the exhaust manifold is a real fire risk, and oil in the spark plug wells causes misfires and can damage ignition coils. Watch the oil level between drives, never let it drop below minimum, and drive it straight to a repair as soon as practical.
How do I know if the oil leak is from the valve cover gasket?
Wipe the top of the engine dry, idle it, and see where fresh oil reappears. Valve cover gasket oil beads along the cover flange or the gasket line and usually tracks down toward the rear of the engine and the exhaust manifold. Oil pooling in the belly pan at the front points to the oil filter housing gasket instead. UV dye settles it when the trace is faint.
Do I need to replace the spark plug tube O-rings?
On engines that use them, yes. Spark plug tube seals are single-use and sit right in the oil path. If you pull the plug tubes or disturb the coil wells during the job, fit new ones every time. Reused tube O-rings are a common reason a fresh valve cover gasket still weeps oil into the wells within a few hundred miles.
Can I reuse the valve cover gasket?
No. Even a gasket that looks flexible has been heat-cycled, stretched and compressed into its groove, and reusing it is a bet you will lose within months. Some metal carrier designs are physically reusable, but follow the manual for your engine. A new gasket is the cheapest part of this job and the least sensible thing to save.
Why does my valve cover gasket leak keep coming back?
Work through the causes in order: residue left on the sealing faces, over-torqued or reused bolts, a warped cover or head flange, a pinched plug tube O-ring, or a clogged PCV valve raising crankcase pressure. Owners on the BMW forums point at the vent system most often. If the leak reappears within a few hundred miles, take the cover off again rather than adding more sealant.
Do I have to drain the coolant to replace a BMW valve cover gasket?
On most BMWs you do not have to. Coolant usually only comes off if the removal sequence disturbs a coolant rail, crossover or crossover pipe, which happens on some turbo six-cylinder engines. Check the removal steps for your engine code before you start. If it does need draining, use the coolant specified for that engine and bleed it properly before the car goes back on the road.
What To Do First
Confirm the leak is really coming from the valve cover gasket before you order anything, because an oil filter housing gasket is the more common culprit on a lot of these cars and needs a different part. Then pull the repair information for your engine code, order the gasket kit that matches it, and work through the steps in order, cleaning both sealing faces properly and torquing to the specified value in the specified sequence. That is the whole job. The rest is patience on the fasteners and a close look at the crankcase vent system while the cover is off.