
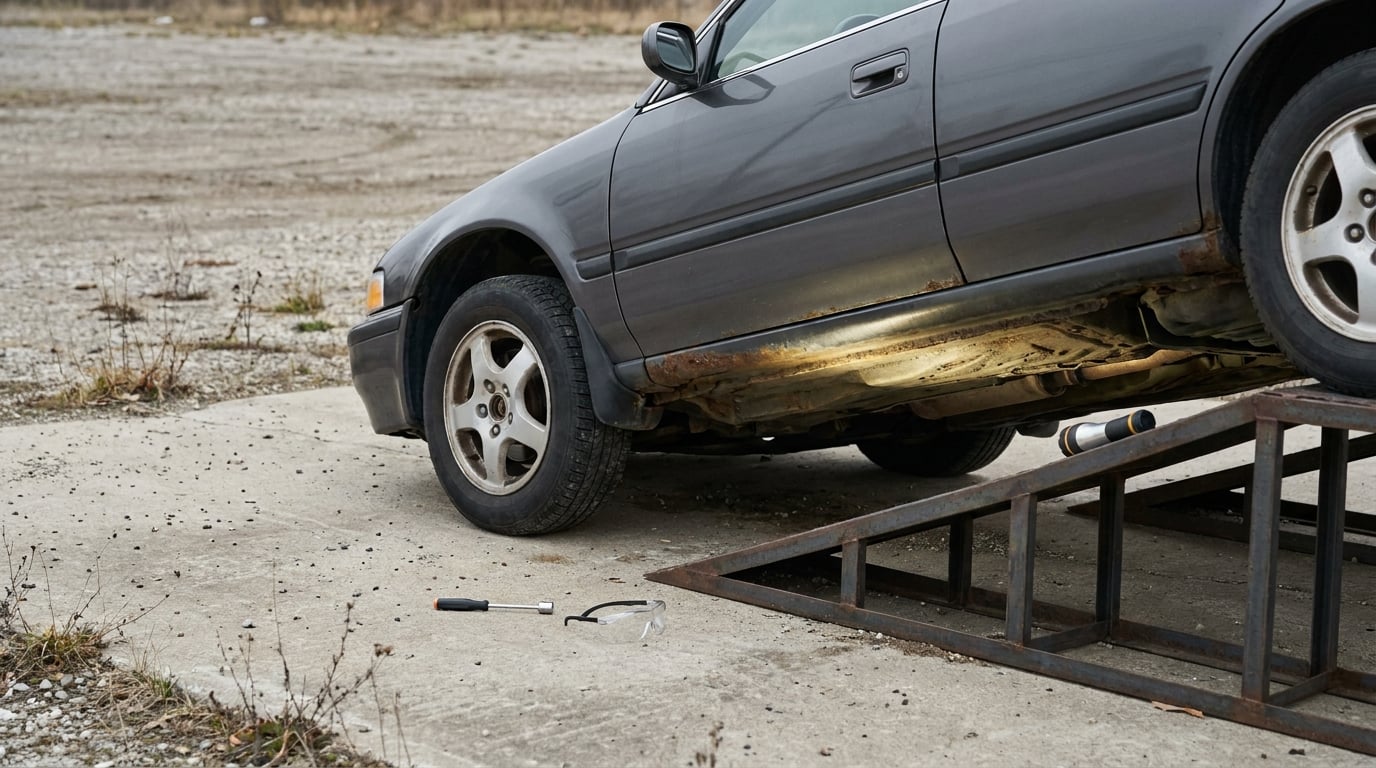
To inspect a used car for rust, put the car in good light, get underneath it with a flashlight, and work through the body seams, wheel wells, rocker panels, floor pans, frame rails and trunk one at a time. A magnet, a small pick and a finger-knuckle tap are enough to tell cosmetic surface rust from corrosion that has eaten through metal.
That last part is where most buyers get it wrong. A waxed hood can hide bubbling paint, a fresh coat of undercoating can cover a perforated floor, and a detail shop that washed the car an hour before your appointment has already removed half your evidence. Budget 30 to 45 minutes for a proper look, bring a mechanic if you can, and never let a seller talk you out of crawling under it.
Some history matters too. A car sold in a dry state may have lived its whole life in the snow belt, and buyers on forums like r/askcarsales keep running into the same trap: beautiful paint, clean interior, rotted subframe. The sale location tells you almost nothing. The metal tells you everything.
Table of Contents
- What You Need
- Step-by-Step: How to Inspect a Used Car for Rust
- 1. Look at the paint in daylight before anything else
- 2. Do a magnet sweep on every flat panel
- 3. Poke the suspect paint gently
- 4. Check rocker panels and pinch welds
- 5. Inspect every wheel well and fender lip
- 6. Get underneath and look at the floor pans
- 7. Open the trunk and lift the spare tire well
- 8. Tap the metal and listen
- 9. Examine the frame, subframe and suspension pick-up points
- 10. Check jack points, exhaust, brake and fuel lines, and the tank
- 11. Read the VIN and VIN-area surfaces
- 12. Finish in the cabin with the doors open
- Common Mistakes
- Frequently Asked Questions
- How much rust under a car is okay?
- How can I tell if rust is structural or just cosmetic?
- How do I inspect a used car for rust without a lift?
- Can rustproofing or rust converter hide damage instead of fixing it?
- Will a car fail inspection for rust, and can a seller legally hide it?
- What should I do if I find rust after buying the car?
- Final Inspection Checklist
What You Need
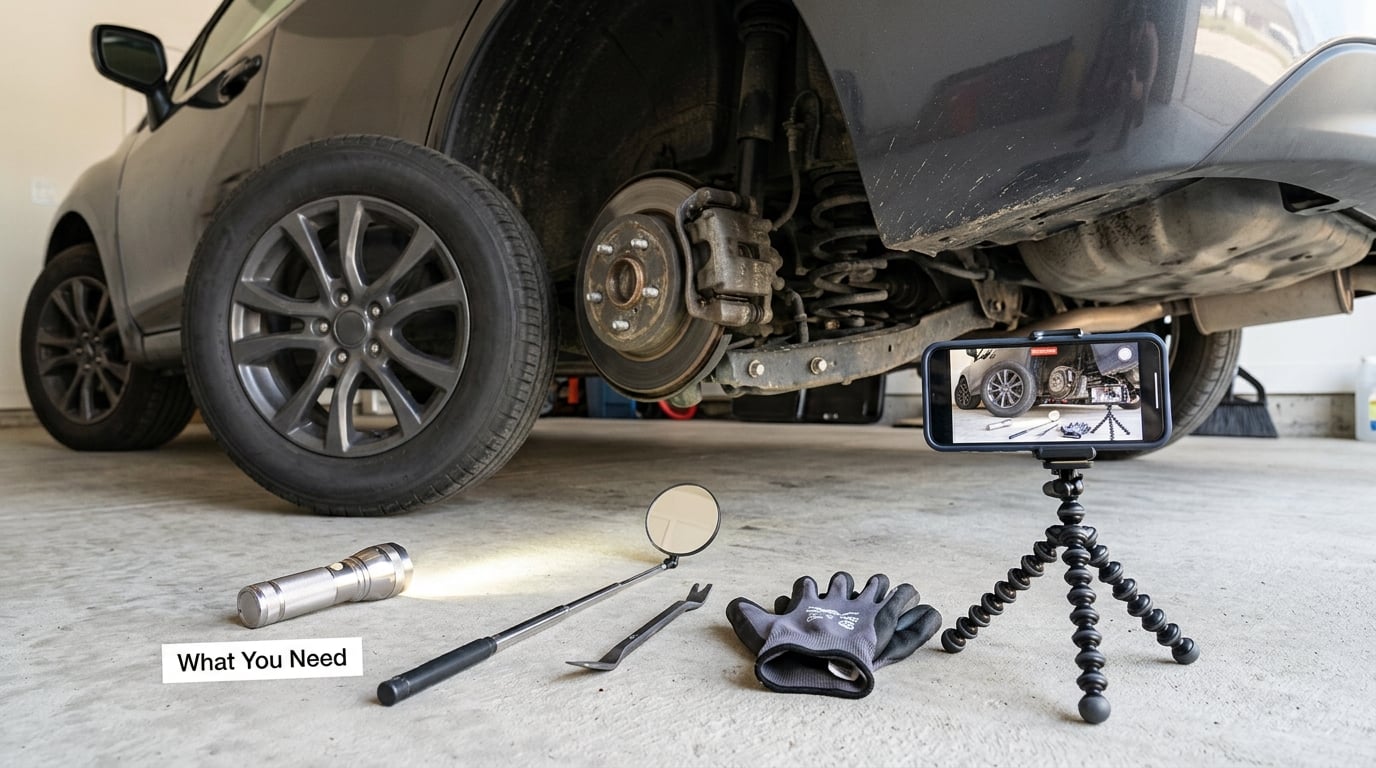
Three tools matter more than the rest: a bright flashlight with a fresh battery, a small magnet, and a flat-head screwdriver or plastic pick. Everything else is a bonus.
- A powerful flashlight with a tight beam. A phone light works in daylight but is useless under a car at a shaded lot. Angle the beam across a surface rather than straight at it, because raking light turns a faint orange stain into an obvious crater.
- A small magnet the size of a fridge magnet. This is the body filler test, and it takes ten seconds.
- A flat-head screwdriver, awl or plastic pick for the poke test on suspect seams.
- An inspection mirror and a small borescope if you want to look inside door jambs and closed cavities without pulling trim apart.
- Safety glasses and mechanic gloves. Rust flakes and old undercoating are genuinely irritating to eyes, and a car you have just met is full of sharp edges you cannot see.
- A blanket or piece of cardboard to lie on, plus your phone with a flashlight app as a backup light source.
- A jack and properly rated jack stands, or better, a drive-on lift or a safe ramp where the car can be seen from underneath at ground level. Never work under a car held up by a jack alone.
- The service history, the VIN, and the vehicle history report, pulled before you arrive. Frame rust recalls and subframe corrosion issues are documented by VIN, and an open recall changes the conversation from inspection to negotiation.
- Paper towels, a scraper, a plastic tray for debris, and a marker so you can mark every spot you find on a printout of the car.
Do the inspection before you start the negotiation, not after. Once a seller knows you have found something, the conversation turns into a haggling match instead of a straightforward decision.
Step-by-Step: How to Inspect a Used Car for Rust
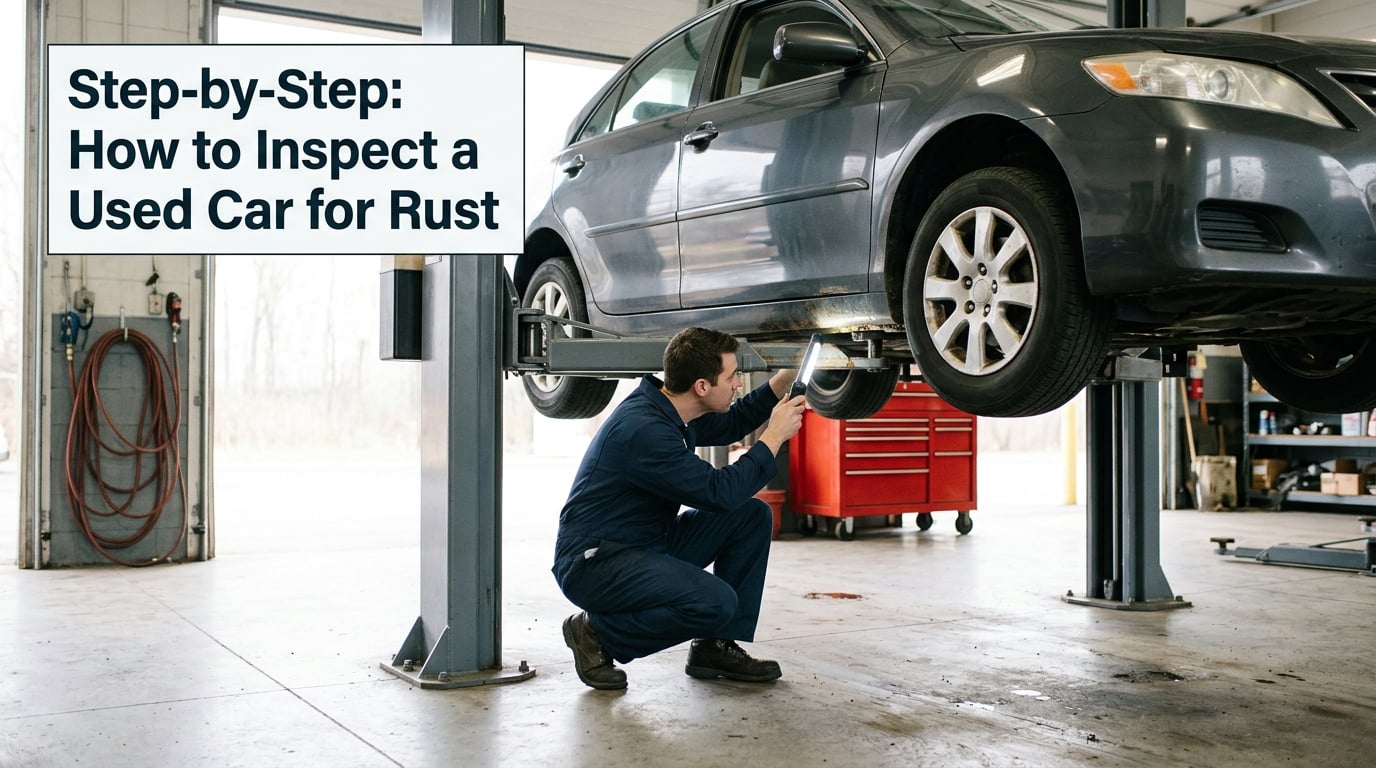
1. Look at the paint in daylight before anything else
Walk around the car twice in open daylight, with no music and no hurry. Paint bubbles in tight clusters, usually a quarter-inch to a couple of inches across, and they sit over rust that is already inside the panel. Blistered paint on a door edge or a hood is a bigger deal than a small scratch, because it means corrosion is running loose under the surface.
2. Do a magnet sweep on every flat panel
Run the magnet over the roof, doors, hood, trunk lid, quarters and fenders. Sheet metal and a solid factory paint job pull the magnet firmly. Body filler does not. Where the magnet drops away or barely holds, expect sanding, filler and repaint, which means rust may have been cut out of that panel or hidden under it. A magnet will not catch filler in a pinch weld or under a thick seam sealer, so treat it as a screening tool, not a verdict.
3. Poke the suspect paint gently
Where the magnet failed, press a pick into the edge of the panel near a seam or lower edge, away from anything structural. Soft, crumbly material that flakes in brown chunks is filler over rust. If the paint feels hard and the magnet held, leave it alone. A hard panel that simply has no magnet response is often an aluminum or high-strength steel part, not a repair.
4. Check rocker panels and pinch welds
Crouch at each door opening and look up into the jamb. Clean paint in a jamb is a good sign. Overspray dust, a color that does not match, or a seam that was caulked over fresh is a signal that the door skin or jamb was cut and welded. Run the pick along the pinch weld, the folded metal seam behind the door. A sharp, tight crease is healthy. A rounded, gummy, or pitted seam is rot that has eaten the fold.
5. Inspect every wheel well and fender lip
Wheel wells collect salt, mud and moisture and almost never get washed. Pull back any plastic liner and look at the lip where the fender meets the body, the back side of the fender, and the seam sealer inside the well. This is the most common place rust starts and the first place a detail shop misses. Fresh black sealant sprayed neatly over a fender lip deserves a poke with the pick.
6. Get underneath and look at the floor pans
From underneath, trace the floor pan from front to back with the flashlight held at a low angle. Look for scaling, orange dust on the ground under the car, staining on the seam sealer, and any area where the metal looks thinner or darker. A ruler or credit card held against a hole tells you quickly whether it is a scab or a perforation. Also read the rust grading below so you know what you are looking at.
| Severity | What it looks like | Where it shows up | Verdict |
|---|---|---|---|
| Surface rust | Even orange-brown dusting, no bubbling, metal still solid under the paint | Fender lip, trunk lip, exhaust, old bumper | Fine to treat and keep driving |
| Surface rust with bubbling | Paint blisters or flakes, hard crunchy rust underneath, magnet still holds on flat panels | Door bottoms, quarter panels, hood seams | Watch it, price in a repair |
| Perforation | Holes, crumbling edges, bare metal with a ragged outline, floor sagging or soft underfoot | Floor pans, rocker bottoms, core support, frame rails | Walk away unless the car is a cheap project |
| Structural | Rust spreading along a frame rail, subframe mount, suspension pick-up, brake or fuel line | Frame rails, subframe, spring and control arm mounts, lines | Do not buy, no matter how good it drives |
7. Open the trunk and lift the spare tire well
Lift the carpet and any trunk false floor. A damp carpet, a musty smell, or rust dust on the carpet fibers means water has been getting in for a long time. The spare tire well often holds road salt and water with no way to drain. Check the trunk floor, the wheelhouse humps, the hinge mounts, the latch striker reinforcement, and the seam around the taillights where moisture wicks in from the outside.
8. Tap the metal and listen
With a knuckle or the handle of a screwdriver, tap along the frame rails, core support, rocker panels, spring mounts and floor. Healthy steel gives a bright metallic ping that carries. Metal that has lost section thuds like a dull knock, like hitting a hollow cardboard box. That sound means the material behind the panel has gone, and the panel is now a lid over a cavity. This test is the fastest way to find structural corrosion that a wax job completely hides.
9. Examine the frame, subframe and suspension pick-up points
Body-on-frame trucks and SUVs deserve extra time here, because the frame is a separate structural member and repairs to it are expensive. Look along the full length of both rails, the crossmembers, and the areas where the subframe bolts to the body. Rust is a known issue on certain Hyundai Sonata model years, on the Toyota Tundra, and on a number of Subaru, Ford and BMW models. If the car is from one of those groups, run the VIN against the open recall database before you go, and check whether any class action settlement window has already passed.
10. Check jack points, exhaust, brake and fuel lines, and the tank
The factory jack points are a good rust map: they take road grime, salt and repeated abuse, and they are usually a weak point on an older car. Look for a sagging rocker where the jack has distorted the metal. Inspect brake and fuel lines for rust at the fittings and along the length, because a brake line that weeps is a safety stop, not a rust problem. That is a separate subject from corrosion, and the reason brakes and lines corrode on a car that sits is worth understanding on its own. Exhaust surface rust is usually cosmetic; rust where the pipe meets the manifold, or a muffler flange that flakes away, is worth noting. Check that a plastic fuel tank has no rust-colored residue around the seams, and keep in mind that hydroscopic brake fluid in a car that has been parked will need service regardless, which is what DOT 5 brake fluid guidance covers.
11. Read the VIN and VIN-area surfaces
Compare the VIN plate to the windshield VIN, the door jamb VIN and the title. Mismatched numbers mean the car has been reassembled or rebuilt. Check the apron below the windshield for bubbling paint and freshly painted cowl metal, which is where a cowl drain failure sends water into the cabin and down the A-pillars.
12. Finish in the cabin with the doors open
Sit inside for five quiet minutes with the doors open. Check the seat rails and the floor under the pedals for dampness or rust dust, and lift the door sill trim where it is held by plastic retainers rather than adhesive. Take the car for a drive and, after it warms up, park it and look underneath again. Fresh moisture weeping from a seam is much easier to see warm than cold.
Common Mistakes
Trusting a clean exterior
A detailer with a pressure washer and a fresh wax can turn a mediocre car into a convincing one. Wax fills microscopic pitting, and the shine draws your eye past the fact that the paint has no texture left in it. Run your hand down every flat panel instead of just looking. Original paint feels slightly textured and slightly cool; filler and repaint feel smooth and slightly warm under the sun, and the magnet will tell you which you are feeling.
Only checking the parts you can see standing up
Nearly every rust-bucket forum post has the same shape: someone bought a car they loved, and three months later found a perforated floor pan. If you cannot see the underside before you buy, you have not finished the inspection. Insist on it, or pay a mobile mechanic to do it for you. A pre-purchase inspection that includes a lift is the cheapest money you will spend on the whole purchase.
Confusing exhaust and brake rust with structural rust
A rusty exhaust pipe is close to normal on an older car. So is surface rust on a brake rotor’s outer edge, which is normal on a car that sits outside in rain. What is not normal is rust on a brake line, a tie rod, a control arm pick-up, a frame rail or a floor pan. Learn the sound and look of each part before you judge it, and read our guide to why brakes rust when a car sits so you can tell idle rotor surface rust from a seized caliper problem.
Skipping the seams and welds
Rust starts where two pieces of metal meet and moisture sits. The pinch weld behind each door, the core support, the door bottoms, the trunk hinge mounts and the suspension pick-ups are all seams, and all of them get treated in a cosmetic respray. A pick along a seam costs you five seconds and finds what the repaint was hiding.
Treating a soft paint chip as proof of a rust bucket
Every used car has chips. A chip on a horizontal hood surface that has a little surface rust in it, well away from any seam, is one of the easiest repairs in bodywork. What matters is whether the metal is still solid underneath and whether the damage is spreading from a seam. A chip is a maintenance item. Rust bursting out of a pinch weld is a structural conversation.
Taking fresh undercoating at face value
New black undercoating over a floor pan is not evidence of a clean car. It is evidence that someone was there. Feel the coating with the back of the pick: if it is thick, rubbery and uniform, ask what is under it and get a look with the car on a lift. You can also check for signs of recent work, such as overspray in the door jambs, a mismatched texture on a sill, or a drain hole that has been caulked shut.
Frequently Asked Questions
How much rust under a car is okay?
Surface rust on an exhaust pipe, a trunk lip or a fender edge is normal on an older car and usually just needs cleaning and a coat of rust converter. What is not okay is rust on a floor pan, frame rail, subframe mount, brake line or fuel line, any hole you can see daylight through, and any rust that has reached the cabin through a wet carpet. A useful rule: if the rust is on a part that carries the car or stops the car, it is a problem.
How can I tell if rust is structural or just cosmetic?
Follow the metal. Cosmetic rust is a uniform orange or brown dust on a surface, usually horizontal, with sound metal behind it and paint that is intact or only lightly chalked. Structural rust appears where load and impact travel: frame rails, subframe attachments, suspension pick-up points, the core support, rocker panel bottoms and floor pans. The tap test settles most cases quickly. A bright metallic ping means solid steel, while a dull thud means the section behind the panel has been eaten away.
How do I inspect a used car for rust without a lift?
Start with what the ground view gives you: get down on your back and slide underneath, using a flashlight held at a low angle to catch the floor pans, rockers and exhaust. Crouch at each wheel opening and look into the wells and up behind the front and rear fenders. Open every door and look up into the jambs, and lift the trunk carpet and spare tire well. Without a lift you cannot see frame rails, core supports and fuel tank seams properly, so treat that part as incomplete and pay a shop to check it.
Can rustproofing or rust converter hide damage instead of fixing it?
Yes, and this is the reason to inspect before anything is sprayed. Rust converter turns loose scale into a stable coating that can seal a small patch of surface rust, and cavity wax protects seams that are still intact. Neither one rebuilds a perforated panel or a thinned frame rail, and both are routinely applied over a floor pan that has already failed. Rustproofing a car is worth doing on sound metal. Over compromised metal, it just delays the trip to the shop and hides the symptom.
Will a car fail inspection for rust, and can a seller legally hide it?
Safety inspections mostly cover lights, brakes, tires, glass, steering and emissions, so a car with cosmetic rust usually passes. What catches them is the consequence of the rust: a brake line that weeps, a horn that will not work, a tire sitting on a collapsed wheel well, or a car that has been raised and modified without a lift. Rules vary by state, and disclosure laws differ, but a seller who knows of structural corrosion and says nothing is a problem in any state.
What should I do if I find rust after buying the car?
Photograph everything first, before any cleaning or repair, so you have a dated record. Then grade each area using the severity table: surface rust gets washed, treated with a converter and sealed; bubbling paint gets stripped back to bare metal, primed and repainted; perforation and structural corrosion go to a shop for an estimate before you spend anything. Wash the underside and the wheel wells regularly, keep the drains in the door jambs and rockers clear, and recheck the seams once a year.
Final Inspection Checklist
Before you hand over paperwork, photograph every finding with your phone and note it on a printout of the car: which corner, which panel, how large, and what it looked like. Photos taken the day of the inspection are worth a great deal in a dispute, and they keep the conversation factual instead of emotional.
Then go back over three things in daylight, because shade and wax both deceive: the wheel well on each corner, the rocker panel on each side, and the lower door edges. Feel the paint with your fingertips rather than looking at it. If any of those three still bothers you, hand the car to an independent mechanic with instructions to put it on a lift. That single hour is worth more than any amount of your own crawling.
Walk away, without negotiating, when you find a perforated floor pan or rocker, a rust line spreading along a frame rail or a subframe mount, a weping brake or fuel line, a soft or sagging floor you can feel through the cabin, a windshield or cowl area that has clearly been reconstructed, or body filler thick enough to build up a whole panel. Those are the findings where repair cost runs to four figures and the car is no longer safe to hand to someone else you care about.
Walk away more cautiously, but still consider it, when the underside has fresh undercoating with no history behind it, when the car came from the snow belt regardless of where you are standing, or when the seller resists a lift. None of those alone proves rust. Together, they mean you are being asked to sign for something you have not seen, and a car you have to be talked into inspecting is a car you should walk away from.