
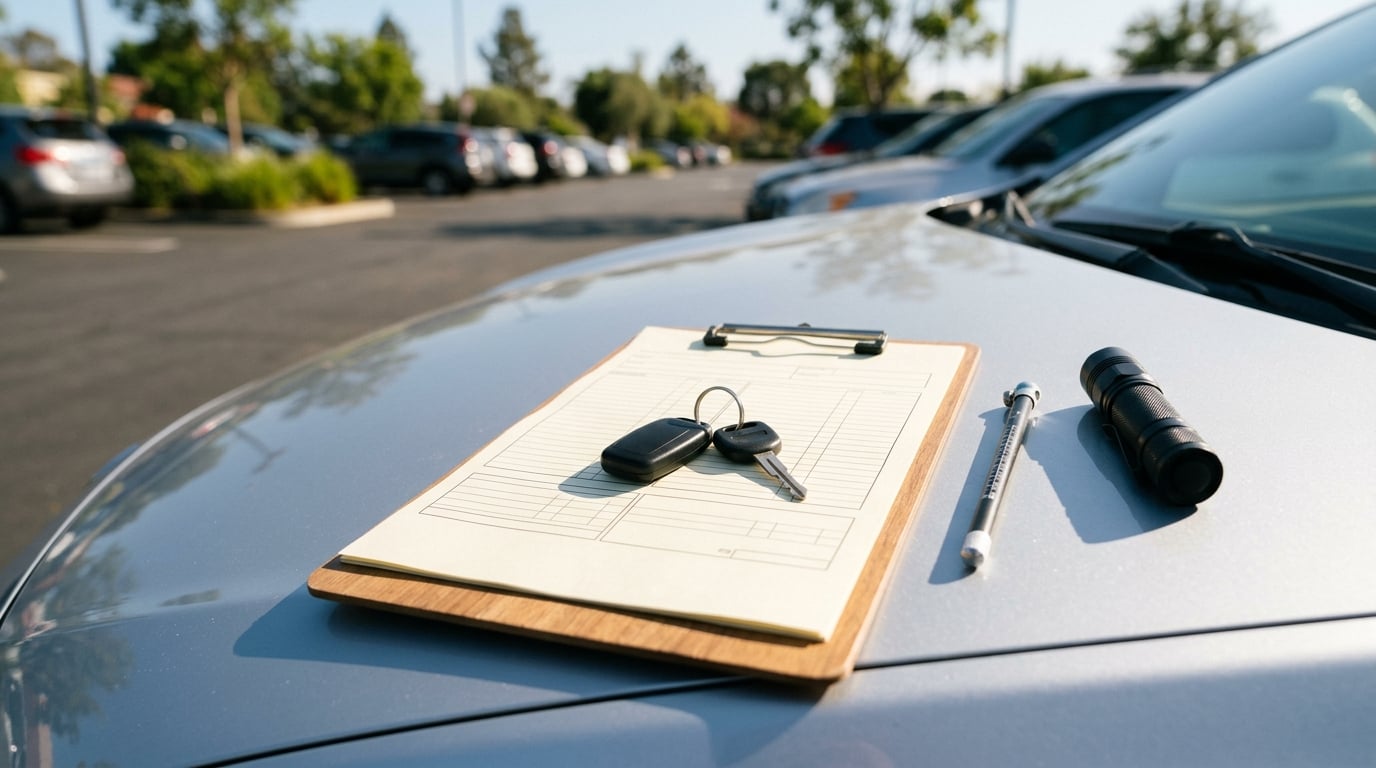
A good used car test drive checklist gives you about 45 minutes and turns a lap around the block into a real evaluation. Bring your license, proof of insurance, a phone, and a notepad, then work the car in three phases: a stationary walk-around, a 20 to 30 minute drive covering city streets and highway speed, and a parked re-check for leaks. Written for US buyers in 2026, and updated each year as cars and inspection tools change.
The reason a checklist matters is that impressions fade fast. You will not remember a faint clunk over a speed bump three cars later, and a smooth idle tells you very little about a transmission. Write things down while the engine is still running.
Nobody needs to be a mechanic to do this well. You are watching, listening, and writing, and the job is to decide whether a problem is serious enough to slow the purchase down, not to diagnose it yourself.
Table of Contents
- What You Need for a Used Car Test Drive Checklist
- Step-by-Step: Used Car Test Drive Checklist
- 1. Build the Used Car Test Drive Checklist
- 2. Match the VIN, Title, and Seller’s Information
- 3. Inspect the Body and Fluid Leaks
- 4. Perform a Cold Engine Start
- 5. Test Steering, Suspension, and Wheel Bearings
- 6. Check Brakes and Pedal Response
- 7. Inspect Tires and Wheels
- 8. Test the Transmission and Drivetrain
- 9. Listen for Engine and Exhaust Problems
- 10. Verify Safety and Convenience Equipment
- 11. Complete a Safe Road Test
- 12. Review the Findings Before Buying
- Common Mistakes
- Frequently Asked Questions
- Conclusion
What You Need for a Used Car Test Drive Checklist
Most of the equipment is ordinary. The one thing you cannot buy at the last minute is time, so ask the seller for at least 45 minutes and tell them why you need it.
- Driver’s license and proof of insurance. Many states and most dealers require active coverage before you turn the key. Confirm your policy covers a car you do not own; if it does not, adding a named-driver endorsement usually takes a phone call and takes effect the same day.
- Your phone, loaded and charged. It is your camera, your notes, and your way to look up a VIN or a warning light in the parking lot.
- A paper or note-app checklist. One page, twelve rows, one column for what you found. Set it up before you leave home so you are not improvising.
- A tire pressure gauge. A pencil-style gauge costs almost nothing and works without a battery. Compare the door-jamb spec against what the tires read cold.
- A flashlight or headlamp. For the trunk, under the bumper, inside the wheel wells, and behind the brake calipers.
- A basic OBD-II code reader. A generic one on a phone or a small handheld unit will read stored and pending check engine codes. If you do not own one, ask the seller or dealer to read them for you before the drive.
- Paper towels and a small inspection mirror. Wet spots, coolant residue, and fresh oil show up best on clean pavement, and the mirror reaches behind the engine where your eyes cannot.
- An independent mechanic, when the car is worth it. For most buyers that means any car you are seriously considering above a modest amount, and it is the single highest-value hour in the whole process.
Before you drive anything, check your coverage. A dealer almost always has a policy for test drives and will want to see your license and insurance card before you get behind the wheel. A private seller may not, which puts the responsibility squarely on you. Know what your policy actually says about a non-owned vehicle rather than assuming.
Step-by-Step: Used Car Test Drive Checklist
The sequence below runs in the order that works, not the order that is most fun. The car gets examined while it is cold and parked, then while it is running, then while it is moving, then again after you park. Findings at each step inform the next one, which is why the order matters.
Print this as a one-page record and fill it in as you go. Keep it, because it becomes your negotiation material and your own reference if the car comes back with a problem later.
| # | Check | What to note |
|---|---|---|
| 1 | Checklist record | Defects, sounds, smells, warning lights |
| 2 | VIN and paperwork | Matching numbers on dash, jamb, title, registration |
| 3 | Body and leaks | Panel gaps, paint, corrosion, drips, tire wear |
| 4 | Cold start | Crank time, smoke, noises, lights that clear |
| 5 | Steering and suspension | Free play, centering, pull, clunks |
| 6 | Brakes | Firm pedal, tracking, vibration, grinding |
| 7 | Tires and wheels | Tread depth, pressure, wear pattern, damage |
| 8 | Transmission | Engagement, shifts, hesitation, slip |
| 9 | Engine and exhaust | Idle, throttle response, smoke, smells |
| 10 | Safety equipment | Lights, wipers, horn, belts, mirrors |
| 11 | Road test | Vibration, noise, temp warning, steering, braking |
| 12 | Review | VIN, mileage, title, recalls, inspection |
1. Build the Used Car Test Drive Checklist
Put the twelve checks on one page before you arrive, ordered so each one feeds the next. The record should cover identity and paperwork, exterior condition, the cold start, steering, brakes, tires, transmission, engine, safety equipment, road behavior, and the closing paperwork review.
Give every observation a line of its own. Write the date next to anything time-sensitive, like a leak or a warning light, and photograph defects rather than trusting your memory of them. A folder of dated pictures of existing damage is also your reference if the seller claims a scratch appeared after the sale.
2. Match the VIN, Title, and Seller’s Information
The VIN appears on the dashboard at the base of the windshield on the driver’s side, on the door jamb sticker, and on the title and registration. All of them should match each other exactly, character for character.
Run the number through a free NHTSA VIN decoder to confirm the year, make, model, and engine match what the seller is telling you, then compare it against a paid history report. A mismatch on the door jamb sticker is a common and harmless manufacturing variation, so look at the pattern rather than panicking over one digit. Two or three VINs on the car means a repainted or salvaged vehicle, and that is a conversation, not a closing.
Confirm the person standing in front of you matches the name on the title, and check whether the title is clean, branded, or in another state. Do not post a seller’s full VIN, driver’s license number, or address in an online listing. Pull it, verify it, and keep it on your phone.
3. Inspect the Body and Fluid Leaks
Walk the car in good light and at a normal viewing distance before you look closely. Then stand in front, behind, and at each corner. Panels that are misaligned, a bumper that sits proud, a hood that catches differently, or paint that is a different shade or texture under a flashlight all point to a repair worth pricing.
Look for fresh undercoating overspray, mismatched panel gaps, and corrosion along the rockers, wheel arches, and around the fasteners. Check underneath for dark drips and colored residue on the pavement.
Tire wear is free evidence. Feathering across the tread, cupping, or heavy wear on one edge usually points at an alignment problem or a worn component rather than a bad tire. A car that has sat for months with one wheel riding a curb often shows a heavy wear band on the inside edge only, and that is a suspension and alignment bill rather than a set of tires.
Find these things and you have a reason to request more inspection. You do not yet have proof of structural damage, and the difference matters when you decide whether to walk away or to negotiate.
4. Perform a Cold Engine Start
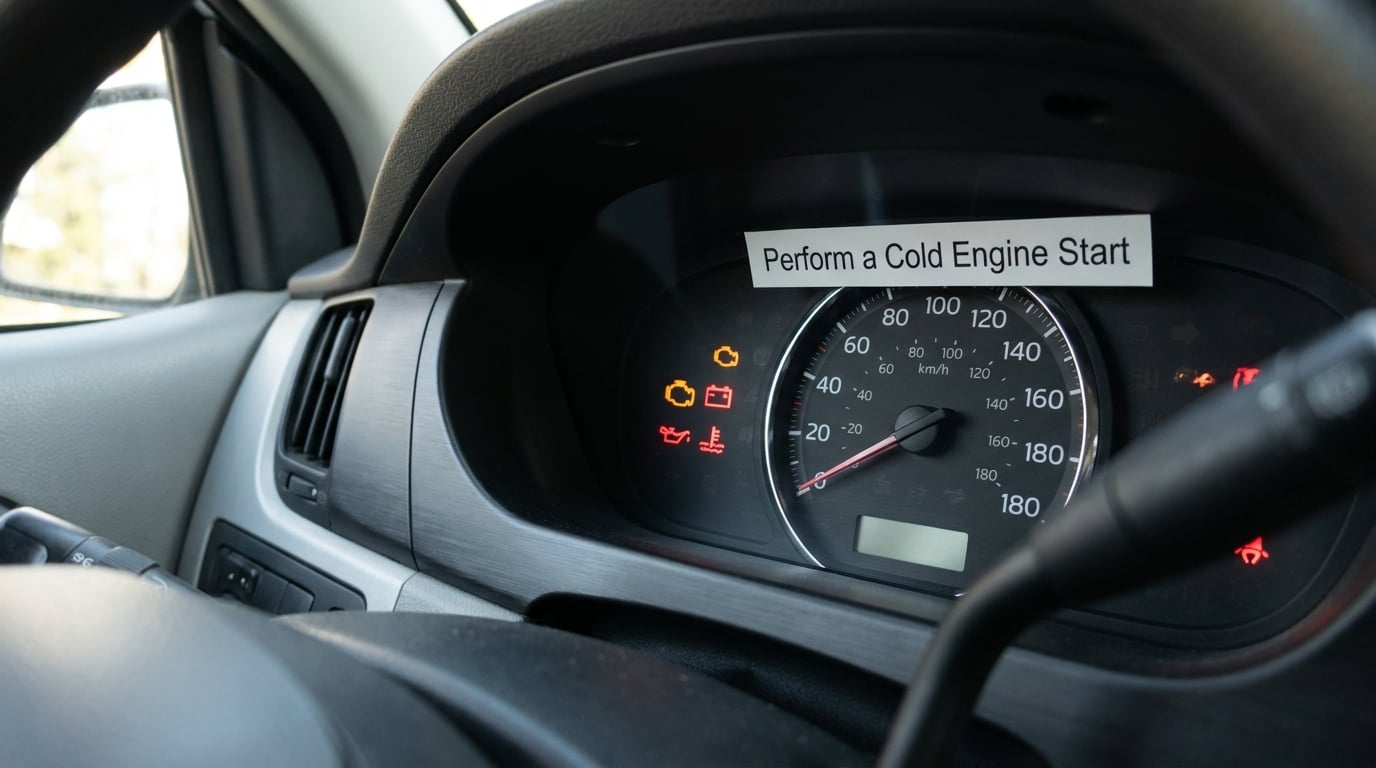
Ask to see the car started cold, ideally first thing in the morning or after it has sat for several hours. A warm restart hides battery weakness, slow cranking, and cold-start problems, which is why sellers who park the car nose-out on a lot all morning have already missed the moment you want to see.
Watch three things. First, how long the engine cranks before catching, and whether it catches on the first turn. Second, which warning lights are illuminated at key-on, and which of them clear once the engine is running. A check engine light, an oil pressure light, or a brake warning that stays on after start is a finding you record immediately. Third, whether the check engine light comes back on, which usually means the fault is active rather than historic.
Watch the exhaust. A puff of white vapor on a cold morning is normal. Thick white smoke that persists, blue smoke at idle, or a burning smell that does not clear within a minute or two of warm-up are not. Listen for belt squeal, a fast or uneven idle, and rattles that come from below rather than the engine.
5. Test Steering, Suspension, and Wheel Bearings
With the engine running and the car in park, rock the steering wheel gently from side to side. A small amount of free play at the rim, roughly an inch or less on most cars, is normal as the steering warms. A fist-width of slop or a grinding sound while turning means the car stays parked and a mechanic looks at it.
On the move, check that the car tracks straight. A pull to one side on a flat, straight road is normal on a car with worn tires or a bad alignment, but a pull that changes with speed usually points at something else. Note whether the steering centers itself when you lift off a gentle curve, and whether it binds or rubs in a turn.
Find some rough pavement, a speed bump, or a pothole. A single clunk is not a verdict, since many cars clunk once as the suspension takes up load. Repeated clunks on every bump, a rattling that changes with steering angle, or a hum that rises and falls with speed are the ones that earn a suspension or wheel bearing inspection.
6. Check Brakes and Pedal Response
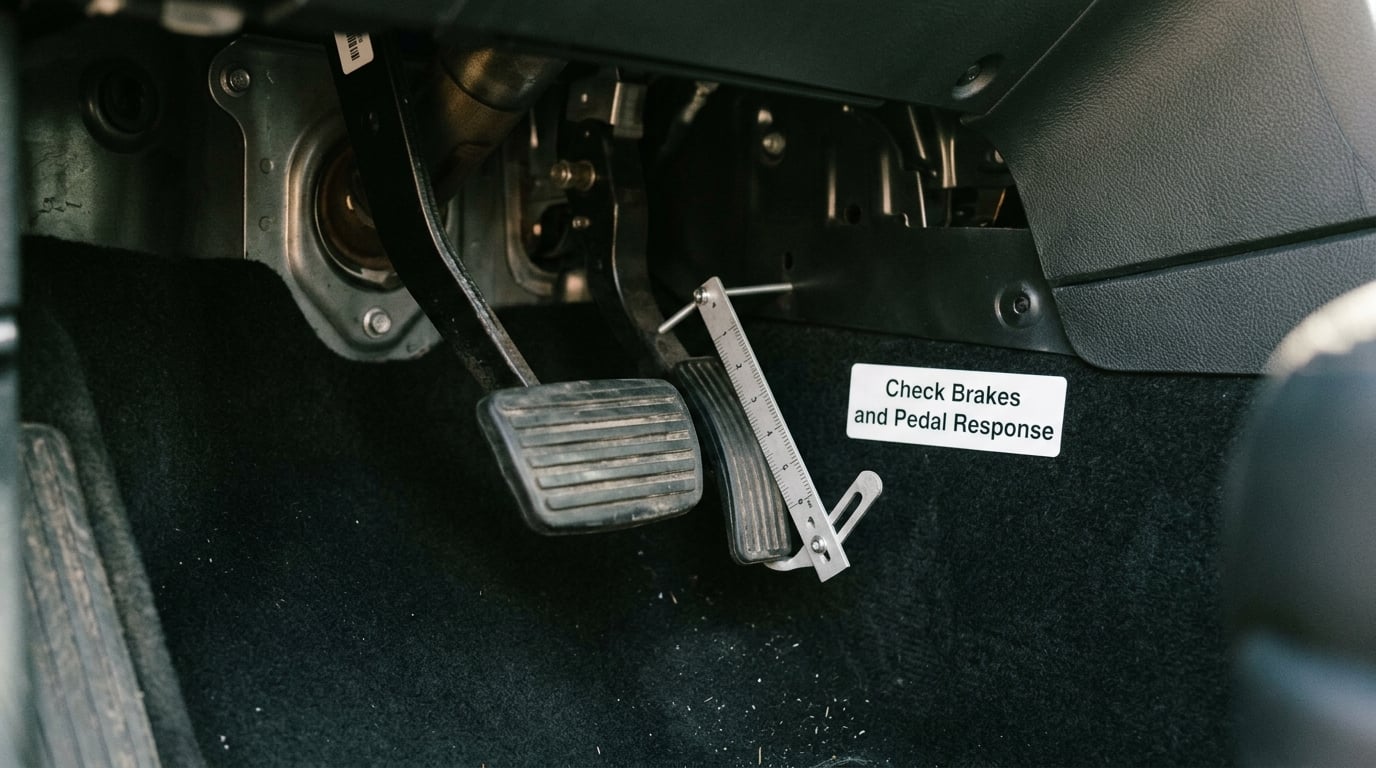
Start with the pedal where it is parked. With the engine running and in park, press the brake firmly and hold it. It should feel firm and stay firm, and the pedal should not sink toward the floor when you hold pressure. A soft pedal that goes down and stays down, or a pedal that is hard as a rock, is a reason to stop driving and have the fluid and brakes checked. If you want to test the fluid itself at home, our walkthrough on how to test brake fluid with a moisture tester covers the process.
Roll slowly in a clear parking area at walking pace. Press firmly enough to bring the car to a controlled stop and note whether the car tracks straight, pulls to one side, vibrates, or pulses through the pedal. A steering wheel that shakes under light braking often means warped brake rotors, which is a repair rather than a reason to run, and a grinding or squealing sound means the pads or shoes are near the end of their life.
Check for fluid under the car afterward, and confirm no brake warning light stays illuminated. Do not perform high-speed or panic stops on a public road to see what happens, and do not test a car on a highway with a soft pedal. This parking-lot test covers most of what a road test would reveal about braking and none of the danger.
7. Inspect Tires and Wheels
Look at all four tires together before you look at any one of them. Check that they match in brand, model, size, and construction type, because a set of mismatched tires points at a rushed repair or an alignment issue someone decided not to handle.
Read the date code on the sidewall. A tire older than six or so years is worth pricing in even if the tread looks deep, and a spare or temporary spare has a different story again. Check pressure cold with your gauge against the number on the driver’s door jamb, not the number molded into the tire sidewall.
Measure tread depth and look at the wear pattern. Feathering, cupping, or a heavy wear on one side are alignment symptoms. Then check the wheels and lug seats for curb rash, cracks around the rim edge, missing or damaged fasteners, and any bend you can see. Do not try to straighten anything yourself; a visible bend means a wheel alignment shop and a tire shop.
8. Test the Transmission and Drivetrain
The checks differ by gearbox, so adapt them. For an automatic, watch the selector move freely through its positions and confirm the car actually responds to each one. Then drive through a full range of speeds and watch the shift points. Slow, vague engagement when you put it in drive, a pause before the car moves, or a surge between gears are all worth noting.
For a manual, check that the clutch engages and releases predictably, that the car creeps in the expected way or not at all depending on its condition, and that every gear selects without a fight. Listen for a grind that resolves into gear and a rattle that appears only in one gear. Noise that is isolated to a single gear is a useful clue to hand the mechanic later.
For an electronically shifted powertrain, the selector behavior and any shudder on launch tell you more than the shift quality does. Check engine braking by lifting off the accelerator at steady speed, and note hesitation, flare, or a rev that does not move the car forward as expected.
Keep it calm. Stay at low speed in a quiet area, apply light throttle, and watch whether engine speed and road speed stay in step. If the transmission feels like it is slipping, stop and park; do not try to provoke it with hard launches on a public street.
9. Listen for Engine and Exhaust Problems
Turn the radio off and the fans down before you drive. Most people miss noises simply because they never made the cabin quiet, which is a wasted test drive.
Listen at idle for smoothness first. An idle that hunts, surges, or shakes can be a vacuum leak, a dirty throttle body, worn plugs, or a mass airflow sensor, and the drive will usually help you narrow it down. Then listen for ticking, which usually sounds like a fast metronome and often fades as the engine warms, and knocking, which is a deeper, more metallic sound. A rattle that comes and goes with engine speed may be an exhaust shield or a mount.
Watch throttle response through a range of speeds. Hesitation when you press the accelerator, a stumble, or a misfire under load is a finding. Then check the exhaust at the tailpipe: white vapor that persists, blue smoke, or a burning or sweet smell means something needs looking at rather than a longer drive. If the temperature gauge climbs, stop safely and turn the engine off. Our guide to pressure testing a cooling system covers the next step if you end up needing it.
10. Verify Safety and Convenience Equipment
Run a fast sweep of everything that works, and make a list of everything that does not. Headlights, high beams, brake lights, turn signals, and hazards. Wipers and washer fluid. The horn. Every power window, lock, and mirror adjustment, plus the sunroof if there is one. Seat belts that retract and latch, and the dashboard illumination and gauge sweep when the key turns.
Set the air conditioning to maximum and cold and give it a few minutes. Weak or warm air after several minutes on a hot day is a real finding, especially on a car you will live with. Then check the climate controls, cruise control, power accessories, the backup camera if fitted, and any blind spot or parking sensor alerts.
A single blown bulb is an inexpensive fix. Recurring electrical trouble, gauges that dim or flicker with the headlights on, or several accessories dead at once point at wiring, a ground, or a charging system problem, and that is a different conversation.
11. Complete a Safe Road Test
Plan the route before you start the car, and tell the seller what you need. A 20 to 30 minute loop that mixes smooth pavement, a straight arterial, a highway on-ramp, a modest hill, and a stretch of rough road tells you more than any single condition can.
Spend the first few minutes on city streets at low speed, where you are listening for idle and low-speed drivetrain noise. Then get to highway speed and stay there for several minutes, which is where you notice a vibration that disappears at 35 mph, wind noise around the door seals, a steering correction that shows up at speed, and brake fade on repeated stops. Then take a hill in both directions with the transmission in the same gear on the way down as on the way up, so any hesitation is a real hesitation. Finish on rough pavement for the suspension, and stop in a quiet parking lot.
Seat belt on, legal speeds, no phone, and ideally a companion who knows you are out. Have roadside assistance on your phone and a plan to end the drive early if you find something alarming.
Plenty of buyers do exactly what feels natural: check the air conditioning, listen for odd noises, and take a lap around the block. Nothing wrong with any of that. The problem is that all three of those things finish before the engine is warm and the car is moving fast enough to show what it has, and none of them catches a leak or a bald tire. A written list spends the same 20 minutes on the conditions that actually reveal faults.
12. Review the Findings Before Buying
Park and stay parked for a minute. Then do the post-drive sweep: look under the car and at the driveway for fresh drips, pop the hood and recheck the oil and coolant levels, and compare them to what you saw before the engine started. A cold engine that needs a coolant top-up is a different car from one that does not.
Match the VIN again against the title, the registration, and the history report. Check the odometer against the driver’s seat and pedal wear, because a car that has been driven a hundred thousand miles of highway commuting has seat and rubber wear that a low-mileage car will not. Pull the recall history for the VIN, and ask directly about accident damage, then look for the physical evidence of it yourself.
Write your findings down before the conversation turns to money. Then decide what each one is worth. A cold start that cranks slowly might be a battery. A squeal at low speed might be brake pads. A pull to one side might be an alignment. None of those are emergencies, and all of them are real costs you should either price in or use to negotiate.
This is also the moment to commission an independent pre-purchase inspection. The market rate is usually a couple hundred dollars, and it is worth every cent on a car you have already decided to buy. A mechanic can put the car on a lift, read compression, check fluid condition, and measure things a road test simply cannot reach. If the seller hesitates about an independent inspection, that hesitation is itself information.
It also helps to know your rights. Walking away after a test drive costs you nothing. If a dealer applies pressure, it is entirely reasonable to say that you will take the car to a mechanic and decide afterward.
If you are keeping the car rather than selling it soon, our guide to maintaining brakes on a car you rarely drive is worth a read before you close.
Common Mistakes
Almost every bad used car purchase comes down to one of these three habits.
Rushing or Skipping Part of the Inspection
A dealer loop around the block is 7 or 8 minutes at 25 mph. That is not a test drive, and deciding on a car in that window is deciding on a first impression.
The fix is time, not effort. Ask for 45 minutes up front and split it: 10 minutes for paperwork, 10 for the parked walk-around and cold start, 20 to 30 for the drive, and the rest for the post-drive review. Complete every row of your record before you talk about numbers, and if a question is still open after the drive, ask it then rather than assuming it is fine.
Treating a Successful Drive as a Complete Inspection
Quiet road test, good idle, no warning lights, and you are tempted to commit. The car can still be hiding a slow coolant leak, worn tires with a few millimeters left, deferred belts and hoses, an accident repair under the paint, and low brake fluid that only shows up when the fluid absorbs moisture.
Almost nothing about those shows up in 20 minutes on smooth roads. The fix is pairing the drive with a documented walk-around, a code reader, a tire depth check, and an independent pre-purchase inspection on any car above a modest amount. A test drive tells you how the car feels today. A pre-purchase inspection tells you what is likely to cost you next year.
Testing Faults in Unsafe Ways
Some people try to provoke a fault they half noticed. Hard launches in a residential street, high-speed braking on a highway, driving a flooded section to see how deep it goes, taping over a warning light to see what happens next, or continuing to drive with an overheating gauge, a spreading fluid leak, heavy steering looseness, or a soft brake pedal. All of these convert a shopping trip into a crash report.
The fix is simple: stop safely, park, document the condition with photos and notes, and hand it to a qualified inspector. Describe the symptom rather than testing it again. “Pulls to one side above 45 mph” is useful information. “Full throttle in a parking lot to see if it clears” is not.
| What you notice | Likely area | How to treat it |
|---|---|---|
| Slow crank, lights dim on start | Battery, charging | Straightforward fix, negotiate it |
| Fluid puddle under the car | Cooling, oil, transmission, brakes | Stop driving, inspection required |
| Squeal at low speed, quiet at highway | Brake pads or shoes | Cheap, but you will need it |
| Shake in the wheel under braking | Brake rotors | Common on older cars, price it in |
| Pull to one side, straight wheels | Alignment, tire pressure, worn parts | Usually an alignment first |
| Feathering or cupping on tread | Alignment, shocks | Fix the cause before new tires |
| Clunk on every bump | Suspension, bushings, fasteners | Inspection before you commit |
| Delayed engagement or flare | Transmission | Stop, inspect before you buy |
| Knock that worsens with load | Engine internals | Walk away unless priced in by an expert |
| Temperature gauge climbs | Cooling system | Do not keep driving |
| Mismatched panel gaps or paint | Body repair history | Get it measured and priced |
| Check engine light stays on | Any powertrain fault | Read the codes before driving far |
Frequently Asked Questions
Do I need insurance before test-driving a used car?
Most dealers will not hand you the keys without a driver’s license and proof of active coverage, and many states require it by law. What matters most is whether your policy covers a vehicle you do not own. Many personal auto policies extend to a car you are test driving, but some exclude it or require a named-driver endorsement. Call your insurer before you go, ask that exact question, and keep the confirmation number on your phone.
Is a 10-minute used car test drive enough?
Ten minutes is enough to notice a loud problem and almost nothing else. Slow cranking, coolant leaks, brake fade, high-speed vibration, and transmission hesitation all need the car warm and moving faster for a few minutes. If a seller only offers a short loop, ask for ten minutes on smooth roads, ten at highway speed, and five over rough pavement. If that is refused, treat the refusal as a finding about the car.
What if the seller will not let me start the car cold?
It is a common request, and refusal is information in itself. Most sellers will accommodate a cold start if you ask the night before, since it costs them nothing. If the car has been sitting for a week, a stalled start tells you about the battery and the fuel system, and those are exactly the faults that stay hidden on a warm restart. If the seller truly refuses, ask them to read the codes and note the temperature in the radio display before the drive.
Should I continue driving if a warning light comes on?
Read the light and decide, but err toward stopping. A tire pressure light means a slow leak is plausible. A temperature gauge in the high range means stop, park, and shut the engine off. A check engine light that comes on steadily is less urgent but worth reading the codes for before driving far. Brake, oil pressure, and airbag lights are the ones nobody should drive around with. Write it down, photograph the cluster, and let an inspector look at it.
Should I get a mechanic to inspect the car after the test drive?
Yes, on any car you are seriously considering, and always before you hand over money. An independent pre-purchase inspection usually costs a couple hundred dollars and takes about an hour, and it catches what a road test cannot: low compression, worn suspension bushings, thin brake pads on a loaded test, aging hoses, and evidence of accident repair. Bring the inspection report into the negotiation. Sellers who resist one are usually telling you what you need to know.
Conclusion
Start with the paperwork, not the engine. Confirm the VIN on the dashboard, the door jamb, the title, and the history report all match, photograph the existing damage, and give yourself 45 minutes and proper insurance coverage before you turn the key.
Then work the twelve steps in this used car test drive checklist in order and write everything down as you go, because your notes are the only thing that separates a real evaluation from a pleasant ten minutes in a clean car. Any finding you cannot explain, and any car with a price above a modest amount, is a job for an independent pre-purchase inspection before any money changes hands.