
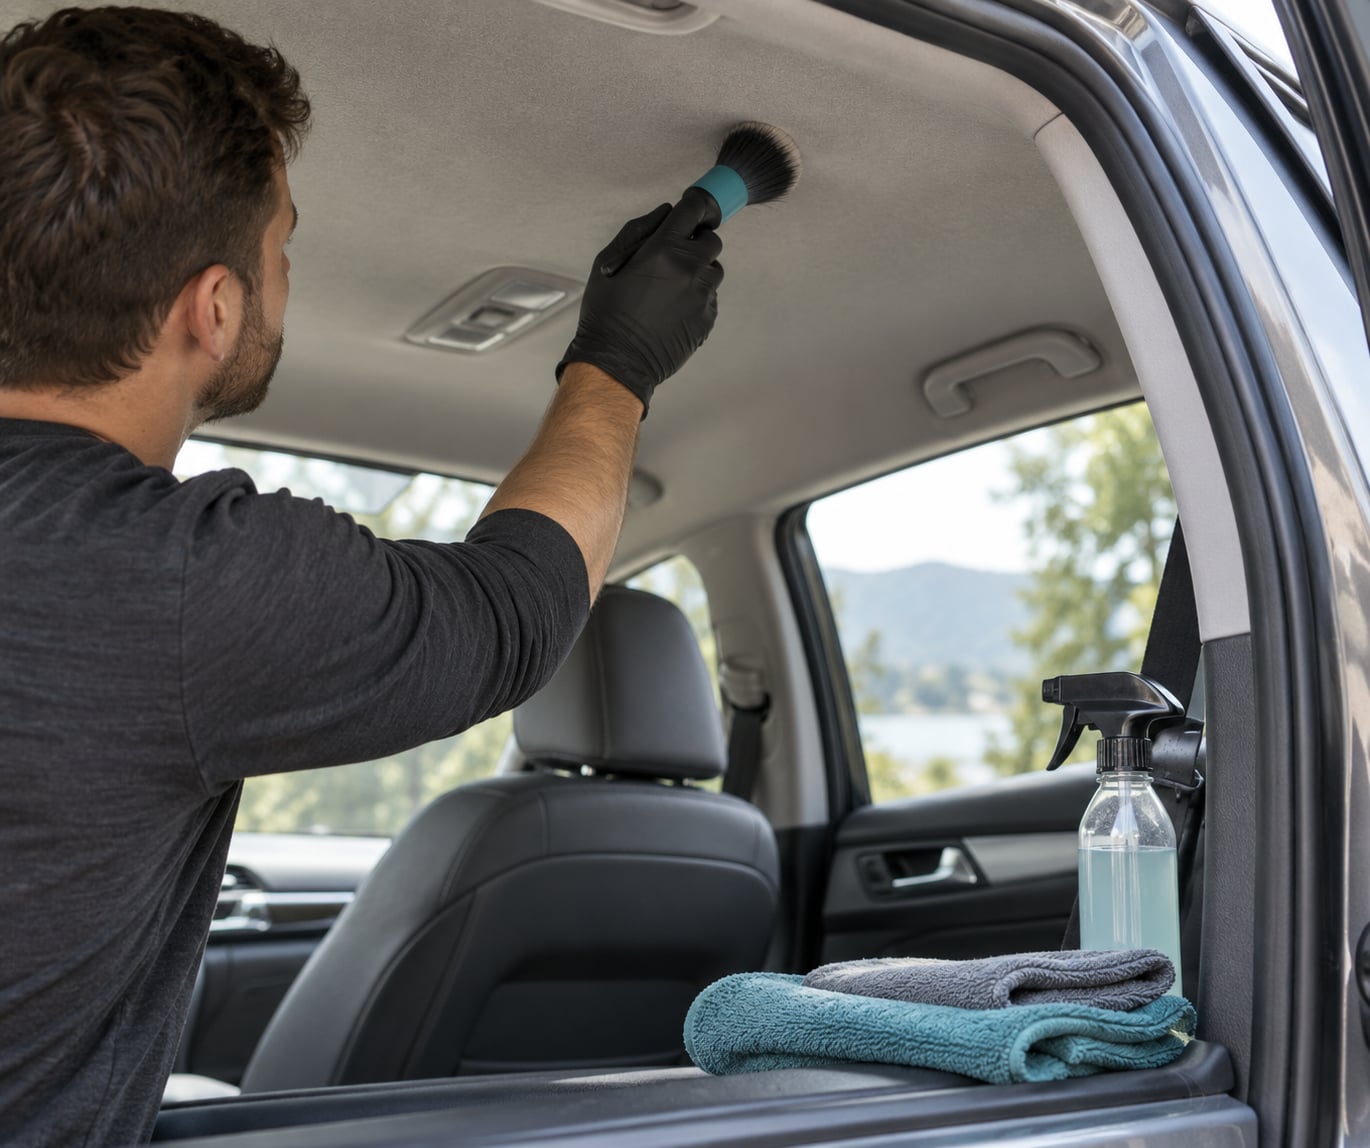
To clean a car headliner without wrecking it, spray your cleaner onto a microfiber towel and never onto the liner itself, then blot gently and let the roof air-dry completely. The whole job takes 45 to 90 minutes, needs no special tools, and the only real risk is using too much water.
That risk is worth taking seriously. A headliner is a thin fabric skin bonded to foam and to the roof metal, and once water gets behind that bond the panel can sag into the cabin. On a fabric roof you also have to deal with twenty years of dust, sunscreen, smoke film and mystery stains up where nobody ever wipes. On suede or leather you have almost the opposite problem, since those surfaces show every wet patch you make.
Here is the order I work in, and it works whether you drive a fifteen-year-old sedan or something with an Alcantara roof.
Table of Contents
- What You Need
- Step-by-Step
- Frequently Asked Questions
- Can I use a steam cleaner on a car headliner?
- What is the best cleaner for a fabric car headliner?
- Can I use baking soda or vinegar to remove headliner stains?
- How do I clean a suede or Alcantara headliner?
- Why is my car headliner sagging after it gets wet?
- Should I take a badly stained or moldy headliner to a professional?
- Short Conclusion
What You Need
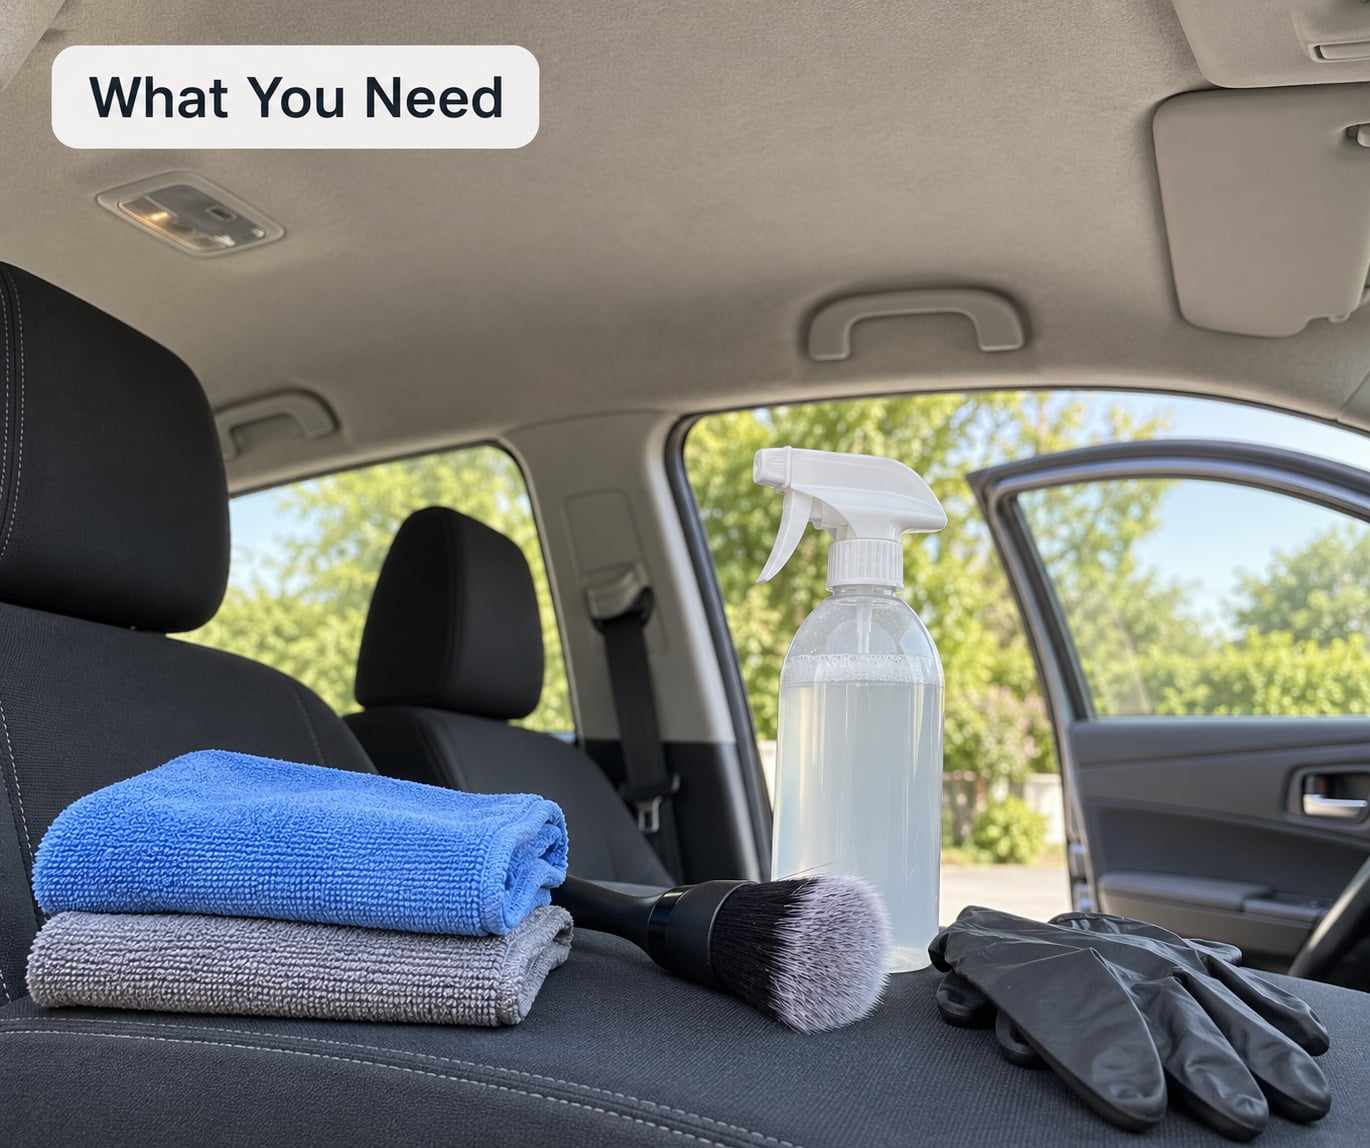
The whole list is short, and most of it you probably already own.
- Microfiber towels, three or four. One damp, one dry, one for the test patch. Cheap ones shed lint into the nap and you will find it later.
- A soft-bristle detailing brush or a soft upholstery brush. Nylon bristles are fine. Skip anything with stiff or metal bristles.
- A vacuum with a brush attachment. A handheld with a crevice tool and low suction is plenty.
- A mild liquid detergent for fabric, diluted heavily. Roughly eight parts water to one part detergent is the ratio detailers keep coming back to.
- A dedicated upholstery cleaner if you already own one for the seats. Read the label for anything that says leave-to-dry and avoid anything meant for paint.
- A soft sponge or plain white cloth for agitation.
- Nitrile gloves and a couple of old towels to protect the console.
- An approved leather cleaner and conditioner only if you have a leather headliner, which is rare above the truck line.
Skip bleach, oven cleaner, ammonia-heavy household sprays, degreasers with a heavy solvent load, and anything aerosol you intend to spray upward into the roof. Those either bleach the fabric, attack the foam, or soak straight through to the metal.
Before anything touches the liner, test it where nobody will see, like the panel behind a rear seat or the far corner near the hatch. Put a little on a white cloth, dab it, wait ten minutes, and look. No color change and no stiff patch means you are fine to proceed.
Step-by-Step
1. Identify the Headliner Material and Inspect the Roof
Look at the liner in daylight with the doors open, and check the color and texture. A woven, matte, slightly fuzzy surface is fabric. A fine suede or Alcantara has a short directional nap that shifts color when you brush it. A textured, grained, faintly shiny surface is vinyl, common in trucks and older vans. Perforated panels mean there are speaker and light cutouts underneath, and those holes are where water goes.
Next, look for what you are dealing with. Note stains, sagging between the roof ribs, yellow or black spotting that smells musty, dried droplets that left hard rings, and grease around the visor and grab handles.
Check the clips holding the sun visors and the overhead console. If they feel loose, the headliner has already lost its grip on the metal, and cleaning is a temporary fix at best. Our guide on how to fix a sagging headliner in your car covers that repair properly.
2. Protect the Interior and Test the Cleaner
Park outside in shade if you can, because direct sun bakes cleaner into the fabric before you can lift it. Open all four doors and the hatch, and drop the sun visors so you can reach the visor faces and the area around them.
Lay towels over the center console, the headrests and the seats. Anything that drips off the roof is going to land there first.
Lower any removable lighting or accessory panels you can reach without forcing them, and note which ones you moved so you put them back. Then run your hidden-spot test from the previous section on a second, equally hidden spot with the mixture you plan to actually use. If the fabric darkens evenly with no stiffening and no ring after it dries, move on.
3. Vacuum Loose Dirt Before Wet Cleaning
Vacuuming first is the step people skip, and it is the reason their results look flat. Dry grit acts like sandpaper once it is wet, and dragging it around with a damp cloth grinds it deeper into the nap.
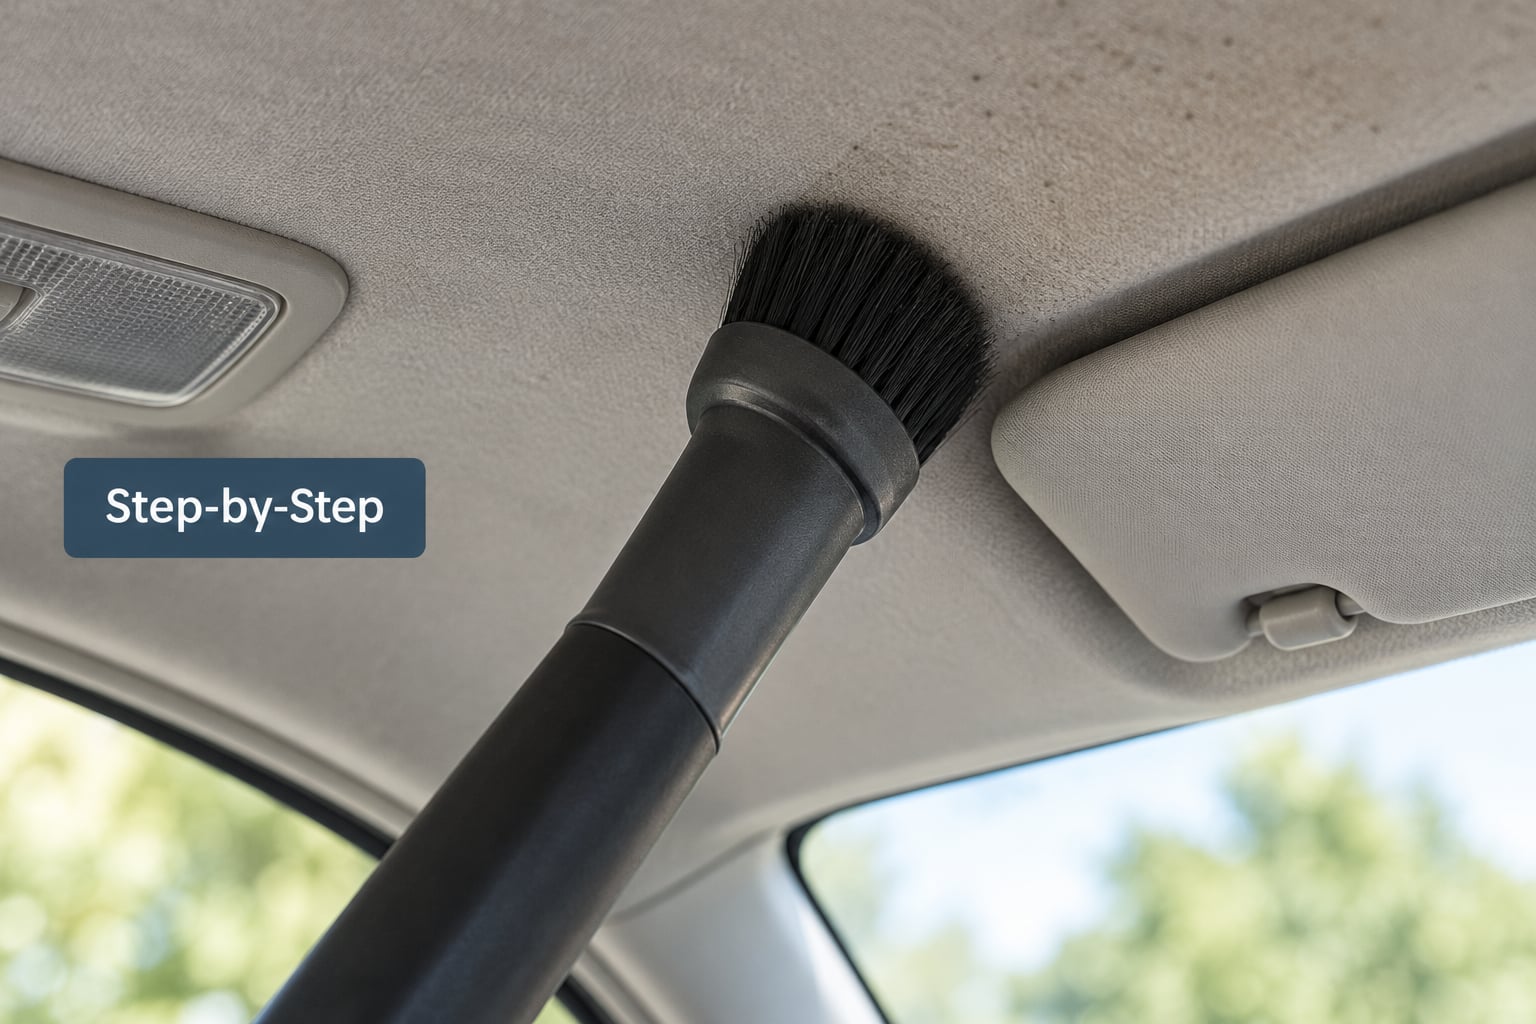
Set the suction to its lowest setting that still moves dust. Attach the soft brush, and work from the center of the roof outward in slow circles. Start at the center because that’s where the least foot traffic is and where you’ll notice if something’s odd.
Do not dig the brush into the fabric. Keep it just touching, and use the crevice tool around the edges and behind the visors, where dust packs in. If fibers start pulling up on the brush, you’re pressing too hard. Lift and go lighter.
4. Spot-Treat Stains and Odors by Material
This is the whole method: damp cloth, blot, repeat. Never spray upward, never pour, never scrub in circles.
For fabric: Mix your detergent at about eight parts water to one part detergent. Dampen a microfiber towel so it feels cool and slightly heavy but you cannot squeeze a drop from it. Wring it out again if you are unsure. Wipe the towel across the headliner in long strokes to put a thin, even film on the surface, then blot with a clean dry section of towel. Never let the towel pool in a seam or sit in a wet ring. Work the whole roof rather than one patch, because a treated patch dries darker than the surrounding fabric.
For suede and Alcantara: Use less water than fabric, not more. Dampen the towel to barely damp, use a cleaner approved for suede, and brush rather than blot. Work the nap in one direction with a soft brush to lift the dirt, then wipe with a nearly dry towel. Water rings on suede show up fast, so keep a dry towel ready to absorb any edge.
For vinyl and leather: Wipe with a damp cloth and an approved cleaner, then dry immediately. Vinyl takes a slightly damp cloth fine. Leather does not, so use a product made for leather, work it in thin, and follow with a conditioner once the panel is dry to the touch. Keep all three liquids off the perforated light and speaker openings.
For odors rather than marks, the trick is dilution and airflow rather than more product. After cleaning, a light sprinkle of baking soda on the dry liner left overnight and vacuumed up the next day absorbs a lot of the stale smell. Keep the car aired out and dry in the meantime.
5. Dry and Reassemble the Headliner Area
Blot the roof with a dry towel first, pressing rather than wiping, to pull up whatever moisture you can before it soaks in.
Then dry it properly. Crack the windows a few inches, start the climate control on fan with the air directed toward the windshield rather than up at the roof, and leave the car in the sun or in moving air. Air moves moisture out; heat from a heat gun or a close heater just cooks water into the foam and can shrink the fabric.
Touch-test the panel, especially along the seams and behind the visors, where it stays damp longest. It should feel dry and even, with no cool patches and no ring of cleaner residue. Check for a stiff spot too. That’s usually undiluted concentrate, and a second pass with a plain damp towel fixes it.
Only then put the visors and console back, and do a final vacuum so the dried grit falls away instead of staying in the nap.
Common Mistakes
Soaking the liner. This is how headliners sag. When the foam backing takes on water, the adhesive lets go and the panel droops between the ribs. Correct it by using a damp cloth rather than a spray bottle, and always keep the towel wrung out until it is boring.
Spraying cleaner directly at the roof. A fine mist settles into the seams and perfs and never fully dries. Spray the towel instead, in a shaded area, so you control the dose.
Scrubbing. Agitation is what lifts embedded grime, but hard scrubbing pushes dirt into the foam and frays the surface. Use a soft brush with light pressure on fabric and suede, and a straight back-and-forth wipe on vinyl and leather.
Using bleach or a heavy degreaser. Both will bleach the fabric or degrade the foam and adhesive. If a stain needs something stronger, use a dedicated upholstery spot remover applied to the cloth, not the roof. Prevention tip: a wipe of the visor and grab handles every few months keeps grease from setting.
Saturating the seams. Seams and the folded edges behind the visors hold water like a sponge. Wipe along them with a drier section of towel after every pass. Prevention tip: work the roof panel by panel so no single seam stays wet while you do the rest.
Cleaning over lights, sensors, or the dome lamp. Liquid running into a fixture can leave you with a dead bulb or a short. Keep towels away from openings, and if you cleaned the visor area, remove the visors first and clean them over a sink.
Confusing the foam backing with the fabric. If the liner feels spongy or the fabric has lifted away from the foam in patches, that is delamination and no amount of cleaner fixes it. Cleaning only helps if the surface itself still looks like fabric. Prevention tip: dry the car out after rain instead of leaving the cabin damp for days.
Drying with excessive heat. A heater aimed up at the roof or a hair dryer held close will shrink and discolor the fabric. Air and mild warmth from sun exposure are enough. Preventive tip: park in the sun with the windows cracked for an hour after cleaning instead of reaching for a tool.
Frequently Asked Questions
Can I use a steam cleaner on a car headliner?
No. A steam cleaner drives hot moisture straight into the foam backing and adhesive, which is the fastest way to make a headliner sag and delaminate. It also risks reaching wiring above the dome light and the overhead console. Use a damp cloth and a mild diluted cleaner instead, and dry the panel with moving air.
What is the best cleaner for a fabric car headliner?
A mild liquid laundry detergent diluted heavily, roughly eight parts water to one part detergent, is what most detailers reach for and it handles most fabric roofs well. A dedicated upholstery cleaner works too. Both should be applied to a microfiber towel, not sprayed on the liner, and always tested on a hidden spot first.
Can I use baking soda or vinegar to remove headliner stains?
Baking soda is fine as a dry deodorizer sprinkled on the cleaned liner and vacuumed up overnight. Vinegar is riskier. Its acidity can discolor the fabric, and it encourages re-wetting an area that needs to stay dry. Stick with mild detergent for stains and baking soda for odor.
How do I clean a suede or Alcantara headliner?
Use less water than you would on fabric. Lightly dampen a microfiber towel, apply a cleaner approved for suede, and brush the nap in one direction with a soft brush. Then wipe with a nearly dry towel. Suede shows water rings within minutes, so keep a dry towel on hand and never let a wet cloth rest against the panel.
Why is my car headliner sagging after it gets wet?
The fabric is bonded to a foam backing with adhesive. Water that reaches that bond loosens it, and the foam compacts, so the liner droops between the roof ribs. A sagging headliner cannot be cleaned back into shape, because the problem is structural rather than cosmetic. Fixing it means re-bonding or replacing the panel.
Should I take a badly stained or moldy headliner to a professional?
Yes. Black spotting, a musty smell that survives a full cleaning, or a stain that has bled through to the foam all point to damage a damp cloth cannot reach. A detailing shop with an extractor can pull dirt and moisture out of the padding. If the liner is already sagging, replacing it is usually cheaper than fighting it.
While you have the interior apart, the same damp-cloth-and-blot method works well on the seats, as we cover in how to clean cloth car seats at home. And if the smell you are chasing seems to come back no matter what you do to the roof, the evaporator drain is the usual suspect, which we explain in how to clean a car AC evaporator drain.
Short Conclusion
Start by identifying whether your roof is fabric, suede, or vinyl, then test your cleaner on a hidden spot. Vacuum the liner gently before anything gets wet, and from then on keep the cloth damp rather than the roof. Blot, work panel by panel, and finish with air drying and a final touch check. If the foam is already sagging or the staining has reached the padding, cleaning will not save it.