
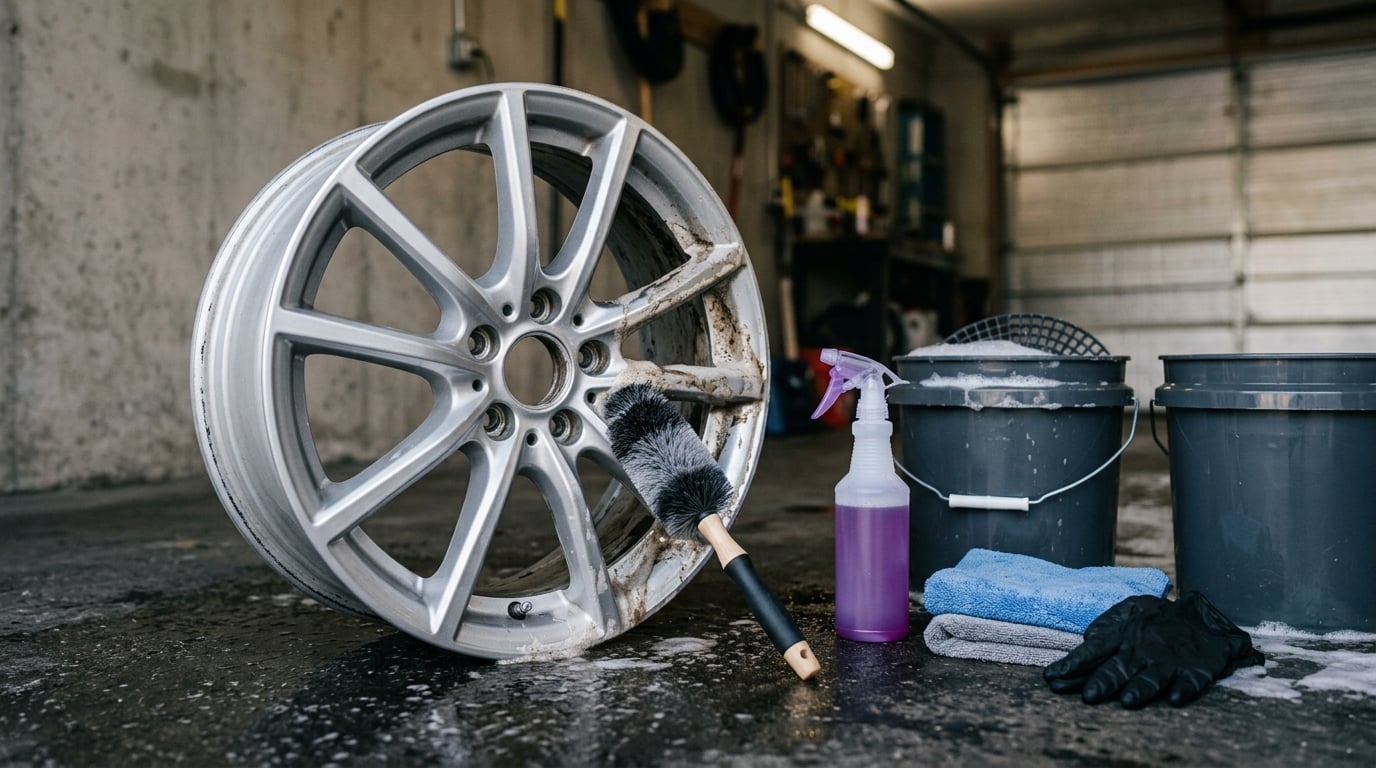
The short answer is simple: a pH-neutral, non-acidic wheel cleaner, a soft non-metal brush, a grit-free pre-rinse and a controlled rinse. Most wheel damage people complain about on forums is not caused by cleaning at all — it is caused by the wrong chemistry, a hard brush used on a dry wheel, or a pressure washer held too close. A whole wheel takes 20 to 30 minutes if you are careful, which makes it one of the most forgiving jobs in car care. We updated this guide for 2026.
One thing to sort out before you start: brake dust keeps landing on your driveway no matter how clean the rims are. If it is staining the concrete, that is a separate job — see how to clean brake dust off a driveway — and it is worth dealing with before you park the car over a fresh patch again.
There is no single “safe” wheel. What is safe depends entirely on the finish, and mixing up a gloss black clear coat with bare polished aluminum is how people end up with wheels that look stripped and hazy. The finish table under Step 1 settles that in one look.
Table of Contents
- What You Need to Clean Wheels Without Damaging the Finish
- Step-by-Step: Clean Wheels Without Damaging the Finish
- Common Mistakes That Damage Wheels and How to Fix Them
- Frequently Asked Questions
- What is the safest way to clean alloy wheels without damaging clear coat?
- Can I use household cleaners such as dish soap, vinegar, or oven cleaner on car wheels?
- How do I remove stubborn brake dust from painted or multi-spoke wheels?
- Is it safe to use a pressure washer to clean wheels and tires?
- Can I apply tire dressing or wheel polish without damaging the finish?
- How often should I clean my wheels to prevent brake dust from becoming baked on?
- Conclusion
What You Need to Clean Wheels Without Damaging the Finish
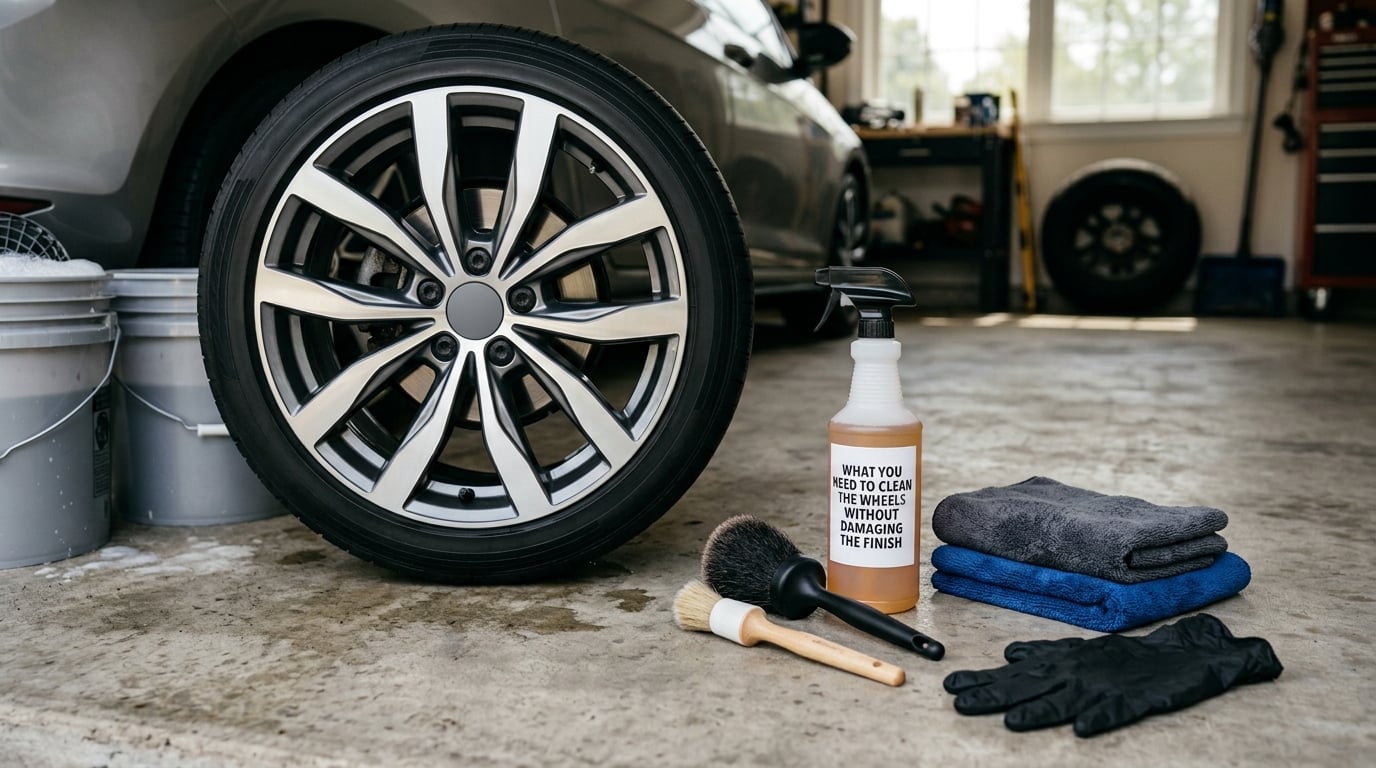
You need far less than a detailing cart. A good wheel-specific cleaner, two soft brushes, microfiber towels, gloves and two buckets covers it.
- A pH-neutral, non-acidic wheel cleaner. This is the single most important item on the list. Some also carry iron-removal chemistry that turns purple or red as it reacts with brake dust — that color change is your confirmation the product is doing something, not a warning.
- A soft-bristle wheel brush and a separate softer detailing mitt or brush for the face of the wheel. “Metal free” does not mean gentle; stiff nylon still scratches a coated face.
- Two buckets and grit traps. One bucket holds your soapy wheel water, the other holds clean rinse water. The grit trap in the wash bucket catches grit before it recirculates. This is the mechanical difference between a scratch-free clean and a hazed one.
- Microfiber towels, ideally two, so a dirty one never touches a wet wheel.
- Rubber gloves. Acidic and even neutral cleaners dry hands out, and gloves keep you from dropping a wheel mid-lift.
- A hose or pressure washer with a wide fan nozzle, plus wheel chocks and a flat spot of ground.
What to leave in the cupboard: abrasive scrub pads, scouring pads, steel wool, oven cleaner, and any household spray that has ammonia or a strong acid on the label. You will find the full verdicts later in the article, but the rule I work to is that nothing designed for a kitchen, a bathroom or a driveway goes near a clear coat.
Step-by-Step: Clean Wheels Without Damaging the Finish
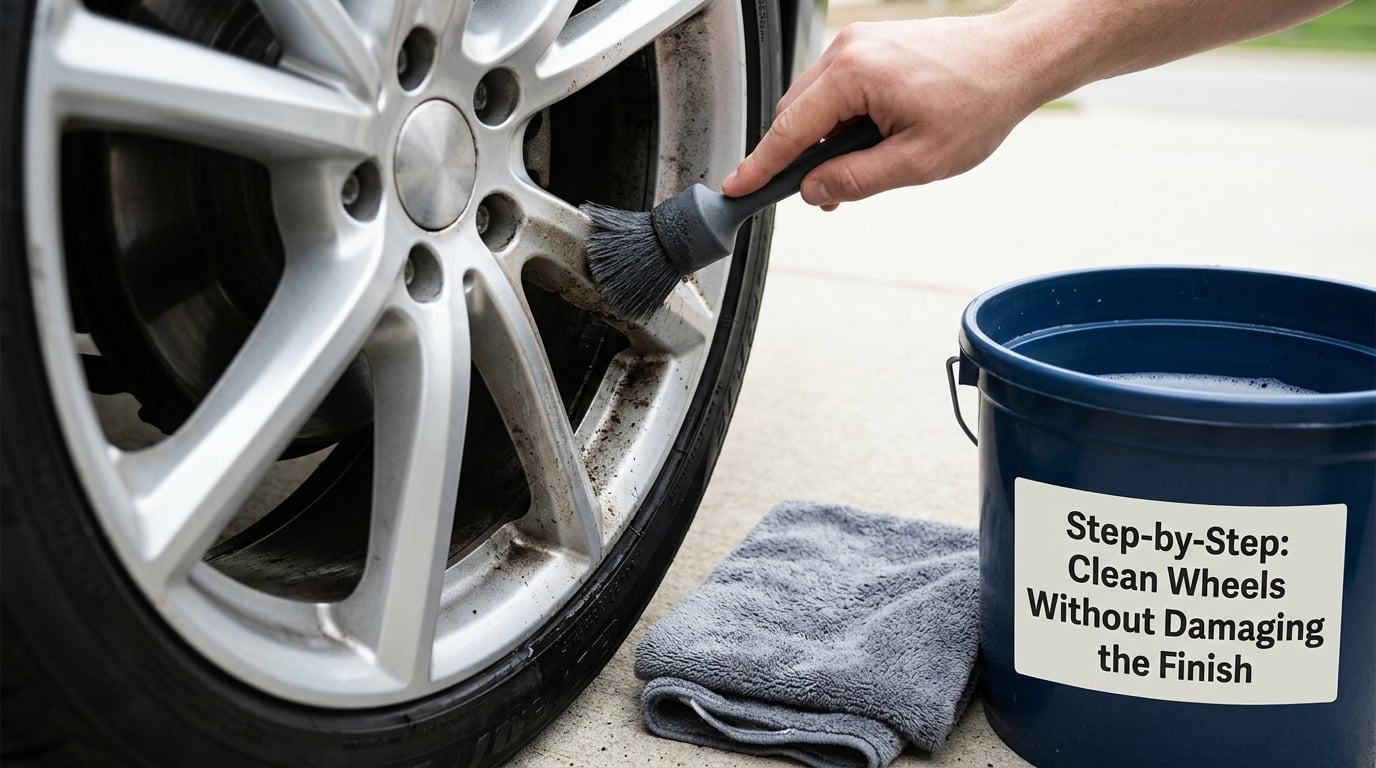
Work one wheel at a time and do the whole job properly. Rushing is what turns a careful clean into a scratched one, because the grit that causes most swirls gets dragged across the face while you work on a wheel that has not been rinsed properly first.
Step 1: Check the Wheel and Choose the Right Product
Identify the finish before you pick a bottle. Run a finger across the wheel and look at it in daylight: a thick, hard, dark surface that feels slightly textured is a matte or satin coating; a smooth, deep, reflective surface is a gloss clear coat; a dull grey, slightly rough metal is bare or anodized aluminum; a mirror-like surface is chrome. If you cannot tell, treat it as the most delicate finish on the car.
| Finish | Cleaner to use | Brush | Never use |
|---|---|---|---|
| Gloss clear-coated / painted | pH-neutral wheel cleaner, or a dedicated iron remover on heavy dust | Extra-soft wheel brush only | Acid, two-step acid, abrasive pads, high-pressure close-range rinsing |
| Matte or satin black | Diluted pH-neutral cleaner or iron remover, applied sparingly | Soft mitt, minimal pressure | Polish, gloss wax, any wax, aggressive agitation |
| Chrome | Mild pH-neutral cleaner, short dwell | Extra-soft brush | Acid, steel wool, scouring pads |
| Anodized | pH-neutral cleaner, avoid long alkaline dwell | Soft wheel brush | Alkaline wheel cleaners, acidic cleaners |
| Bare or polished aluminum | pH-neutral cleaner or iron remover | Soft brush or mitt | Any cleaner left to dry on the surface |
| Powder coated | pH-neutral cleaner, short dwell | Soft wheel brush | Acid wheel cleaners, especially the two-step type |
Is acid wheel cleaner safe on powder coated wheels? No. Powder coat is a thick cured polymer over a colored layer, and acid chemistry dulls and etches the surface the same way it dulls clear coat. The strong acidic cleaners built for bare, unsealed wheels are meant for metal that can handle being stripped, and a powder coated face is not that.
Step 2: Test the Cleaner in a Hidden Area
Find an area the eye does not reach, usually the back face of a spoke near the tire or the inner barrel. Apply a small amount, leave it for the dwell time printed on the label, then rinse and dry. Look at it in daylight against the rest of the wheel.
Warning signs: a dull patch that does not come back after drying, a color shift, a rainbow haze, or a finish that suddenly looks brighter and thinner than the surrounding area. Any of those means stop and change product. This test costs two minutes and it is the reason forum threads are full of people asking why their rims look stripped — they never tested first.
Step 3: Prepare the Wheel Safely
Let the wheel cool completely. A wheel that just came off the road holds enough heat to bake cleaner onto the surface and to make water spot instantly, and hot brake components will not thank you for cold water.
Park on level ground, set the parking brake and chock the wheels. Loosen the lug nuts only if you intend to remove the wheel; do not crack them halfway and leave the car sitting like that.
Rinse the whole wheel before you touch it with anything. This is the rule that prevents most scratches. Road grit sits in the barrel and on the spoke edges, and a brush dragged through that grit acts like sandpaper. Rinse until the water running off the wheel runs clear. Some detailers go further and blow dust out of the barrel with a blower, then drive the car around the block so heat and airflow clear the rest before hand cleaning — a trick that circulates in detailing forums and works well on cars that have accumulated months of dust.
Keep the hose or pressure washer pointed at the wheel face and barrel, not into the caliper or the wheel well. A jet driven straight into brake hardware washes oil and grease off the caliper piston seals and forces dirty water into the bearings.
While the car is up on the stands, it is a good moment to check the rotors — cleaning new brake rotors before install has the same principle behind it, a clean, controlled, low-abrasion process on a surface you cannot see once the wheel is back on.
Step 4: Agitate Brake Dust With the Right Tools
Dilute the cleaner as the label directs. Undiluted cleaner is a chemical etch waiting for a hot wheel, especially on bare aluminum, and the extra strength rarely buys you anything on a wheel that has been rinsed first.
Apply to a dry or barely damp wheel, working section by section, and let it dwell for two to five minutes. Do not let it dry. If you are working in the sun or in cold weather, split the wheel into halves and clean one half at a time.
Agitate with the soft brush on the barrel and the mitt on the face. Get behind the spokes, into the lug nut crevices and along the inner lip, where brake dust packs in hardest. Rinse the brush in the grit-trap bucket between passes so you are not moving the same dirt around in circles.
Be strict about dwell time on anodized and bare aluminum. Both react badly to strongly alkaline or acidic chemistry sitting on the surface, and a long soak does more harm than a short scrub. The goal is to move the dust, not to strip the wheel.
Step 5: Rinse Without Creating Water Spots
Rinse from the top down so dirty water runs off the face rather than across it, and finish with a clean-water pass on the low pressure. If you use a pressure washer, keep it under roughly 1,200 to 1,800 PSI, use a wide fan nozzle, and hold it at least 12 inches from the surface. Close-range high pressure chips clear coat and drives water into existing pitting, which is exactly how small pits become permanent craters.
Do not aim into brake components. Aim at the wheel face, the spoke sides and the barrel, then let gravity finish the job.
Rinse your brushes and mitt in the second bucket before you set them down. A brush wiped on a dusty fender and then used again on a wet wheel is the most common cause of micro-scratching on coated wheels, and it is the mistake people make after being told that “metal free” brushes are safe. A hard plastic brush is not a soft brush.
Step 6: Dry and Protect the Finish
Let the wheel air dry or blow it down with compressed air held from a distance before you touch it with a towel. Drying a wet wheel with a cloth is how you wipe grit into the finish.
Then dry with a clean microfiber towel, flipping to a dry face regularly, and let it air dry fully before driving off. This is the step that prevents water spots, which are mineral deposits from evaporating rinse water, not damage — but they are annoying and they mask real problems underneath.
Look at the wheel in daylight afterward. Uniform gloss across the face, consistent color in the barrel, and no dull patches is the sign the job worked. Dull patches, haze or thin-looking color are your answer that something in the process was too harsh.
Once it is clean and dry, protection is what keeps the finish from needing the next clean. A dedicated wheel sealant or a ceramic spray on gloss and clear-coated wheels gives you a barrier that brake dust has trouble bonding to, and a sealed wheel is much easier next time. On matte and satin wheels, use a matte-safe ceramic product only; traditional wax and polish leave shiny patches that cannot be blended out without making the problem permanent. Keep tire dressing off the caliper, off the wheel face and off the brake rotor.
On frequency, most people over-clean. For a daily-driven car on ordinary roads, a thorough clean every six to eight weeks is plenty, and every two to three weeks during winter road salt or heavy highway dust. Cleaning more often than that mostly means more chances to scratch something. Clean early and often when the dust is still powder, though, because dust that has baked on needs real agitation to move, and agitation is where the risk lives.
Common Mistakes That Damage Wheels and How to Fix Them
Almost every damaged wheel I have seen traces back to one of the following. The fix is usually easier than the repair.
Using acid or two-step acid wheel cleaner on a coated or painted wheel. Acid does not remove clear coat in one dramatic gouge. It dissolves it a microscopic layer at a time, and the wheel just gets a little duller each wash until it looks hazed and grey. Damage is cumulative and it does not wax out. Fix: use a pH-neutral, non-acidic cleaner on anything coated, painted or powder coated, and keep strong acidic products for bare unsealed metal only.
Scrubbing a dry wheel with a hard brush. The grit is the problem, not the brush material. Fix: rinse until the runoff is clear before you touch the wheel, and keep a grit trap in your bucket.
Trusting a brush because it says “metal free.” Stiff nylon and stiff metal bristle brushes scratch coated faces, and plenty of people have posted scratched brand-new wheels traced back to exactly this brush. Fix: buy an extra-soft wheel brush, replace it when the bristles start to splay, and use a separate softer mitt on the face.
Letting cleaner dry on the wheel. Dried cleaner leaves a film, spots and streaks, and on bare aluminum it can etch. Fix: work in sections, keep a product that stays wet in reach, and rinse each section before moving on.
Pressure washing at close range. Above about 1,800 PSI, or from less than 12 inches, the jet chips coating and widens pitting. Fix: wide fan nozzle, 1,200 to 1,800 PSI, 12 inches or more of distance, never aimed into the caliper.
Using household products. The verdicts are clear and worth repeating here:
- Dish soap: it is alkaline and it strips wax and sealant from the tire, and on a coated wheel it leaves a dull, uneven film. Fine for a badly soiled tire, wrong for a wheel face.
- WD-40: it does not clean rims. It is a petroleum solvent and lubricant that leaves an oily film, and brake dust bonds to that film rather than lifting off. Worse, people often follow it with a strong cleaner to get the oil off, and that combination is a good way to etch a clear coat.
- Window cleaner: the ammonia and alcohol will haze and dull a coated or plastic finish, and it does nothing for iron particles.
- Vinegar and baking soda: both are acids and alkalis respectively. Baking soda is abrasive at the particle level. Either can dull a coated face, and mixing them produces a mild acid that offers no benefit over a proper wheel cleaner.
- CLR and similar acidic descalers: these are built for calcium and rust deposits in plumbing and drains. On a wheel they attack the finish and can leave a stripped-looking silver patch on a dark wheel.
- Steel wool and abrasive scouring pads: they scratch clear coat, gloss paint, matte coating and anodizing without exception.
Putting polish or gloss wax on matte wheels. The shiny patches read as damage, not shine, and matching them again means stripping the whole face. Fix: matte-safe ceramic spray, spot applied, nothing else.
Spraying wheel dressing everywhere. Dressing on the rotor face, the caliper or the wheel face attracts dust and, on the rotor, reduces braking performance. Fix: keep it on the sidewall and wipe the dials clean.
Two more safety notes. Never work under a car supported only by a jack, and never use a pressure washer or a strong chemical on a wheel while it is still fitted and the car is on stands with the suspension loaded. And if you are not sure what a product does to your finish, test it, then check the wheel or vehicle maker’s care guidance — most publish care instructions for coated wheels that are more specific than anything a bottle can tell you.
Frequently Asked Questions
What is the safest way to clean alloy wheels without damaging clear coat?
Use a pH-neutral, non-acidic wheel cleaner with a soft non-metal brush, work one wheel at a time, and rinse the wheel with a hose before you touch it with any brush. That pre-rinse clears the grit that causes most scratches. Apply the cleaner in sections, dwell two to five minutes without letting it dry, then rinse under 1,800 PSI from at least 12 inches away. Never use acid, abrasive pads or steel wool on a coated wheel.
Can I use household cleaners such as dish soap, vinegar, or oven cleaner on car wheels?
No. Dish soap is alkaline and leaves a dull film on coated wheels, vinegar is acidic and etches clear coat over time, and oven cleaner will destroy a finish outright. CLR and other descalers are acidic too and can leave a stripped-looking silver patch on a dark wheel. Household chemicals also do nothing about iron brake dust, which is the dirt you are actually trying to remove. A pH-neutral wheel cleaner is safer and works better.
How do I remove stubborn brake dust from painted or multi-spoke wheels?
Use a color-changing iron remover or pH-neutral wheel cleaner on a rinsed, dry wheel. Let it dwell two to five minutes so it can dissolve the iron, then work the dust loose with a soft wheel brush and a separate soft mitt on the face of the wheel. Get behind the spokes and into the lug nut crevices, rinsing your tools in a clean-water bucket between passes. Never let the product dry on the surface.
Is it safe to use a pressure washer to clean wheels and tires?
Yes, if you control it. Keep the pressure around 1,200 to 1,800 PSI, use a wide fan nozzle, and hold it at least 12 inches from the wheel. Close-range high pressure chips clear coat and forces water into existing pitting, which widens it permanently. Never aim the jet into the caliper or wheel well, where it strips grease from the caliper seals and washes dirty water into the bearings. Rinse the wheel with plain water first.
Can I apply tire dressing or wheel polish without damaging the finish?
Tire dressing is fine on the sidewall if you keep it off the wheel face, the caliper and the brake rotor, and wipe the dials clean. Polish and traditional wax are not safe on matte or satin wheels: they leave shiny patches that read as damage and cannot be blended out without stripping the whole face. On matte wheels use a matte-safe ceramic spray instead. On gloss or clear-coated wheels, a wheel sealant or ceramic spray after cleaning is the better protection.
How often should I clean my wheels to prevent brake dust from becoming baked on?
For a daily-driven car on ordinary roads, a thorough clean every six to eight weeks is usually enough. Shorten that to every two or three weeks if you drive in winter road salt or heavy highway dust, or if you notice dark buildup forming. Cleaning on a short interval while the dust is still powder takes very little agitation, and low agitation is where the scratch risk lives. Sealing the wheels after cleaning also slows how fast dust bonds in the first place.
Conclusion
Start by identifying the finish, then use a pH-neutral, non-acidic wheel cleaner and a soft brush, and rinse the wheel clean before you touch it. That sequence alone prevents most of the damage people blame on wheel cleaning in general. Follow the wheel or vehicle maker’s care guidance, avoid anything from under the sink, and a wheel that looks good today will still look good in two years.