
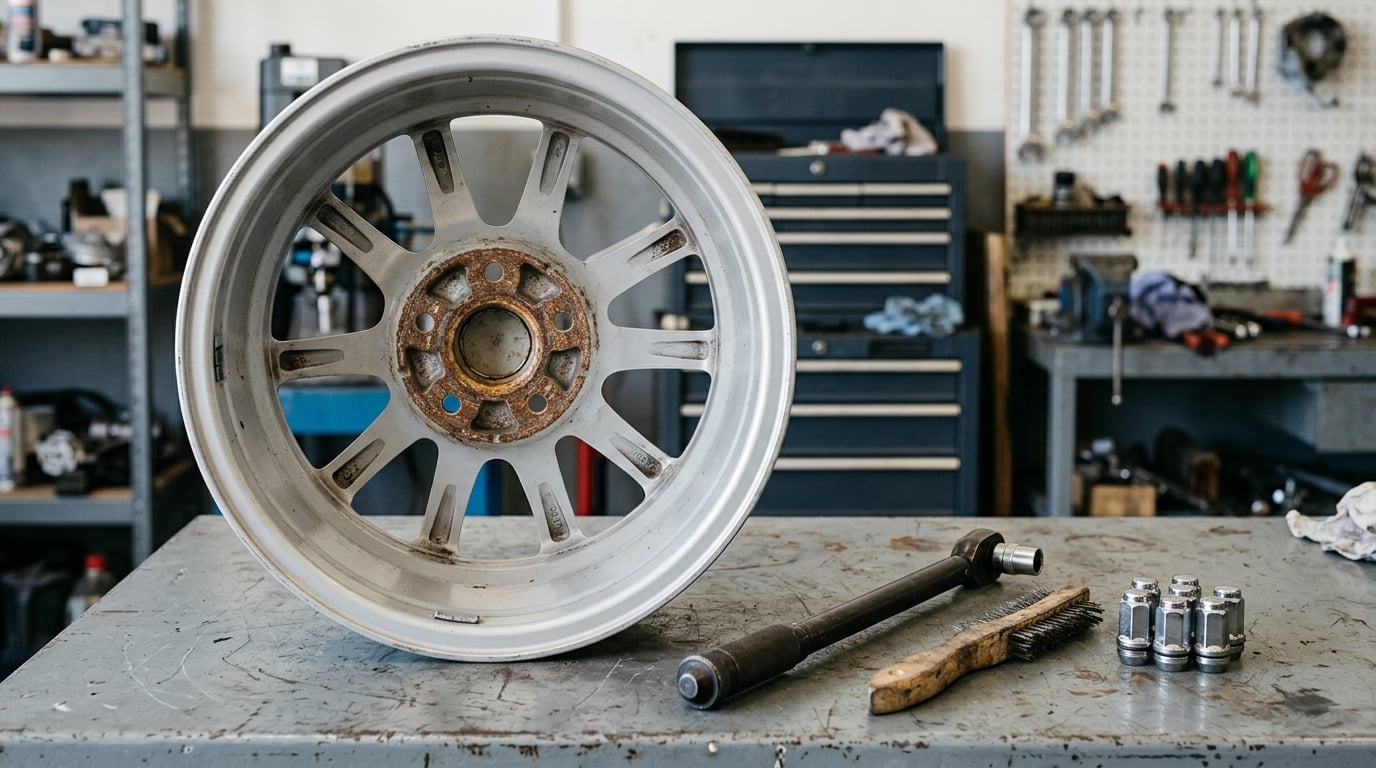
Lug nuts do not vibrate loose on their own. The joint loses its clamp load first, usually because of rust scale or dirt trapped between the wheel and hub, incorrect torque, or hardware that does not match the wheel, and once the joint goes soft, road vibration turns the nut off.
That is the whole story behind why do lug nuts come loose, and it matters because a nut that keeps backing off is the early stage of a wheel letting go at speed. The nut is almost never the faulty part. Something underneath it is failing to hold the stack together, and the nut is just the messenger.
Below I break down the seven causes in the order they are most likely to be the real problem, how to confirm each one, and the fix that actually stops the loosening instead of hiding it.
Table of Contents
- Why Do Lug Nuts Come Loose? The Main Causes
- 1. The nuts were under-torqued at installation
- 2. The wheel studs or nuts are worn or damaged
- 3. Rust, paint, or grease between the wheel and hub
- 4. The lug nut seat type does not match the wheel
- 5. The nuts were over-torqued
- 6. Vibration, thermal cycling, and impacts
- 7. The wheel is not sitting hub-centric
- How to Tell If Your Lug Nuts Are Loosening
- Is It Safe to Drive With Loose Lug Nuts?
- How to Check Lug Nut Torque Correctly
- What Should You Do If a Lug Nut Keeps Loosening?
- How to Prevent Loose Lug Nuts in the Future
- Frequently Asked Questions
- Conclusion: Inspect and Correct the Cause First
Why Do Lug Nuts Come Loose? The Main Causes
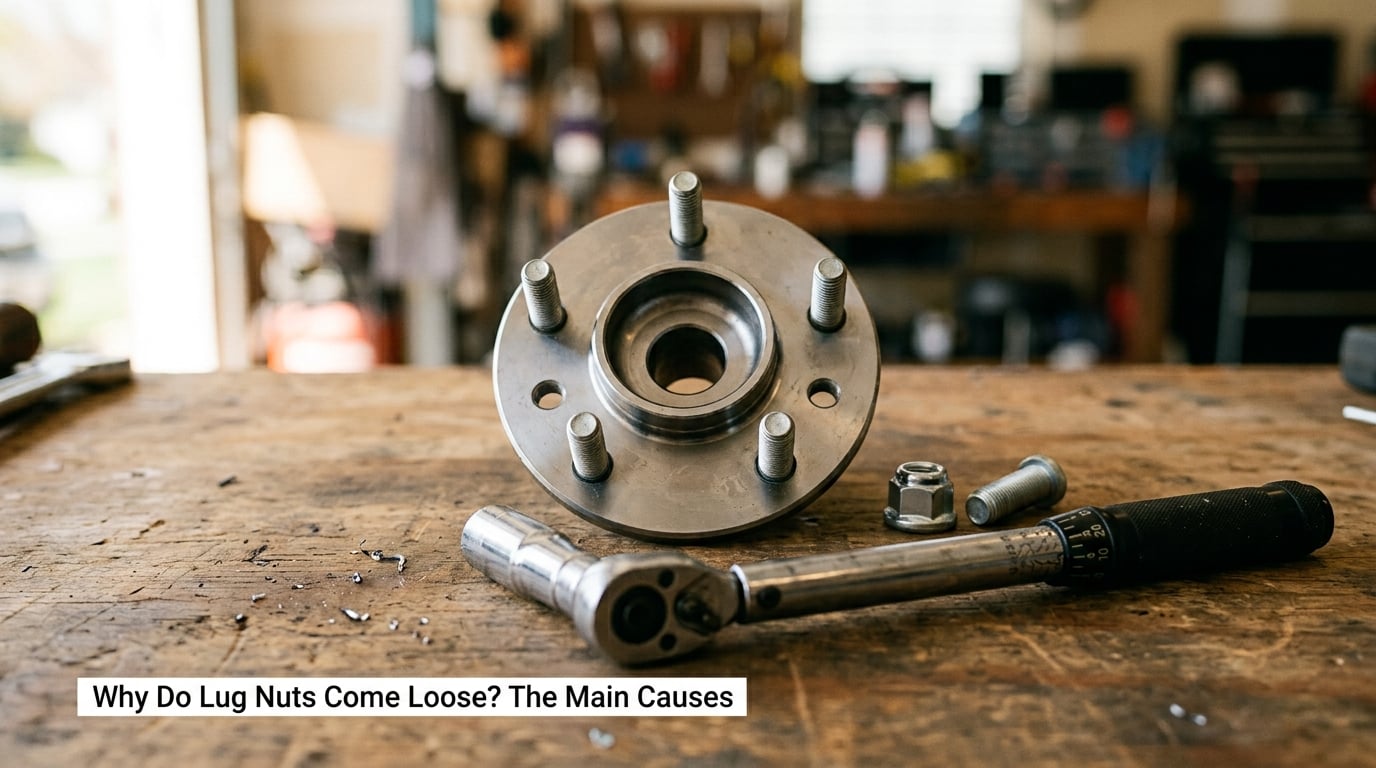
Start with the physics, because it explains every cause below. Torquing a lug nut does not clamp the wheel by squeezing the nut downward. It stretches the wheel stud like a stiff spring, and that stored tension pulls the wheel and hub together with a few thousand pounds of force. Friction across that mating surface is what actually carries braking, cornering, and pothole loads.
So the nut stays on because the joint is compressed, not because the nut is tight. If the stack settles even a few thousandths of an inch, the stud relaxes, clamp load drops, the wheel can shift slightly at every corner and bump, and that repeated micro-movement is what walks the nut off. A torque wrench measures how hard you twist. It does not tell you how much clamp load you ended up with, which is why a nut torqued to spec over a dirty hub face can still loosen within weeks.
With that in mind, these are the seven causes worth working through, roughly in the order they show up in my experience on a shop lift.
1. The nuts were under-torqued at installation
Symptoms: A nut turns by hand, or spins more freely than its neighbours, within days or weeks of a tire change, rotation, or brake job.
How to confirm: Run each nut down the stud by hand before touching a wrench. One that screws on with noticeably less resistance than the others is telling you the stud has been stretched past its useful range.
Fix: Re-torque to the vehicle specification with a calibrated wrench, and replace any nut or stud that runs loose before it reaches spec. An impact gun on the shop floor is a common culprit here, since it makes a wall of sound feel like a solid tightening.
2. The wheel studs or nuts are worn or damaged
Symptoms: The same corner loosens repeatedly, the nut has visible rust threads, the stud turns in the hub, or the stud leans when the wheel is off.
How to confirm: A permanently stretched stud will not return to its original length when you back the nut off. If tightening to the spec leaves more thread showing than before, that stud is done. Threads that are shiny, flattened, or torn are showing the same problem in a different form.
Fix: Replace the damaged studs and nuts as a set for that corner, using the factory hardware rather than mixing old and new. Owner forums like Corral and the Dodge boards are full of the same conclusion: a loose nut that keeps coming back after a third retorque is telling you the studs, not the wrench, are the problem.
3. Rust, paint, or grease between the wheel and hub
Symptoms: Fresh rust streaks radiating from the lug holes, a rust line on the hub face, or a wheel that has been sitting through one or more winters without a retorque.
How to confirm: Pull the wheel and look at the hub face. A ring of brown scale or a heavy coat of road film on either surface is enough to lose a large share of your clamp load without anything looking broken.
Fix: Wire-brush the hub face and the back of the wheel to bare metal, wipe both surfaces clean, apply a thin anti-seize film on the hub face only, then torque. Note the distinction that confuses people: anti-seize on the hub face is fine, anti-seize or thread locker on the threads is not. Lubricated threads throw off your torque reading and are not what the spec assumes.
4. The lug nut seat type does not match the wheel
Symptoms: A new aftermarket wheel where the factory car never had trouble, or nuts that feel slightly soft even right after installation.
How to confirm: Look at the seating area of the nut and the matching hole in the wheel. A conical seat makes full contact around the hole. A ball seat touches on a narrow band, and a mag or shank seat uses the outer shank. If the two do not match, the nut never develops the clamp load you think it does.
Fix: Use hardware designed for the wheel, not for the car. Bolt-pattern charts and wheel makers list the correct seat style, and most quality aftermarket wheels ship with the correct nuts.
| Seat type | Typical use | What happens when mismatched |
|---|---|---|
| Conical or tapered (60-degree acorn) | Most passenger cars, including many BMW models | Conical nut on a ball-seat wheel sits on a narrow band, so clamp load is low and the nut loosens quickly |
| Ball or radius seat | Certain Japanese and domestic models, plus some racing applications | Radial nut on a conical wheel can sit proud and rock, which allows the wheel to move and the nut to back off |
| Mag or shank seat | Wheels with a machined shank, common on performance and two-piece styles | Any other nut on a mag wheel will not centre on the shank, so the load concentrates on the threads |
Add wheel spacers to the picture and the margin for error shrinks further. A thicker spacer moves the clamping surface away from the hub face, which means more stretch is needed to reach the same preload.
5. The nuts were over-torqued
Symptoms: A history of impact-gun torquing, a lug nut that will barely break free, and studs that loosen shortly after being tightened hard.
How to confirm: Over-torquing pushes a stud past its yield point, so it stays stretched permanently and loses the ability to hold clamp load. Some shops report needing enormous force just to remove seized rusty nuts, which is often a sign they were over-tightened on the way in.
Fix: Replace the affected studs. This is the single most repeated mistake in owner forums, and it is worth saying plainly: tightening them harder is not a fix. More torque works until the threads cannot take it, and then you have a stripped stud and a bigger repair.
6. Vibration, thermal cycling, and impacts
Symptoms: Loosening that tracks rough roads, potholes, track days, or a seasonal tire swap rather than any particular corner.
How to confirm: Ask whether the tire and wheel are still balanced. An out-of-balance wheel or a slightly uneven tire puts a repeating load through the joint at road speed, and every cycle tries to turn the nut. Thermal cycling adds a smaller version of the same effect, because the nut and stud are different alloys that expand and contract by different amounts as the wheel heats and cools.
Fix: Balance the tire and wheel, correct any imbalance or alignment issue, and tighten to spec. The vibration itself has to go, or it will keep finding the nut.
7. The wheel is not sitting hub-centric
Symptoms: Loosening on aftermarket wheels, a center bore noticeably larger than the hub diameter, or a wheel that was fitted without hub-centric rings.
How to confirm: Compare the wheel center bore diameter with the hub diameter. If the bore is larger, the wheel is lug-centric, meaning it is located entirely by the studs and the nuts. Torque gets applied off-centre, the wheel rocks, and the joint never holds a stable preload.
Fix: Install correctly sized hub-centric rings or the correct plastic centering ring for the vehicle, or replace the wheel with one whose bore matches the hub.
How to Tell If Your Lug Nuts Are Loosening
Catch it early and the repair is usually a clean-and-retorque. Catch it late and you are looking at a wheel off the car. These are the signs worth checking, in rough order of how easy they are to notice.
- A vibrating steering wheel that appears around 45 to 60 mph and changes or disappears when you back off. A tire balance problem looks similar, so confirm the balance before you start pulling wheels apart.
- Rattling or clunking over bumps, especially a single sharp knock from one corner rather than a general shimmy.
- Visible wheel movement. With the vehicle on the ground, try to rock the wheel at the top and bottom. Any perceptible play means stop driving and investigate.
- One nut standing proud. A nut sitting noticeably higher or lower than the others, or spinning freely by hand, points at a stretched stud on that corner.
- Rust streaks or fresh rust radiating from the lug holes or weeping from the hub face.
- A nut that keeps coming back loose after two or three correct retorques in a few months. That is a fault, not a maintenance schedule.
This table is the fastest way to sort what you are feeling into the likely cause.
| Pattern | Likely cause | Check first | Urgency |
|---|---|---|---|
| All corners loose soon after a tire change | Under-torque, or no re-torque after 50 to 100 miles | Torque specification and whether a torque wrench was used | Moderate |
| One corner keeps loosening | Stretched or damaged stud, bent stud, or a bad hub mounting face | Run each nut down by hand, inspect the stud for permanent stretch | High |
| Started after new wheels went on | Wrong seat type, lug-centric fitment, or missing hub rings | Center bore versus hub diameter and nut seat style | High |
| Steering wheel vibration with a rattle over bumps | Unbalanced wheel or tire letting the joint move | Tire and wheel balance | Moderate |
| Wheel rocks when you push on it | Clamp load already lost at one or more studs | Do not drive; have the corner inspected | Urgent |
| Nut seizes and needs huge force to remove | Rust scale on threads, possibly over-torqued previously | Thread condition and whether studs are stretched | Moderate |
Is It Safe to Drive With Loose Lug Nuts?
It depends entirely on how loose and what else is happening, and the honest answer is that any measurable play at the wheel means you should not be driving. A three-tier triage is more useful than a yes or no.
Check now, then drive: One nut is slightly softer than the others, all fasteners are present, the wheel does not rock, and you can get it inspected within a day or two. That is a low-risk situation, but only if the next person with a torque wrench looks at it.
Short and slow only: A nut you could spin by hand, or a wheel that shifts visibly, with no clunking. If you must move the car, keep it under 20 mph, avoid highways, take the most direct route, and skip the drive entirely if you can.
Do not drive: Visible play when you rock the wheel, two or more loose nuts, a nut sitting proud of the others by a noticeable amount, a bent stud, or any grinding, clunking, or scraping from the corner. Stop the car and arrange qualified help.
There is a second reason not to shrug it off. One loose fastener means the remaining fasteners on that corner are carrying more than their share of the load, which wears them and their studs faster. It is not only about the single nut that moved.
Will three lug nuts hold a tire?
Structurally, a five-lug wheel is designed to work with all five fasteners sharing the load. Three tight nuts will keep a wheel on a car at low speed for a while, and plenty of people have driven further than that. But it is a failing condition, not a workable one: the corner is no longer clamped evenly, the wheel can walk, and the studs that are carrying the extra load can shear without much warning.
How to Check Lug Nut Torque Correctly
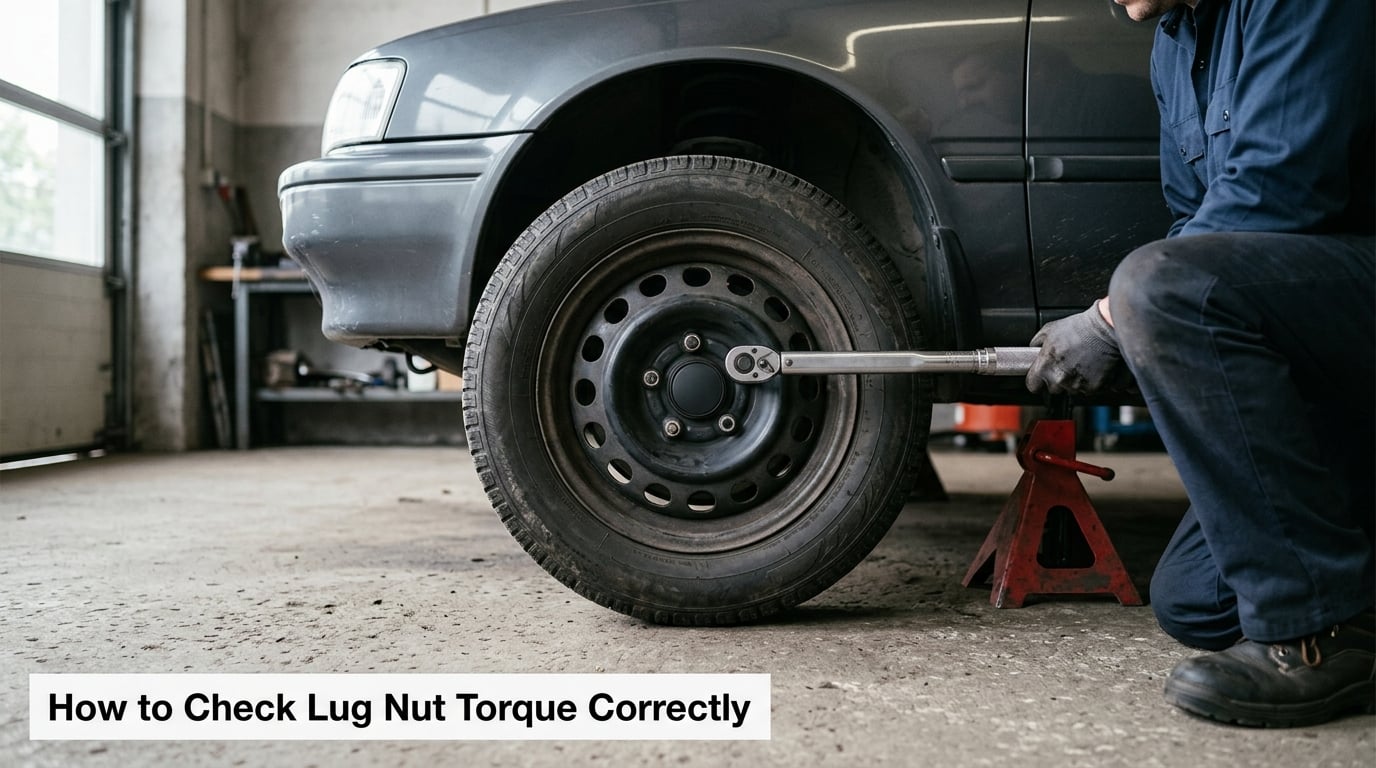
Torque only means something if the number came from your vehicle and the joint underneath it was clean. Here is the sequence I use.
- Find the specification on the driver’s door jamb first. The owner’s manual and the wheel maker’s documentation are secondary to the sticker in your own car, and generic internet figures for passenger cars or trucks are only rough context. The label usually states front and rear values in lb-ft, sometimes in Nm.
- Understand what the number assumes. Torque specs are published for clean, dry, unlubricated threads and clean mating surfaces. Grease, anti-seize, or paint on the hub changes the friction and the result.
- Clean both mating surfaces. Wire-brush the hub face and the back of the wheel down to bare metal, then wipe them with a clean rag.
- Hand-thread every nut before using a wrench. This is how you catch a cross-threaded or seized stud, and it costs nothing.
- Snug in a star pattern, working around the circle and finishing at the top, so the wheel seats evenly against the hub.
- Lower the vehicle until the tires just touch the ground, then finish tightening to spec. With the weight of the car on the suspension and nothing on the wrench handle, your reading matches the number on the label.
- Re-torque after 50 to 100 miles. The first drive settles the stack. Many manufacturers specify this check, and it is the single highest-value ten minutes in this whole process.
Use a click-type torque wrench in good condition and set it to the exact value for that corner. Avoid a breaker bar or an impact gun for final tightening, and if a shop uses one, it is entirely reasonable to ask whether they torqued to spec afterwards.
What Should You Do If a Lug Nut Keeps Loosening?
Retorquing a loose nut over an underlying fault is how owners end up on a third, fourth, and fifth visit. Work down this path instead, and stop tightening as soon as you find the actual fault.
Step 1: Establish the pattern. Is it one wheel or all of them? Did it start right after a service, or has it been creeping up for months? Did it begin when aftermarket wheels or spacers went on? One corner repeatedly means the corner is the problem. All corners after a service means the service is the problem.
Step 2: Run every nut down by hand. A nut that binds, catches, or needs a two-handed effort to start tells you the stud threads are damaged. A nut that spins on with almost no resistance tells you the stud is stretched.
Step 3: Try the nut-swap diagnostic. Move the nuts and the wheel to a different corner and drive a few hundred miles. If the loosening follows the hardware, the hardware is at fault. If it follows the wheel, the wheel or the hub is. This simple test is used constantly in practice and settles the argument faster than any other check.
Step 4: Pull the wheel and inspect. Look at the hub face for rust scale or pitting, the studs for lean, stretch, or damaged threads, the wheel lug holes for elongation or cracking, and the seat area for a mismatch with your nuts.
Step 5: Check what is fitted. Verify seat type, center bore versus hub diameter, and whether hub-centric rings are present and correctly sized. This is where aftermarket wheels cause most of the repeat failures.
Step 6: Repair, then re-torque to spec. Replace studs, nuts, rings, or the wheel as the inspection calls for, tighten properly, and re-check after 50 to 100 miles. If it loosens again after a correct retorque and a clean hub, replace the studs on that corner rather than repeating the retorque.
One more thing worth accepting early: you may not be able to prove your shop over-torqued the studs at a previous visit. What you can do is diagnose the current state properly and replace what is damaged.
How to Prevent Loose Lug Nuts in the Future
Prevention here is mostly about a few repeatable habits rather than exotic hardware.
- Match the hardware to the wheel. Seat type and nut dimensions need to match the wheel, not just the bolt pattern and pitch.
- Clean and dry the mating surfaces every time a wheel comes off, and keep threads clean and free of anti-seize, grease, and thread locker.
- Tighten to the vehicle specification with a calibrated torque wrench, in a star pattern, with the vehicle on the ground.
- Re-torque 50 to 100 miles after any wheel installation, and again after a brake job that required removing the wheel.
- Get the tire and wheel balanced and correct alignment problems so vibration stops working on the joint.
- Check at your normal service interval. Owners treat a rotation or balance every 6,000 to 10,000 miles as a natural point to run a hand-check around each wheel.
- Replace damaged parts promptly. A stud with a stripped thread, a nut with rounded corners, or a wheel with elongated lug holes will not be fixed by a wrench, and worn wheel lug holes mean the wheel is finished.
- Be more careful with spacers, winter swaps, and track use. Extra offset from the hub face, repeated removals, and heat all work against the same joint.
Frequently Asked Questions
How do I fix lug nuts that keep coming loose?
Start by diagnosing rather than retorquing. Run each nut down the stud by hand to find a stretched or binding stud, clean the hub face and the back of the wheel to bare metal, verify the nut seat type matches the wheel, and check that the center bore is hub-centric. Replace damaged studs and nuts, tighten to the vehicle specification in a star pattern with a torque wrench, and re-check after 50 to 100 miles.
Is it safe to drive with a loose lug nut?
It depends how loose and what else is happening. One slightly soft nut with no wheel movement is a low-risk situation to inspect within a day or two. A nut you can spin by hand means a short, slow drive at most. Any visible play when you rock the wheel, two or more loose nuts, or clunking and grinding means do not drive. The remaining fasteners are carrying extra load too, so they wear faster.
Is it normal for lug nuts to loosen over time?
A small amount of settling after a tire change is normal, which is why manufacturers ask for a re-torque 50 to 100 miles later. Beyond that, a nut that keeps coming loose is not normal maintenance. It means clamp load is being lost, usually from rust scale on the hub face, incorrect torque, worn studs, or hardware that does not match the wheel. Normal settling does not repeat every few weeks.
Will 3 lug nuts hold a tire?
A five-lug wheel is engineered so all five fasteners share the load evenly. Three tight nuts will keep a wheel attached at low speed for a while, and drivers have gone much further than that. It is still a failure state: the corner is no longer clamped evenly, the wheel can walk, and the remaining studs carry extra load and can shear. Treat three tight nuts as a stop-and-inspect condition.
Do aftermarket wheels make lug nuts more likely to come loose?
They can, and it is one of the most common repeat causes. An aftermarket wheel may use a different lug nut seat style than the factory car expects, and if its center bore is larger than the hub diameter, the wheel is lug-centric rather than hub-centric and is located only by the studs. Without correctly sized hub-centric rings, the wheel rocks and the joint never holds a stable preload.
Conclusion: Inspect and Correct the Cause First
The first thing to do is stop treating the loose nut as the problem. Put the vehicle on a jack stand, run every nut down by hand, and inspect the studs, the hub face, and the wheel before a wrench comes out. That one check tells you whether you are looking at a simple retorque or at hardware that has to be replaced.
Then fix the cause rather than the symptom: clean mating surfaces, correct seat type, hub-centric fitment, and torque to the specification on your own door jamb with a calibrated wrench, followed by a re-check 50 to 100 miles later. If the corner loosens again after all of that, replace the studs and nuts on that corner and stop retorquing over a fault that keeps coming back.