
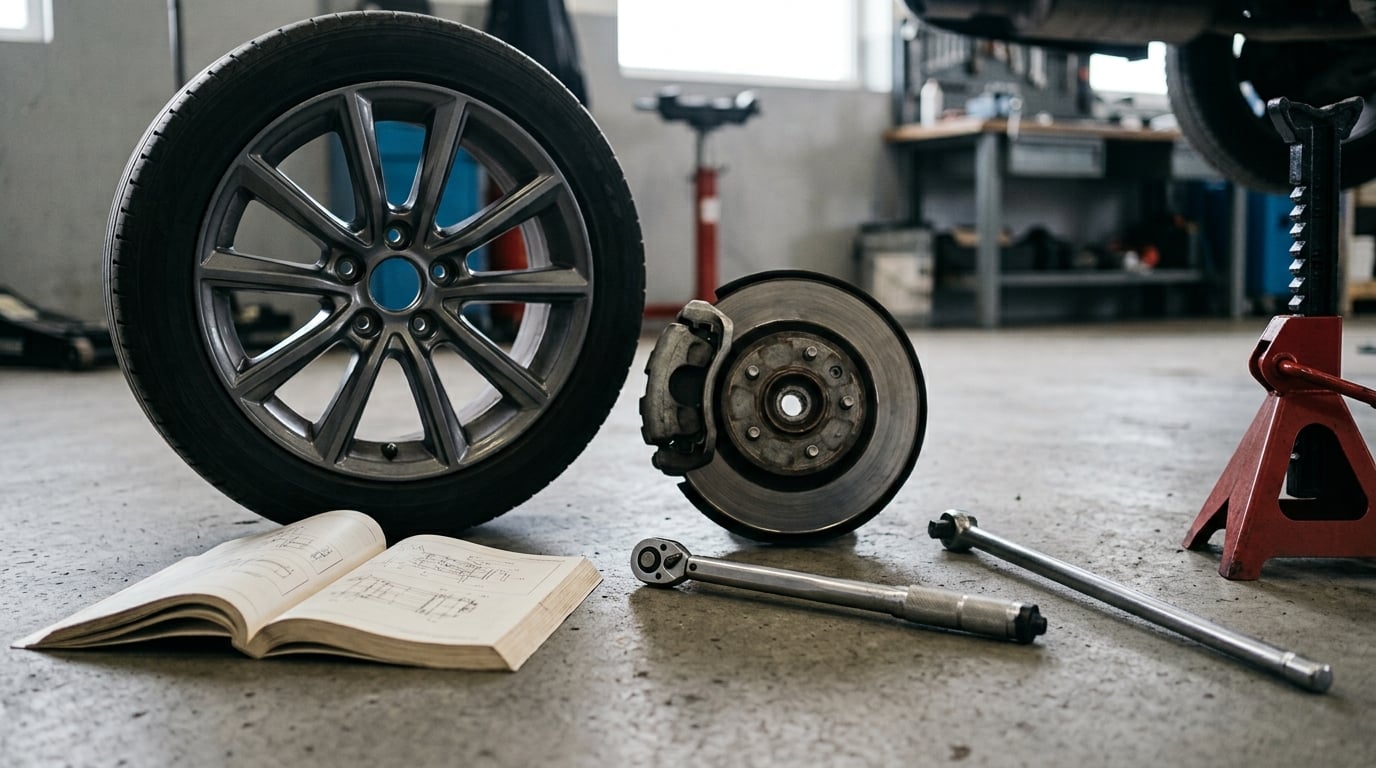
To torque lug nuts correctly, thread every nut on by hand, then tighten them in a star pattern to your vehicle’s dry-thread specification in two stages: roughly half the spec first, then the full value, with the car resting on its wheels. A click-type torque wrench is what confirms the number, and you re-check after 50 to 100 miles.
That is the whole procedure. Almost everything that goes wrong with a wheel change comes from skipping one part of it: the hand-start, the star pattern, the two stages, or the final recheck.
Get it wrong low and the wheel can loosen on the road. Get it wrong high and you stretch studs, strip threads, snap the key in a locking nut, and warp brake rotors. On a BMW, where wheel and brake hardware is not cheap, that second failure is the expensive one. Forums like r/MechanicAdvice are full of owners who found out about over-torquing the hard way, usually right after a shop overdid it for them.
A tire rotation takes about 15 minutes once you have the tools. A first-time wheel change, done properly with the car on stands and the wrench set to spec, runs 30 to 45 minutes. It is beginner-friendly work, but only if you treat the specification as a real number rather than a guess. If you have never read a torque spec before, how to read a torque spec chart is worth five minutes of your time.
Table of Contents
- What You Need
- How to Torque Lug Nuts Correctly: Step by Step
- Common Mistakes
- Frequently Asked Questions
- Should I torque lug nuts with the car on the ground or on jack stands?
- Can I use an impact gun to tighten lug nuts?
- How do I get a rusted or seized lug nut off?
- Why does my torque wrench click at a different number than expected?
- What do I do if a lug nut will not reach the specified torque?
- What is the 20 rule for torque wrenches?
- What to Do First
What You Need
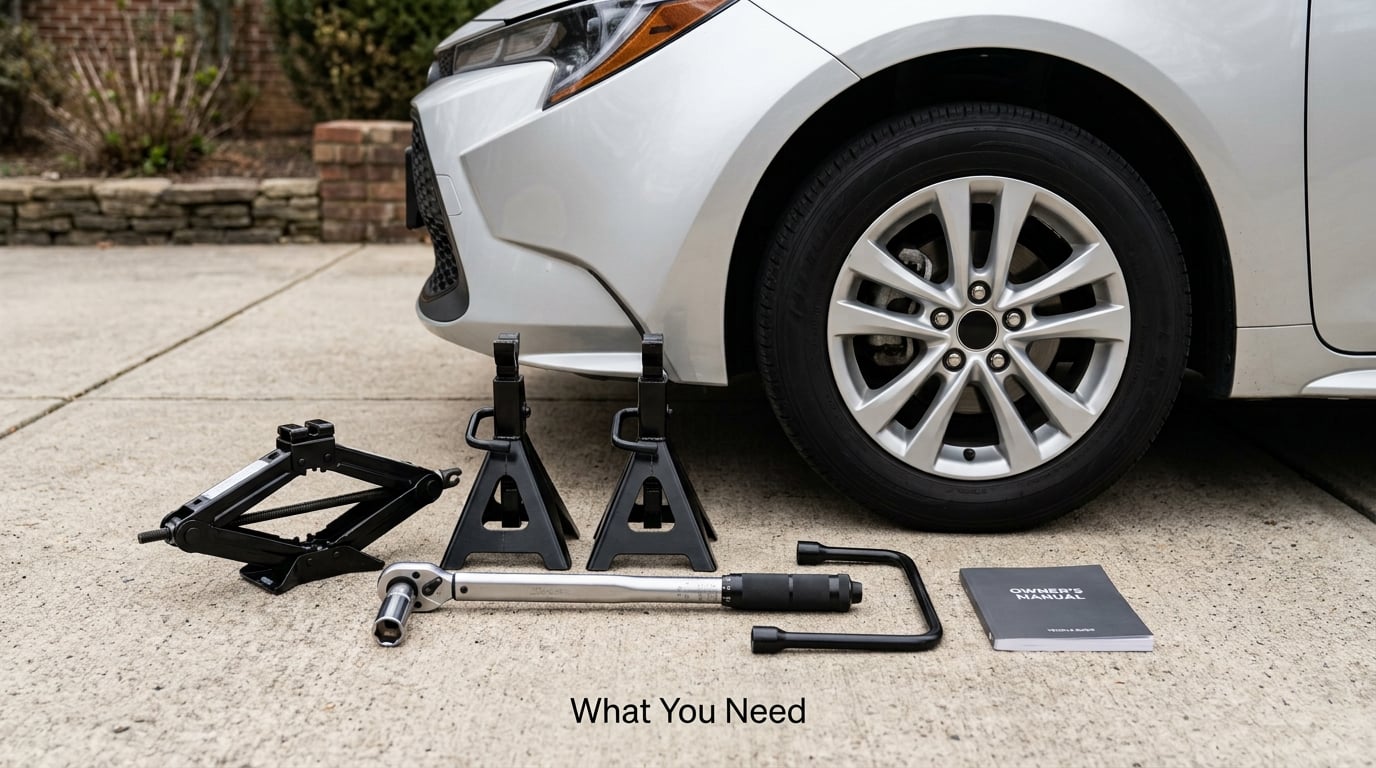
Most of the tools you need are already in a home garage. The two that people skip are the jack stands and the torque wrench, and those are the two that matter most.
- The vehicle specification. The owner’s manual maintenance section, the tire and loading information placard, or a specification label in the trunk or spare wheel well. For a BMW, check the manual for your exact model, year and wheel combination, because the value changes with wheel type and fastener.
- A torque wrench in the right range. A click-type wrench is the usual choice for wheel work. Pick a range where your target value sits near the middle of the scale, because accuracy is worst at the two ends.
- The correct socket. Match the socket to the nut, not the other way around. 17 mm cone-seat is common on many BMWs, but 16 mm, 19 mm and various spline and hex formats exist. A socket that is a poor fit rounds nut corners instead of turning them.
- A breaker bar or wheel brace. You need this to break a tight nut loose before the car is lifted.
- A jack and a pair of jack stands. The jack is for lifting only. The stands carry the weight, and the car never gets worked on with the jack alone.
- Wheel chocks. One of them, behind a wheel that stays on the ground.
- Gloves and eye protection. Brakes and hubs hold sharp edges and hot brake dust, and torque wrenches are spring-loaded enough to snap back hard.
- A torque angle gauge, only if your specification calls for a two-step value such as 50 ft-lb plus 90 degrees. This explains what a torque angle gauge is for and when a car needs one.
How to Torque Lug Nuts Correctly: Step by Step
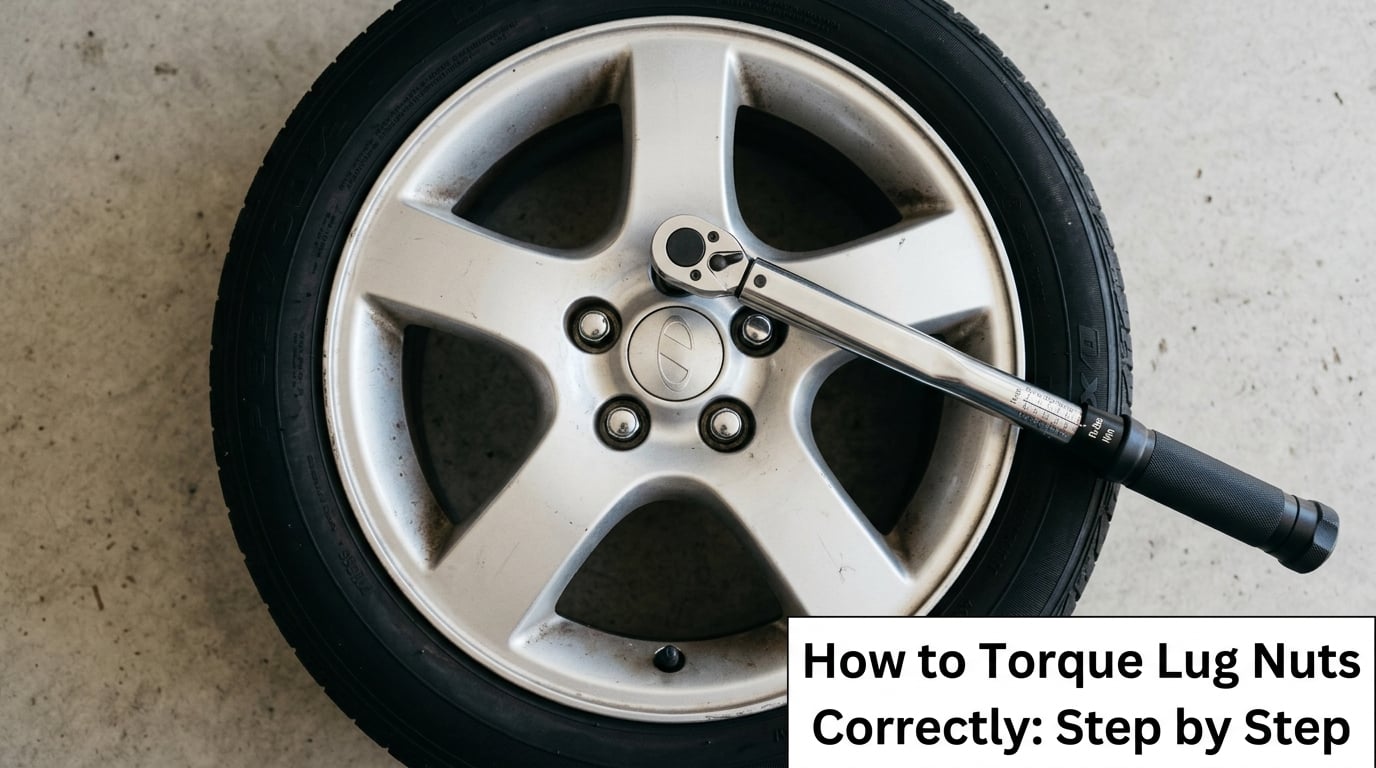
Budget 30 to 45 minutes the first time. Read the whole sequence once before you start, because the order of the first four steps is what keeps you safe.
- Find the torque specification first. Open the manual before the car comes off the ground. Note the value in ft-lb or Nm, whether it is a dry-thread figure, and whether it is a single torque or a torque plus an additional angle. If the manual lists different values for different wheels, match the one to the wheel you have on the car today.
- Park on level ground, in park or in gear. Engine off, key out, parking brake on. Chock a wheel that stays on the ground. Firm, level ground matters because you are going to put real weight on the suspension during the final pass.
- Break the lug nuts loose with the wheel still on the ground. Brace the car properly and use the breaker bar. The loaded tyre holds the nut in place, so the torque you feel is your arm, not the fastener. Loosen each nut about half a turn and stop. Never pull the wheel off under load.
- Lift and support the car on jack stands. Jack it up at the manufacturer’s lifting point, lower it onto stands rated above the car’s weight, and give the vehicle a firm shove at the corner to confirm the stand is biting metal. Verify the stand is set correctly for the sill and pinch weld. The car must never be supported by the jack alone.
- Remove the wheel and inspect everything. Look at the stud threads for rust, corrosion, stretch or stripped threads. Check the rotor face for scoring or a visible lip that means the rotor is warped. Check that the hub face is clean and the wheel seats flat against it. Clean rust and road grime off the mounting faces before refitting.
- Seat the wheel and thread every nut on by hand. Push the wheel fully onto the hub and check that the pilot hole or centering lip is engaged, then run each nut on a few turns with your fingers. If a nut will not start by hand, back it out and find the reason. Forcing it is how threads get crossed and stripped, and the damage is permanent.
- Lower the car and do the first stage in a star pattern. Lower the vehicle onto its wheels so the suspension is loaded, set the parking brake, and snug each nut to roughly 50 to 60 percent of the specification, going around the wheel in a star pattern. This first stage pulls the wheel onto the hub evenly. Every nut should be equally snug, with no gap at one side of the wheel and none at the other.
- Do the final stage in the same star pattern and stop at the click. Work each nut to the full specification, again in the same order, and stop tightening the moment the wrench signals. Some manuals ask for a further turn of 30 to 45 degrees instead of a second torque value. Afterwards, lower the jack, remove the stands, and re-check each nut once more by hand on the ground.
Two details catch people out. First, a lug nut is not a bolt head with a washer: it usually seals against a conical seat, so a dirty or mismatched seat changes the reading entirely. Second, if your manual specifies a value plus an angle, the two-stage pattern in steps 7 and 8 is mandatory, not optional.
How to Torque Lug Nuts in the Correct Order
Tighten in a star pattern, working around the wheel in a cross or crisscross sequence, never in a circle. The point is to distribute clamping force evenly around the hub so the wheel seats flat and the rotor stays true.
A circular pattern tightens the near-side nuts hard while the far side is still slack, which loads the hub like a seesaw. The result is a wheel that sits proud, a rotor that heats unevenly, and studs that carry more load than they were designed for.
Number the nuts on your wheel before you start, starting with any nut and counting clockwise. Then go in the order below.
Five-lug wheel (most common on BMWs): 1, 3, 5, 2, 4. After the first pass, start at nut 2 and work around again if you need a third pass.
Four-lug wheel: 1, 3, 2, 4, then repeat the same order for the final stage.
Six-lug wheel: 1, 4, 2, 5, 3, 6, then repeat. This one is where people drift back into a circle without noticing.
Run the same order for every stage. If your wheel uses a non-uniform pattern, such as a 5×112 arrangement with unequal spacing, follow the diagram in the manual rather than a generic pattern.
What Torque Should You Use for Lug Nuts?
Use the value your vehicle manufacturer lists for your model, wheel and fastener, and treat it as a dry-thread figure unless the manual says otherwise. Most passenger car wheel hardware falls between about 70 and 100 ft-lb, which is roughly 95 to 135 Nm, but that range is a sanity check, not a specification.
Find the number in the owner’s manual maintenance section, on the tire and loading placard, on a label in the spare wheel well, or in the vehicle service information. Manufacturer documentation takes precedence over any third-party chart, forum post or general web page, including this one. Forum readers agree on that point almost without exception: the manual is the source they trust.
Why dry thread matters so much. Lubrication is the most common reason a reading goes wrong. Oil, anti-seize, copper grease or a spray like WD-40 on the threads or the seat changes the friction between the nut and the stud. Less friction means the same applied torque produces more clamping force, and your wrench clicks at a number that is higher than the real one. If the hardware was lubricated during assembly, the correct answer is to clean it, dry it, and start the torque process over.
Why the value changes with hardware. Torque is a proxy for clamping force, and the relationship depends on thread pitch, stud diameter, nut material and the condition of both. The same car with steel bolt-in wheels and with aluminium bolt-in wheels can carry different figures, and the manual often lists a lower value for the aluminium wheel because its threads strip more easily.
Stud size to typical torque range. This is a cross-check for when you are reading a specification and want to know whether the number you found is plausible.
- 7/16 inch hardware: 70 to 80 ft-lb
- 1/2 inch hardware: 75 to 85 ft-lb
- 9/16 inch hardware: 135 to 145 ft-lb
- 12 x 1.25 thread pitch: 70 to 80 ft-lb
- 12 x 1.5 thread pitch: 70 to 80 ft-lb
- 14 x 1.25 thread pitch: 85 to 90 ft-lb
- 14 x 1.5 thread pitch: 85 to 90 ft-lb
Whatever the value, the nut must engage the stud far enough for the threads to carry the load rather than shearing off. On a through-stud design, that means roughly eight full threads of engagement. On a shorter stud it means the nut reaches the end of the stud properly, which is one more reason to check for stretched studs before refitting.
Single value or value plus angle. If your manual gives a torque plus an angle, set the wrench to the stated torque, then add the angle with a torque angle gauge. This method measures how far the fastener has turned rather than the force applied, which is how modern high-strength fasteners are usually specified.
Do You Torque on the Ground or on Jack Stands?
Torque with the vehicle on the ground, at the final stage. The suspension has to be carrying the weight of the car for the reading to represent real-world clamping force.
A wheel hanging on stands puts the hub in a different load state. The hub and the inner wheel bore are not being pressed together by vehicle weight, so the joint behaves differently and the number you reach at the click is not the number the joint sees once you drive away. Most professional and experienced practice is to snug the fasteners on the stands, then lower the car and finish the two stages on the ground. Forum users overwhelmingly describe doing exactly this.
One honest caveat: if the car has adjustable suspension sitting unusually high or low, or a wheel alignment setting that matters to you, your technician may have a reason for a different approach. For a routine tyre change or rotation on a standard-height car, on the ground is correct.
How to Check the Torque After Driving
Re-check every nut after 50 to 100 miles. Set the wrench to the same specification, work in the star pattern, and expect a small but real amount of take-up as the nut seats fully and things settle. If a nut clicks with almost no effort, that is information, not comfort.
Let the wheel cool to ambient temperature first. A hub heated by a brake job is longer than at room temperature, and a hot hub will show a different reading than a cold one. Check the vehicle after a normal drive rather than straight off a track day or a long descent.
Shorten the interval for hard use. A tow vehicle hauling a trailer, an off-road truck, or a car that sees track days should be checked sooner and more often than a commuter car on smooth roads. If you tow regularly, treat the first 50 miles as a shake-down period and check after the first drive, not the fifth.
Never finish the job with an impact gun. An impact gun is genuinely useful for breaking a nut loose or running nuts down in a hurry, but its output varies with air pressure, impact rate, hammer mass and socket weight, and it gives you no reliable number at the fastener. If an impact has already run a nut close to final torque, a click-type wrench reading afterwards is unreliable because the fastener may not break away cleanly. The safe fix is to back the nut off, snug it, and torque it up properly with a wrench.
If a nut will not reach the specification, stop. Stripped threads, a rounded corner, a bent stud, corrosion or a thread that is damaged in the hub all produce the same symptom. Back it out, clean it, and inspect. Seized hardware is handled best before you add a wrench to the problem: how to use penetrating oil correctly covers the method, and patience with a proper breaker bar solves more seized nuts than any spray.
One maintenance habit worth building: treat a torque wrench as a precision instrument. Return it to its case, do not oil the mechanism, do not drop it, and have it checked or recalibrated on the manufacturer’s interval. The 20 rule, meaning return a torque wrench for recalibration after roughly 20 uses or a year, is a common shop guideline, and following it is a reasonable habit for anyone torquing wheel hardware at home.
Common Mistakes
These are the errors that show up over and over, with the symptom each one produces and what to do about it.
- Using the wrong socket. Symptom: the nut spins, or the corners round off. Fix: match the socket to the nut exactly, and use a 6-point socket rather than a 12-point for a lug nut.
- Tightening in a circle. Symptom: the wheel sits proud on one side, the rotor heats unevenly, and you get brake shudder under load. Fix: use the star pattern, in the same order, for every stage.
- Finishing with an impact gun. Symptom: fasteners at wildly different clamp loads, with no way to know which is which. Fix: impacts to break loose and to run down, a torque wrench for the final stage.
- Over-torquing. Symptom: shiny stretched studs, a nut that will not fit back on, a cracked locking wheel nut key, or a rotor that warps and causes a recurring steering-wheel shudder. Fix: torque to spec and stop at the click, even when it feels too easy.
- Under-torquing. Symptom: a humming or droning wheel at highway speed that changes with throttle, and a nut that needs tightening on every fuel stop. Fix: verify the click value, and re-check after 50 to 100 miles.
- Lubricated threads or seats. Symptom: the wrench clicks at a higher number than the true value, and the joint is quietly tighter than the spec. Fix: clean and dry the hardware, then torque from scratch.
- Cross-threading a nut. Symptom: the nut binds halfway on, the stud feels gritty, and further torque snaps the fastener. Fix: start every nut by hand and never use a wrench to start one.
- Torquing with the wheel hanging or hanging crooked. Symptom: a reading that does not mean anything and a wheel that is not seated. Fix: snug on the stands, then lower and finish on the ground.
- Torquing a hot wheel. Symptom: a reading that drifts as the hub cools. Fix: let the vehicle return to ambient temperature.
- Ignoring damaged fasteners. Symptom: a nut that never reaches spec, or one that loosens again after being torqued. Fix: replace corroded or stretched studs and stripped nuts before reassembly.
- Skipping the recheck. Symptom: a nut found slightly loose within a few hundred miles. Fix: re-torque at 50 to 100 miles, and sooner for towing, off-road or track use.
How precise does it actually have to be? More than people think, but not to the decimal. A click-type wrench is typically accurate to about 10 percent of its reading, so treat the click as a value plus or minus that margin, and treat a value more than a few percent past the spec as a reason to investigate. The people arguing online about whether 80 ft-lb is acceptable when the manual says 76 are arguing about noise, not safety. A consistent, repeatable process with a decent wrench is the goal.
One last note on suspicion. There is a widespread belief, well documented in owner forums, that shops tighten far past specification out of habit or convenience. Occasionally that produces stretched studs and broken wheel lock keys. Your defence is simple: check the torque yourself with a wrench you trust, on a surface you control, and keep the result.
Frequently Asked Questions
Should I torque lug nuts with the car on the ground or on jack stands?
Do the final torque with the vehicle resting on its wheels. Snug the fasteners while the car is on stands if you like, but lower it before the final stage so the suspension is loaded and the hub and wheel bore are pressed together the way they will be while driving. Torquing with the wheel hanging gives a reading that does not represent the clamp load the joint actually sees.
Can I use an impact gun to tighten lug nuts?
Only to break a nut loose or to run the set down quickly. An impact gun’s output depends on air pressure, impact rate, hammer size and socket weight, and it gives you no reliable reading at the fastener, so the result varies from nut to nut. Finish the job with a torque wrench, in a star pattern, to your vehicle’s specification.
How do I get a rusted or seized lug nut off?
Soak it with penetrating oil, leave it for a long soak, then use a long breaker bar with the wheel chocked and the car supported. Brass-colored knockers and a socket that matches the nut exactly help more than a bigger cheater bar. If the corner is already rounded or the stud is twisted, stop forcing it and replace the nut or stud rather than turning a small problem into a hub or rotor job.
Why does my torque wrench click at a different number than expected?
Three usual reasons. The threads or the seat were lubricated, which makes the wrench read high. An impact gun already ran the fastener close to final torque, so it does not break away cleanly and the click means less than it should. Or the nut is corroded and the reading is real. Confirm the hardware is clean and dry and that you set the wrench correctly on its scale before assuming the spec is wrong.
What do I do if a lug nut will not reach the specified torque?
Stop tightening and back it out. A nut that spins, binds or will not reach spec usually means stripped threads, a rounded corner, a bent or stretched stud, or corrosion in the hub. Inspect the stud and the hub threads, clean them, and replace anything damaged. Never use the torque value as a target to fight toward, because that is exactly how studs get stretched and rotors get warped.
What is the 20 rule for torque wrenches?
The 20 rule is a shop guideline that a torque wrench should be returned for calibration about every 20 uses, or roughly once a year, whichever comes first. It is a sensible habit for anyone torquing wheel hardware at home, because accuracy drifts with use and with any drop or impact. Store the wrench in its case, never oil the mechanism, and treat a wrench that has been dropped as uncalibrated until checked.
What to Do First
Start by finding the torque specification for your exact vehicle, wheel and fastener, and write it down before you touch a wheel. Everything after that is mechanical: hand-start every nut, snug to about half the spec in a star pattern, lower the car onto its wheels, finish in the same pattern to the full value, and stop at the click.
Then come back after 50 to 100 miles and check again, sooner if you tow, run off-road or drive hard. That single recheck is what separates a proper wheel change from a guess, and it is the habit most worth keeping year after year in 2026.