
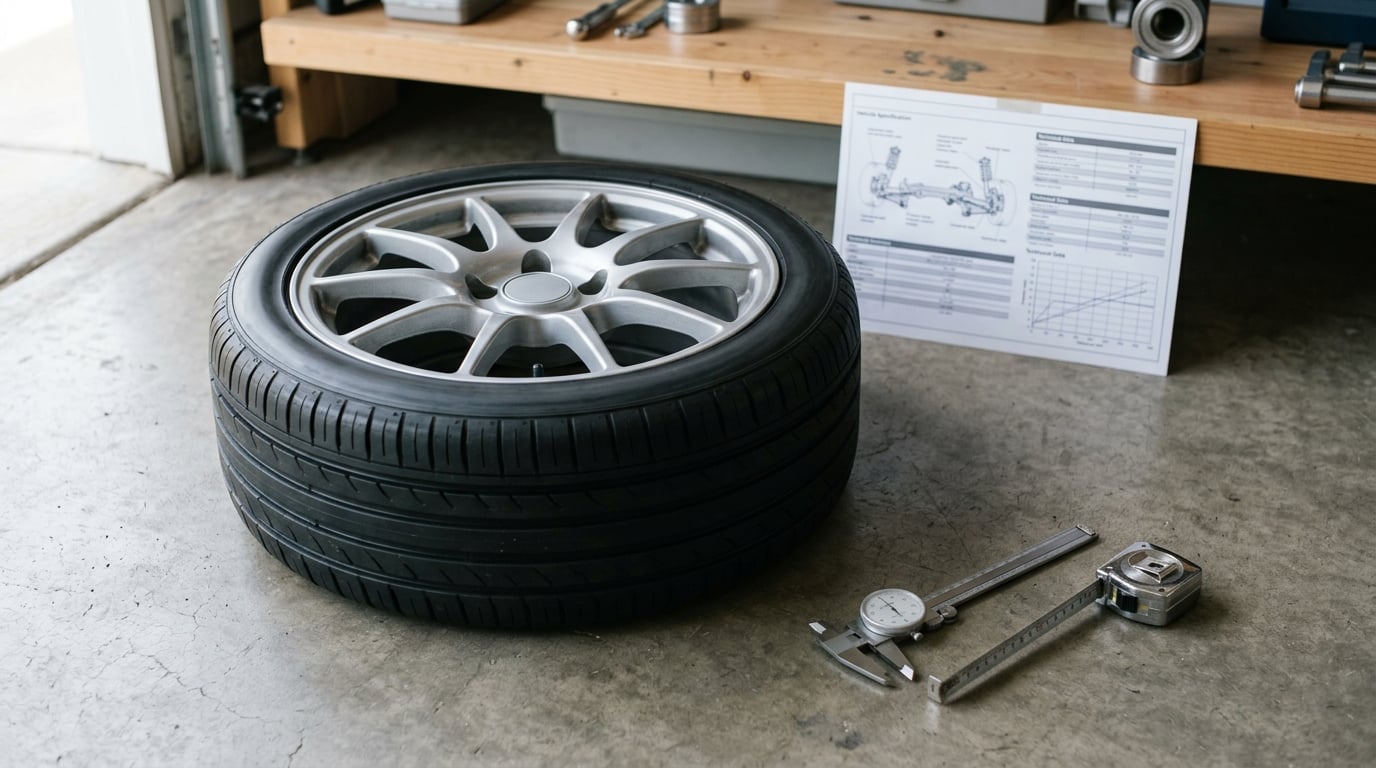
Wheel rubbing after an upgrade is a clearance failure, not a size failure. A tire hits the fender lip, inner liner, strut or sway bar end link because the wheel sits too far out, too far in, or the tire is wider than the arch can hold. The way to avoid it is to match width, offset and overall diameter before you buy, then test the car through full lock and full compression. The whole check takes about an hour, and none of it needs a shop.
Fitment rules and factory offsets do not change often, but they do get revised by model year, so check the current spec for your car rather than trusting a forum post from a few years back. This guide is written for BMW owners, because aggressive offsets and tight arches are so common on these cars, but the same math holds on any vehicle. Read it once before you order wheels, and once more if something already rubs.
Table of Contents
What You Need
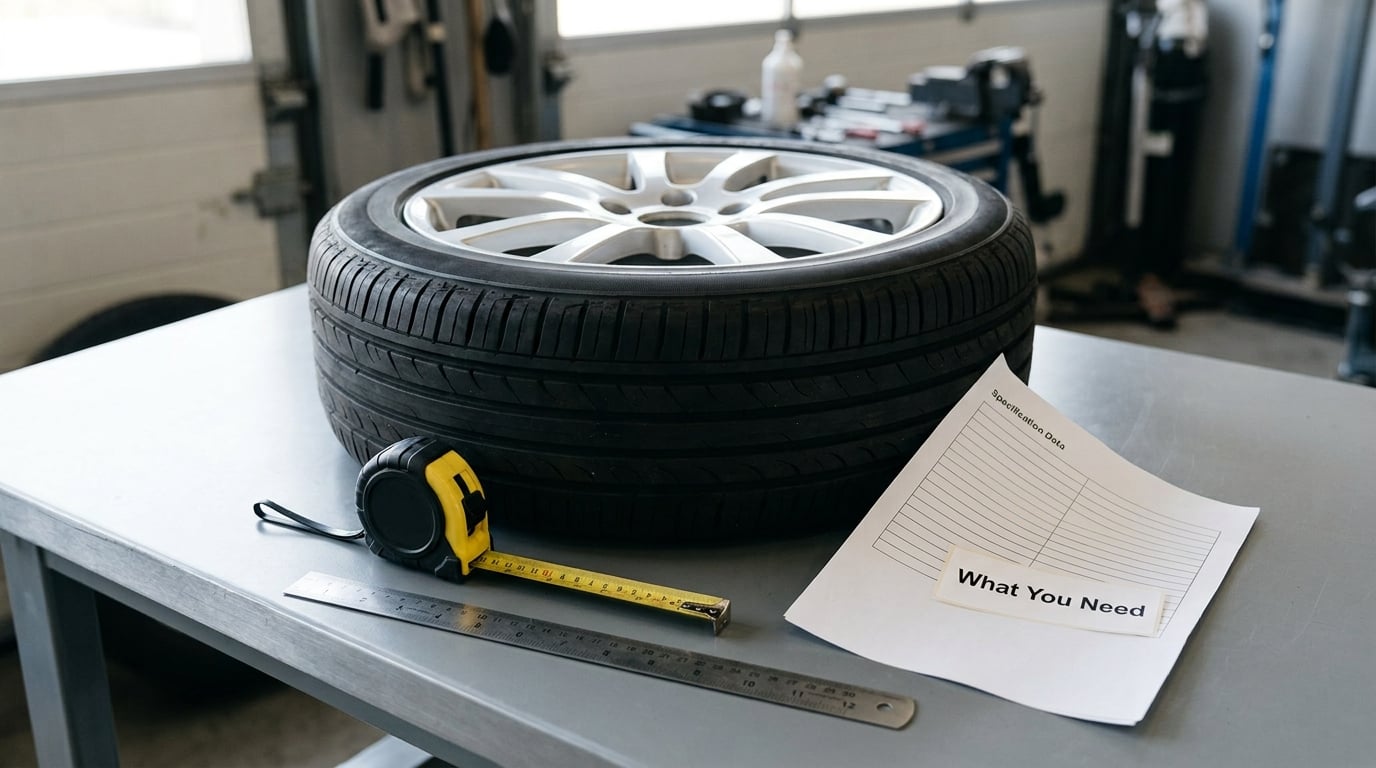
You need numbers before you need parts. Pull the factory spec sheet for your exact chassis code, not for the generation. It lists bolt pattern, center bore, factory wheel width, factory offset in millimeters, factory tire size, and the load rating the axle was designed for. Everything on the rest of this page is a comparison against those five numbers, and the spec values have not changed on current-year cars.
- Factory specification sheet for your chassis code, plus the tire placard inside the driver door jamb and the sticker on the driver door frame.
- A tape measure and a steel rule for measuring backspacing, tire section width and sidewall height. A dial caliper is nicer but not necessary.
- A straight edge or a piece of cardboard to check wheel and tire runout after mounting.
- A flashlight and a phone camera. Contact marks on a liner are easier to find with light behind them than in daylight.
- Jack, jack stands rated for the car, and lug wrench if you plan to test-fit before committing to tires.
- Torque wrench and a ball-peen hammer for installation day. A rubber mallet is a friendlier option on aluminum.
- Paint marker or grease pencil so you can index the wheel to the rotor before removal and get it back the same way around.
A note on tread width measurement. Section width is printed on the sidewall, but the actual mounted width is usually 3 to 6 mm wider on each side than the label, and the wheel itself adds more. That is why two tires with identical numbers can behave differently on two different rims.
Step-by-Step: Check the Fitment Before Buying
Step 1: Pull the factory spec for your exact car
Write the factory values on paper: width, offset, diameter, tire size, bolt pattern, center bore. Then check whether the car came with more than one wheel setup. Performance packages often ship a wider front tire and a staggered setup, which means the front offset you need is not the rear offset you need.
Step 2: Measure what is on the car now
Backspacing is the distance in inches from the mounting surface to the inner lip. Put the straight edge flat against the mounting face, hook the tape on the inner edge of the rim, and read it. Divide your offset reading in millimeters by 25.4 and add it to half the wheel width to get the same backspacing number. If the two disagree by more than a few millimeters, you wrote down the wrong spec.
Step 3: How to avoid wheel rubbing after a wheel upgrade
Keep the new offset within about 5 mm of factory and most rub disappears before you ever turn a wrench. Positive offset tucks the wheel under the fender, so more of it means less inner clearance to the strut and liner. Lower or negative offset pushes the wheel outboard, which fattens the stance and risks the fender lip. A 5 mm window keeps handling, scrub radius and component wear close to what the suspension was designed for.
Step 4: Match wheel width to tire section width
General sizing runs from a tire section width about 1 inch wider than the rim width to 1.5 inches wider for a performance stretch fit. A 235 tire on a 9 inch rim is normal. The same 235 on a 7.5 inch rim is not, because the extra sidewall has to go somewhere.
Step 5: Verify bolt pattern, center bore, load rating and TPMS
The bolt pattern has to match the hub exactly. Center bore should match or be larger, and if it is larger you need a centering ring so the wheel stays hub centric. Check that the load rating per wheel is at least what the axle requires, and that the wheel takes a TPMS sensor from the correct frequency band. Get any of these wrong and the wheel may not mount at all, which is a better outcome than a rubbing one.
Step 6: Do the diameter math before you order
Overall diameter equals the rim diameter plus twice the sidewall height, in millimeters. Compute the stock value and the new value, then find the percentage difference. Keep the change within about 3 percent and your speedometer and ABS behavior stay honest. Beyond that, verify with a tire shop, because some modules will flag a larger difference and some will not.
Compare Wheel Width, Offset, and Tire Size
Offset and backspacing describe the same measurement in different units, and you need both to compare wheels from different catalogs. Offset is measured in millimeters from the mounting surface to the wheel centerline. Backspacing is measured in inches from the mounting surface to the inner edge of the rim.
Offset in millimeters equals backspacing in inches minus half the wheel width in inches, multiplied by 25.4. Run it backward by adding the offset in inches to half the wheel width. Here are the backspacing values that correspond to common offsets, which is the conversion table most fitment searches are really asking for.
| Wheel width | ET +45 | ET +35 | ET +20 | ET 0 | ET -20 | ET -35 |
|---|---|---|---|---|---|---|
| 7 inch | 5.27 | 4.88 | 4.29 | 3.50 | 2.71 | 2.12 |
| 8 inch | 5.77 | 5.38 | 4.79 | 4.00 | 3.21 | 2.62 |
| 8.5 inch | 6.02 | 5.63 | 5.04 | 4.25 | 3.46 | 2.87 |
| 9 inch | 6.27 | 5.88 | 5.29 | 4.50 | 3.71 | 3.12 |
| 9.5 inch | 6.52 | 6.13 | 5.54 | 4.75 | 3.96 | 3.37 |
| 10 inch | 6.77 | 6.38 | 5.79 | 5.00 | 4.21 | 3.62 |
Backspacing in inches for common offsets. Take half the wheel width in inches, add the offset divided by 25.4.
The width-versus-offset trap
Two wheels with the same offset do not sit in the same place. An 18×8.5 at ET +35 and an 18×9.5 at ET +35 share a centerline, but the extra inch of width has to go somewhere: about 12.7 mm of it goes outboard toward the fender and about 12.7 mm goes inboard toward the strut and the inner liner. The wider wheel looks nearly identical from the side and rubs in two places at once.
Offset moves the whole wheel in or out, width decides how much tire exists on each side of the mounting surface. That is why the number that fixes one rub makes another worse, and why a wheel upgrade should be treated as three decisions made together, not one.
The 3 percent rule and why a level lift does not fix rub
A level kit or a lift changes ride height, not wheel position. The offset still places the tire exactly the same distance from the strut and the fender lip, so most owners find the rub is unchanged or slightly worse once the suspension is set higher. The r/4Runner forum is blunt about it: a lift will not help clear bigger tires, and adding spacers on top usually increases rubbing.
A lift is worth it when the goal is approach angle, departure angle and tire clearance over obstacles. It is not a fix for a fitment problem, and treating it as one is the most common expensive mistake in this whole topic.
Check Inner and Outer Clearance
Find out where the tire is actually touching before you buy a single part. The side of the contact tells you the cause almost every time, because the inner and outer edges of a tire are governed by different numbers.
| Where you find the mark | What it usually means | What fixes it |
|---|---|---|
| Outer sidewall against the fender lip | Offset too low or too negative, or the tire is too wide for the arch | Higher offset, narrower tire, or roll the lip |
| Inner sidewall against the fender liner | Offset too high, so the wheel is tucked in too far | Lower offset or thin spacers |
| Inner tread edge against the strut, turbo or brake line | Offset well outside factory, or a narrow tire on a wide rim | Lower offset, correct tire width |
| Sidewall against the sway bar end link at full lock | Offset too high combined with a tall sidewall | Lower offset, shorter sidewall, or both |
| Tread against the mud flap or splash shield | No clearance left after suspension movement | Remove or trim the flap |
| Mark appears only over bumps and in turns | Suspension travel and body roll, not static fitment | More static clearance, or a firmer ride setting |
Look at the wear pattern on the old tire before you take it off. A tire scrubbed on its inner shoulder throughout its life is telling you the wheel was tucked in from day one, and the new setup probably inherited the same problem.
Test the Wheel Through Full Suspension Travel
A wheel that clears at rest and rubs at full lock is the most common complaint in this topic, because static measurement only shows you the parked car. Test the wheel through the full range the suspension actually uses.
- Steer to full lock both ways, wheels on the ground. Turn the steering all the way until it stops, then roll the car forward slowly and back. Watch the inner sidewall, the control arm and the sway bar end link. This is where most inner rubs reveal themselves.
- Load the suspension in place. With the car on the ground and the wheel torqued, push down hard on the top of the tire, then release and let it rebound fully. Repeat several times. The wheel moves several millimeters of arc that static clearance does not show.
- Check the compressed position on a ramp or driveway slope. Drive up a steep driveway and circle the car slowly at full lock. If the inner sidewall touches, add about 3 to 6 mm of spacer to move the wheel outboard, and re-test.
- Find a rough road or a railroad crossing and drive the same corner twice. Article first, then speed. A rub that only appears at speed is usually a clearance problem, not a balance problem.
- Re-inspect after 20 to 30 miles. Rubber transfer leaves a mark. Look again at the liner, the fender lip and the strut with a flashlight, because a mark that shows up only after the tire warms up tells you the tire is flexing wider than the sidewall number suggests.
If you have to jack the car, use rated jack stands on solid concrete or a level surface and never work under a car held up by the jack alone. Wear eye protection and gloves when you inspect a wheel well, because the liner edges are sharp and often coated in road dust.
Install and Align the Correct Wheel and Tire Combination
Mount the wheel so the face that was out in the box is still out, unless the wheel is directional or asymmetric. Most modern alloy wheels are directional, and swapping them side to side makes the car feel vague and wears the outer shoulder faster. The wider tire goes on the wider axle, and staggered setups need the wider wheel on the correct side.
Clean the hub face and the mounting surface before you install, and check that no rust or paint thickness has built up. Centering rings are essential if the center bore is larger than the hub, and they are what keeps the wheel hub centric instead of clamping the lugs and bending the wheel. Do not stack a thick adapter on top of a lug-centric wheel to solve an offset problem; that is a load path question for a shop, not a garage job.
Torque the wheel in a star pattern to the vehicle specification, never the number printed on the wheel box. Half the torque first, then finish, then recheck after about 50 miles. Confirm the wheels clear the brake caliper on every corner before the car moves, and that nothing is rubbing the caliper at full lock.
Get an alignment after the install. Camber and toe affect where the tire sits under load, and a new wider tire changes how the suspension wears. An alignment will not cure a rub caused by the wrong offset, but skipping one after a change in tire size wears tires unevenly and can unsettle the steering. Reset any tire pressure monitoring system to the value for the new tire size, and note it somewhere you will find it at the next service.
Common Mistakes
- Matching diameter and ignoring offset. A set with the right diameter and a 30 mm lower offset will poke out and rub. Compare all five specs, not one.
- Going wider without going lower on offset. Width and offset are a matched pair. Widening while keeping positive offset pushes the inner barrel into the strut and the liner.
- Expecting a level lift to create tire clearance. Ride height and wheel position are separate. Fix the fitment first.
- Stacking spacers and camber plates. Both change the same geometry. Pick one, sized conservatively, and re-test before adding more.
- Trying to fix rub with an alignment. Alignment changes camber and toe under load. It cannot create 12 mm that the offset took away.
- Forgetting the mud flap and splash shield. A cheap plastic part causes a surprising share of contact marks. Remove it and test again before modifying anything.
- Ignoring a cut sidewall. Once you can see cord or the inner liner of the tire, that tire is finished. A sidewall cut is the fastest way to turn a rubbing problem into a blowout.
- Trimming metal as a first move. Reshaping a plastic liner with heat is a last resort with ventilation, eye protection and no open flame near fuel parts. Rolling a fender changes the shape of a structural body panel and belongs with a shop that has a jig.
There is a tolerance most owners live with happily. Light contact at full compression on a lowered car during hard cornering is a clearance margin problem, not a failure. A sound or a smell of hot rubber, a scuff you can feel through the steering wheel, or a mark that keeps growing is not tolerance, it is damage in progress.
Frequently Asked Questions
Will a leveling kit stop my tires from rubbing?
Usually not, and this is the most expensive myth in wheel fitment. A level kit changes ride height, not wheel position, so the distance between your tire and the fender lip or inner liner stays roughly the same. Leveling adds a bit of preload and travel, which can change how the suspension moves, but it does not buy lateral clearance. Fix the offset or the tire size first.
Will wheel spacers keep tires from rubbing?
Only for an inner rub. A spacer moves the wheel outboard, so it clears a strut or liner contact and makes an outer fender rub worse. Most front rub that only appears at full lock is cured with 3 to 6 mm on the affected side, not a big spacer. Go thicker only after testing, keep the spacers hub centric, and recheck torque after 50 miles.
Will negative offset cause rubbing?
It can, and it is the most common cause of an outer sidewall rubbing the fender lip. Lower or negative offset pushes the wheel outboard so the tire sits closer to the fender edge, which looks aggressive and adds poke. Keep the new offset within about 5 mm of factory. If you need positive offset for stance, you are giving up inner clearance, so check the strut and liner too.
How do I calculate wheel offset?
Offset in millimeters equals backspacing in inches minus half the wheel width in inches, multiplied by 25.4. An 18×9 wheel with 5.88 inches of backspacing gives about 35 mm. To go the other way, add the offset divided by 25.4 to half the wheel width. Measure backspacing from the mounting surface to the inner lip, and compare in millimeters, since most catalogs list offset.
Why does my tire rub only at full lock or over bumps?
Because static clearance is not the same as clearance through travel. At full lock the front wheel swings inward and the body rolls outward, and over a bump the suspension compresses and the tire moves in an arc. Your parked measurement looked fine because the wheel never reached those positions. Test at full lock, load the suspension by hand, and drive over the same bump at speed to find the real contact point.
Is it safe to keep driving with a rubbing tire?
Not for long. A rubbing sidewall heats up, wears flat at the contact patch, and can eventually expose cord, which is a blowout risk. The rubbing also wears steering and suspension parts such as ball joints, tie rod ends and the sway bar link. If the tire is marked, noisy or hot to the touch, drop back to a known-good wheel and tire size and diagnose the fitment before driving normally.
Start with the paper, not the parts bin. Write down your factory width, offset and tire size, compare the candidate wheel against them, and stay inside about 5 mm of the factory offset. If something already rubs, find the mark before you change anything: the inner side tells you to go lower on offset or add a thin spacer, the outer side tells you to go higher on offset or narrow the tire. That single check is how to avoid wheel rubbing after a wheel upgrade instead of buying parts and hoping.