
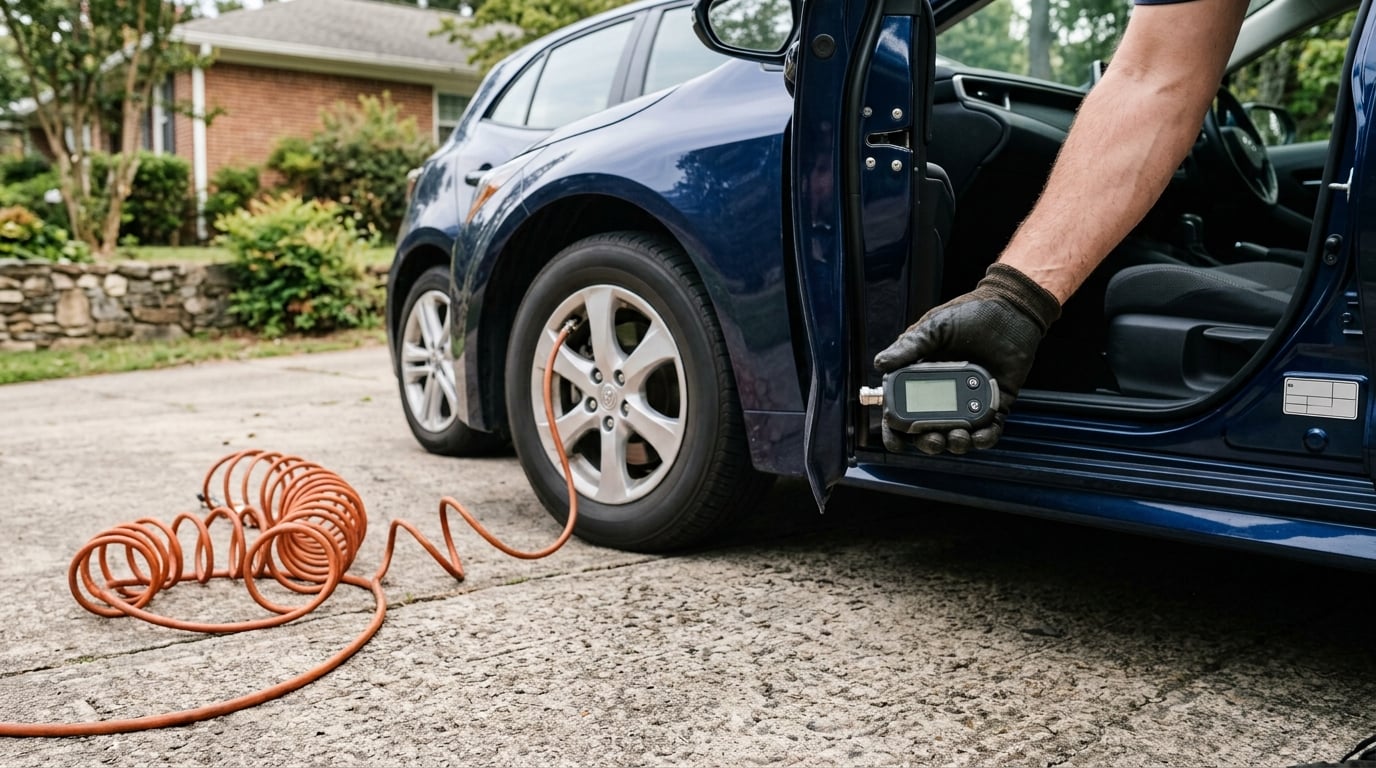
Checking tire pressure takes about ten minutes for all four tires, and the whole job comes down to three things: the tire is cold, your gauge is accurate, and you are comparing against the right number. The right number is on the placard inside your driver’s door jamb, not molded into the tire sidewall. If you know how to check tire pressure correctly, you catch a slow leak weeks before it strands you on the shoulder.
Most people get it close but not quite right. They read a warm tire, trust a cheap pencil gauge, or inflate to the number on the sidewall and wonder why the car feels twitchy. The differences are small enough to slip past you and large enough to matter.
Table of Contents
- What You Need
- Step-by-Step: How to Check Tire Pressure Correctly
- 1. Park the Car on Level Ground and Check Tires When Cold
- 2. Find the Correct PSI for Your Vehicle
- 3. Remove the Valve Cap and Inspect the Valve
- 4. Read the Gauge in PSI and Hold It Straight
- 5. Add Air or Release Air Until the Tire Matches the Target
- 6. Check All Four Tires and the Spare
- 7. Recheck After 20 to 30 Miles and Record the Readings
- Common Mistakes That Give You the Wrong Reading
- Tips for Keeping Tire Pressure Consistent
- Frequently Asked Questions
- Should I check tire pressure when the tires are hot?
- Where do I find the correct PSI for my car?
- Is it better to use the PSI on the tire sidewall or the door placard?
- How often should I check my tire pressure?
- Why does one tire keep losing air after I inflate it?
- Can I check tire pressure with a phone app?
- Conclusion
What You Need
Three things: your vehicle’s tire-pressure placard, a gauge you trust, and about ten minutes. That is genuinely it.
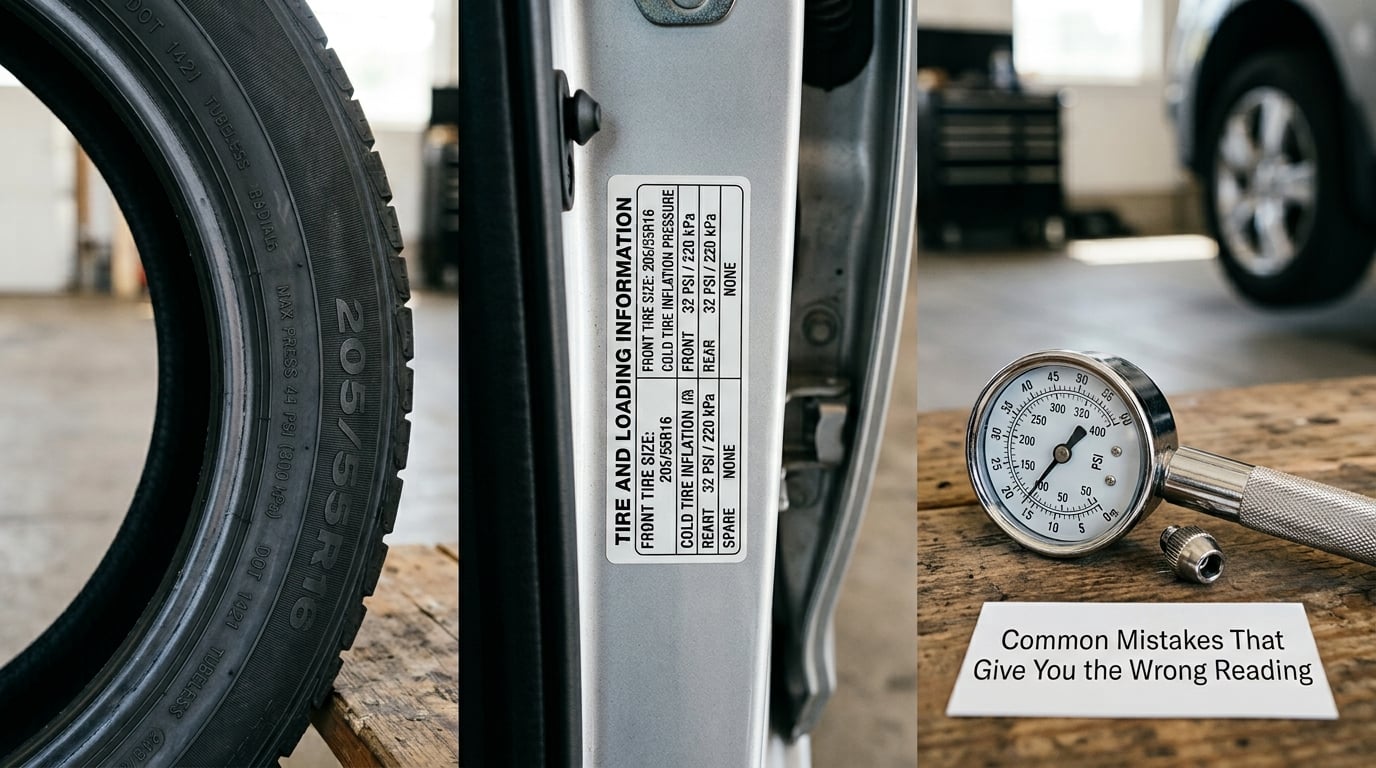
The placard is a sticker or stamped label on the driver’s side door frame, the part that closes when you shut the driver’s door. It lists the recommended cold pressure for front and rear, sometimes with a separate figure for a full or loaded vehicle. Your owner’s manual carries the same numbers plus a tire wear explanation chart. The sidewall does not. The sidewall number is the maximum the tire is engineered to hold, rated for a specific load at a specific speed, and running at that maximum gives you a harsh ride, a worn-away center rib and less grip on a wet road.
For the gauge, a digital pencil gauge with 0.5 PSI or 0.1 PSI resolution reads best. A tire shop’s machine is fine, and so is a gauge at the gas station, though some of those coin-operated inflators are off by more than a couple of PSI on their own.
Step-by-Step: How to Check Tire Pressure Correctly
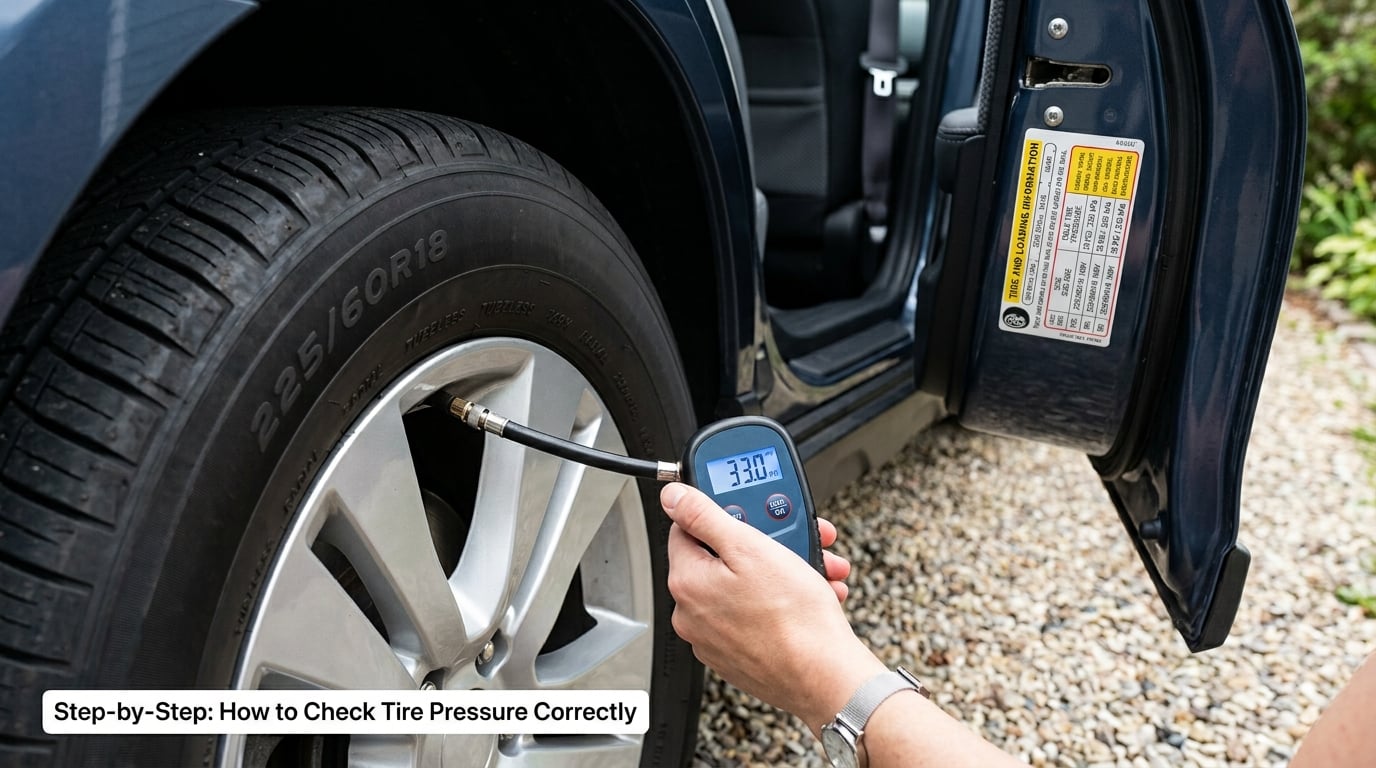
1. Park the Car on Level Ground and Check Tires When Cold
Park on a flat driveway or lot and let the car sit for at least three hours, or drive less than a mile. A cold tire is one that has not warmed from friction. Driving heats the air inside, and roughly 1 PSI comes back for every 10°F the tire temperature climbs. A short commute can put a tire 3 or 4 PSI above its cold number on its own.
You can still check a warm tire. Just add that rise back on, or wait until the car has cooled. What you should not do is bleed a hot tire down to the placard number and drive away thinking you fixed it.
2. Find the Correct PSI for Your Vehicle
Open the driver’s door and look at the jamb behind the latch. The placard gives you cold pressures for the front axle and the rear axle, and they are often not the same. Follow those figures exactly.
If the tire is warm and you cannot wait, add about 3 to 4 PSI over the placard value to approximate what it will read once it cools. The 4 PSI rule some owners follow is a shortcut for hot tires, not a license to run over-inflated year-round.
3. Remove the Valve Cap and Inspect the Valve
Unscrew the little cap on the valve stem and pocket it. Caps keep road grit out of the valve core, and a tire that has been run low can start weeping around the stem.
Look at the stem before you touch it. A visibly bent valve, a cracked rubber stem or a bead of dried sealant means the tire needs more than air. If the cap looks corroded or the valve is seized, do not force it. A replacement valve core is a few dollars and about ten minutes of work with a valve core tool.
4. Read the Gauge in PSI and Hold It Straight
Press the gauge onto the valve straight on and hold it there until the hiss stops, usually a second or two. The hiss is a tiny puff of air escaping past the valve core as the gauge pushes on it, and that puff is why you should read after the flow stops, not during it.
Do not lean on the gauge. Pushing hard bends the valve stem, biases the reading, and is the reason some drivers end up with a slow leak at the stem. Write the number down before moving to the next tire.
If your gauge has a PSI, kPa or bar switch, make sure you know which unit is showing. 32 PSI is about 220 kPa and about 2.2 bar. A gauge left on kPa while you chase a PSI target is the most common way people end up 190 PSI low or badly over-inflated.
5. Add Air or Release Air Until the Tire Matches the Target
To add air, screw the gauge on, note the reading, remove it and fire the compressor in short bursts. Recheck between bursts. Inflators with an auto shut-off stop at a preset pressure you can set, which is far more accurate than holding the trigger and watching a stick gauge.
To release air, press the small center pin on the valve with the gauge attached and count the short puffs until the needle drops. Bleed a little at a time. Air leaves fast at first and then slows, and it is easy to dump 5 PSI in a second and have to start over.
6. Check All Four Tires and the Spare
Compare all four against the placard. If one tire is noticeably lower than its partner on the same axle, that difference is a clue. Heat, a slow leak and uneven wear all show up as a mismatch first.
The spare has its own rule. A full-size spare takes the same pressure as the tire it replaces. A temporary spare or donut is rated far lower, often around 40 to 60 PSI, and the placard or the spare’s own sidewall says so. Fill it to its own spec or leave it alone, but know the number before you need it.
7. Recheck After 20 to 30 Miles and Record the Readings
Drive a short loop and check the tires again. If one drops 2 or 3 PSI in half an hour, it is losing air faster than it should and deserves a look.
Record what you set and what you found. A log of month, ambient temperature and the four readings turns a guess into a pattern. When a tire starts going down every month, the log shows it in three entries instead of three arguments.
Common Mistakes That Give You the Wrong Reading
Here is where most bad readings come from, and what to do instead.
Checking hot tires and setting to spec. The tire is 4 PSI high from driving, you bleed it down, and it drops below target within an hour. Fix: wait three hours, or add the 3 to 4 PSI rise when you cannot.
Using the sidewall maximum as the target. This is the most repeated mistake in tire forums. That molded number is a ceiling, not a setting. Fix: the door jamb placard, every time.
Leaning on the gauge. A heavy-handed press bends the valve and can leave a slow leak you blame on the tire. Fix: push straight on with light, steady pressure until the hiss stops.
Reading the wrong unit. A gauge left on kPa or bar makes 32 PSI look like 2.2. Fix: confirm the unit before the first tire, and tape or mark it.
Skipping the spare. A spare at 12 PSI will not save you the day you need it. Fix: check it on the same pass, to its own spec.
Ignoring a tire that keeps losing air. A tire you top up every week is telling you something. Fix: measure the drop over a known interval and track it down. A tire that loses 10 PSI in a week is not normal.
One more worth knowing: your dashboard TPMS is a useful cross-check and not a source of truth. It is typically accurate to within about 1 PSI. A 2 or 3 PSI disagreement between the dash and your gauge means one of them is off, which is how people end up buying gauges that turn out to agree with each other and disagree with both.
Tips for Keeping Tire Pressure Consistent
Set a monthly reminder. One morning a month, same spot, same gauge. Drivers who do it on a schedule stop noticing the check entirely, which is the point.
Check before long trips and heavy loads. Highway running heats tires faster and runs them at higher loads. If you are towing or stuffing the car with people, some placards call for a higher number, and that is the one to use.
Use the same gauge every time. Even a mediocre gauge is consistent, and consistency is what makes a log useful. Two cheap digital gauges reading within half a PSI of each other is the quickest accuracy check most people will ever do.
Expect seasonal changes. Air pressure falls about 1 PSI for every 10°F drop in outside temperature. Cold mornings are why tires look low in winter and fine again by noon.
Watch for uneven wear. Feathering across the tread, or faster wear on one edge, usually points at pressure. Uneven wear that shows up on all four tires at once points at alignment, but check pressure first since it is free.
Replace tires or valves that keep losing air. If a tire holds pressure for ten minutes after you fill it, the problem is a sticking valve core and a five-dollar part fixes it. If it holds for a day and a half, you have a puncture, a bead issue or a rim problem, and that is a tire shop conversation. Our guide to fixing a slow leak in a tire walks through spotting which one you have.
Winter pressure changes get their own attention, and our winter PSI guide covers how cold affects readings and when topping up is worth it.
Frequently Asked Questions
Should I check tire pressure when the tires are hot?
You can, but the reading runs high. A tire that has been driven picks up roughly 1 PSI for every 10 degrees its temperature rises, so a warm tire often reads 3 to 4 PSI above its cold spec. If you cannot wait three hours for the car to cool, add that 3 to 4 PSI to the placard number instead. Never bleed a hot tire down to the placard figure, because it will read low once it cools.
Where do I find the correct PSI for my car?
Look at the tire-pressure placard on the driver’s side door jamb, the part of the door frame that closes when you shut the driver’s door. It lists separate cold pressures for the front and rear axles, and sometimes a higher figure for a fully loaded vehicle. Your owner’s manual repeats the same numbers. The number molded into the tire sidewall is a maximum rating, not the target, so do not use it as your setting.
Is it better to use the PSI on the tire sidewall or the door placard?
Use the door placard, every time. The sidewall figure is the maximum pressure that tire is engineered and tested to hold at a given load, which is why it often reads well above the recommended number. Running at that maximum gives you a stiff ride, faster wear across the center of the tread and less grip in the rain. The placard reflects how the vehicle manufacturer tested the whole car, which is the combination you actually drive.
How often should I check my tire pressure?
Once a month is the standard advice, and it matters most in cold weather because pressure falls about 1 PSI for every 10 degrees drop in temperature. Check again before a long highway trip, when the car is loaded up, after a tire change or repair, and any time the TPMS warning light comes on. If you have a spare on board, check it on the same monthly pass so you know it is usable.
Why does one tire keep losing air after I inflate it?
Something on that tire is leaking, and the order of likelihood is a nail or screw in the tread, a leaking or cracked valve stem, then a bead or rim issue that shows up as the tire sitting low while fully inflated. A tire that loses 10 PSI in a week is not normal. Soapy water on the bead and around the stem finds the first two quickly, and our slow leak guide covers the rest.
Can I check tire pressure with a phone app?
Only indirectly. Phone apps read the pressure through a Bluetooth or wireless puck screwed onto the valve stem, and the accuracy comes entirely from that puck, not the app. It is a reasonable option if you want alerts and a history log, but it is no more accurate than the sensor you paid for. For a one-time reading, a handheld digital gauge with 0.5 PSI or finer resolution is cheaper and more direct.
Conclusion
Start with the placard, not the tire. Read the front and rear figures off the driver’s door jamb, check all four tires cold with a gauge you trust, and record what you find. If one tire comes back lower than the others, go find out why before you top it off again next month.
Uneven tread wear is the other thing to watch for on the same pass. Our guide to what tire feathering is and what causes it covers the patterns that point back at pressure and the ones that do not.