
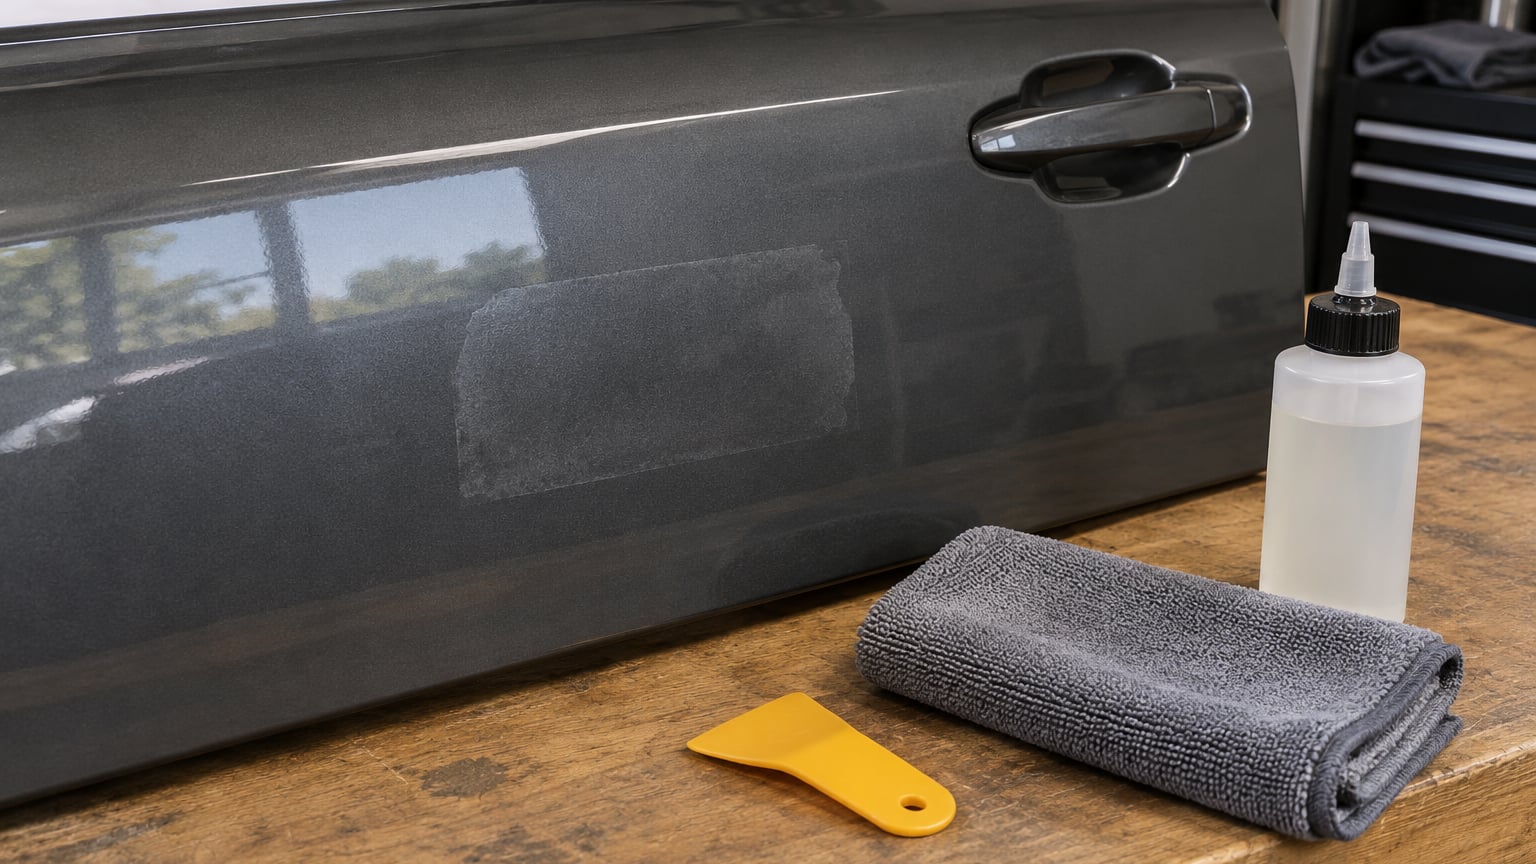
Adhesive residue comes off car paint the same way you would take off a sticker that has been rained on for a month: soften it, lift it with something plastic, then dissolve what remains with a solvent that is safe for clear coat. If you work in that order, most tape, decal, badge and wrap glue disappears without a single scratch. If you start scraping dry with metal, you will grind swirls into the clear coat that no amount of washing will fix.
Knowing how to remove adhesive residue from car paint safely takes about 30 to 60 minutes per panel once the product is in your hands. The hardest part is patience, not strength, because the same adhesive that lifts with a plastic card in 30 seconds can strip clear coat in the same 30 seconds if you use the wrong solvent or the wrong tool.
Below is the method detailers actually use, in the order they use it.
Table of Contents
What You Need
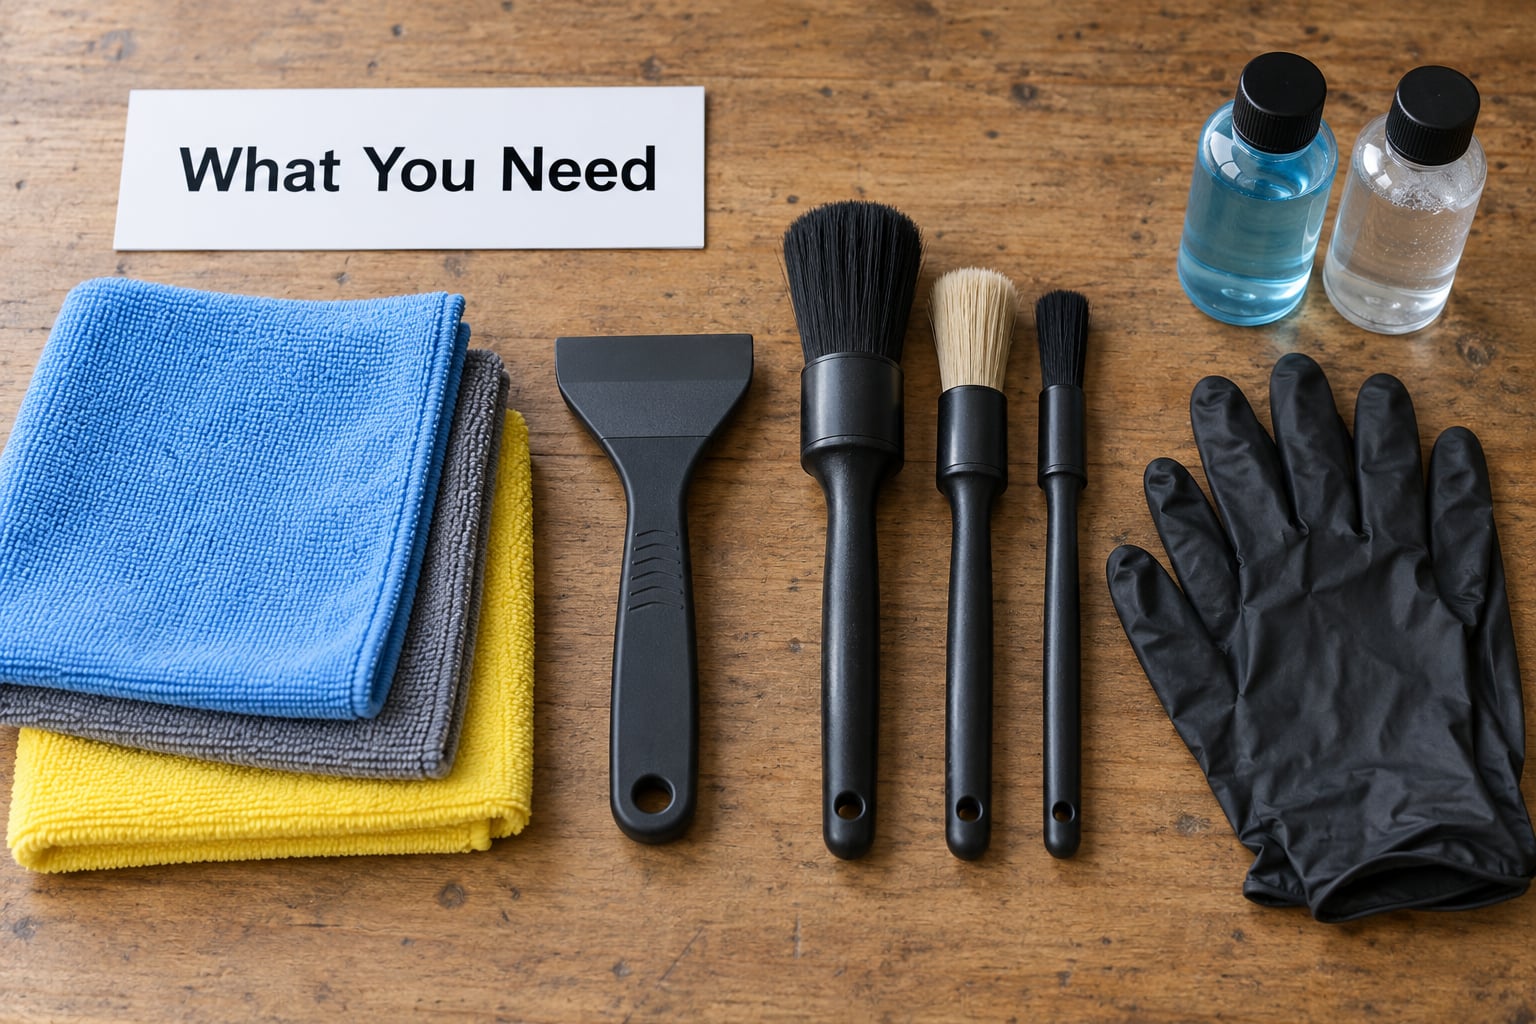
Start with plastic, not metal, and start wet, not dry. Everything on this list is available at any auto parts counter or detail supply shop.
- Plastic scraper or trim removal tool. A plastic razor blade or an old credit card in a holder works. This is the single most important item on the list.
- Clean microfiber towels. At least two, because one dirty towel is what scratches paint.
- Automotive adhesive remover. A paint-safe, non-acetone formula made for vehicles. Read the label and confirm the clear coat is on the safe list.
- Detailing clay with plenty of lubricant, or a detailing lubricant on its own if the residue is light.
- Isopropyl alcohol, 70% or higher, for light residue on gloss factory paint only. It is not for matte paint, vinyl wrap, decals or soft plastics.
- Nitrile gloves and a spray bottle of plain water. Gloves protect your hands and stop oils from your skin baking onto the panel.
- Small detailing brushes for residue in body lines, badge recesses and trim gaps.
- Warm, wet towel for the gentle warm-and-wait method.
What to keep out of your hand: metal razor blades, abrasive pads or Scotch-Brite, drywall sanding sponges, wire brushes, and open bottles of acetone, thinner or gasoline. Household oils such as cooking oil and butter will remove glue and then sit on the panel attracting dust for months.
Products differ more in aggressiveness than people expect. This ranking runs from mildest to strongest, and you should only climb one step at a time.
| Option | How it works | Best for | Main caution |
|---|---|---|---|
| Warm water and a wet towel | Softens adhesive with heat and time | Fresh tape, wrap glue, light sticker residue | None, but it is slow |
| Detailing clay with lubricant | Rolls lifted residue off the surface | Loose film and micro residue | Dry clay will scratch |
| Isopropyl alcohol, diluted 1:1 with water | Dissolves light adhesive film | Gloss clear coat, interior plastics | Will haze matte and wrap vinyl |
| Automotive adhesive remover | Dissolves cross-linked adhesive with dwell time | Tape, badges, decals, wraps | Test first; it can soften some coatings |
| Solvent such as acetone or thinner | Dissolves everything, fast | Bare metal and glass only | Strips clear coat and dye |
How to Remove Adhesive Residue from Car Paint, Step by Step
1. Identify the paint and the adhesive before you touch it
Different finishes need different solvents, so figure out what you are working on first. Factory two-stage paint has a clear coat on top, single-stage older paint does not, matte finishes have no gloss to lose but can be permanently scarred, gloss black trim is usually a hard plastic or painted plastic, and vinyl wrap is a film sitting on top of paint you cannot see.
Then look at the residue itself. Fresh adhesive peels with a fingernail and smears slightly. Aged, cross-linked adhesive is hard, glassy and yellowed. Road tar and tree sap are dark, thick and partly embedded in the surface. Knowing which of those you have tells you whether to begin with heat and patience or go straight to a solvent.
Paint protection changes the plan too. On a ceramic-coated panel, expect to lose coating where the solvent sits, then reapply protection afterward. On paint protection film, stop before you see a white stress line in the film, because solvent and heat both telegraph when PPF is about to lift.
2. Test the least aggressive method in a hidden spot
Any product goes on an out-of-sight area first, such as the inside of a fuel door jamb, the lower edge of a bumper or the underside of a door lip. Put on a small amount with a microfiber towel, wait the full dwell time the label calls for, and then look at the spot in good light.
Warning signs show up fast: a dull spot where gloss used to be, a rainbow haze, a color shift, or a finish that feels slightly tacky. If any of those appear, stop and go back down the ladder to the next milder option. Do not try to fix a damaged spot by adding more product; that only deepens it.
3. Warm the residue gently
Heat softens adhesive and it softens nothing else if you keep it controlled. Lay a warm, wet towel over the area and leave it for 15 to 20 minutes, rewetting as it cools, or hold a hair dryer or heat gun several inches away and keep it moving.
If you use an infrared thermometer, aim the surface at roughly 150 to 160 degrees Fahrenheit and no more. Paint is fine at that temperature; vinyl wrap, its adhesive layer, decals and nearby plastic trim are not. Wrapping a hair dryer in a thin towel limits the hot-air blast while still warming the glue underneath.
You know the residue is ready when a fingernail slides into its edge instead of skidding across it.
4. Lift the adhesive with a plastic tool
Slide the plastic scraper under the softened edge at roughly a 45-degree angle and pull toward you, keeping the blade nearly flat to the panel rather than standing it up. Work in sections about the size of your hand, and scrape off the panel before going back for more.
A layer of detailing lubricant or a damp microfiber under the scraper does two things: it lets the plastic glide instead of catching, and it keeps any grit from being dragged across the clear coat. Reapply it often.
If the residue lifts in sheets, excellent. If it strings and smears, put more heat or solvent on that section rather than working it harder. Keep the edge moving and never let the scraper rest in one place, because a stationary plastic blade in direct sun can still etch.
5. Remove what the scraper misses
Whatever survives the mechanical step is a thin bonded film. Lay an automotive adhesive remover along the area, use about the length of a dollar coin for a panel-sized patch, and let it dwell for 30 to 60 seconds. Then wipe with a clean microfiber towel in one direction and flip to a clean section.
Detailing clay with heavy lubrication is the gentler option and works well on residue that is loose rather than chemically welded on. Clay treats the surface like the sandpaper it resembles, so the lubrication is not optional.
Isopropyl alcohol mixed one-to-one with water handles light film on gloss clear coat, and many detailers use it on interior plastics and screens. Skip it on matte paint, on wrap vinyl, on decals, on any soft plastic, and anywhere the paint has faded to a chalky look.
Avoid: acetone, nail polish remover, paint thinner, brake cleaner, gas station fuel and any household oil. If adhesive from a body shop badge has soaked through sunlight for years, the honest answer is a detailer with a drill-mounted eraser wheel and polishing compound, not a stronger solvent in your garage.
For organic deposits, our guide to how to remove tree sap from a car without damage covers the gentler layered approach for sap and tar.
6. Clean and inspect the finish
Wash the panel the same way you always would, with clean water, a clean mitt and a lubricating shampoo. Our guide to washing a car without scratching the paint covers the technique in detail.
Dry it, then inspect under indirect light with a bright source held at a low angle to the panel. Direct overhead light hides everything, and most of the disappointment comes from checking in bad light.
Once the finish is dry, protect it again with a wax, sealant or coating compatible with what was there before. If you see haze that stays after cleaning, or fine scratches that catch a fingernail, stop using abrasives yourself and get a paint correction. Deep gouges that reach the color coat are a repaint, not a weekend. For a chip that breaks through to bare metal, our touch-up guide for paint chips is the next step.
Common Mistakes That Damage Automotive Paint
Most paint damage during adhesive removal comes from six predictable errors, and every one of them has a simple correction.
| Mistake | What happens | Safer correction |
|---|---|---|
| Scraping with a metal razor or a key | Immediate scratches that cut into the clear coat | Plastic scraper or trim tool, lubricated and shallow |
| Dry sanding or an abrasive pad | Swirl marks everywhere, matte haze that polishes out only by machine | Clay with wet lubricant, or no mechanical step at all |
| Soaking graphics, decals or wrap in remover | Edges lift, dyes bleed and adhesive lines re-form under the graphics | Work in small patches and keep the surface damp away from decals |
| Using acetone or thinner on painted surfaces | Dye and clear coat stripped, leaving a bare or hazy patch | Automotive adhesive remover; acetone only on bare metal |
| Working in direct sun on a hot panel | Solvent flashes off, plastic blades etch, adhesive re-bonds as it cools | Shade, cool panel, work on one small area at a time |
| Continuing after the finish changes | A dull spot becomes a permanent haze nobody can buff out | Stop, reassess the surface, drop to a milder method |
Two habits prevent most of these. Test on a hidden panel every time you change product, and give the remover its full dwell time before you decide it is not working. Most failed adhesive removals are just impatient ones.
Frequently Asked Questions
Can I use isopropyl alcohol to remove adhesive residue from car paint?
Yes, on gloss clear coat that is in good condition, and only as a mild step rather than a first choice. Dilute 70% isopropyl alcohol one to one with water, apply it to a microfiber towel rather than the panel, and test a hidden area for several minutes first. Skip it on matte paint, vinyl wrap, decals, soft plastics and any chalky or faded finish, where it can haze or bleach the surface permanently.
How do I remove glue residue from a car wrap or vinyl decal?
Treat vinyl as the most fragile surface in the procedure. Clean the area, warm it with a warm towel rather than a heat gun, then use a plastic card with a wrap-safe adhesive remover or plain detailing lubricant, pulling slowly from the edge at a shallow angle. Never use acetone, aggressive alcohol or a metal blade, and stop as soon as you see a stress line or a whitening edge in the film.
Will detailing clay remove adhesive residue from paint?
Clay lifts residue that is sitting on top of the surface, especially a thin film left after a solvent. It will not shift adhesive that has chemically bonded to the clear coat. Use plenty of lubricant, work in small overlapping passes, and keep the clay in a sealed bag so grit does not drag across the paint. If the residue needs pressure to move, it needs a remover, not more clay.
What should I do if residue removal leaves haze or scratches?
Stop scrubbing, because haze that survives cleaning usually means softened clear coat or mild abrasive damage rather than remaining glue. Wash the panel, inspect it in indirect light, and use a paint-compatible polish only if the mark is very faint. Fine scratches that catch a fingernail, or haze that dulls the panel in sunlight, are a job for a detailer with a machine polisher and the compounds to match.
Conclusion
The safest way to handle adhesive residue is to test the mildest method in a hidden area, warm the glue, lift it with a lubricated plastic card, and only then reach for a solvent strong enough for whatever remains. Work in shade, give every remover its full dwell time, and stop the moment the finish changes color or gloss. If you are already seeing scratches or haze that do not wash out, a professional correction is cheaper than the panel that comes after it.