
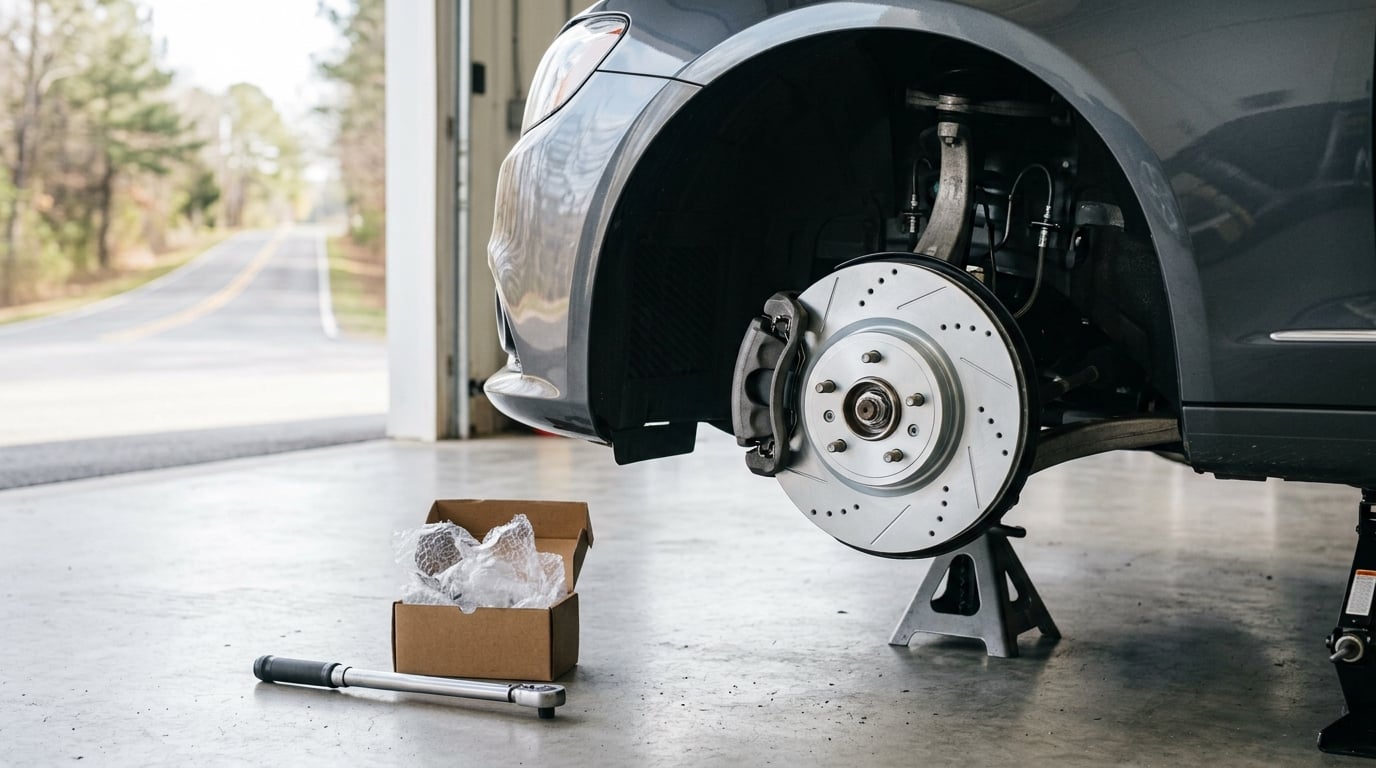
Bedding in new brake pads means transferring an even layer of friction material onto the rotors through a controlled series of moderate stops separated by cool-down periods, so pedal feel, stopping power and noise level settle down instead of wandering for the first few hundred miles.
The whole job takes 30 to 45 minutes of driving on a dry, low-traffic road, plus about the same again reading instructions. It is not difficult, but it is easy to do badly, and a badly done bed-in is how rotors end up glazed in a few hundred miles.
Before anything else, find the bedding sheet that came with your pads. The sheet in your owner’s manual and the sheet in the pad box outrank every general guide, including this one.
Table of Contents
- What You Need
- How to Bed in New Brake Pads Step by Step
- Common Mistakes
- Frequently Asked Questions
- How long does it take to bed in new brake pads?
- Can I bed in new brake pads by driving on the street?
- Do BMW brake pads require a special bedding-in procedure?
- Why do my new brake pads still squeak after installation?
- Should the brake pedal feel firmer after the pads are bedded in?
- When does brake-pad noise or vibration mean I should stop driving?
- How to Bed in New Brake Pads: Start Safely and Follow the Manufacturer
What You Need
You need the paperwork first. Pull up the brake section of your owner’s manual, then find the installation sheet from the pad manufacturer. Most pads from Akebono, Bosch, Wagner, StopTech and PowerStop ship with a bedding instruction block printed on the box, and a handful of factory instruction sheets use a specific stop count you should not substitute.
If your vehicle maker issued a separate service bulletin for the pad change, that document wins again. On a lot of cars the rebedding requirement changes the friction compound from stock, and the maker knows exactly which cycle works with it.
Next, you need a place to do it. A dry, straight, lightly trafficked road at 30 to 40 mph with no intersections for a few miles is the ideal. Not a track, not a wet back street, not the queue behind a school bus.
Tools are minimal, because the work is driving, not turning. A torque wrench if your wheel fasteners have a specified torque, a jack and wheel tools if you are doing the install yourself, and a straight edge plus a flashlight for checking rotor thickness and pad wear while the wheels are off. How to clean new brake rotors before install is worth reading if you kept the old rotors and the faces look rusty or scored.
And you need the right parts on the car already. Correct friction compound, undamaged rotor faces, greased slide pins, fitted anti-rattle shims and clean hardware. Bedding cannot rescue a bad installation, and it should never be used to hide one.
How to Bed in New Brake Pads Step by Step
The process is six stages: verify the installation, do a low-speed check, warm the brakes gradually, run the manufacturer’s bedding cycle, repeat cycles while watching pedal feel, then verify and recheck after driving. Each one has a checkpoint you can actually observe.
1. Confirm the Pads and Rotors Are Correctly Installed
With the wheels off, confirm the pad part number matches what the vehicle is meant to take, check that friction material sits well above the wear limit all the way across, and look at both rotor faces for deep scoring, rust pitting or a lip that has grown past the discard thickness.
Torque the caliper and carrier hardware to spec, confirm the wheel studs and any guide-pin bolts are clean and tight, and check that the brake line connections at the caliper are snug with no weeping fluid. Slide pins should be cleaned and coated with the grease the manufacturer specifies; dry pins are the single most common reason a new pad set squeals from day one.
Spin the wheel by hand. It should rotate smoothly with no grabbing and no scraping. A rotor scored on one face only, or pads installed on the wrong side of the caliper, will wear into a groove that no amount of bedding will remove.
If the caliper will not retract fully, sits stiff, or drags, fix that before you drive. Bedding a dragging caliper is how you cook a pad into a glassy disc.
2. Perform a Low-Speed Brake Check
Roll out at walking pace in a parking lot and press the pedal gently. It should feel firm with no give, and it must not travel further than normal or feel spongy, which means air in the line or fluid that has absorbed moisture.
Drive a slow lap of an empty lot at about 10 to 15 mph and stop a few times, alternating pressure across the front and rear. Watch the pedal through each stop and check for a pull to one side, uneven braking, grinding, or a vibration that rises and falls with speed.
Stop and sort out the problem if any of those show up. Air in the system needs a bleed, a fluid leak needs a repair, a pull means something is dragging or a wheel is tight, and grinding means metal on metal. None of those get better with mileage.
3. Warm the Brakes Gradually
Cold friction material will not transfer a film predictably. Heat it in stages with a handful of moderate applications from a lower speed: come up to roughly 25 to 30 mph, brake firmly but not to a stop, and let off well before you slow to walking pace.
Repeat that four or five times with a short drive between each application. You want the pads and fluid warm and working, not hot. A long cold cruise followed by one hard stop is the worst case, because that single stop lays down an uneven, oily transfer layer instead of an even film.
4. Complete the Manufacturer’s Bedding Cycle
This is the step most guides get wrong. Many factory sheets specify six to eight moderate stops from around 30 mph, each one followed by a cool-down before the next. The Camaro and CTS installation sheet that circulates widely is typical: make six to eight stops from roughly 30 mph using moderate pressure.
Read your own sheet and count from it. If it says eight stops, do eight. The count is not a suggestion because each stop lays down a layer that the next stop consolidates, and stopping early leaves the film thin and patchy.
What that means in practice: accelerate to the speed on the sheet, apply pressure firmly enough that you notice the pedal firm up, slow to a controlled low speed, then release and drive on without stopping so the rotors cool. Do not sit at a stop light with your foot on the pedal, and never hold the brake at a partial application, because that pushes heat into a stationary spot and glazes it.
If your sheet uses the shorthand method instead, that is usually 30 stops from 30 mph decelerating at a rate of 30 mph per hour, with a drive between each one to cool the pads. Popular on forums, criticized for being aggressive on a street car, and usually done wrong by people who brake all the way to a stop each time, which defeats the entire point. Use the numbers on your sheet instead of a name.
5. Repeat Several Cycles and Check the Pedal
Bedding is heat and cool, repeated. Each moderate stop transfers a thin layer of friction material, and the drive between stops lets the pad cool so the next layer burns in evenly rather than smearing.
Over the cycles, the pedal usually travels less, holds more consistent pressure, and gives a sharper first bite. Brake dust may change from heavy black powder to a lighter grey, and rotor faces may show even grey colouring or faint blue streaks, which is the transfer film doing its job rather than a fault.
A soft pedal that gets softer, a pedal that pulsates through each stop, a rumble that grows with speed, or a squeal that gets louder rather than quieter all mean stop driving and check something mechanical. So does a pedal that stays vague after the second cycle. Heat cycles can only improve an already correct installation, they cannot fix a warped rotor or a sticking caliper.
6. Verify the Result and Recheck After Driving
Find a straight, clear section of road with room to stop and accelerate a few times. Start at 20 mph and work up in 10 mph steps, braking firmly and in a straight line each time, noting that the pedal stays solid and the car tracks straight.
After the drive, walk around each corner before you get in. Look for smoke from a wheel, an oily or scorched smell, fluid on the ground, or a wheel that is visibly discoloured compared with the others. Touching bare metal on a hot rotor is a burn risk, so look before you touch.
Once the wheels have cooled, recheck that the fasteners are still at torque and that the wear indicator tabs on the pads are not already touching the rotor. Then keep the first 200 miles or so of ordinary driving gentle. Stop-and-go traffic does plenty of the bedding work on its own; the deliberate bedding drive is the accelerator, not the whole job.
Common Mistakes
Hard emergency stops on cold brakes. One cold panic stop can deposit an uneven, glazed layer. Fix it by replacing the pads and starting again with the gradual warm-up, then moderate stops. If the pads are already glazed, what brake pad glazing is and how it forms covers the rest.
Riding the pedal at a stop. Holding pressure with the car stationary concentrates heat in one spot and bakes an oily film onto the pad. Fix: keep your foot off the brake while stopped, start moving, then brake.
Bedding only the front axle. The rears are usually the axle you will need in the wet first. Run the same cycle on both axles unless your manufacturer sheet says otherwise.
Ignoring caliper, slide pin or rotor problems. Dragging calipers, dry slide pins, one-sided scoring and lipped rotors all produce noise or pulsation that bedding cannot touch. Fix them before the first drive, not after the second complaint.
Bedding in the rain, in heavy traffic, or with following cars close. Wet rotors transfer a film poorly, and the process needs a clean, dry surface and free space. Postpone until the next dry, quiet day.
Treating squeal or vibration as normal forever. Light surface noise that fades with warmth during the first 100 to 300 miles is ordinary. A rumble through the pedal, a squeal that grows with speed, or a pedal that stays spongy is not. Get it inspected.
Running the 30/30/30 name instead of the manufacturer sheet. The shorthand is fine as a guide on a dry road, but braking to a complete stop on every one of the thirty passes is the most common way people execute it wrong. Follow the sheet you were given.
Skipping the post-install recheck. A fastener that was not torqued properly can loosen within the first drive. Check torque and pad wear again after the pads have cooled.
One note on scope: this covers hydraulic disc brakes on cars and light trucks. Bedding for bicycle disc brakes and e-scooters uses the same phrase but a completely different procedure, so do not carry these numbers across.
Frequently Asked Questions
How long does it take to bed in new brake pads?
The bedding drive itself takes 30 to 45 minutes: a gradual warm-up, six to ten moderate stops with a cool-down drive between each, then a short verification pass. Most of the finishing happens in ordinary driving over the next 100 to 300 miles. Pedal feel usually improves within a few stops, while surface noise and dust changes tend to settle over those first few hundred miles.
Can I bed in new brake pads by driving on the street?
You can, and most of the work happens that way. Stop-and-go city driving repeats gentle heat and cool cycles all day, which is exactly what bedding needs. The deliberate bedding drive matters because it adds a handful of firmer stops at steady road speed on a dry surface, something traffic rarely gives you. Do the dedicated cycle on a quiet dry day, then let normal commuting finish the job.
Do BMW brake pads require a special bedding-in procedure?
Nothing unique to the brand, but the compound matters more than the badge. Many BMWs came from the factory with a specific low-dust ceramic compound rather than a semi-metallic, and some service bulletins specify the bedding cycle for the pad they fitted. Follow the sheet in the wheel well liner or the pad box, and follow any bulletin that came with the invoice. When the two disagree, the bulletin wins.
Why do my new brake pads still squeak after installation?
The usual reasons are dry slide pins, a missing or misfitted anti-rattle shim, light dust or rust on the rotor face, or pads fitted against glazed or uneven rotors. Surface squeal that fades once the brakes warm during the first 100 to 300 miles is normal. Squeal that grows with speed, or a rumble through the pedal, points at a warped or scored rotor or a caliper that will not release, and that needs an inspection.
Should the brake pedal feel firmer after the pads are bedded in?
Yes, usually. Once an even transfer film builds up, pedal travel shortens, pressure stays more consistent through a stop, and the first bite sharpens. A pedal that stays soft or vague after two full cycles is not normal bedding behaviour. That points at air or moisture in the hydraulic system, a leak, pads that will not retract, or a problem in the master cylinder. Have it checked rather than driving on it.
When does brake-pad noise or vibration mean I should stop driving?
Stop driving and have the brakes inspected when you feel a vibration or pulsation through the pedal, when the pedal pulls to one side, when it stays spongy or sinks toward the floor, when there is a grinding sound, or when you see fluid under a wheel. Any of those points at air in the line, a leak, a dragging caliper, or a warped rotor. None of them improve with more mileage, and all of them get worse under repeated hard braking.
How to Bed in New Brake Pads: Start Safely and Follow the Manufacturer
Start by confirming the installation is mechanically correct, then get the bedding instructions that came with the vehicle and the pads. Six to eight moderate stops from around 30 mph with a cool-down drive between each will do most of the work, and ordinary driving over the next few hundred miles finishes it.
If you kept the original rotors, start with how to clean new brake rotors before install. If the brakes squeal, fade or pulse instead of settling down, read up on what brake pad glazing is and get the brakes inspected, because bedding cannot correct a warped rotor, a dragging caliper or air in the lines.