
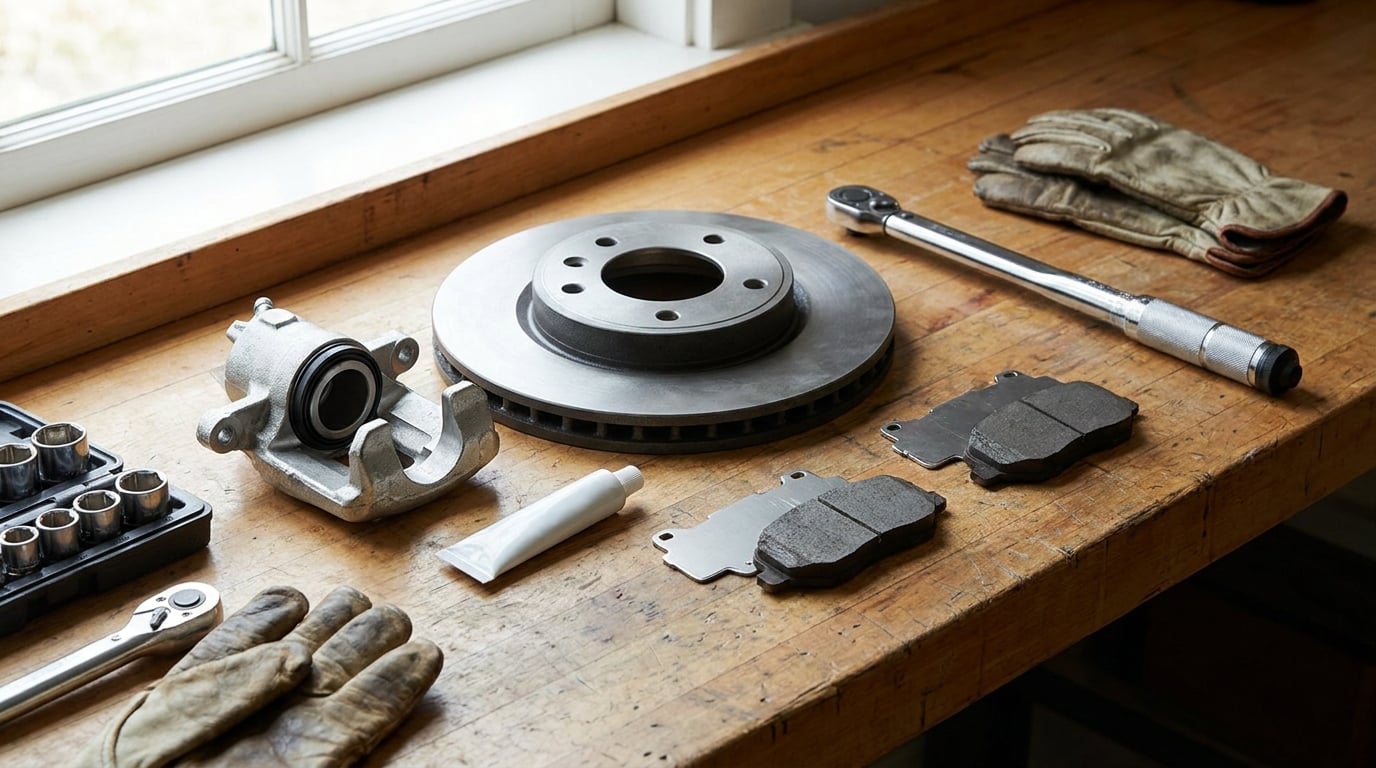
Brake squeal is a high-frequency vibration that builds up between the pad, its shim and the caliper, and most of it dies the moment you put a damping shim behind the pad and a thin film of high-temperature brake grease on the contact points. This guide walks through how to stop brake squeal with shims and grease, including the five places the grease goes and the four places it must never touch.
The job takes about an hour on one corner of a car if the caliper comes off, and most of that hour is cleaning. It is a two-part fix: shims damp the vibration, grease stops the pad from chattering against metal while the car sits.
It only works if the noise is resonance. A seized slide pin, a glazed rotor or a pad worn to its metal backing plate will not be fixed by grease, so diagnosis comes first.
Everything below assumes a disc brake. If your car has rear drums, the fix is different and covered near the end.
Table of Contents
- What You Need
- Step-by-Step: How to Stop Brake Squeal With Shims and Grease
- Step 1: Confirm the noise is friction resonance
- Step 2: Check pad thickness and rotor condition
- Step 3: Clean every contact point before reassembly
- Step 4: Fit the shim and grease the contact points
- Step 5: Refit with new anti-rattle hardware
- Step 6: Torque the hardware to spec
- Step 7: Bed the pads in and road test
- Where Exactly the Grease Goes, and Where It Must Not
- Common Mistakes That Bring the Squeal Back
- When Shims and Grease Are the Wrong Fix
- Frequently Asked Questions
- Conclusion
What You Need
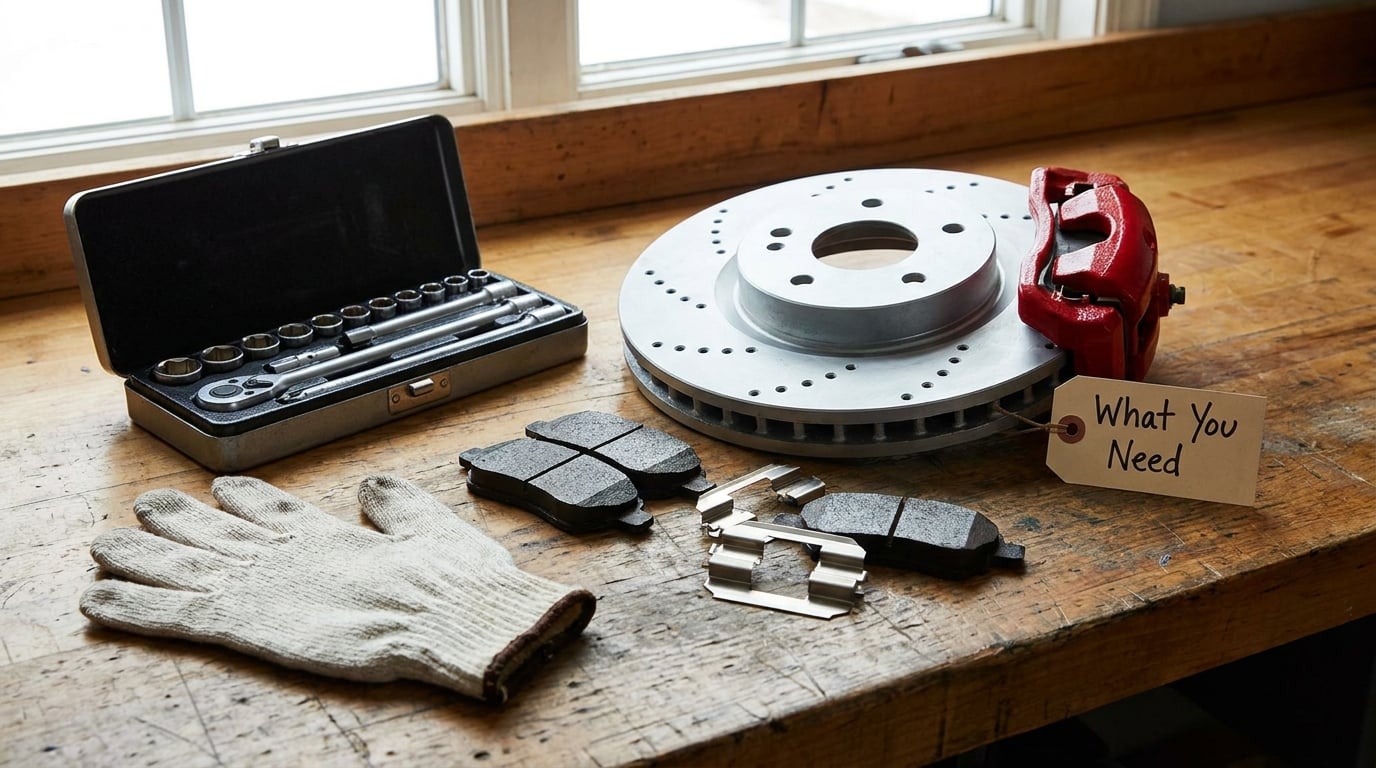
Gather the parts before you pull a wheel off, because a half-finished brake job with a car on jack stands is where people start improvising.
Tools
- Jack and jack stands or a lift. Jack stands are not optional support, and a brake rotor with a caliper hanging off it will land on your foot.
- Torque wrench in the range your caliper bolts need. Snug is not a torque figure.
- Correct sockets and a brake caliper tool or the hex bit your caliper uses. Prying a piston back in with a screwdriver is how people crack a caliper.
- Brake cleaner, a stiff nylon or brass brush, and clean shop towels. You are removing pad dust, and a thin film of old grease defeats the whole job.
- Nitrile gloves and a marker to note piston position before removal.
- Contact cleaner or a thin film of the approved lubricant for the slide pin bores.
Materials
- High-temperature brake lubricant or anti-squeal paste. Follow what your pad maker specifies. Some specify silicone grease, some ship copper grease, and the two are not interchangeable on every pad design.
- New anti-squeal shims matched to the caliper, or the OEM shims that came with the pads. Aftermarket shims are sized by the caliper, not the pad, so check the caliper width before buying.
- New anti-rattle clips and pad springs if the kit supplied them.
- Anti-seize for the guide pins and fasteners only — a thin film on the threads, nothing else.
- Brake wear sensor if your car has one. Reaching it usually means removing the caliper bracket, which means the pads come out anyway.
If a rotor surface has a hard, shiny, bluish skin on it, the pads cannot bond to it no matter what you grease. Our guide on what brake pad glazing is explains how to tell a glazed rotor from one that only needs cleaning.
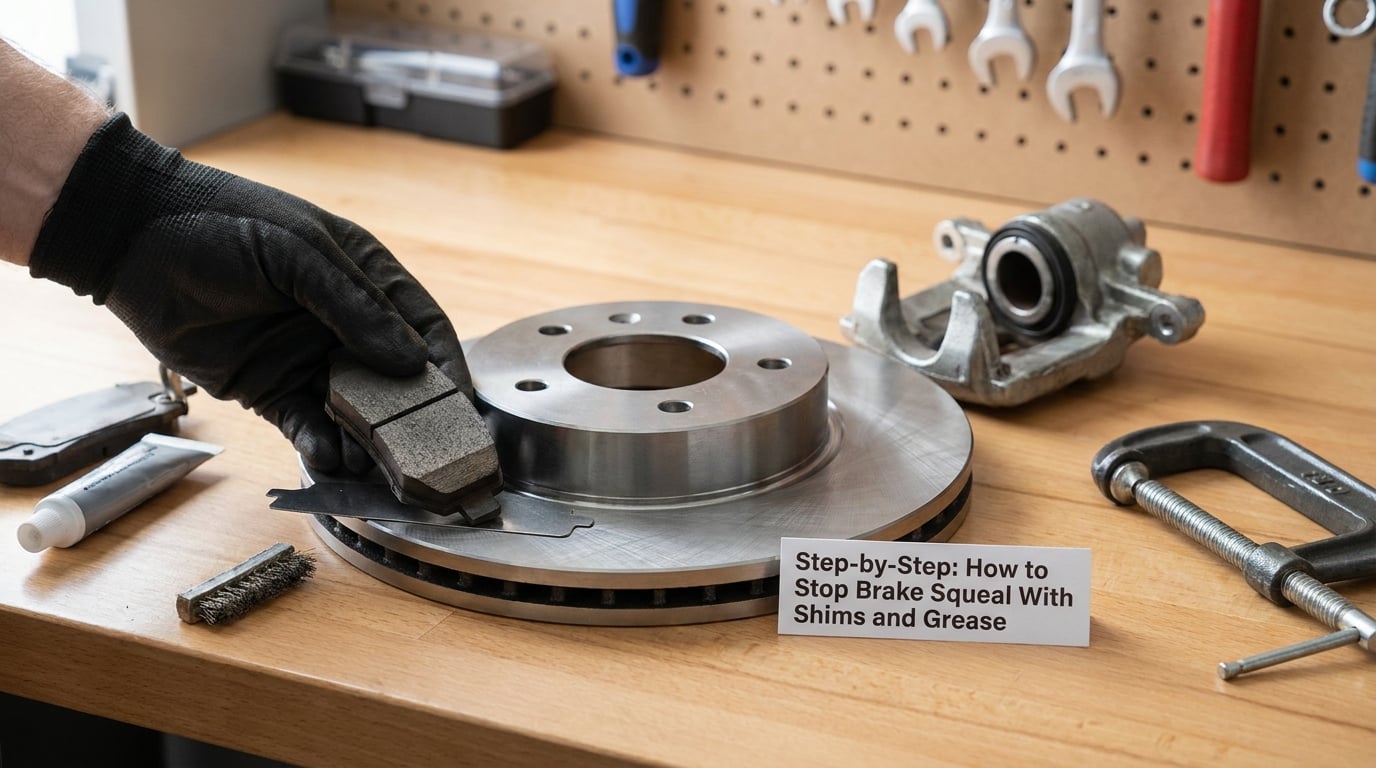
Step-by-Step: How to Stop Brake Squeal With Shims and Grease
Step 1: Confirm the noise is friction resonance
Before anything comes apart, drive the car in a safe area and note when the squeal shows up. Squeal at low speed and light pedal pressure that fades when you brake harder points at pad-to-caliper resonance, which is exactly what shims and grease fix. Squeal that only happens on the first few stops after rain or a cold morning is usually surface rust on the rotor, and it wears off on its own. A grind, a pulse through the pedal, a pull to one side, or a soft pedal that travels further than it used to be a different problem entirely.
If the noise is one-sided and the car pulls, check the slide pins before you go shopping for shims. A seized pin holds the pad retracted and out of alignment, and no amount of lubricant around it will help if it is not free.
Step 2: Check pad thickness and rotor condition
Pull the wheel and look at the rotor before you touch the pads. If you see a hard wear lip at the outer edge, a dark band, rust streaks, or any hint of a crack or a scored face, the rotor needs machining or replacement. Check the thickness against the minimum stamped on the hat, and measure at four points around the disc so you catch any warp. More on cleaning and checking new rotors in our how to clean new brake rotors before install guide.
Look at the friction material too. A wear indicator is a thin metal tab bonded to the pad that scrapes the rotor on purpose when the material is nearly gone. If the tab is touching the disc, the pad is finished and replacing hardware is the only answer. Check the back of the caliper bracket for a leak, and look at the rubber boots on the piston. Any of those and the caliper is a professional job.
Step 3: Clean every contact point before reassembly
Spray brake cleaner into the caliper bracket, both slide pin bores, and around the pad contact areas, then brush it out and wipe it dry. Clean the back of the pad, the face of the piston, and both faces of the shim. Do the same to the flat of the rotor where the pad sits. If a shim is scuffed, torn, or bent out of flat, throw it out — a heat-cycled shim has lost the damping it had when it was new.
Step 4: Fit the shim and grease the contact points
This is where the fix lives. Apply a thin, even film of your approved lubricant to the following five places, and nowhere else:
- Both faces of the shim — the side touching the pad backing plate and the side touching the piston or bracket.
- The back of the pad — the whole backing plate, plus the two pad ears that slide into the caliper bracket.
- The face of the caliper piston — the flat area that pushes the pad out.
- The edges of the caliper bracket where the pad ears ride.
- The slide pins — anti-seize here and on the bolt threads is fine and usually expected, because those pins are meant to slide.
Use a thin film. It should look like a faint sheen, not a smear you can feel with a fingernail. Excess grease squeezes out under the pad and can contaminate the friction material.
Two absolute no-go zones: never touch the friction material on either side of the pad, and never put grease on the rubber piston seal or dust boot. Grease on the seal makes it swell and the caliper can stick.
Install the shim on the side the pad manufacturer specifies. On most cars the shim goes between the pad and the piston on one side, and between the pad and the bracket on the other. If the shim is stamped, the stamp faces out. If it has a cutout, the cutout clears the pad ear. Many pads ship with the shim already bonded to the backing plate — that is a constrained-layer shim, and it goes on as supplied with no separate shim behind it.
If your pads have an integrated sound insulator, follow the pad maker’s instructions instead. Some designs allow no chemical at all in the insulator area, and a very tacky paste can pull that insulator loose from the backing plate.
Step 5: Refit with new anti-rattle hardware
Put new anti-rattle clips and pad springs on, refit the caliper, and pull the slide pins by hand. They should slide freely with no spring tension fighting you. If a pin needs a hammer, it is a new pin, not a problem to work around. A heavily loaded vibration, or a parked car sitting with a seized pin overnight, is a common reason the squeal comes back in a few hundred miles.
Step 6: Torque the hardware to spec
Tighten the caliper bolts to the figure in your service manual with the torque wrench. Pad hardware is not something to snug up by feel. The pads are designed to flex slightly when clamped, and overtightening distorts the backing plate, which changes the pad-to-rotor relationship and can create a new noise.
After the first ten or fifteen miles of light driving, re-check the caliper bolts. Hardware settles on a hot brake, and a check then saves you coming back for the same complaint.
Step 7: Bed the pads in and road test
New friction material needs an even transfer layer on the rotor before it stops complaining. From roughly 50 mph, come to a complete stop over about 20 to 25 mph, and wait about 30 seconds between stops. Repeat 20 times without riding the brakes, then allow the brakes to cool before your normal drive.
Then test. A light pedal press at low speed should now be quiet. If the squeal returns under the same conditions you used to test, go back to step 1 and assume the cause is not resonance.
Where Exactly the Grease Goes, and Where It Must Not
Most failed attempts happen because someone puts grease in the wrong place. The friction face of the pad and the friction face of the rotor are the only surfaces in this whole job that are supposed to touch metal to metal with nothing in between. Everything else is a contact point that should be filmed.
A common confusion is copper grease versus silicone brake lubricant. They are not competing products. Copper-type compounds and OEM pastes go on pad ears and bracket contact areas, and are popular because the copper film stays put. Silicone brake lubricant is used where the pad backs onto the piston and shim because it holds a film under heat and will not squeeze out as readily. Some pad makers ship copper grease in the box and print silicone in the instructions, and the answer is usually that the pad design tells you which: bonded shim and integrated insulator designs generally want the silicone, plain friction-material designs generally accept the supplied compound. When the box and the manual disagree, the pad maker’s own technical line is the one to call.
A community veteran on the xs650 forum put it plainly: dry shims do not soak up high-frequency vibration the way greased ones do. On an r/MechanicAdvice thread, owners fitting OEM pads to a Subaru Crosstrek were told to apply brake grease between the back of the pads and the shims, which confirms this is a manufacturer-sanctioned step on at least some vehicles. A supraforums thread reported the same combination — OEM grease on the pad ears, anti-squeal paste on both shim faces and the back of the pad — permanently clearing squeal on ceramic pads.
Common Mistakes That Bring the Squeal Back
Greasing the friction face
A thin mist on the rotor or a coat on the pad material contaminates the friction surface and the pads will glaze or never transfer film properly. Pull the pads, clean both friction faces with brake cleaner and a brush, and dry them properly. Wax, silicone spray and chain lube are worse than nothing here.
Using general-purpose grease or WD-40
WD-40 is a water displacer with a thin oil film, not a high-temperature lubricant. It flashes off, leaves a film that attracts dust, and does nothing for the resonance. Use a product sold for brakes, and if a pad maker names a specific compound, use that one.
Installing the shim dry or backward
A dry shim reintroduces the rigid metal-to-metal coupling the shim exists to break up. Installed backward, a stamped shim fights the pad ear and can stop the pad sitting flat. Match the shim to the caliper width, follow the stamping, and grease both faces lightly.
Skipping the rotor and hardware checks
A warped or below-minimum-thickness rotor cannot be bedded in properly and no lubricant compensates. Reused anti-rattle clips, springs and guide pins lose spring temper with heat, so the clip that was fine last year can be the noise this year. Replace them whenever you change pads.
Overtightening the hardware
Over-torqued caliper bolts distort the pad backing plate and can change the friction relationship at the rotor. Use a torque wrench and the service manual figure.
Ignoring the warning signs under the noise
A wear-indicator scrape, a grinding sound, a pulsating pedal, a pull to one side, or a pedal that goes soft are not squeal. Stop and have the brakes inspected.
When Shims and Grease Are the Wrong Fix
Some noises are honest warnings, and lubricating a worn brake is the most expensive kind of procrastination. Get to a mechanic if the pedal feels spongy or the car pulls under braking, if you hear grinding rather than a high pitch, if the rotor has a crack or is below the minimum thickness, if brake fluid is leaking at the caliper or wheel cylinder, or if the noise comes with a vibration in the pedal.
A worn suspension bushing, a bent wheel or an out-of-round wheel can all produce a noise that mimics pad squeal. If you have already done the shim-and-grease job properly and the sound is unchanged after bedding, the answer is not more grease.
On rear drums the fix is at the shoe table and the anchor points, not the rotor face. Clean the dust off the shoes and the backing plate, check the return springs are intact, and lubricate the anchor pins and the adjuster with a small amount of the same high-temperature grease. If the shoes are cracked, thin at the toe, or the drum is scored past the discard limit, replace them.
Frequently Asked Questions
Should you grease brake shims?
Yes, in most cases, and the film is meant to be light. Brake squeal is a high-frequency vibration between the pad, the shim and the caliper, and a thin film of high-temperature brake grease on both shim faces damps it. Skip the grease only when your pad maker forbids chemicals on that design, such as an integrated sound insulator area. Never put grease on the friction material.
Can I spray WD-40 on my brakes to stop squeaking?
No. WD-40 is a water displacer with a light oil, not a high-temperature lubricant. It flashes off under braking heat, leaves a film that traps dust, and can contaminate fresh friction material. Use a product sold specifically as brake grease or anti-squeal paste, applied in a thin film to the shim faces, pad back, pad ears, piston face and slide pins only.
What is the best grease to use for brake squeal?
The one your brake pad maker specifies. Silicone brake lubricant works best where the pad backs onto the piston and shim, copper-type compounds and OEM pastes suit pad ears and bracket contact areas, and moly or anti-seize belong on guide pins and fasteners. Follow the service manual or the pad box over any generic rule, since pad construction decides which compound is compatible.
Is it safe to drive with squeaky brakes?
A light high-pitched squeal at low speed is usually resonance, not a failure, and you can drive carefully to a shop. Stop and get the brakes inspected if you hear grinding instead, if a wear indicator is scraping, if the pedal is soft, pulsates or travels further than usual, or if the car pulls to one side. Those signs point to wear, a leak or a mechanical fault that grease will not fix.
What is the 30/30/30 rule for brakes?
It is a bedding-in habit, not a squeal cure. The idea is roughly 30 braking applications from about 30 mph, with 30 seconds of cooldown between them, so new friction material lays down an even transfer layer on the rotor. Manufacturer burnishing numbers are more specific, commonly 20 slow-downs from 50 mph to 20 mph with 30 seconds between. Follow your pad maker if the two differ.
Can I reuse the old brake pad shims?
Only if you are refitting the original pads and the shim is flat, clean and free of tears. Shims are thin springy steel and repeated heat cycles make them work hardened and warped, so most forums advise fitting new ones with any new pad set. If the shim is bonded to the pad backing plate, it comes off and on as one piece and is replaced with the pad.
Conclusion
Start by proving the noise is resonance: light pressure at low speed, no pull, no pulse, no grinding. Then confirm the pads have material left and the rotor is clean, unwarped and above minimum thickness.
If both check out, fit a correctly sized anti-squeal shim, put a thin film of the manufacturer-approved lubricant on the shim faces, pad back, pad ears and piston face, keep it off the friction surfaces, refit with new anti-rattle hardware, torque to spec and bed the pads in properly.
When the noise comes back, the hardware was reused or the rotor was never checked. When the noise changes to a grind, a soft pedal or a pull, stop greasing and get a mechanic on it. The squeal you can silence is the cheap one, and that is the whole point of doing this yourself in 2026.