
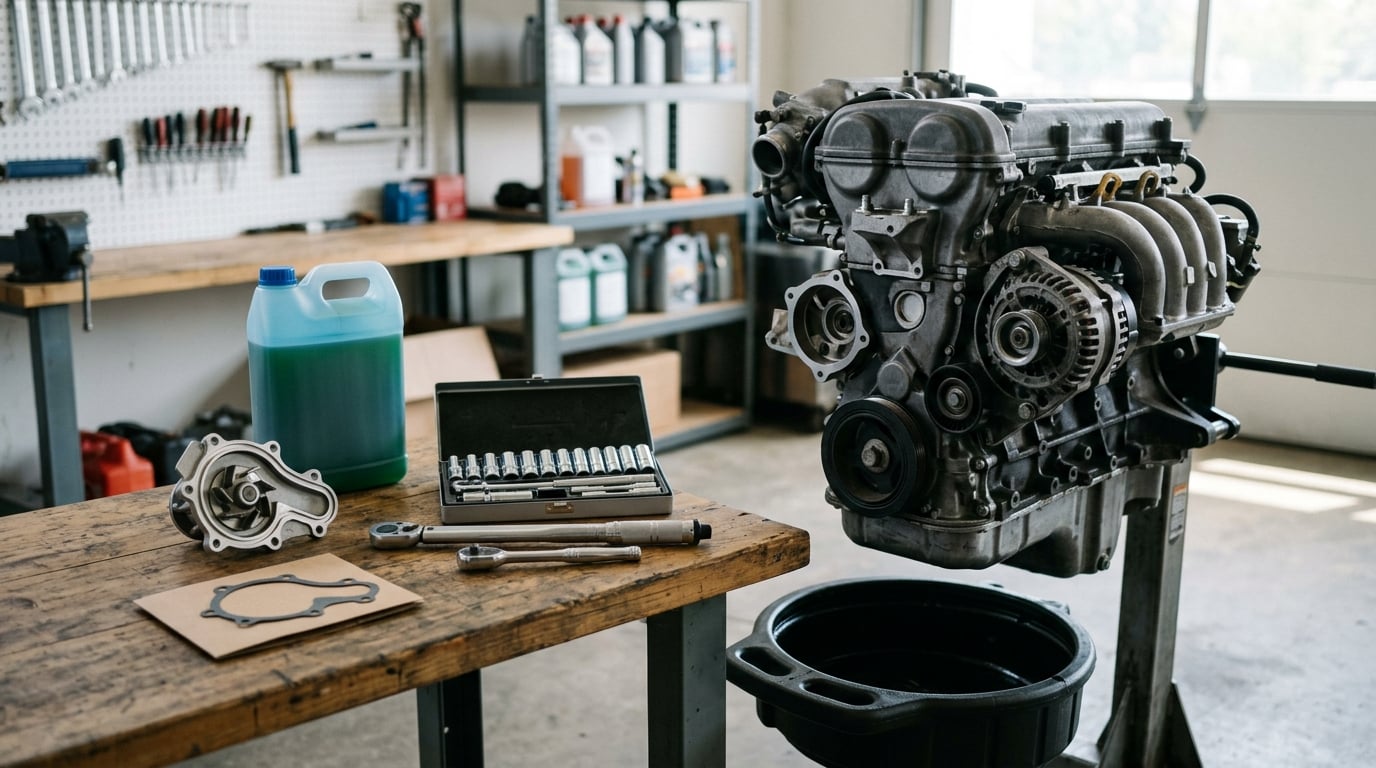
Replacing a BMW water pump is straightforward on some engines and a genuine project on others. On a belt-driven N52 or N26 the pump comes off with a handful of bolts from above in the engine bay, while on an N54 or N55 the same part hides behind the anti-roll bar and subframe area. Identifying which engine you have, and how that pump is driven, is the difference between an afternoon job and a weekend one. This guide walks through the full sequence for the common BMW engines, the tools you need, and the mistakes that turn a simple repair into an overheating comeback.
The short version: on most six-cylinder BMWs the pump is belt-driven, driven off the front of the engine, and sits at the front or side of the block. On the N63 and on later four-cylinder engines the pump is electrically driven and bolts to the side of the block behind a cover. Always confirm with the VIN and the engine code on the housing before you buy a single part.
Table of Contents
- What You Need Before Replacing a BMW Water Pump
- Step-by-Step BMW Water Pump Replacement
- BMW Water Pump Replacement Guide by Engine Family
- 1. Confirm the Engine and Replacement Parts
- 2. Prepare the Car and Drain the Coolant
- 3. Remove the Fan, Pulley, or Access Components
- 4. Remove the Old Water Pump
- 5. Inspect, Clean, and Install the New Water Pump
- 6. Refill and Bleed the Cooling System
- 7. Verify the Repair Before Driving
- Common Mistakes That Cause Comeback Leaks and Overheating
- Frequently Asked Questions
- How do I know which BMW water pump replacement procedure to use?
- Is it safe to replace a BMW water pump with the engine cold?
- Does replacing a BMW water pump require timing-chain removal?
- What should I check after refilling a BMW cooling system?
- When should I have a BMW water pump replaced by a mechanic?
- Conclusion
What You Need Before Replacing a BMW Water Pump
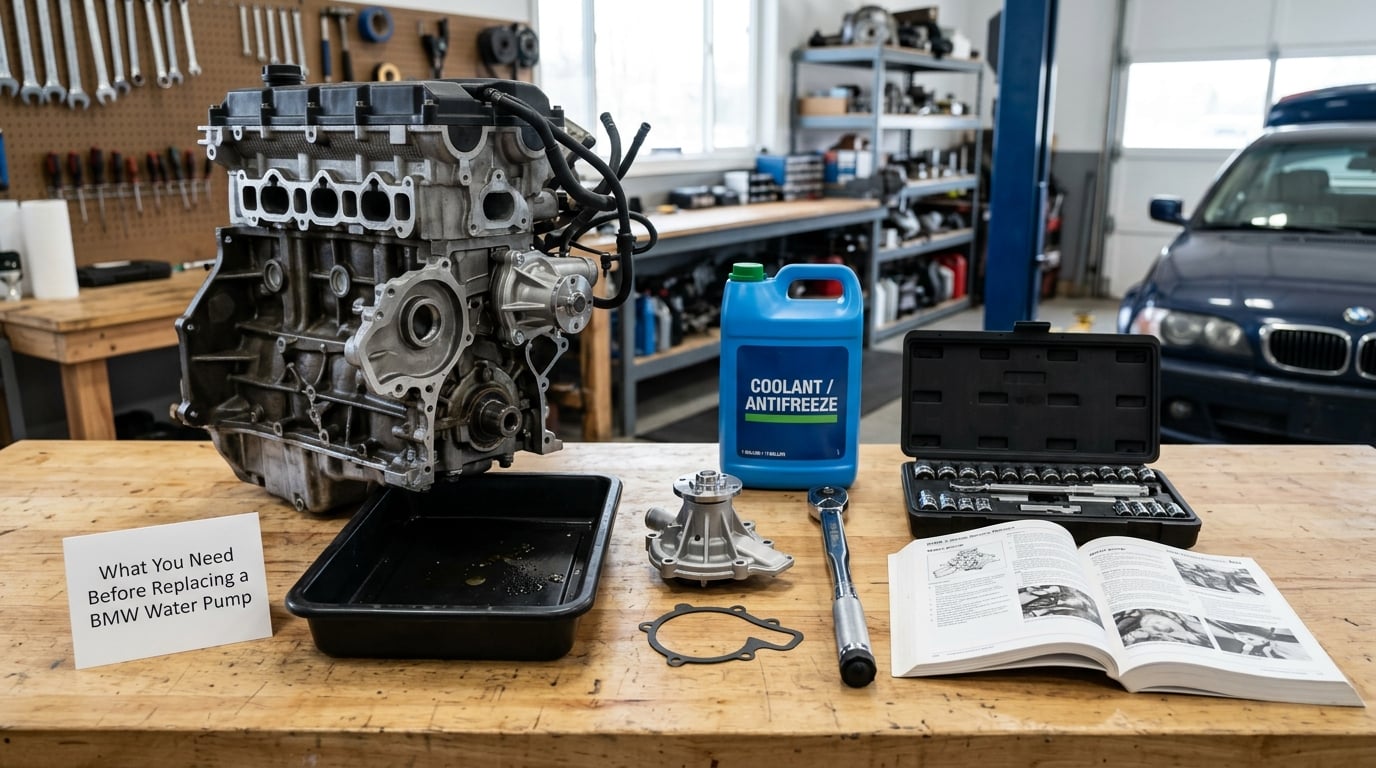
The short list of tools is short. The short list of things that go wrong is not, and most of those mistakes trace back to using the wrong procedure for your engine family.
Before anything else, get the model-specific service information for your VIN. A workshop manual or the manufacturer repair information for the exact engine code is what tells you the pump part number, the sealing parts, the tightening sequence, and whether a fastener needs a final angle added after the torque value. If you have never read a BMW fastener spec before, our guide to reading a torque spec chart explains the format and why those values matter.
Here is what to have on the bench:
- The correct coolant pump for your engine code, plus the thermostat housing gasket, the water pump gasket or O-rings, and any new retaining hardware the repair information calls for.
- BMW-specification coolant in the correct volume for your cooling system, plus distilled water for topping up if the procedure calls for it.
- A drain pan large enough to catch what comes out. On a cooled system that can be several litres, so use the biggest pan you own or drain into a sealed container.
- A full socket set including E12, E14, and Torx sizes, a ratchet with a swivel head, and a swivel socket for pumps that sit at an awkward angle.
- A calibrated torque wrench covering the range the fasteners need, and a way to hold a pulley or fan hub while the bolt comes off.
- Engine-specific support equipment where the plan calls for it, such as a transmission jack or an engine support bar, plus a floor jack, jack stands, and wheel chocks.
- A socket for the engine cover plugs if the cover has to come off to reach the pump.
- Shop towels, a plastic scraper or card for cleaning gasket surfaces, a flashlight, and a way to catch small fasteners in a magnetic tray.
Now the important part: the parts and procedures differ significantly between engine families. The N52, N54, N55, N20, N26, and N63 families each have their own pump design, sealing method, access requirements, and special tools. Fasteners, sealing parts, and tightening procedures are not interchangeable across them, and a procedure written for a naturally aspirated N52 will not get you through an N54 turbo correctly. Work from the repair information for your exact VIN and engine.
Step-by-Step BMW Water Pump Replacement
Plan on three to five hours for an easy-access belt-driven pump if you have drained and refilled coolant before, and considerably longer if the pump sits behind the subframe area, if timing components have to come out, or if you are also replacing the thermostat and flushing the system. Read the entire procedure for your engine before starting, not as you go.
BMW Water Pump Replacement Guide by Engine Family
Use this map to decide what you are getting into, then confirm everything against the repair information for your VIN. Do not identify a pump by appearance alone, because several designs look very similar from above the engine bay.
N52 and N26 (six-cylinder and four-cylinder naturally aspirated engines)
These use a belt-driven pump at the front of the engine, driven off the serpentine belt. Access is generally from above, and owners on the BMW tech forums consistently report the pump coming away with only a few bolts once the cover and pulley are out of the way, using a ratchet and a swivel socket to reach the awkward lower fastener. No timing components need to come apart, and no engine support is required. This is the friendliest job in the range.
N54 and N55 (twin-turbo and turbo six-cylinder engines)
Also belt-driven, also at the front of the engine, but the pump sits much deeper. Depending on the chassis, the anti-roll bar, undertray, and possibly the subframe have to come out to reach the mounting bolts and the coolant connections. A thread on a babybmw.net N54 right-hand-drive pump removal thread described exactly this, saying you need to drop the anti-roll bar and that it is not a fun job, while noting the subframe can sometimes stay in place. Plan on a full day, and have the car properly supported.
N20 and the later B48 four-cylinder engines
These moved to a belt-driven pump mounted on the front of the block but tucked behind the engine cover and near the timing chain area, so access is tighter than the older straight-six jobs. Some variants use a plastic cover over the pump that has to be unbolted rather than lifted, and the drive can be the toothed belt rather than the serpentine belt depending on the engine revision. Check which one your engine uses before ordering a belt or a tensioner.
N63 and the electrically driven pumps
On the N63 V8, and on many later models, the coolant pump is an electric unit mounted to the side or front of the block and driven by its own motor rather than an engine belt. The pump itself is usually a simpler removal, but the coolant connections and electrical connector are cramped, and several fasteners on the block are long and corroded. A pump on these engines is generally a weekend job for a first-timer.
Whatever your engine, use the VIN, the engine code stamped on the block, and the manufacturer repair information to settle the design questions. If a forum post and the manual disagree, the manual wins.
1. Confirm the Engine and Replacement Parts
Verify the engine code and cooling-system layout before you remove anything. The engine code is on the block or on a label in the engine bay, and the VIN decodes the rest.
Check that the replacement pump or complete assembly matches your cooling-system and drive configuration, including the pulley style, the electrical connector if the pump is motor-driven, and the hose and coolant connection sizes. Mismatched housings will not seal or will not bolt up cleanly.
List every one-time-use item in the repair information: gaskets, O-rings, retaining hardware, and any spacer or shim the pump requires. Lubricating seals with clean coolant rather than applying sealant is the standard practice on these pumps, and forum advice on this point is consistent.
Check for special tools listed for your engine before the engine goes apart, not during. Once the pump bolts are out, discovering you need a holding tool or engine support is a bad afternoon.
2. Prepare the Car and Drain the Coolant
Work on a level surface with the car supported properly. Let the engine cool completely before you touch the cap, then open the radiator or expansion tank cap only when everything is cold. Removing a cap from a system under pressure sprays boiling coolant across the bay, and that is the most common way people hurt themselves on this job.
Disconnect the battery negative cable where the service procedure calls for it, which also stops the electric pump from cycling while the system is open. Place your drain pan under the drain point identified for your model, and expect several litres of coolant to come out.
Dispose of the old coolant properly. It is toxic and heavily regulated, so take it to a recycling centre or a shop that accepts used coolant rather than pouring it out or putting it in the bin.
Before draining, it is worth running the engine with the heater on full to open the heater core valve, which makes the system drain more completely and cuts down the air you have to bleed later. Our guide to topping off coolant correctly covers the expansion tank behaviour that catches people out at refill time.
3. Remove the Fan, Pulley, or Access Components
Remove these parts in the order your engine requires. On belt-driven engines that usually means the undertray, the fan shroud and fan or electric fan assembly, then the belt, and only then the pulley or pulleys that block the pump.
Mark the orientation of the belt and any pulley before removal. If the belt goes back the wrong way, the engine will not run correctly and you will not necessarily get a warning light about it. Photograph the routing while it is still in place.
Use the specified holding tool to stop the pulley or hub rotating while the bolt comes off. Do not clamp a wrench against a plastic pulley or a fan hub, because these distort and crack easily and the damage often only shows up weeks later as a wobble or a rattle.
Keep the belt clean and undamaged. If it looks tired, glazed, or shows cracking, replace it now while the access is already open, along with any tensioner or idler the repair information lists for belt work.
4. Remove the Old Water Pump
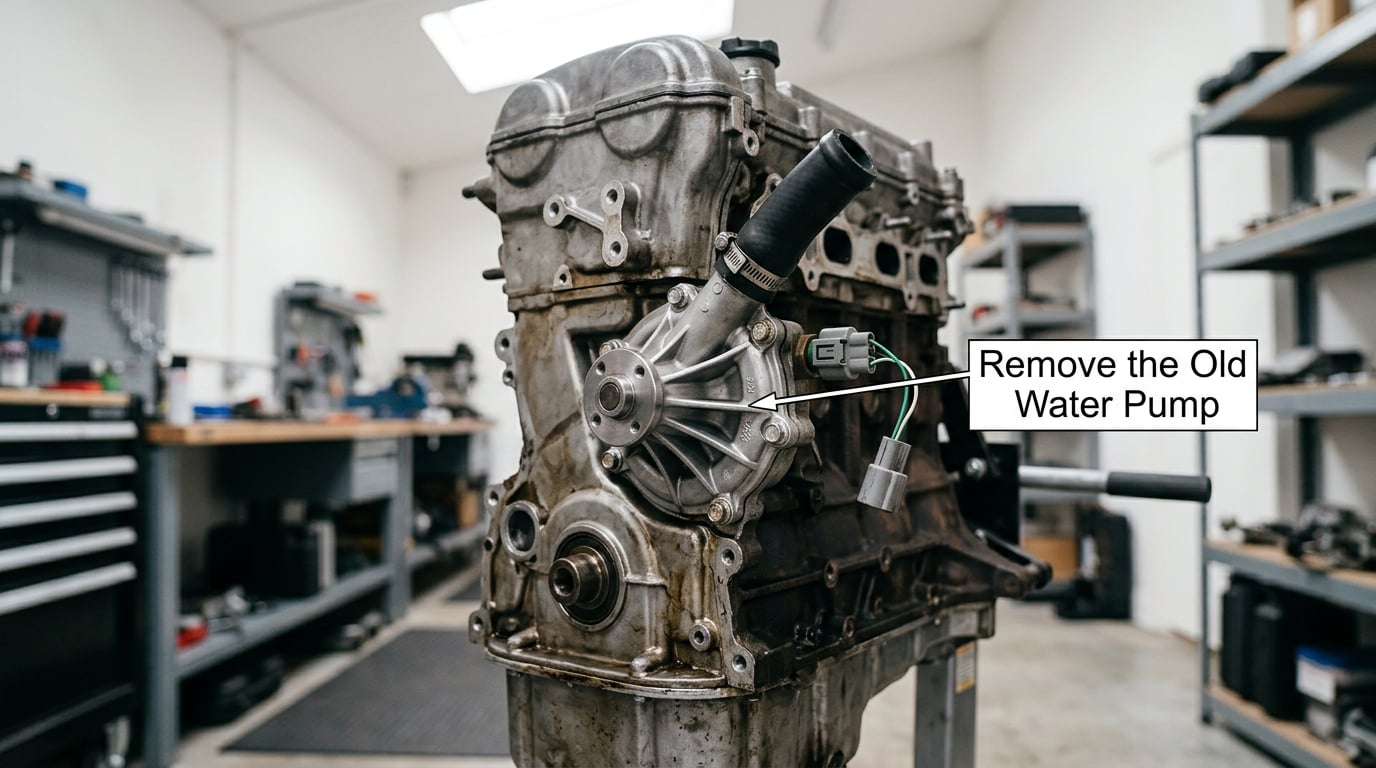
With the drive components out of the way, you should be able to see the pump housing, its mounting bolts, the coolant connection, and the electrical connector if the pump is motor-driven. Photograph the connector position and the hose routing before you disconnect anything.
Remove the coolant hoses and the electrical connector carefully. Hoses on older engines are often brittle and stick to the port, so break the seal with a screwdriver at the port face rather than twisting the hose, or you will split the hose and the port lip. Keep the port faces clean and take the caps off so nothing enters the system.
Unbolt the pump evenly rather than one corner at a time, and support the pump as the last bolts come out so it does not drop and damage the impeller. Keep the hardware in order, and note which bolts came from where.
Inspect the old gasket or O-rings. A gasket that is torn, stretched, or has a hard groove means the housing face may be scored. Look at the impeller while it is out: blades eroded or chipped, or a plastic impeller that has gone brittle and brown, all point to what failed.
If your engine uses a timing chain to drive the pump, the pump comes out as part of the chain cover. That means access to the sprockets, guides, tensioner, and the timing reference points, and every one of those has to be handled according to the model-specific procedure. Never rotate or start the engine with those components removed until their positions and engagement have been checked. Get the timing right by reference marks, not by feel.
5. Inspect, Clean, and Install the New Water Pump
Inspect the housing and the surrounding area before the new pump goes in. You are looking for cracks around the mounting face and coolant passages, corrosion or white deposit around the waterway, damaged threads in the bolt holes, and a damaged or cracked pulley if the new pump came with one.
Clean both mating faces with a plastic scraper or a credit-card-sized flat plastic piece. Metal tools leave scratches, and those scratches become the leak path the next time the pump comes off.
Fit the new gasket or new O-rings, lubricated with clean coolant, and seat the pump by hand without forcing it. If the pump needs a spacer, shim, or sleeve, fit it now. The pump should go in evenly by hand weight; if it needs force, something is misaligned and forcing it will damage the housing face.
Tighten the fasteners in the sequence and to the values given in the repair information for your engine. Many of these bolts specify an additional angle after the torque value, so a torque wrench reading the final figure is not a substitute for a protractor on the bolt. Our torque spec guide explains the difference between a plain torque value and a torque-plus-angle spec.
Hand-tight check every coolant connection and make sure no tool, rag, or socket is sitting in the open system before you move on.
6. Refill and Bleed the Cooling System
Reinstall the hoses, the electrical connector, the fan, shroud, pulley, and belt with the routing you marked. Check belt tension and pulley alignment, and confirm the engine turns over freely by hand where that is possible before you start it.
Refill with the coolant specified by BMW for the model, mixed as the repair information directs, typically with distilled water. Fill to the correct level and do not overfill the expansion tank, because the tank expands as the system heats and an overfilled tank pushes coolant out of the cap while the level reads as full when it is not.
Bleed the trapped air according to the model-specific procedure. Our guide to burping air out of a cooling system covers the general method, but BMW electric pumps add a step of their own: with the ignition on, cycle the electric pump for roughly five minutes, or use the diagnostic bleed function where the car has one. Owners on r/E90 report that skipping this step is why the running engine still overheats after a perfectly good pump replacement.
Watch for movement at the expansion tank and for coolant weeping at any joint as the level settles, and recheck the level once the system has warmed up and come back down.
7. Verify the Repair Before Driving
Go back over every drain point, hose joint, pump seal, the cap area, and the pulley alignment with a clean dry rag and a light. Confirm the electric pump runs when commanded if the car has one, and listen for the pump rather than assuming it started.
Confirm the engine reaches and holds normal temperature, that the cabin heater produces heat at idle, and that the temperature needle stays steady rather than climbing. A rising needle with no visible leak usually means air is still trapped, so go back and bleed rather than topping off the tank.
Watch for leaks, warning lights, and any noise from the front of the engine. Then do a short stationary test and a brief local drive, monitoring the temperature and the coolant level. Long enough to fully heat the engine through a complete cycle, not long enough to be somewhere you cannot pull over. If your cooling system was neglected, a full flush and refill at the same time is worth the extra time.
Common Mistakes That Cause Comeback Leaks and Overheating
These are the errors that show up again and again, each with the fix that prevents it.
- Confusing engine families. A procedure written for an N52 is not an N54 procedure. Fix: confirm the engine code from the VIN and block label before you start.
- Opening a hot cooling system. Fix: let the engine cool fully and remove the cap cold, every time.
- Forcing a seized fan or pulley. Fix: use the specified holding tool and support the component instead of levering against it.
- Reusing the old gasket or O-rings. Fix: fit new sealing parts and lubricate them with clean coolant, with no sealant.
- Cross-threading or over-tightening bolts. Fix: start every thread straight, tighten in the specified sequence, and stop at the specified value or angle.
- Incorrect belt routing. Fix: photograph the routing before removal and follow the manual arrows and tensioner marks on refitting.
- Damaging plastic pulleys. Fix: never clamp a wrench on plastic, and inspect for cracks after the job.
- Failing to cycle the electric pump. Fix: run the bleed cycle after the refill, not just the ignition-on step, and confirm the pump is actually running.
- Leaving air in the system. Fix: heat the engine to full temperature, let it cool, top up, and repeat a full heat cycle before you call it done.
- Ignoring small leaks. Fix: a weeping seal becomes a failed head gasket. Fix small leaks while the system is still apart.
- Rotating or starting an engine after chain removal without confirming timing. Fix: verify sprocket, guide, and tensioner positions against the reference marks before the first turn of the key.
Frequently Asked Questions
How do I know which BMW water pump replacement procedure to use?
Use the VIN and the engine code stamped on the block to identify your engine, then pull the repair information for that code. Pump design, access, sealing parts, and tightening values differ between the N52, N54, N55, N20, N26, and N63 families. Never pick a procedure based on how the engine bay looks.
Is it safe to replace a BMW water pump with the engine cold?
Yes, and cold is the only condition you should work in. A hot cooling system is pressurized, and removing the cap releases boiling coolant violently. Let the engine cool completely, open the cap only when everything is cold, and drain into a large pan with the car on a level surface.
Does replacing a BMW water pump require timing-chain removal?
On belt-driven pumps such as those on the N52, N54, N55, and most N20 variants, no. The pump comes off with the belt and pulleys removed. On engines where the pump is driven by the timing chain, the pump comes out with the chain cover, which means handling the sprockets, guides, tensioner, and timing reference points.
What should I check after refilling a BMW cooling system?
Check for leaks at every hose joint and the pump seal, confirm the electric pump runs when commanded, make sure the engine holds steady normal temperature, and verify the cabin heater produces heat. Run a full heat cycle, let the engine cool, then recheck the coolant level before driving normally.
When should I have a BMW water pump replaced by a mechanic?
Go to a shop when the pump sits behind the subframe area, when anti-roll bar or subframe removal is required, when the engine needs support equipment you do not have, or when the pump is chain-driven and you are not confident holding timing references. Access difficulty is the deciding factor, not the pump itself.
Conclusion
Start with the engine code and the pump design, because everything else follows from that one decision. Pull the repair information for your exact VIN, gather the pump, the new gaskets or O-rings, the thermostat, the coolant, and the special tools before the engine comes apart, and follow the model-specific tightening sequence and any specified final angle.
Then take your time on the two things that cause most of the comeback problems: keeping every timing reference intact if the chain cover came off, and bleeding the cooling system properly afterwards, including cycling the electric pump. Leak-test the finished job, run a full heat cycle, recheck the level, and only then drive normally. A water pump replacement done this way should not be something you think about again.
1 thought on “BMW Water Pump Replacement Guide: Common Models Explained 2026”