
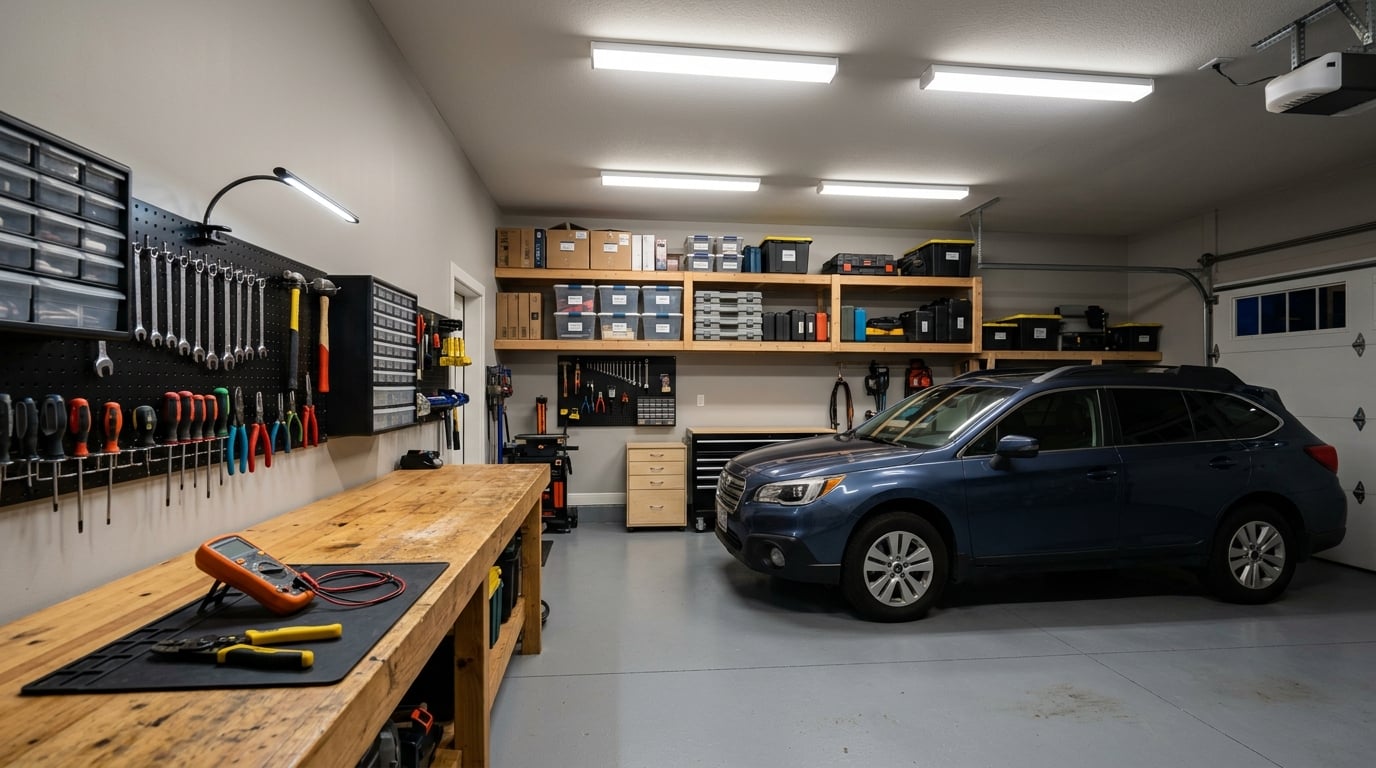
Adding lighting to a garage workshop comes down to three moves: replace the fixtures you already have, hang more lights on the circuit you already have, or run a new dedicated circuit. Most weekend jobs are the first or the second, and both are well within a careful home owner’s reach, as long as you size the load, mount to real framing, and verify the circuit before you switch it back on.
The part that trips people up is not the fixtures. It is the order of work. Work out how many lumens your floor area needs, decide where the shadows will fall, then find out what that circuit already carries. Do those three things first and the rest is a Saturday.
Nothing changes the quality of garage work more for a modest spend, mostly because poor lighting hides dropped fasteners, hides rust and hairline cracks, and throws a black shadow under every raised car hood. Here is the whole process, in the order I would do it.
Table of Contents
- What You Need
- How to Add Lighting to a Garage Workshop Step by Step
- Common Mistakes
- Frequently Asked Questions
- What type of lighting is best for a garage workshop?
- Can I add LED shop lights to an existing garage circuit?
- How bright should garage workshop lighting be?
- Should I use dimmers or occupancy sensors in a garage?
- How many lights does a two-car garage workshop need?
- Do garage light fixtures need to be installed by an electrician?
- Conclusion
What You Need
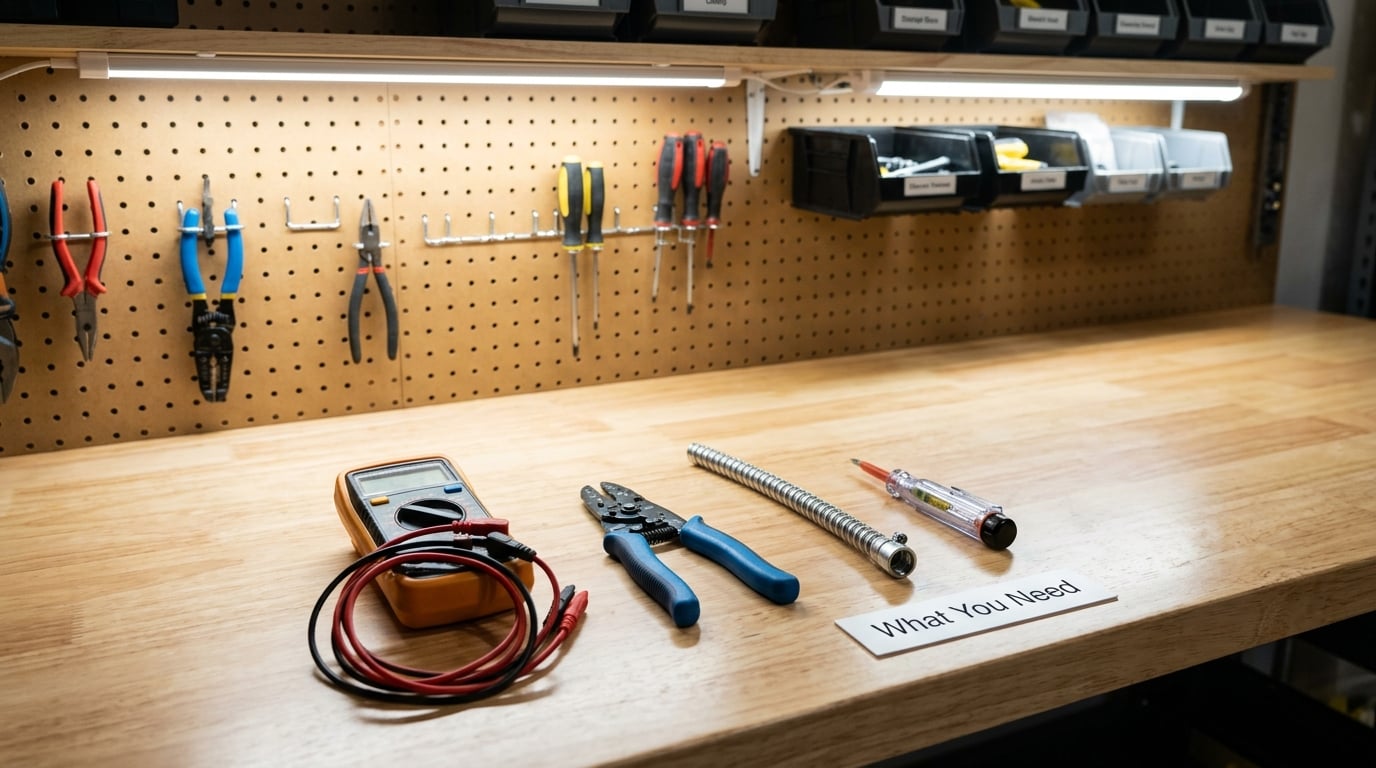
You can do this whole job with a hand tool set and a Saturday of free ceiling. The expensive mistakes happen when people discover mid-project that they need a junction box they do not have, or that the framing is not where they thought.
- Testing and safety gear: a non-contact voltage tester, a multimeter, insulated screwdrivers, safety glasses, a dust mask for working over old dust, and a step ladder rated for your ceiling height.
- Mounting hardware: box extenders or rings, joist hangers or box brackets, structural screws or wood screws long enough to bite into framing, a 2×4 or plywood backer for positions with no solid wood, and either chain or aircraft cable if you plan to suspend fixtures.
- Wire and connectors: cable matched to your circuit, connectors appropriate to indoor boxes, cable clamps, and running boards or conduit where cable will be exposed on a surface.
- Controls: single-pole switches, an LED-compatible dimmer, or motion sensors matched to the fixtures you picked. Buy controls and fixtures together, not months apart.
- Fixtures: sized from the lumen table further down, plus under-shelf or task lighting for the bench.
Have a second person handy for the moment you are holding a four-foot fixture overhead while trying to start a screw. That single helper saves more time than any power tool.
How to Add Lighting to a Garage Workshop Step by Step
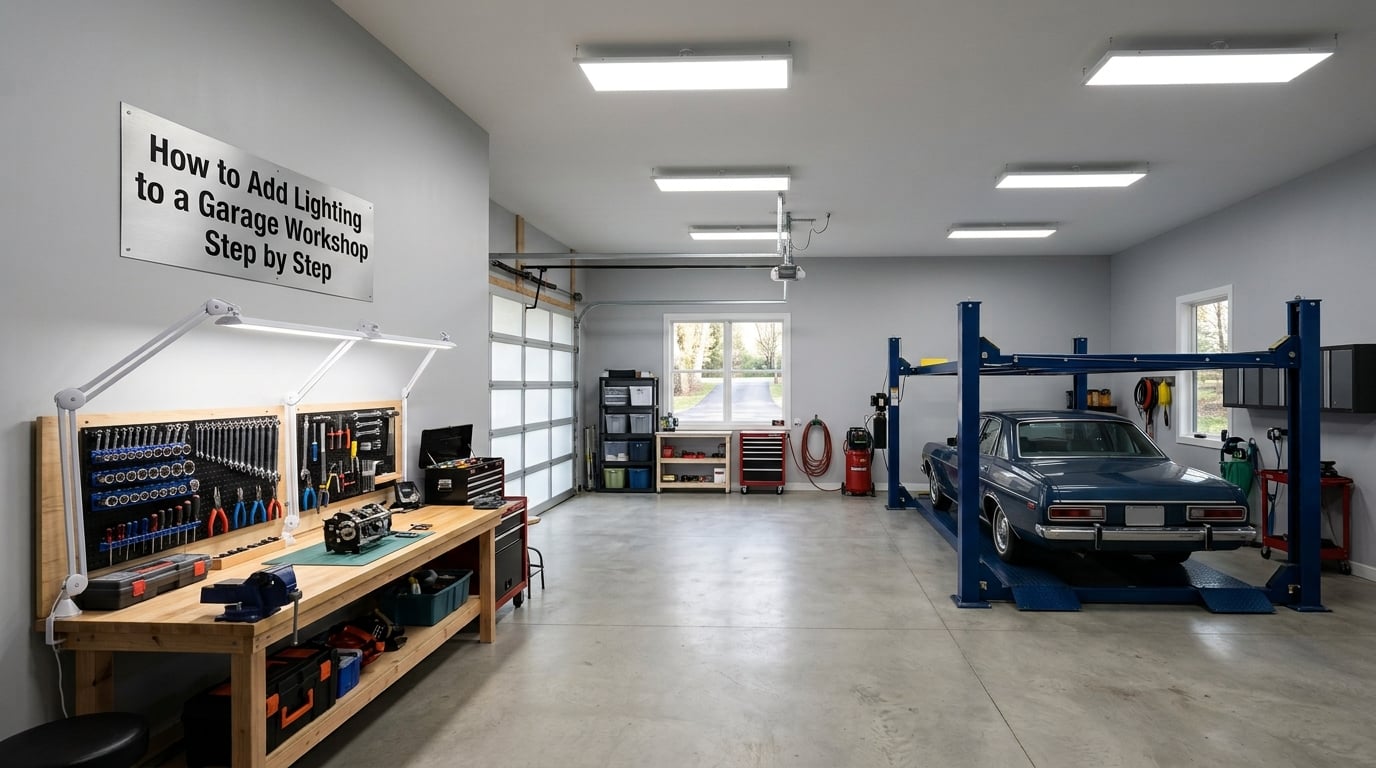
The process below covers the full job, from measuring your space to testing the last switch. It assumes basic electrical comfort, not professional training, and it stops at the point where a new circuit or a panel change is needed.
Plan How to Add Lighting to a Garage Workshop
Start by finding out what your existing electrical system can already do. Identify the breaker that feeds the garage ceiling lights and note everything else on that breaker, because the garage door opener and most of the outlets are often on the same circuit as the lights. Also note ceiling height, joist direction and spacing, and whether the joists are open trusses or dimensional lumber.
Next, measure the work areas rather than the whole room. Mark the dark corners with the door closed at night, because that is how the space actually reads. Most garages have three dark zones: behind the car, above the workbench, and along the storage wall.
Then size the light. Total lumens equals floor area in square feet multiplied by your target footcandles, and 75 footcandles is the practical target for general workshop work, while 100 suits paint, finish matching and fine mechanical detail.
| Garage size | Floor area | Target at 75 fc | Fixtures at 4000 lumens |
|---|---|---|---|
| 12×20 single bay | 240 sq ft | 18,000 lumens | 5 |
| 20×20 two car | 400 sq ft | 30,000 lumens | 8 |
| 20×30 two car deep | 600 sq ft | 45,000 lumens | 12 |
| 30×30 three bay | 900 sq ft | 67,500 lumens | 17 |
Worked example, because this is where people go wrong: a 20×20 two-car garage is 400 square feet, so 400 times 75 gives 30,000 lumens. At 4,000 lumens per four-foot shop light, that is seven and a half fixtures, so you round up to eight. A common beginner question on forums is whether a set of four shop lights is enough, and for a two-car bay it is roughly half of what you want.
Layout matters more than the last few hundred lumens. Run rows parallel to the workbench rather than toward the door, space fixtures at roughly 1.5 times their mounting height, and avoid a single row directly over the centre of the car bay, which is exactly what creates a black shadow under a raised hood. Offsetting a second row forward of the bumper line fixes that in one move.
Choose and Install the Right Fixtures
Four-foot linear LED shop lights are the right default for most residential garages, and surface-mount versions win whenever your ceiling is under nine feet. Reserve high-bay pendants and UFO fixtures for ceilings above about ten feet, where nothing fouls the door or the opener rail.
Work out the mounting material before the fixture arrives. Garages are usually one of three construction types, and each needs a different fix: a solid joist you can screw straight into, open trusses where you need a box hanger or a piece of blocking screwed between the chords, or a concrete or masonry ceiling needing anchors. Anywhere with nothing solid, screw a 2×4 or a plywood backer across the joists first, and mount to that.
Under nine feet of ceiling, skip suspension entirely or hang on chain from properly supported boxes. Chain-hung fixtures need real box support, and a bare hook into a joist will let a four-foot fixture swing every time a car door shuts. Mind the garage door path and the opener rail when you pick heights, and do not forget the bench itself. Under-shelf LED strips or an articulated arm light over the workbench do more for actual shop work than another ceiling fixture.
On colour, 5000K is the right default for a garage because it reads as neutral daylight without the warmth of 4000K or the clinical feel of 6000K. Push higher only when the work is colour-critical.
| Colour temperature | Best for | Watch out for |
|---|---|---|
| 4000K | General storage, parking, mixed living space | Can look dingy against bare concrete |
| 5000K | General workshop work, mechanics, woodworking | None, this is the safe default |
| 6000K | Paint and finish matching, detailing, inspection | Can feel harsh if it is the only light in the room |
Keep the same colour temperature within a single zone. Mixing 4000K and 6000K in one view makes a white part look slightly yellow next to a grey one, which matters if you are judging a finish. On colour accuracy, look for a CRI of 90 or better, and higher when you are matching paint.
Finally, choose between retrofitting and replacing. If the existing fluorescent fixture is solid, LED tubes or a new ballast can be the cheapest path and the forums regularly back that up. If the fixture is flickering, yellowed or rusting, replace the whole thing, because a new driver in a tired housing just moves the failure along. LED drivers fail far more often than the diodes, so buying fixtures with a replaceable or field-swappable driver saves you a whole fixture later.
Add Switches, Controls, and Energy-Saving Features
Yes, garage lights and outlets can share a circuit, and in most existing garages they already do. The 20,000 lumens and six-plus fixtures that confuse people are not the reason to run new wire; the reason is what else is on that breaker.
The load math is simple. A 15A circuit at 120 volts supplies 1,800 volt-amps and a 20A circuit supplies 2,400, and most people stay under about 80 percent of that for lighting. A 40-watt LED shop light pulls roughly 0.4 amps, so a string of them is rarely the problem. A welder, an air compressor and a couple of power tools on the same breaker are.
Put the first switch just inside the garage door, where you can hit it before stepping into the dark, and a second switch at the workshop end so you are not walking back to kill a zone you are done with. Two switches on two zones is the single most popular zoning upgrade in garage lighting threads, and it pays off every time you are welding with the rest of the room lit.
On controls, dimmers need to be rated for LED loads or the fixtures will hum, flicker or drop out at the low end. Occupancy sensors save real energy in a detached or dark-access garage, but check two things first: whether the sensor needs a neutral conductor to power its electronics, and whether the fixture is rated for the on and off cycle count, since cheap sensors cycling a driver every few seconds is a good way to kill it. Many lightsets come with the sensor built in, which sidesteps both problems.
Test the Lighting and Finish the Installation
Restore power one fixture at a time if you can, and test everything before you close the boxes. Confirm each fixture lights, each switch controls the zone you think it controls, and nothing hums.
If a new fixture flickers, buzzes or stays dark, work through it in order: loose or mismatched connectors, a driver that is not seated, an in-line dimmer that is not LED compatible, and only then the fixture itself. A short warm-up delay on a motion-sensor fixture is normal. Two, three seconds of flicker on switch-on is common in cheaper drivers and usually means the dimmer, not the light.
Then finish properly. Label the breaker and each switch in the panel with a marker so the next person, including you in five years, knows what they are turning off. Fit the fixture to the ceiling to keep dust, sawdust and bugs out, snap off unused knockouts, and give the diffusers a wipe. A marked panel and a clean lens are what separate a finished job from a weekend one.
Common Mistakes
Most of these are avoidable in the planning stage, which is another argument for planning first.
- Overloading a circuit. Fix: total up what is already on the breaker before adding fixtures. If a compressor or welder is on it, that circuit is not a lighting circuit.
- Hanging a fixture where there is no framing. Fix: screw a backer across the joists and mount to the backer, or use a box hanger designed for open trusses.
- Suspending from a bare hook. Fix: attach the fixture to an electrical box that is itself screwed to structure. Chain-hung lights swing and crack the box otherwise.
- Running exposed cable across a wall or ceiling. Fix: use running board, conduit or conduit connectors, and check what your local code requires over exposed runs.
- Cords snaked across the floor. Fix: it looks like a fix and it is a trip hazard that inspectors reject. Surface-mount the raceway or mount an outlet where you need power.
- Too few fixtures in one row. Fix: light for coverage, not for a single bright spot. One row down the middle leaves the bench and the storage wall dark.
- Forgetting the bench. Fix: add under-shelf strips or an arm light. Ceiling fixtures wash out at bench height where your eyes actually are.
- Mismatched controls. Fix: pair LED fixtures with LED-rated dimmers and sensors from the start, and never mix colour temperatures inside one zone.
- Over-lighting. Fix: 10,000-lumen panels in a two-car garage is blinding, not useful. Hit the footcandle target instead of shopping by headline lumens.
- Ignoring glare and shadow. Fix: epoxy and bare concrete both reflect hard. Matte surfaces, offset rows and task light beat brute force every time.
Frequently Asked Questions
What type of lighting is best for a garage workshop?
Four-foot linear LED shop lights are the best all-round choice for a residential garage workshop because they spread light evenly, link together and are cheap to replace. Surface-mount versions suit ceilings under nine feet. Add separate under-shelf or arm lighting over the workbench, since bench work happens well below the ceiling.
Can I add LED shop lights to an existing garage circuit?
Usually yes, because LED shop lights draw very little. A 40-watt fixture pulls about 0.4 amps, so most 15A or 20A circuits have room for several. The real limit is what else is on that breaker. A welder, air compressor or power tools on the same circuit are the reason to run a new dedicated lighting circuit instead.
How bright should garage workshop lighting be?
Target 75 footcandles across the work area, which works out to 30,000 lumens for a 20×20 two-car garage. Raise the target to 100 footcandles for paint matching, detailing and fine mechanical work. Convert with a simple rule: total lumens equals floor area in square feet multiplied by the target footcandles.
Should I use dimmers or occupancy sensors in a garage?
Both are worthwhile, for different reasons. Dimmers let you turn glare down for evening work and close inspection, but they must be rated for LED loads or fixtures will flicker. Occupancy sensors cut energy in a detached or dark-access garage, and built-in sensor fixtures are simpler and more reliable than add-on switches.
How many lights does a two-car garage workshop need?
A 20×20 two-car garage needs about 30,000 lumens, which is roughly eight four-foot shop lights at 4,000 lumens each. Space them at about 1.5 times their mounting height, run rows parallel to the workbench, and offset one row forward of the car so a raised hood does not block your view.
Do garage light fixtures need to be installed by an electrician?
Swapping a like-for-like fixture is routine DIY work. Running a new circuit, adding a sub-panel, moving an outlet or anything involving panel work should go to a licensed electrician, and local code plus permit rules vary. Check with your local authority before you start, because inspectors look closely at cable protection and support in a garage.
Conclusion
Start with the safe first steps. Walk the space at night with the door shut, note every dark zone, and write down what each breaker already serves before you touch a fixture. Then size the lumen target, choose 5000K fixtures at about 1.5 times mounting height apart, and mount them to real framing.
That is how to add lighting to a garage workshop without regretting it: the math decides how many lights, the layout decides whether they help, and the circuit check decides whether you can do it in a weekend or need a licensed electrician for the last stretch.