
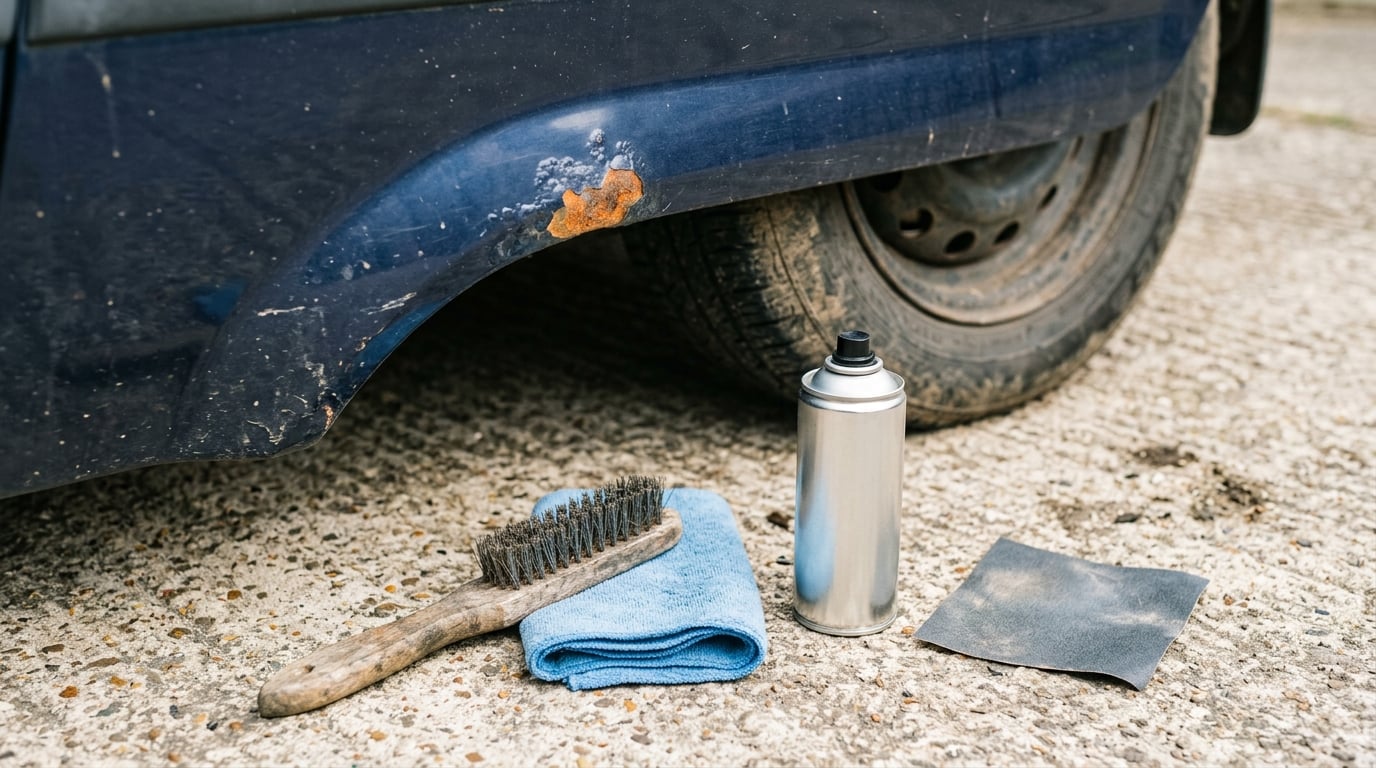
Surface rust is the orange-brown dust that forms on bare steel after paint chips, and it spreads until it reaches a seam or a hole. To treat surface rust before it spreads, wash the spot, abrade it back to clean bright metal, neutralise whatever rust is still sitting in the pits, then prime and paint. A small spot on a bracket is a 30-to-90-minute job with basic tools and moderate difficulty. The whole repair fails if you skip the bare-metal step, and I have learned that the hard way more than once.
Most people I talk to about rust are not trying to avoid a paint job. They are trying to avoid a body shop. Those are very different bills, and the difference between them is decided in the first ten minutes, by how the corrosion feels under your fingernail.
One thing worth saying up front: surface rust on a car is a warning stage, not a death sentence. The metal is still solid at that point, and a weekend of careful work fixes it permanently. What is not fixable with a wire wheel and a can of primer is the version you leave alone for two more winters.
Table of Contents
What You Need
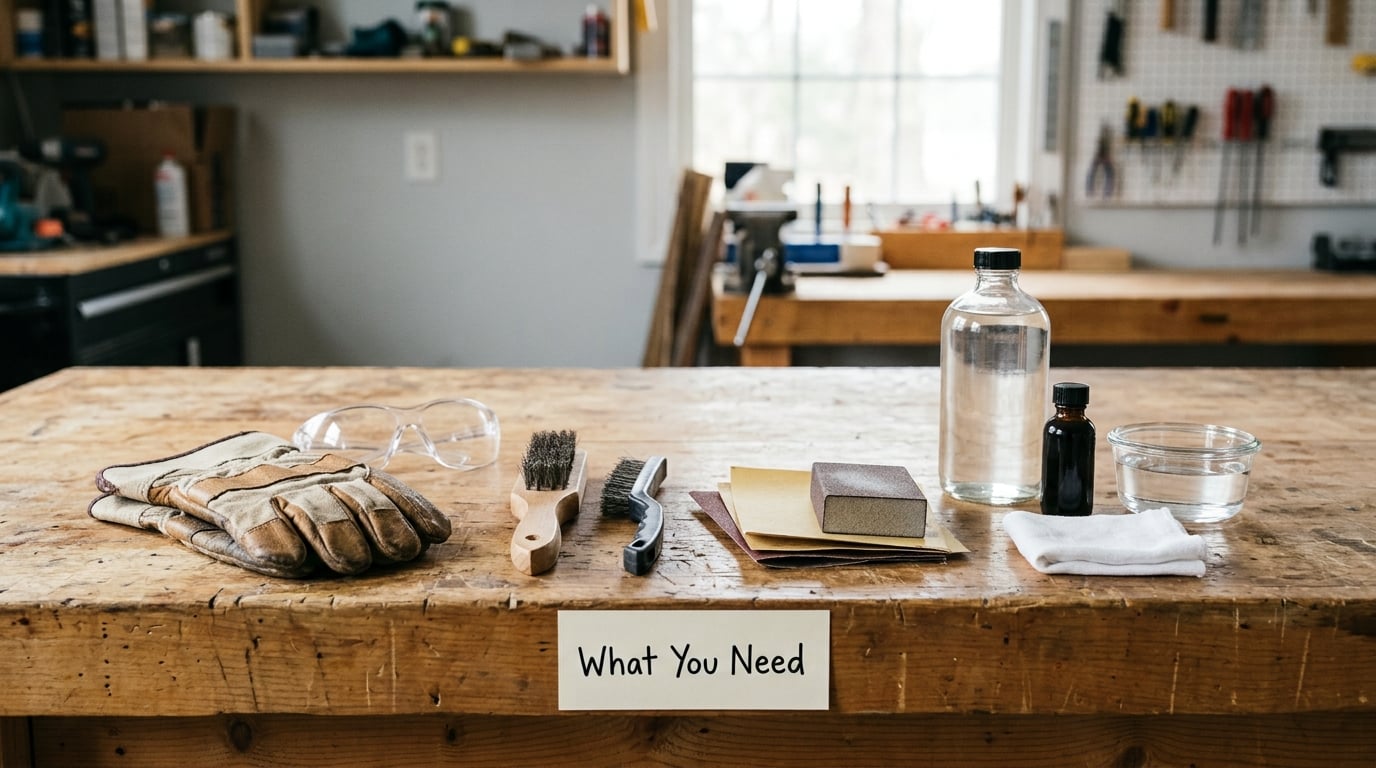
The list is shorter than most people assume, and you probably own half of it. What you are buying is abrasives, a converter, and a primer.
- Safety gear: nitrile gloves, eye protection, and a dust mask or respirator. Rust dust and converter gels are not things you want in your lungs, and the 80-grit step throws fine particles everywhere.
- Degreaser: automotive soap, dish soap, or a dedicated degreaser plus a bucket of clean water and a stiff nylon brush.
- Abrasives: a wire brush for a removed bracket or a coarse wheel for a flat area, plus 80, 220, and 400 grit sandpaper and a sanding block.
- Converter or neutraliser: a phosphoric-acid gel such as naval jelly, or a dedicated rust converter for spots you want to keep painted.
- Primer and paint: a rust-inhibiting or epoxy primer matched to your finish, plus touch-up paint or a clear coat if the repair is visible.
- Solvent and cloths: mineral spirits or pre-paint cleaner, a tack cloth, and plenty of clean shop towels.
The grit ladder is worth memorising because most people get the order wrong. Eighty grit removes rust and dead paint fast. 220 levels the scratches so primer can grab. 400 gives you a surface smooth enough that a paint pen or aerosol won’t look like a repair. Skipping straight from 80 to paint is why a lot of “fixed” rust spots look like scabs.
For the underside, add a penetrating oil undercoating. That is a different job with a different answer, and the people in why brakes rust when a car sits make the same point about the parts they treat with an annual coat.
Step-by-Step
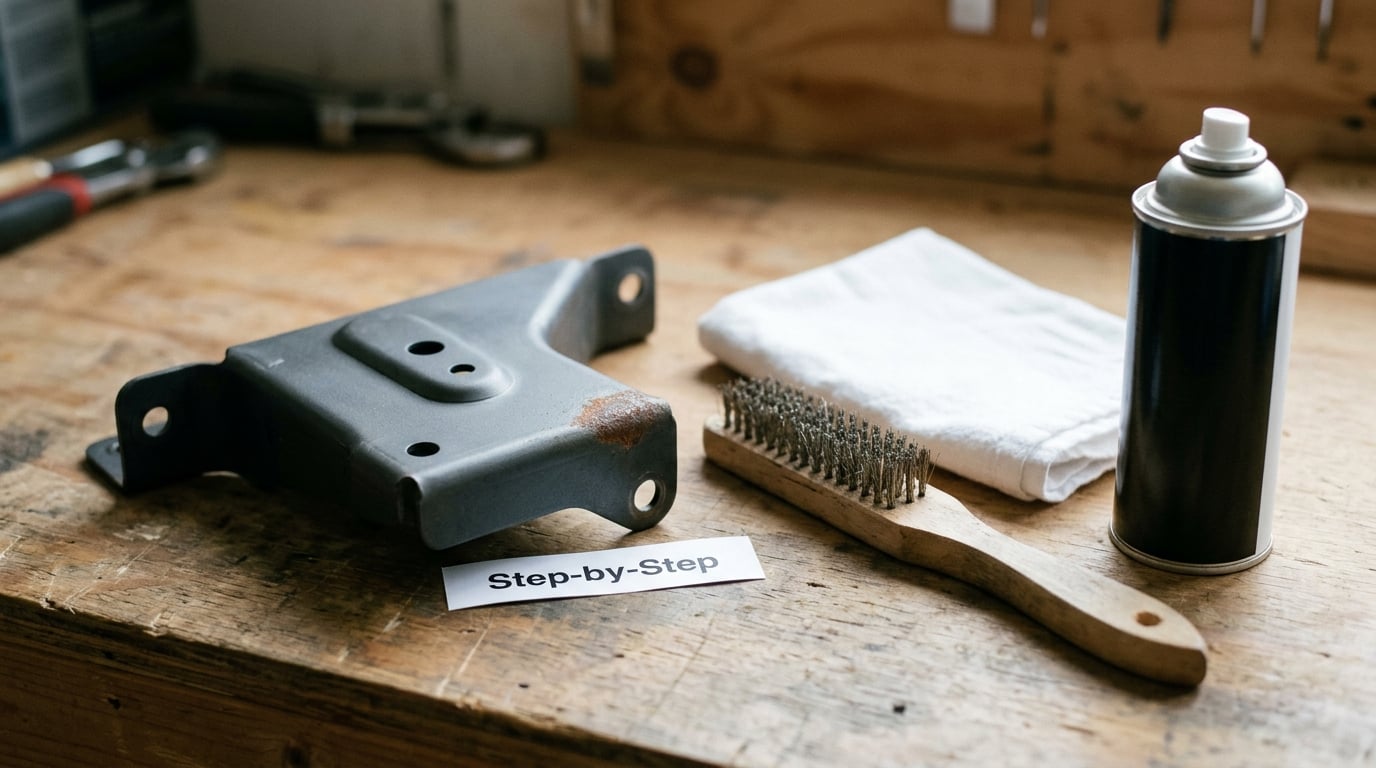
Work in this order and the repair will hold for years. Reverse two of the steps and you will be back here next spring with a bigger patch.
How to Tell Surface Rust From Structural Corrosion
Surface rust wipes or brushes off as powder and leaves the metal underneath still solid. Press a fingernail into it: if the surface gives way in flakes, you are past the easy stage and into pitting, which is the DIY boundary.
Signs you are looking at something more serious include paint that has bubbled from underneath, a panel that feels soft when you press it, and any visible pinhole. Rust that leaves a stain on a damp cloth but leaves the metal intact is cosmetic. Rust that flakes off in thick crunchy bits and takes metal with it has already begun to lose material.
One caution on the tactile test. On a rocker panel, press gently and only on an area that is already rusted. You are checking the corrosion, not testing the steel, and a firm push on a sound panel is a good way to create the dent you were looking for.
Remove Loose Rust and Bad Paint
Wash and degrease the area first, then abrade back to bare metal until only bright, clean steel remains. Extend two to three inches past the visible rust, because the stain edge on the paint is not the edge of the corrosion.
Skipping the wash is the single most common mistake in this whole process. Dirt, road grease, and salt get ground into the surface by the abrasive, and primer will not bond to a greasy panel no matter how long you let it cure. Clean, abrade, then clean again with solvent before anything wet goes on.
Use the least aggressive tool that works. On a visible painted panel, a wire wheel is too much; it will scratch the surrounding paint and expose fresh metal that you now have to treat. Abrasive paper, a red scuff pad, or a nylon wheel does the same job more politely. On a bracket or hardware you have already removed, a wire brush is fine and faster.
Sandblasting a thin body panel is another version of the same error. Media blasting a door skin or a fender can warp it, and you will not see the warp until the paint is on and it heats up in the sun.
Neutralize and Protect the Metal
You will rarely strip every trace of corrosion out of a pit, so treat what is left before you seal it. Apply a rust converter or neutraliser, work it into the pitted metal with a nylon pad, and leave it for the dwell time printed on the label.
A converter works chemically: it turns active iron oxide into a stable, inert black layer that can be primed straight over. Products like naval jelly and similar phosphoric gels do the same job. Follow the label on time and rinsing, because a converter left far too long can etch the steel you just cleaned.
If you skipped the converter, you are not finished. Let the metal rust-proof itself with nothing but primer, and any surviving corrosion has a damp, sealed space to keep going in.
For DIY acid soaks, phosphoric acid is the safest useful choice because it leaves a protective film behind. Citric acid, including plain lemon juice, works for small parts soaked overnight. Hydrochloric or muriatic acid is the one to avoid: the chloride ions promote fresh rust if any are not rinsed away completely, and that is the trap people fall into after a garage acid dip.
Never acid-dip or sandblast galvanised steel. You strip the zinc coating that protects the part, and you guarantee red rust later on a surface that used to be immune.
Seal and Finish the Repair
Prime the bare metal with a rust-inhibiting product within a few hours, while the steel is still clean and dry. This is the step that decides whether the repair holds, and the primer choice depends on what you are coating.
Epoxy primer is the strongest moisture barrier for ordinary steel. Self-etching primer chemically bites the metal and works well for bare steel when the manufacturer specifies it. Zinc-rich primer is for structural, frame, or galvanised-adjacent work, where a sacrificial layer is worth the extra step. A one-part aerosol primer from an auto parts store is a reasonable weekend choice on a small spot.
Follow the product data sheet on flash time between primer and paint, and give it more time in cool, damp weather than the label suggests. Then apply your topcoat, and a clear coat on a visible panel if the rest of the car is glossy.
Before you call it done, look at the repair under a light. Check for holidays, thin spots, and bare metal at the edges where the repair meets the old paint. Those feathered edges are where the next chip starts, and a touch-up pen on a warm day is much easier than doing the strip-and-prime cycle again.
Common Mistakes
Painting over rust that is still there. This is the mistake that ends in a body shop. Paint is permeable enough that corrosion keeps growing underneath, and the repair fails by bubbling and flaking rather than by looking obviously wrong. Strip to bare metal first, every time.
Skipping the degrease. It feels like a wasted ten minutes. It is the difference between primer that bonds and primer that peels off in sheets next winter.
Going too coarse and staying there. Eighty grit for the removal, 220 and 400 to finish. Skipping the intermediate grits leaves a scratch pattern the primer follows straight into the topcoat.
Using a wire wheel on painted bodywork. Fine on a part that is already off the car, too aggressive on a panel you still want to look good. Follow the same logic before you write a lightly scuffed alloy wheel off over a thin oxide film and clean new brake rotors before install the same way.
Sealing moisture in. Painting over a damp panel or a seam that still holds water traps the electrolyte that rust needs. Everything you do before the primer has to leave the surface dry.
Ignoring the underside. The spot you can see on the door edge is rarely the only one. Put the car on a ramp or drive it over a creeper and look underneath with a flashlight, checking the wheel arches, rocker panels, and frame rails while you are there.
On the underside, the right answer is different. Do not strip it to bare metal. Wire-brush or flap-disc the loose scale off, then apply a penetrating oil undercoating once a year, because the oil creeps into seams and braces that no coating gun will ever reach.
When a Surface Rust Repair Is Not Enough
Stop and get a qualified repair professional when the metal moves under gentle pressure, when you can see pinholes, or when the corrosion is on a structural member. The line most DIY guides describe as the swiss-cheese stage is real: once the metal is perforated, filling and priming is a temporary patch over a hole, and the hole is the problem.
Brakes, steering and suspension parts, frame rails, floor pans, and anything carrying fuel or structural load fall on the far side of that line. Corrosion on a brake rotor or caliper bracket is a safety item, not a cosmetic one, and it deserves a conversation about why brakes rust when a car sits and how that is handled.
Two more situations where the garage is the smarter call: a rusted panel that has already had a previous repair and is now blooming again under fresh paint, and a car that is being assessed for purchase. A bloom under a recent repair usually means chemicals or residual contamination came out of a seam, and that is a diagnosis problem before it is a repair problem.
For buying, treat visible rust as a negotiating fact rather than a catastrophe. Surface rust on a rocker panel is a weekend. Perforation in the same spot is a different conversation, and the difference is worth several hundred dollars on the price.
Frequently Asked Questions
Can I just paint over surface rust on my car?
No. Painting over loose or flaky rust traps moisture and oxygen underneath, and the corrosion keeps growing until the new paint bubbles and flakes. Remove loose rust, clean and dry the surface, treat bare metal with a compatible rust-inhibiting product, then prime and paint. Paint applied over sound, sealed metal is fine; paint applied over active rust is not.
Does surface rust need a rust converter?
Not always, but it is the step people regret skipping. A converter turns active iron oxide into a stable, inert layer you can prime over, which matters in pits you cannot fully strip by hand. Follow the product label for application and dwell time, rinse as directed, and use it on remaining corrosion only, not as a replacement for removing loose rust.
How do I stop surface rust from coming back?
The main causes are moisture, damaged paint, trapped dirt, and poor drainage. Wash off road salt regularly, touch up chips and scratches while they are still small, seal exposed metal with primer and a durable finish, and clear drain holes so water is not sitting in seams. Inspect every three to four months, and always before and after winter.
Is it safe to use a wire brush on a car body?
A wire brush is useful on a bracket or hardware you have already removed, but on a visible painted panel it will scratch the surrounding paint and expose fresh metal that then needs its own treatment. Use the least aggressive abrasive that does the job, work lightly, and vacuum or wipe away every bit of loose dust before priming.
Does WD-40 remove rust on a car?
No. WD-40 is a water displacer and light penetrant, not a rust remover. It can loosen very light surface oxidation and it slows fresh corrosion by keeping water out of seams, but it will not convert or remove established iron oxide. Use it as a temporary barrier on exposed hardware, and a real converter when you want to neutralise existing rust.
How fast does surface rust spread on a car?
A paint chip can go from bare metal to orange surface rust within weeks, then bubble and flake within a few months, and reach pinhole perforation somewhere in the following year or two in salt-belt and coastal climates. Dry inland conditions slow it down. The practical takeaway is that the window between surface rust and a hole is measured in seasons, not years.
Conclusion
To treat surface rust before it spreads, do four things in order. Classify it first, so you know whether you are dealing with powder on solid metal or metal that is already flaking. Remove the loose rust and the surrounding bad paint back to bright steel, extending a couple of inches past the stain. Neutralise what is left in the pits, then prime and seal it before the steel has time to flash back to orange.
Then look underneath the car before you call it done, touch up the chips you passed on the way, and put a coat of oil undercoating on the underside once a year. The repairs that fail are almost never the ones done badly; they are the ones done halfway.