
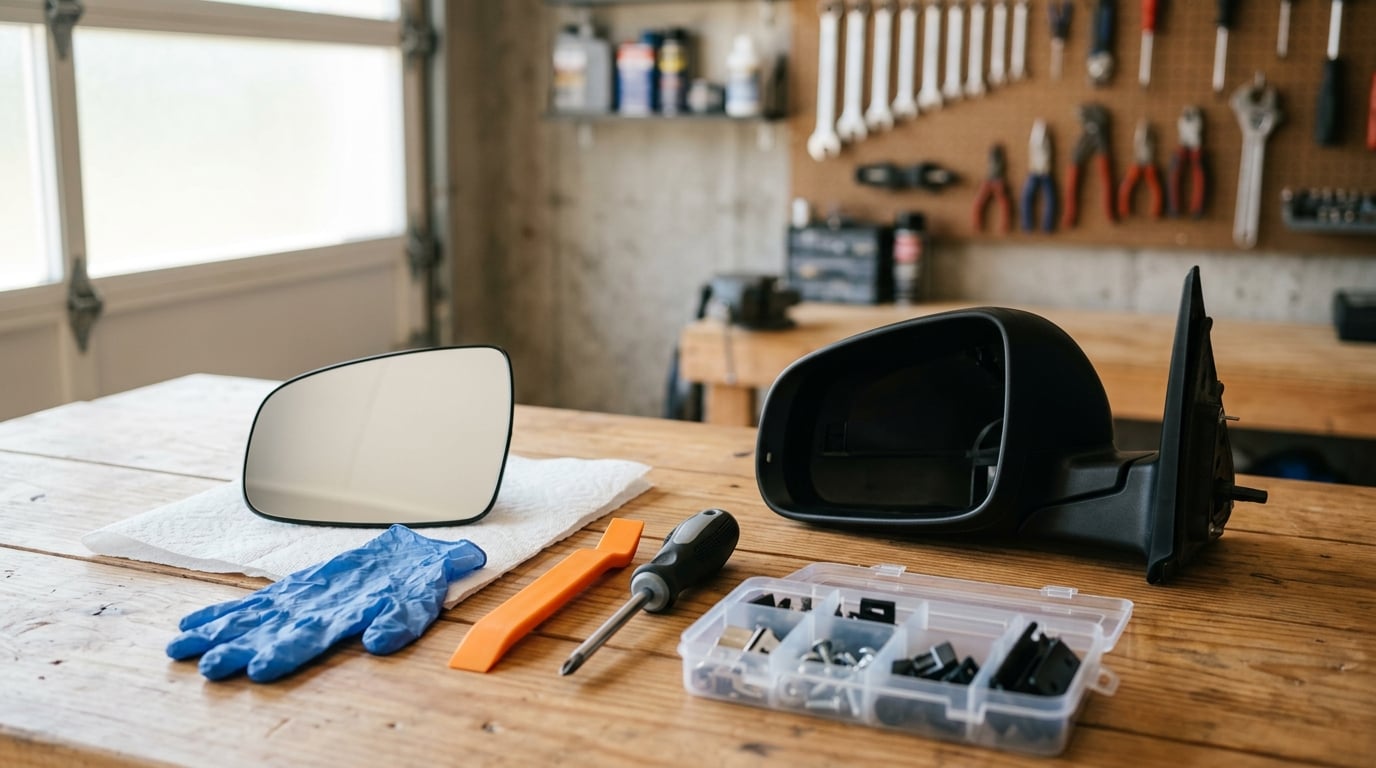
A cracked side mirror is almost always a glass-only job, not a whole-assembly job. How to replace a side mirror glass comes down to four things: matching the exact part, working the old glass out without snapping the plastic clips, prepping a clean bonding surface, and letting any adhesive fully cure before you drive. On a plain clip-in mirror the whole job takes 30 to 45 minutes with a trim tool and a driver. Heated, blind-spot and tow mirrors take longer because of the wiring and extra alignment pins.
The single most expensive mistake is ordering the wrong glass variant. Get the part number first, even if it takes ten minutes, and everything after that is mechanical.
Table of Contents
- What You Need
- Step-by-Step
- Frequently Asked Questions
- Can I replace just the glass on a side mirror?
- How do I know which side mirror glass to buy?
- How long does adhesive need to dry after installing mirror glass?
- Can I replace heated or blind-spot mirror glass myself?
- Do auto parts stores install mirror glass for you?
- Can you legally drive with a broken side mirror?
- Conclusion
What You Need
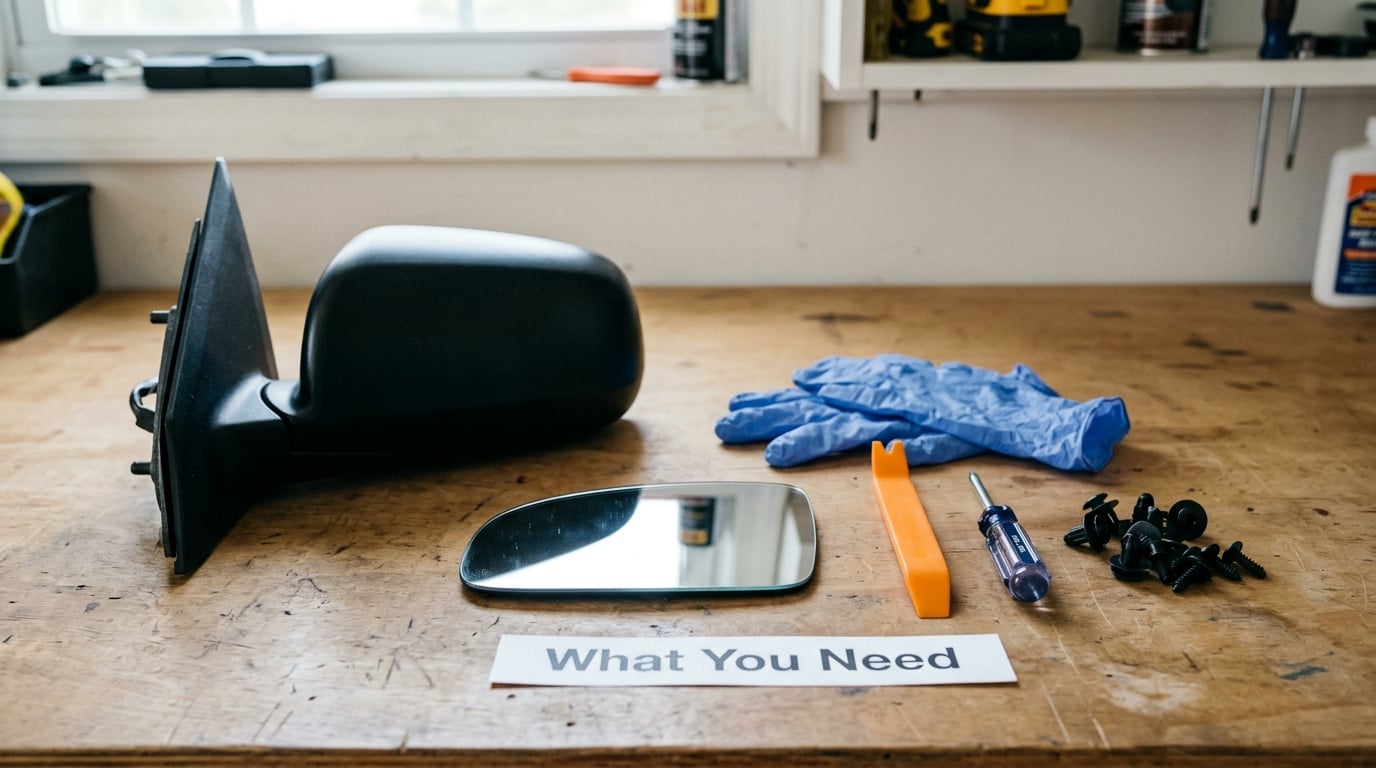
Most of this list costs you nothing because you already own it. The one item worth buying specifically is the replacement glass itself, matched before you start.
- Replacement glass — ordered by the original equipment part number, not by guesswork.
- Plastic trim removal tool — a flat wedge or panel fork. Never use a screwdriver for prying glass out.
- Flathead and Phillips screwdrivers, plus a T-25 Torx — Torx is the standard fastener on many mirror housings and their mounting bolts.
- Putty knife and a heat gun — only if your glass is adhesive-backed. A hair dryer works in a pinch.
- Nitrile gloves and eye protection — side mirror glass is tempered, so it breaks into small cubes, not shards.
- Painter’s tape and a moving blanket or thick cardboard — to protect the door paint and the glass below.
- Plastic-safe cleaner, a microfiber cloth, and isopropyl alcohol — for the bonding surfaces.
Before the glass arrives, confirm four fitment points. The glass must match the housing shape and the door it belongs to, because driver-side and passenger-side pieces are not interchangeable. The curvature has to be right too, since the wrong radius throws off your sense of distance in the mirror. The feature set has to match, meaning heated, blind-spot warning, auto-dim and integrated turn signal versions each look nearly identical from the outside. Finally, the mounting style has to match, whether the old glass clipped into a plastic backing plate or was bonded on with adhesive.
Where the feature set is unclear, the door jamb sticker carries a build sheet with a mirror part code, and the VIN resolves the same information. Matching that number is the gold standard and it eliminates nearly all ordering errors.
Step-by-Step
1. Identify the Correct Replacement Glass
Start with the part number, not the shape. Read the mirror code off the door jamb sticker or pull it up from your VIN, then confirm the glass you ordered carries that same number and the same side designation. A part number that matches but is built for the opposite door will look right and refuse to seat.
Then check the features your car actually has. Heated glass has two small metal tabs or spade connectors on the back and a few extra wires in the housing. Blind-spot warning glass has a lit indicator strip and its own connector. Auto-dim, or electrochromic, glass is a sealed unit with a wiring pigtail, and turn signal glass carries two more conductors plus a lens you can see edge-on. If the glass in your mirror has any of these fittings, the replacement needs the same ones.
Finally, work out how the current glass is held. Wiggle it gently. If it moves with a light, springy feel and there are visible plastic tabs around its edge, it is clip-in. If it does not move at all, or there is a black adhesive bead visible at the rim, it is stick-on. Tow and extended mirrors add a wrinkle: they have a large lower glass and a separate smaller upper or spot glass, and the upper glass is a different part with its own pins and alignment.
2. Protect the Car and Remove the Damaged Glass
Park on level ground, set the parking brake, and open the door fully. Disconnect the negative battery terminal before touching any heated, blind-spot or turn signal wiring. A short with the defrost circuit live will toast the mirror module.
Lay a blanket over the door and tape a sheet of paper or cardboard over the mirror so the pieces that fall have somewhere soft to land. Then cover the damaged glass with painter’s tape. Press it down across the cracks to bind the loose fragments together, which stops them dropping into the housing or the door.
Now comes the technique that most guides get wrong. Do not lever the glass straight out with a screwdriver. Instead, push the glass firmly toward the car, tilting it inward and slightly upward, until the top edge clears the housing lip. Once it is tilted, the clip tabs release on their own and the old glass slides out in a controlled movement. Pry on a tilt, never on a straight pull, and the plastic clips survive. Pull straight and you will hear the snap that turns a glass job into a housing replacement.
On a heated mirror, the two defrost tabs are the fragile part. Disconnect them first by pulling gently straight off the spade terminals, never twisting or letting the glass hang by the wires. If a tab tears off the back of the glass, the new glass has to match that connector, so note it before ordering.
For adhesive-backed glass you cannot slide or pry. Warm the rim with a heat gun on low, moving constantly, then work a putty knife under the softened bead. Peel the glass away gradually, keeping the knife flat against the housing so you do not gouge the plastic or the paint behind it. Heat and patience beat force every time.
3. Clean and Prepare the Mirror Housing
Scrape off every trace of old adhesive with a plastic card and the putty knife, then clean the rim and the backing plate with plastic-safe cleaner and finish with isopropyl alcohol. Any residue left behind keeps the new glass from sitting flat, and adhesive will not bond to a damp or oily surface. Let it dry completely before you go any further.
While you are in there, check the plastic. Look at each clip with the glass removed and press them gently with a fingernail. Mounting plates and clips get brittle after years in the cold, and a clip that is already cracked will snap during installation. If one has failed, replacement clips and the backing plate are usually sold with the glass, so swap them now instead of finding out on the roadside.
Check that no wire is pinched and that the clip slots are clear of plastic burrs. A quick tug on the harness should show firm connections at both the mirror and the door.
4. How to Replace a Side Mirror Glass on Snap-In, Clip-In and Adhesive Housings
For clip-in glass, set the new lens into the housing with the top edge first, then press along the perimeter and the centre in a slow, even sequence. Work around rather than hammering one point, and you will feel the clips grab as they seat. A gentle tap on the housing with the heel of your hand helps the last clips find their slots. Do not overtighten or force anything: if it will not seat, something is misaligned and forcing it will crack the new glass or the housing.
For heated or blind-spot glass, connect the electrical terminals before the glass is fully seated. Slide each spade or clip connector onto its tab until it stops, give it a light tug to confirm it is on, then tuck the wires into the housing so they cannot be pinched between the glass and the plate. Seat the glass last, with the wires following the channel rather than being folded under the lens.
For adhesive-mounted glass, remove the backing liner and hover the glass over the housing, checking that all edges line up before you touch it down. Once contact happens, the adhesive grabs in seconds and you cannot slide the glass to adjust. Press the centre first, then the outer edges, working outward to push air out toward the rim. A roller or the flat of your palm gets better contact than fingertips.
Tow mirror upper glass goes on the same principle but with the alignment pins. The pins have to enter their guides square, so support the glass from the back as you bring it up to the housing instead of letting the weight of the lens pull it off axis. Once the pins drop in, press the glass home evenly, the same as any other clip-in lens.
Reinstall the housing or door trim you removed, and take care not to pinch the harness when you push the sail panel or trim panel back onto its clips. Press until you hear the clips click, then check the panel sits flush all the way around.
5. Let the Repair Cure and Test the Mirror
Clip-in glass is finished the moment it seats, but adhesive glass needs time. Follow the adhesive maker’s instructions, and expect at least 24 hours before the mirror takes meaningful handling, with longer before washing, high-pressure jetting or sustained heavy rain. Tape a note to the steering wheel if you are tempted to clean the car sooner. Heat in direct sun speeds curing; cold and damp slow it down.
Test the mirror before you rely on it. Confirm the glass is tight all the way around with no rocking when you push it, then check the adjustment motor moves it through its full travel. Turn the heat on for a few minutes and feel the back of the lens for warmth. Watch the mirror indicator in the door and on the mirror itself with the blind-spot system active and the turn signal on. If the glass flexes or buzzes over rough pavement, back it out and reseat it rather than driving with it.
Call a body shop instead of pushing on if the clips are snapped and not available, the housing itself is cracked, the wiring pigtail is torn inside the door, the mirror module will not adjust or heat, or the blind-spot sensor will not clear after a power cycle. Those are electrical or structural problems behind trim panels, not glass problems.
Common Mistakes
Buying the wrong variant. The most common failure and the easiest to avoid. Check the part number, the side, the curvature and the features before ordering, not after the box opens.
Forcing the clips. If the glass will not release, you are pulling at the wrong angle. Tilt it fully inward and upward and let the tabs clear their slots. A plastic trim tool beats a screwdriver every time.
Bonding to a dirty or wet surface. Adhesive needs clean, dry plastic. Old glue, road film, and a damp morning all weaken the bond, and the glass can shake loose at highway speed.
Tearing the heating element tab. Disconnect heated glass with the battery negative disconnected, pull straight off, and never let the glass hang by the wires. A torn tab is not fixable with glue.
Overtightening housing screws. The housing shell cracks easily, and snug is enough, because tightening to match a metal bolt feels wrong the moment the plastic strips.
Driving before the adhesive cures. This is how a bonded glass ends up on the interstate. Treat the cure time as a hard rule, not a guideline.
Reaching for household super glue or general silicone. Both fail under heat cycling and vibration. That is the one repair that comes back to the driveway a week later with the glass on the road.
Forgetting a stick-on blind-spot add-on. Adhesive residue from an aftermarket spot mirror stops the new glass seating flat. Remove the add-on and clean the rim before the new glass goes on.
Frequently Asked Questions
Can I replace just the glass on a side mirror?
Yes, on most vehicles the glass is a separate part from the housing, so you can replace just the lens and keep the original mirror. The replacement has to match the housing shape, the correct side, the mounting style, and any heated, blind-spot or turn signal features. If the housing or the electrical pigtail inside the door is damaged, that part is no longer a glass-only job.
How do I know which side mirror glass to buy?
Use the original equipment part number from the door jamb sticker, or look the vehicle up by VIN. Confirm the side designation, because driver-side and passenger-side glass are not interchangeable even on the same car. Then check the features: heated, blind-spot warning, auto-dim and turn signal versions can look identical until you compare the connectors on the back.
How long does adhesive need to dry after installing mirror glass?
Follow the adhesive instructions on the tube, but most automotive products want at least 24 hours before the mirror takes real handling, and longer before washing or high-pressure spraying. Keep the vehicle dry and avoid heat cycling the panel during that window. Clip-in glass needs no cure time at all, which is one reason many owners choose it.
Can I replace heated or blind-spot mirror glass myself?
A careful owner can do it, but these mirrors are where DIY jobs go wrong. The heating element tabs are tiny spade terminals, and pulling glass off sideways tears them. Disconnect the negative battery terminal, unplug the connectors before you move the glass, and support the harness so nothing is pinched when the new lens is pressed into the housing.
Do auto parts stores install mirror glass for you?
Almost never. Stores such as AutoZone and O’Reilly sell the parts, and most branches do not have an install bay or a technician who fits mirror glass. Installation is counted as glass, not a service. The exception is a dealership or a dedicated auto glass and mirror shop, which is also the right call if your housing is cracked or the wiring is damaged.
Can you legally drive with a broken side mirror?
In most US states a cracked or missing side mirror glass is a moving violation, and officers do issue citations. Requirements differ by state, with some requiring both mirrors and others only the driver-side mirror, and a taped or heavily cracked lens can still fail inspection. Repair it before driving the car regularly, or check your state rules before you head out.
Conclusion
Do one thing before anything else: confirm the exact replacement part. Read the part number off the door jamb sticker or pull it up by VIN, match the side, the curvature and the feature set, and the rest of the job is straightforward. Everything after that is technique rather than guesswork.
Before you drive away, run through the same short check every time. The glass is seated with no rocking at any edge, all clips are engaged and none are cracked, the defrost and blind-spot connectors are firmly attached, adhesive has had its full cure, the adjustment motor moves freely, and the panel is back on with no wire pinched. Get all six and the mirror is good for years.