
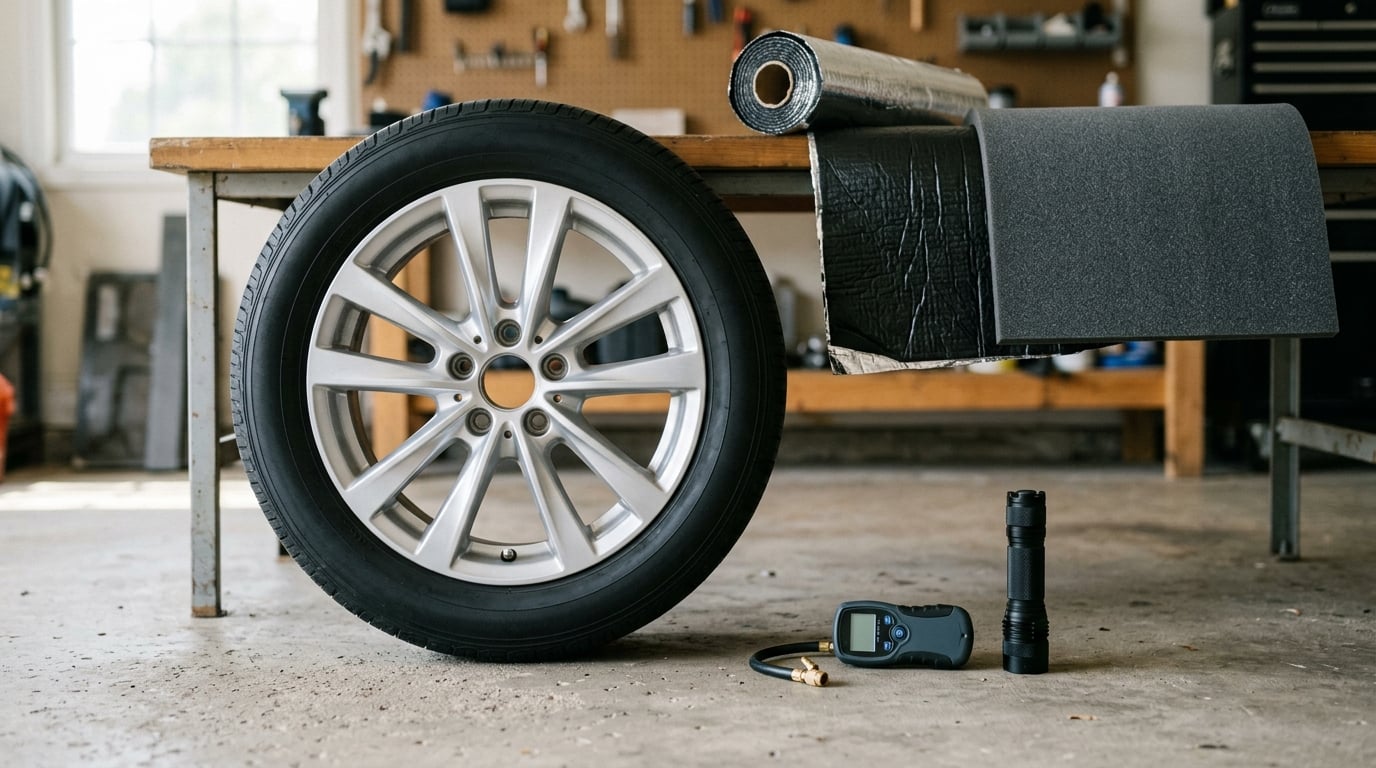
To quiet road noise in a car, work the noise path in order: rule out a mechanical fault first, then fix the tires and wheel condition, then reseal the gaps, then damp the panels that transmit the noise. Most owners start at the wrong end and buy a roll of matting for a problem that a worn wheel bearing or a bent rim is causing.
Three levers do most of the work here. Quieter tires with a taller sidewall, fresh or conditioned weatherstripping, and layered sound deadening on the floor and doors. The order matters, because a mechanical noise passes straight through any amount of matting.
Budget two to three hours for the diagnostic pass and the cheap fixes, and anywhere from a weekend to a full weekend-plus for a layered treatment of the whole cabin.
Table of Contents
- What You Need to Quiet Road Noise in a Car
- Step-by-Step: How to Quiet Road Noise in a Car
- Step 1: Identify When and Where the Road Noise Occurs
- Step 2: Check Tire Pressure, Tread, and Wheel Condition
- Step 3: Inspect Wheel Bearings, Hubs, and Wheel Inserts
- Step 4: Check Brakes and Suspension Components
- Step 5: Find Exhaust Leaks and Vibrations
- Step 6: Eliminate Cabin Rattles and Trim Buzz
- Where the Noise Enters: Doors, Floor, Wheel Wells, and Trunk
- Step 7: Confirm the Repair and Maintain the Result
- Common Mistakes That Keep Road Noise in Your Car
- Frequently Asked Questions
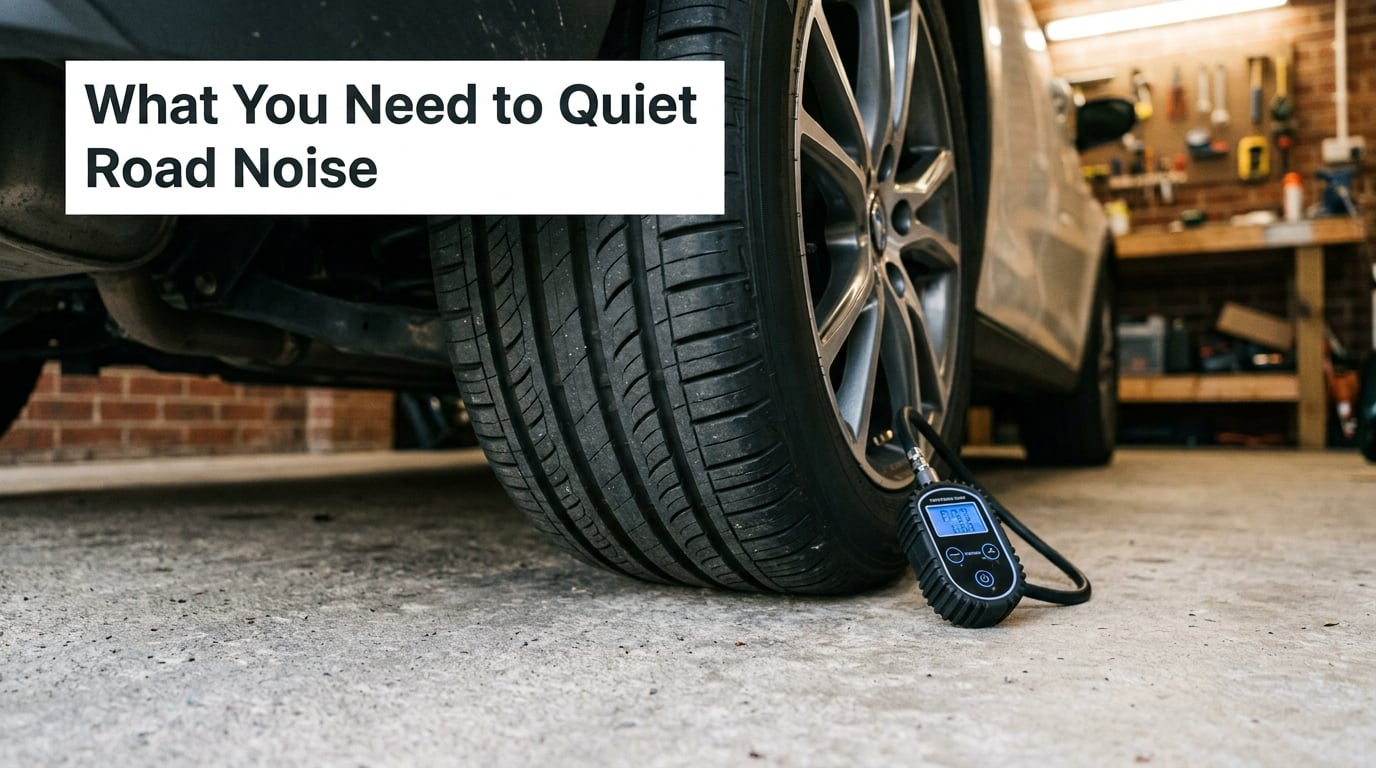
What You Need to Quiet Road Noise in a Car
Most of this job needs hand tools you probably already have. The list below covers the diagnostic work and the sealing and damping work, separated so you can stop after the cheap steps if the noise goes away.
For the mechanical checks you want a floor jack, a pair of rated jack stands, wheel chocks, a torque wrench, a socket set in metric and SAE, a tire pressure gauge accurate to half a pound, a bright flashlight, and a rubber mallet. Pry tools and plastic trim removal picks keep the interior clips from snapping when you start pulling panels apart.
For the cabin work you want a degreaser or brake cleaner, a silicone-based rubber conditioner, a butyl constrained layer damping mat, closed cell foam, and mass loaded vinyl if you are going the full layered route. A roller helps press the mat into contact with the panel, which is where most of the adhesive performance comes from.
One thing worth picking up is a sound meter app for your phone. They are not laboratory instruments, but running the same stretch of road at the same speed before and after gives you a number instead of a feeling, and that number is the only honest way to tell whether a treatment did anything.
Step-by-Step: How to Quiet Road Noise in a Car
Work these seven steps in order. Each one takes minutes except the damping work, and stopping early is normal because most of the noise is fixed in the first three steps.
Step 1: Identify When and Where the Road Noise Occurs
You cannot fix what you have not located, and every noise that sounds like road noise is not road noise. A humming bearing, a warped rotor and a loose exhaust hanger all get mistaken for a bad tire.
Record three things on your next drive: the speed at which the noise becomes obvious, where it comes from in the cabin, and what changes it. Does it rise with speed and fall when you lift off? Does a bump trigger it? Does braking change it? Does a turn change it? Does it change with engine load? Those answers separate the systems faster than anything you can hear parked in a driveway.
This table is the map I use. It is not a diagnosis, but it points at the right system most of the time.
| What you hear | Where it comes from | First thing to check |
|---|---|---|
| Low hum or rumble that rises with speed and fades when you lift off | Tires and road surface | Tire pressure, tread wear, sidewall height, alignment |
| Steady hiss that gets louder the faster you go | Air rushing past gaps in doors and windows | Weatherstripping, B-pillar seals, mirror seals |
| Deep boom behind the rear seats | Rear wheel wells and the floor above them | Wheel well liners, floor insulation, trunk seals |
| Growl that keeps getting louder over a few miles and does not change with throttle | Wheel bearing or hub | Play at the wheel, bearing hum on a jack |
| Rattling rasp over bumps or when the engine is under load | Exhaust or suspension | Exhaust leaks, loose hangers, worn bushings, sway bar links |
| Single thump or rhythmic knock at one wheel | Brakes or wheel fasteners | Warped rotor, worn pads, loose wheel nuts |
| Whistle at one specific speed that stops when you ease off | Body panel resonance or trim buzz | Dashboard panels, headliner edge, license plate bracket |
One r/askcarguys owner measured 85 dB at highway speed and far less at 30 mph in a car with nearly 200,000 miles on it. That speed dependence is the signature of tires and road surface rather than a mechanical fault, and it is a useful test to run on your own car.
Step 2: Check Tire Pressure, Tread, and Wheel Condition
The tires are the only part of the car touching the road, so they get first priority. A tire that is 4 psi under spec, a tire with a cupped patch of wear, or a bent rim will all produce a hum or a vibration that no amount of interior work will touch.
Check cold pressure on every tire against the number on the driver’s door jamb sticker, not the number molded into the sidewall. That number is the maximum, not the target. Inflate to spec, then drive again before buying anything else.
Look at the tread across the full width. Uneven wear inside the shoulders or feathering across the ribs points to alignment or a worn shock absorber rather than bad rubber, and replacing the tire will just buy you a few months. Look for cuts, bulges, and patches in the sidewall, and check the date code if the tire looks tired. A tire that has been sitting in a garage for six years is not a quiet tire regardless of the tread depth left on it.
Then check the rims. Run your hand around the outer lip and the inside of the barrel. A lip that has a dent or a sharp burr from a pothole will unbalance the wheel, and an unbalanced wheel makes a low-frequency shimmy that feels like it is coming from the seat.
Wheel size is the wall people hit. The top comment on the highest-ranking forum thread on this topic puts it plainly: on a vehicle fitted with large factory wheels and short sidewalls, no tire brand will be quiet, because the sidewall has nothing left to absorb. If that is your car, moving to a smaller wheel and a taller sidewall is the fix that actually moves the number. Otherwise, manage expectations and treat the rest of the cabin.
Tire pressure advice online contradicts itself constantly. Inflate to the placard value. Dropping a few pounds to soften the ride will change how the car floats over expansion joints, but it also changes handling, fuel economy and tire wear, and the placard is the manufacturer answering that question for your exact car.
When you get to the wheel fasteners, torque them to spec in a star pattern with a torque wrench. A single loose wheel nut on a car with a large alloy wheel produces a low roar that owners routinely misdiagnose as a bearing.
Step 3: Inspect Wheel Bearings, Hubs, and Wheel Inserts
A humming bearing is the mechanical fault most often mistaken for tires, and it gets more audible the longer the drive. On a car with a failing bearing, the hum usually rises with speed, does not change when you lift off the throttle, and often shifts slightly in pitch as you take a gentle turn.
Two checks do most of the work. First, with the car parked and the engine off, rock the car gently sideways at the wheel. Any perceptible clunk or grit in the motion points to a bearing, a hub, or a worn ball joint rather than anything you can quiet with matting. Second, jack the corner with the wheel off, spin it by hand, and listen. A smooth bearing spins quietly and evenly. A dry or pitted one makes a rasping or gritty sound, and a worn one feels like it has a notch in it as it comes around.
Never do this with the car on a jack alone. Set the wheel chocks, use rated jack stands on solid ground, and keep clear of anything that can drop. Brakes and suspension parts do not fail politely, and a car on a bottle jack is a car waiting to move.
While you are under there, look at the wheel insert or hub seal area and the dust boots on the caliper. A torn CV boot or a cracked dust boot leaks grease onto the brake rotor, and a greasy rotor squeals or hums in a way that reads as a tire problem.
If the bearing is smooth and quiet, go back to the tire and wheel. A hum that is present only above 45 mph and that you can feel through the steering wheel is nearly always a tire or balance issue, not a bearing.
Step 4: Check Brakes and Suspension Components
Suspension noise is the second-biggest source of phantom road noise. Worn control arm bushings, ball joints, sway bar link bushings and strut mounts all produce noise that travels up the body and comes out of the cabin as a knock or a rasp that most owners blame on the road surface.
With the vehicle on stands and the wheel off, look for rubber that has split, cracked or separated from its metal sleeve. Press on the ends of a sway bar link and move a control arm up and down while listening. Any clunk under load is a component at the end of its life. Check the strut and shock for an oily weep around the shaft, because a failing damper lets the wheel move in a way the tire was never designed to accommodate, and that generates noise before it generates visible problems.
For the brakes, a warped rotor makes a low hum or growl that appears whenever you are light on the throttle, which is exactly when road noise is loudest. It often disappears briefly under hard braking and returns when you ease off. Worn or glazed pads and a caliper that has stuck partly closed will rasp at low speed. If the sound is rhythmic and tied to wheel rotation, do not tune the stereo, check the rotor edge for a lip you can catch a fingernail on.
Loose fasteners anywhere in the suspension produce exactly this symptom, so tighten what you find loose to factory torque and then listen again on the same road. Resist the urge to tighten things that were not loose. That is how people end up with a creak that did not exist before.
Step 5: Find Exhaust Leaks and Vibrations
An exhaust leak in front of the rear seat is often mistaken for road noise, and it is one of the few mechanical faults that gets louder with load. When you press the accelerator, a leak at the manifold, flex pipe or resonator can pull in air and add a hiss or growl right where the cabin is quietest.
To find it, park on level ground, set the parking brake, and let the engine run. Cold metal contracts, so a leak that is hard to hear on a cold morning often opens up once everything is hot. Listen under the car with the engine idling and again with someone revving it in a safe, open area. Some owners spray soapy water along the joints and watch for bubbles, and others park the car in a garage with the door closed and listen for the sound to follow them into the room, which is a fast way to confirm the leak is forward of the rear axle.
Check the hangers and mounts along the way. A cracked rubber hanger lets the pipe touch the body under load and then release, and the result is a metallic zap that shows up on bumps and hard acceleration. Broken shields over the pipe add their own rattle. Heat damage and a decayed or missing gasket are the two usual causes at the manifold joint, and both are straightforward repairs, though the manifold itself is usually a job for a shop.
Never tape over an exhaust leak as a quiet fix. A leak ahead of the catalyst can push exhaust into the cabin, and on some vehicles it will also trigger a check engine light. Fix the leak, then listen again.
Step 6: Eliminate Cabin Rattles and Trim Buzz
Trim buzz is the easiest noise in the whole job to fix and the most common source of a bad first impression. It shows up as a rattle at a single speed, a whistle that disappears when you press on a panel, or a rumble that starts on rough concrete and stops on smooth pavement.
Park on a quiet street, drive the speed where the rattle appears, and then have someone press on likely panels one at a time. A dash panel, the headliner at the A-pillar or windshield edge, the trunk lid, the license plate bracket, the seat rails, and the door frame rubber are all common. Pressing a panel that silences the noise names the culprit in about a minute.
Clean the contact point with a degreaser before adding anything. A rattle in a dirty gap will come back within weeks. Plastic trim clips that have gone brittle snap easily, so replace them rather than reusing tired ones, and route any cable or wire bundle away from where the panel closes.
This includes the exterior bits that make plenty of noise. A rattling windshield cowl, a loose hood insulation pad, a missing wheel well liner, or a heat shield hanging by one bolt will all read as cabin noise on a rough road.
Where the Noise Enters: Doors, Floor, Wheel Wells, and Trunk
Once the mechanical faults are cleared, you are left with real road noise, and it enters through two paths. Airborne noise passes through thin panels and gaps. Structural noise is vibration travelling through metal, and it feels like a boom in your seat rather than a sound in your ears. Each path needs a different material, and this is where most DIY attempts go wrong.
Butyl constrained layer damping mat, sold by the square foot, stops a panel from ringing. You press it onto the bare metal, not onto carpet or a moisture barrier, and once it is on it turns a thin sheet of steel into a much heavier panel that does not want to vibrate. Apply it to at least a quarter of a panel, and 60 percent coverage is better. It works in bands, so leave the gaps where you planned to put them but keep the coverage even.
Closed cell foam, typically half an inch thick, absorbs airborne sound in the cavity behind the panel. It is a second layer, not a replacement for damping.
Mass loaded vinyl blocks. It is heavy for what it is, it goes on with 100 percent coverage with no gaps, and the seams between sheets have to be sealed with foil tape or the leak you created cancels the work you just did. Owners on the Lexus and 300m forums keep repeating the same line: it is the layering, not the thickness, that does the work.
Where you put it, in priority order, matters as much as what you use. The wheel well liners and the floor directly above them are first, because that is where the boom behind your rear seat comes from. Second is the floor and transmission tunnel. Third is the doors, which are the largest single airborne entry point and the easiest panel to work on. Then the trunk and its lid, the rear package tray, the firewall, and last the roof and headliner. If you only do one panel, do both front doors.
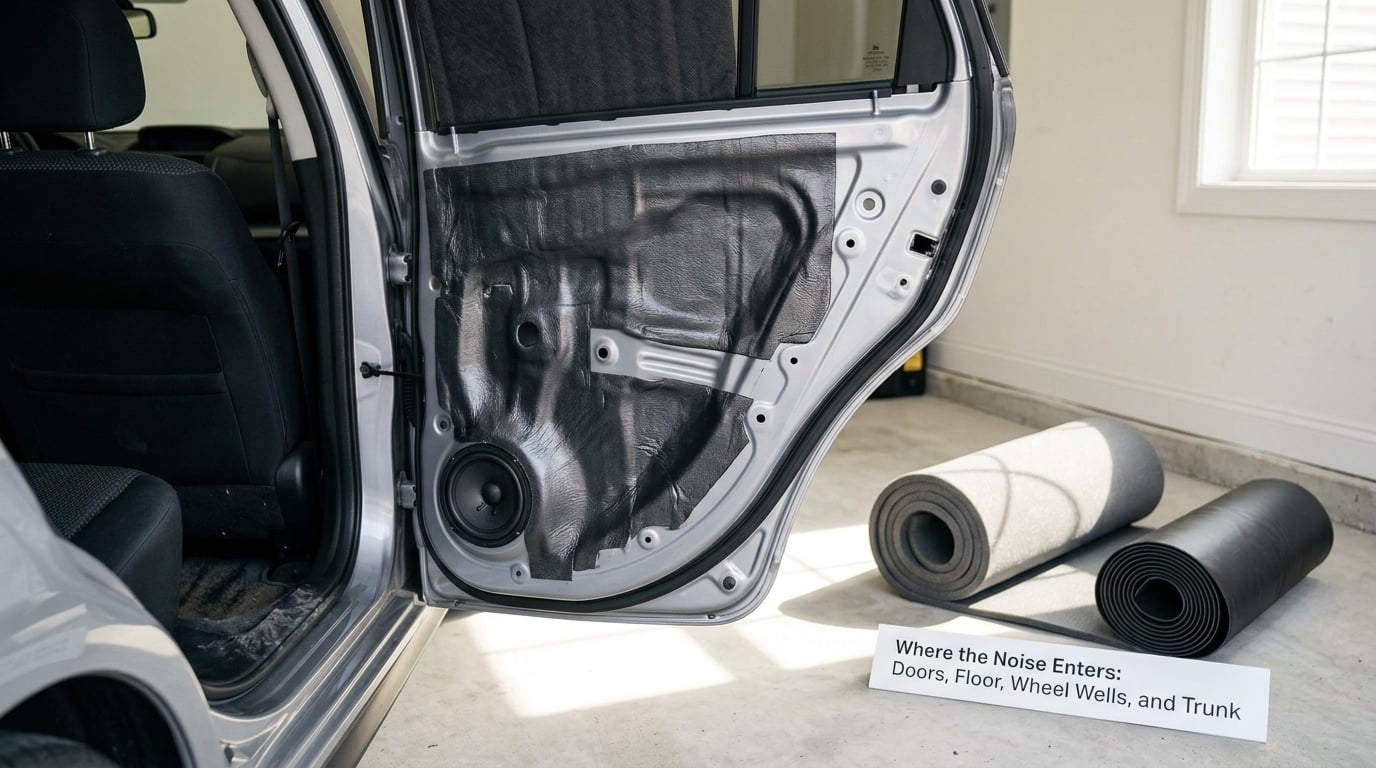
Owners on the Tesla Motors Club forums solve the rear-seat boom with a couple of inches of fiber insulation behind the rear seat side panels that cover the wheel wells, and a Juke Forums thread makes the same point from the other end: most people treat the floor and never get to the trunk. Skipping the wheel wells and the trunk is the single most common reason a full roll of matting changes nothing.
Realistic results matter more than enthusiasm. A partial job, meaning one door and part of the floor, typically takes about 5 to 8 dB out of the cabin. A full layered treatment across the floor, doors, wheel wells, trunk and firewall typically lands around 10 to 15 dB. Decibels are logarithmic, so 10 dB reads to most people as roughly half as loud. That is a real improvement on a highway drive, and it is not a recording studio. Anyone promising a silent cabin is selling something.
Step 7: Confirm the Repair and Maintain the Result
Test on the same road at the same speed you used before. Different pavement, a different route or a tailwind will fool you completely, and old concrete can be louder than new asphalt regardless of what you did to the car. Hold the phone meter in the same position, roughly at headrest height, and log a reading in both directions to average out the road camber.
Re-test at three speeds, around 30 mph, around 55 mph, and at your usual highway speed. Also test a rough surface and a smooth one. A fix that helps on smooth pavement but not on expansion joints is usually a tire or wheel-well job rather than a sealing job, and now you know that for free.
For upkeep, keep tire pressure at spec, check the tires for uneven wear every few thousand miles, keep wheel fasteners torqued, and have the suspension and exhaust checked whenever you have the car on a lift for something else. On the cabin side, wipe and condition the weatherstripping a couple of times a year with a silicone-based product, and look at the mat coverage in the wheel wells after a year, because that is where grit and moisture collect.
Common Mistakes That Keep Road Noise in Your Car
Buying matting before diagnosing. This is the expensive one. A failing bearing, a warped rotor or an exhaust leak will cut right through a full interior treatment. Identify the noise first, every time.
Replacing tires without checking alignment and wear pattern. If the tread is cupped or feathered, the tire is not the root cause. Look at the pattern before you order the replacement set.
Ignoring wheel damage. A bent rim, a burr on the lip, or one loose fastener will produce a roar or shimmy that sounds exactly like a tire. A ten-minute check saves a set of tires.
Working under a car on a bottle jack. Rated jack stands and chocks, every time, on level ground. This is the mistake that turns a noise complaint into an emergency.
Tightening components that were not loose. Every fastener you overtighten that was not making noise can create a new one. If it was not loose, do not touch it.
Using too little mat, or mat on a dirty panel. Coverage under a quarter of a panel does very little, and butyl will not bond to a surface with wax, oil or road grime on it. Degrease first, and press it down hard with a roller.
Leaving seams between barrier sheets open. Mass loaded vinyl only works at 100 percent coverage, and an unsealed seam is a hole straight through the layer you paid for.
Using heavy material to mask a safety issue. Thick barrier material adds weight, which costs you a little fuel economy, and a very quiet cabin makes it harder to hear sirens, turn signals and emergency vehicles. Keep the front doors and the driver’s window area less aggressively treated if you drive long distances, and never block a speaker or a horn.
One honest limitation: a car with large wheels and low-profile tires will never be as quiet as the same car on small wheels with tall sidewalls. Treat that as a fact of the build, not a failure of your work.
Frequently Asked Questions
What is the best material to block road noise?
It depends on which job you are doing. Butyl constrained layer damping mat stops panel vibration and belongs on bare metal at 25 to 60 percent coverage. Mass loaded vinyl blocks airborne noise and needs 100 percent coverage with taped seams. Closed cell foam is the middle layer that absorbs sound in the cavity. Most people need all three in that order, not a single thick mat.
What is the best tire to reduce road noise?
A grand touring tire with a smooth, closed shoulder tread pattern, fitted at the placard tire pressure, will be quieter than an aggressive all-terrain or mud-terrain design. The hard limit is sidewall height. On a large factory wheel with a short sidewall, owners consistently report that no tire brand fixes the noise, because the sidewall has nothing left to absorb.
Why do I hear a lot of road noise in my car?
Road noise comes from tires on pavement, air rushing past the body, and sheet metal vibrating. If the hum rises with speed and fades when you lift off, it is the tires. If it is a hiss that grows with speed, it is air through worn weatherstripping. A boom behind the rear seats is the wheel wells, and a growl that keeps rising over a long drive is worth checking for a wheel bearing.
Does soundproofing a car really work?
Yes, partially, and the honest numbers matter. A partial DIY job, such as one door plus part of the floor, typically takes about 5 to 8 dB out of the cabin. A full layered treatment across the floor, doors, wheel wells, trunk and firewall lands around 10 to 15 dB. Because decibels are logarithmic, 10 dB sounds roughly half as loud, which is a real gain on a highway drive.
What is the fastest way to quiet road noise in a car?
Check tire pressure and tread wear, then reseal the doors. Those two steps take under an hour and fix a surprising share of the complaints. If the noise is a boom behind the rear seats, a couple of inches of insulation behind the rear seat side panels over the wheel wells is the single highest-impact change for the effort. Save the full matting job for last.
Should I diagnose the noise myself or take it to a shop?
The first pass is within reach of most owners: tire pressure, tread wear, a flashlight check for rust on the rotor edge, and rolling the car on stands to listen at each wheel. Anything involving a lift, a bearing replacement, a warped rotor or an exhaust manifold joint is shop work. Never work under a car supported by a bottle jack, and use rated stands on solid ground.
Start with the free hour. Set the pressures to spec, look at the tread and the rims, listen for a bearing, and find out whether the noise changes when you lift off. If the noise survives that, reseal the doors and condition the weatherstripping, then measure with a phone app before you spend anything on material.