
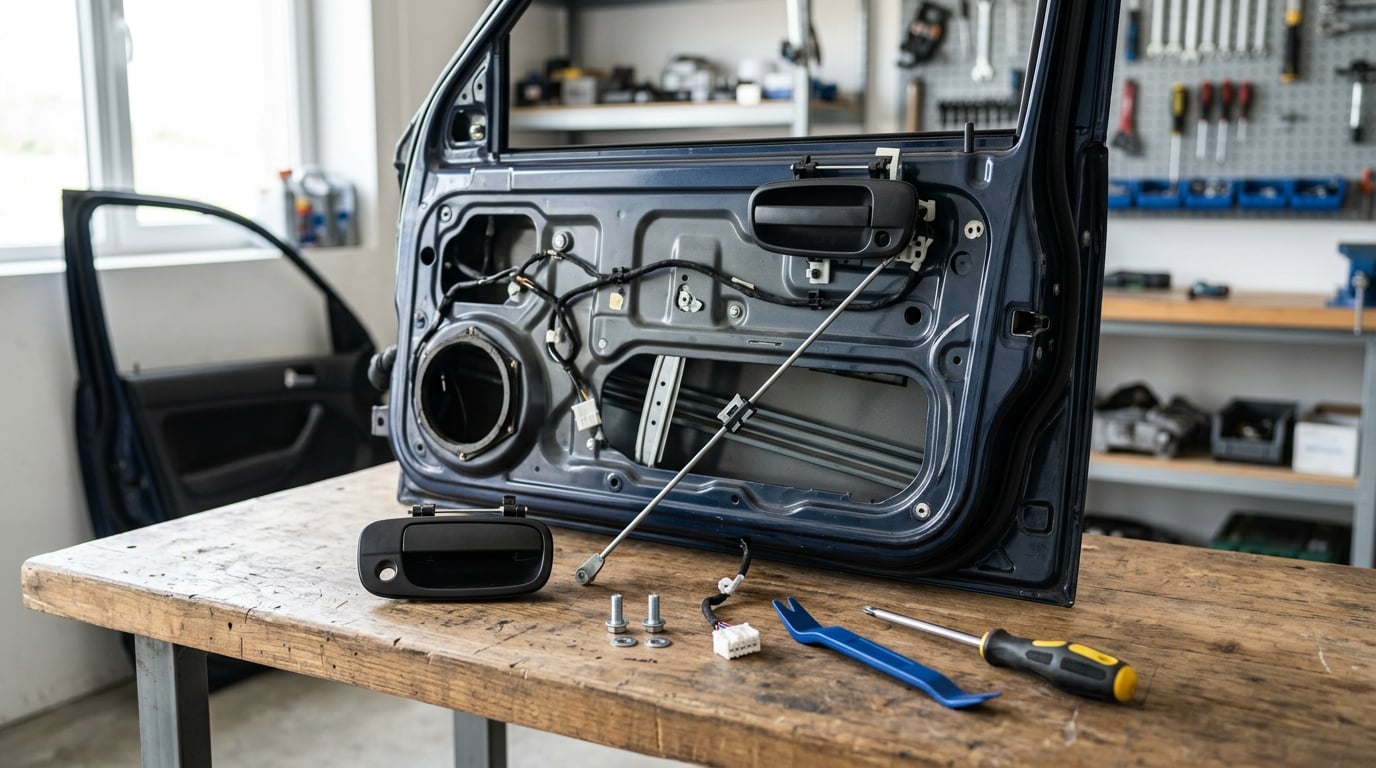
Replacing a car door handle is a 30-to-90 minute job, and most of that time goes into the interior door panel rather than the handle itself. To replace a door handle on a car, you take the door panel off, unclip the metal linkage rod that operates the latch, pull the mounting screws or bolts, and fit the new handle. An interior handle usually comes out with a single screw. An exterior handle uses two bolts or nuts, and a keyed model adds the lock cylinder. The fiddly part is plastic, not metal: the retainers and clips are what people break.
The steps below cover a conventional hinged door with a manually operated latch, which is still most cars on the road. Smart-entry and comfort-access handles add a wiring connector and a code-matching step, and we flag those where they come up. Procedures vary by make and model, so check your service information before you start.
Table of Contents
- What You Need to Replace a Door Handle on a Car
- Step-by-Step
- Common Mistakes
- Frequently Asked Questions
- Are car door handles easy to replace?
- Can I replace my car door handle myself?
- Do I need to remove the door panel to replace a car door handle?
- How do I reattach the linkage rod or cable to a new interior handle?
- My new handle is installed but the door still won’t open. What did I miss?
- What type of glue is best for repairing a broken car door handle?
- Conclusion
What You Need to Replace a Door Handle on a Car
Nearly everything on this list is generic garage kit. The replacement handle is not, and getting it wrong is the single most common reason a job gets abandoned halfway.
- The correct replacement handle for your specific door
- Trim removal tool or plastic pry tool (never a metal screwdriver for plastic clips)
- Phillips and flathead screwdrivers
- Socket set or Torx bits, usually 10mm nuts or T25 and E10 bolts depending on the vehicle
- Needle-nose pliers for linkage rods and connector clips
- Work gloves and safety glasses
- A work light, phone camera, small magnetic tray or bag for fasteners
- Painter’s tape to protect the paint edge
- Battery wrench, only if the procedure touches a powered door
- Replacement plastic retaining clips, if the door has push rivets you suspect are tired
Before you buy the part, match four things: driver or passenger side, keyed or keyless entry, push-down or pull-out style, and full handle assembly versus a cosmetic cover. Owners on r/Cartalk and r/Autobody describe ordering by appearance alone and discovering the wrong side or a cover instead of the working assembly. If you have a VIN, quote it or look up the factory part number first, since trim and latch hardware changed over the years.
Step-by-Step
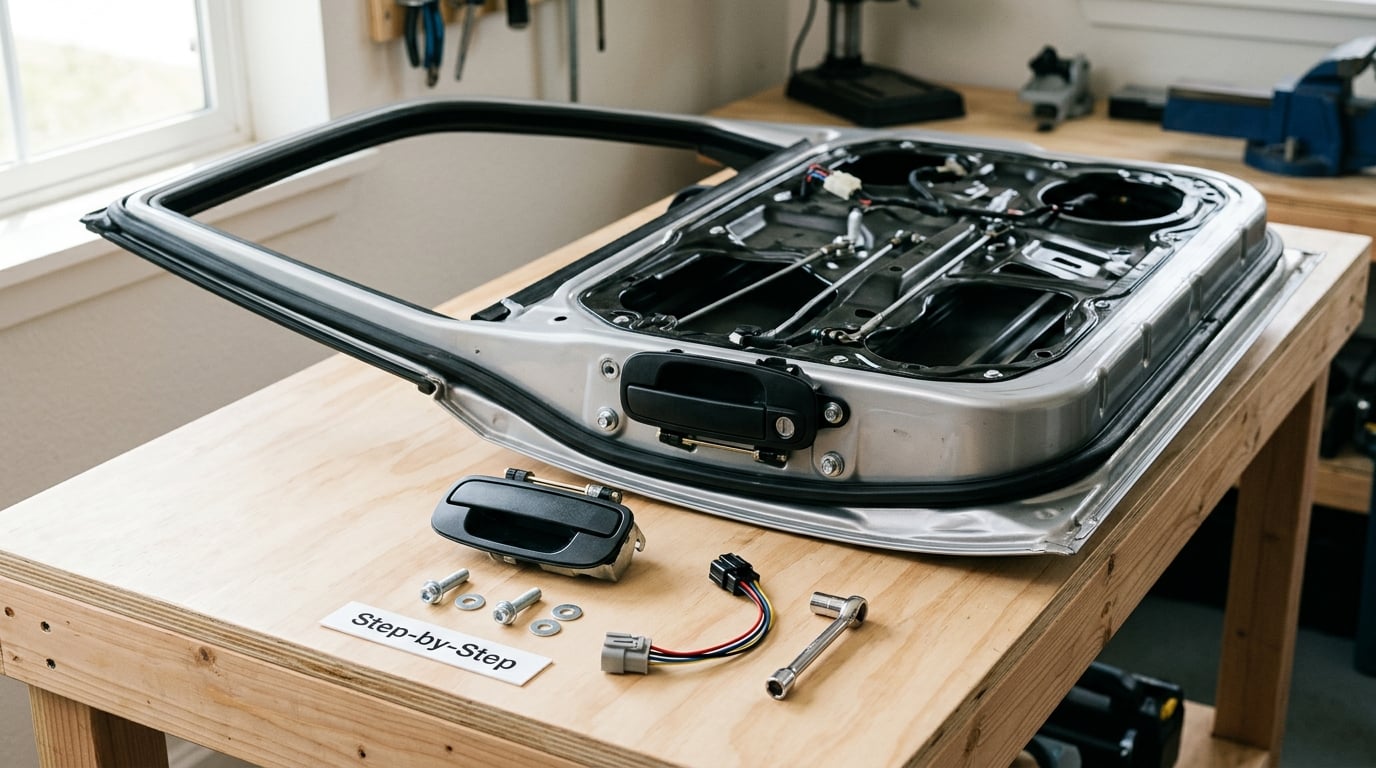
Step 1: Identify the Handle and Confirm the Replacement
Look at the handle before you touch a tool and work out which job you actually have. An interior handle is a lever or pull on the door card that moves a rod. An exterior handle may be a pull-out, push-down, pull-up, trigger, or squeeze design, and some older models combine the handle with the key cylinder so the barrel comes out with it.
Smart-entry and keyless-entry handles look ordinary from outside but carry a small electrical connector and a code-matching step on some vehicles. If your car has a powered lock, keyless entry, or a handle with a courtesy light, treat the wiring connector as part of the job rather than an optional extra.
- Compare the new handle’s shape against the old one before removing anything
- Count the mounting points: one screw inside, two bolts or nuts outside
- Check whether a wiring connector or a separate lock cylinder bolt is present
- Confirm side, keyed or keyless, and push or pull style
- Open the box and confirm which washers, bushings, and gaskets are included
Take a phone photo of the new part next to the old one, and another of the door as it sits before disassembly. Those photos are how you recover when a fastener disappears into the door.
Step 2: Prepare the Car and Protect the Door
Park on level ground, open the affected door fully, and roll the window down on cars that need it for access. The door is heavier with the panel off and will swing further, so block it or have someone steady it.
Disconnect the negative battery terminal when the door carries power windows, power locks, memory seats, or a keyless-entry module, and do it before you unplug anything. Memory settings and window one-touch presets are the usual casualties, and readers on r/Cartalk are right to be cautious about it. Reconnect the terminal and tighten the clamp when you are done.
Lay painter’s tape along the paint edge where the panel meets the body, and run it down the top edge of the door. Clear a work surface, photograph the intact door, and keep every fastener in a separate pile as you remove it. Groups of screws from different areas are rarely interchangeable.
Step 3: Remove the Door Panel or Trim
Most panels lift off, but the hidden fasteners are where people give up. They hide under plastic screw caps in the armrest, inside the door pull cup, behind the map pocket trim, and under the window switch bezel. Remove the bezel or cup first, then work through the screw list until the panel moves freely.
Start prying at a corner or the rear edge with a trim removal tool, working toward the middle. Never lever with a flat screwdriver, because the tip will gouge the paint or snap the retainer it is trying to release. Lift the panel up and off the last edge rather than straight back, and support its weight as it clears the clips.
Unplug the electrical harnesses by gripping the connector housing, never the wires, and note where each one sat. A 1998 Corolla owner on r/cars described the whole panel as tabs plus a screw or two, which is the easy case; a 2014 Mini Clubman door with comfort access is a different task entirely. Set the panel on a towel so you do not tear the weather shield with its edge.
Step 4: Remove the Old Door Handle
Interior first, because it is the easier half and the place most guides skip. Take out the retaining screw or Torx, pull the handle straight back out of its recess, and you will usually see a metal or plastic linkage rod still attached. Disconnect it by pressing the retainer clip and lifting the rod free rather than pulling on the rod itself. A 1991 Camry owner on r/Cartalk described exactly this: one screw, and the cable attachment was the only part they were unsure about.
Before it comes out, note which retainer each rod sits in. Most doors have two rods, one for the latch release and one for the lock, and they are often the same diameter. A rod clipped into the wrong retainer gives you a door that opens but will not lock.
For an exterior handle, peel the weather shield back from the bottom and unclip it rather than tearing it. The black butyl tape around that shield is reused on many cars, and a torn seal is how a door ends up leaking water after a clean job. On a keyed handle, release the lock cylinder retaining clip and pull the cylinder or its bolt out of the door jamb. Then remove the two mounting nuts through the access holes, usually 10mm or Torx, and support the handle as it comes free so it does not fall against the paint.
Look at what came off. A handle with a cracked grip or a broken return spring is finished, but a handle that is intact and a door that will not open usually means the mounting point or the rod is the actual problem.
Step 5: Install the New Door Handle
Install the new part in the reverse order and take your time. Transfer any washers, bushings, seals, or linkage pieces the old handle used, and compare the new gasket against the old one so you know which way it faces. Put the gasket or insulator on first if the new part did not come with it fitted.
Press the handle directly in toward the door, then forward toward the front of the car, and let the shaft or bolt holes line up on their own. Forcing the handle into position is how spline mounts get chewed up. Hand-tighten the fasteners, then snug them, and do not crank them down. Handle fasteners thread into thin sheet metal or plastic inserts and strip easily.
Reconnect any wiring plug before the handle is fully seated so the connector is not levered sideways, and check that no wire is pinched between the handle and the door skin. Clip the linkage rod back into the same retainer it came out of, and confirm the clip snaps over the rod rather than sitting beside it.
Step 6: Reassemble and Test the Door
Test before you button everything up, while access is still easy. With the power off, pull the handle and confirm the latch retracts, the door opens, and the handle returns to its rest position under spring tension. A handle that stays pulled in is a snapped return spring, and a door that opens but will not lock means a rod is on the wrong retainer.
Then power up and test the rest: the lock button, the key, the key fob, and the courtesy light or keypad if the car has them. If the car has coded keyless entry, an aftermarket handle may need programming before it responds to the fob.
Reassembly order matters. Refit the insulation pad with fresh two-sided butyl tape, replace the weather shield, then set the main panel on at the top edge and work down, pressing each clip until it seats. The last edge takes the most pressure, and a helper genuinely helps there because the panel spring has to compress around the handle opening. Finish with the bezel, the screw caps, and the fasteners.
Reconnect the battery, then open and close the door from outside a few times and check for water, wind noise, or a panel edge that has popped back out.
Common Mistakes
Almost every failed door handle job comes down to one of these. The fixes are simple; the point is spotting them early.
- Forcing plastic trim. Use a trim removal tool and work from the top and rear edges. A metal screwdriver in the wrong spot costs you a clip and a paint scratch.
- Overtightening fasteners. Snug is enough. Sheet metal and plastic inserts strip, and a stripped head can end the job before it starts.
- Losing retainers and screws. Bag them, label them by area, and count them before the panel goes back on. Missing screws and clips are the most common reason a panel rattles after reassembly.
- Wrong handle or wrong fastener size. Confirm side, keyed or keyless, and assembly versus cover before ordering, and use the fastener size the service information lists rather than the nearest one in the tray.
- Pinching the wiring harness. Grip the connector housing, not the wires, and route the harness where it sat rather than where it is easiest to push it.
- Forgetting a washer or bushing. The handle sits proud of the door, the latch does not meet the striker cleanly, and the door ends up hard to close.
- Leaving a smart-key or power-lock connector unplugged. The handle works by hand while nothing else does. Plug it in and test before the panel goes back on.
- Tearing the butyl tape on the weather shield. Replace it with proper butyl tape, not duct tape. A torn shield leaks the first time it rains.
- Clipping a rod into the wrong retainer. The door opens and will not lock, or it locks and will not open. Match each rod to the hole it came from.
It helps to know what actually fails. Cold weather makes brittle plastic handles crack across the grip, which is why owners on r/Cartalk describe a handle that split over a cold snap. Heavy use snaps the return spring inside the handle, so it never sits flush. Forcing a stiff linkage shears the rod or splits its retainer, and over-torquing the mounting bolts strips the spline or the stud in the door skin.
The rule I use: if the grip is cracked, the spring is gone, or a rod is broken, replace the handle. Adhesive does not fix a mechanism. A used or donor handle is fine when the mechanism is intact, and that is why checking the mechanism before buying is worth the extra step.
If you are waiting on the part, a two-part epoxy or plastic repair compound on a cracked grip will hold for a while, and a zip tie can hold a linkage rod in its retainer as a temporary measure. Household superglue and ordinary duct tape are not fixes; they make the next attempt harder.
Frequently Asked Questions
Are car door handles easy to replace?
Yes, an interior handle is one of the easier jobs on a car. Once you can get the door panel off, the handle itself usually comes out with a single screw and one linkage rod. Most of the work is plastic retainers and hidden fasteners, so allow 30 to 60 minutes for an interior handle and 60 to 90 minutes for an exterior one.
Can I replace my car door handle myself?
Almost always, yes. The job needs basic hand tools, a trim removal tool, and the correct replacement part. No specialty equipment is required unless your car has coded keyless entry, where the new handle may need programming after it is fitted. Check your service information for the fastener sizes, because those change between models and years.
Do I need to remove the door panel to replace a car door handle?
Usually yes. Both the interior and the exterior handle are secured from inside the door, so the panel comes off first. The exception is a cosmetic handle cover, which unbolts from outside without touching the panel. If your handle is a full assembly or includes a key cylinder, plan on removing the panel and the weather shield behind it.
How do I reattach the linkage rod or cable to a new interior handle?
The rod clips into a small plastic retainer on the back of the handle. Squeeze or pry the retainer open with a pick tool, seat the rod ball in its socket, and press the retainer closed over it until it clicks. Photograph the connection before you remove anything, and check that each rod returns to the retainer it came out of.
My new handle is installed but the door still won’t open. What did I miss?
Work through the link first: the rod is usually clipped into the wrong retainer, or the retainer did not fully close over the rod ball. Next check that a washer or bushing was left off, which leaves the handle sitting proud of the door. Then confirm the mounting fasteners are snug but not over-tightened, and that any wiring plug is seated.
What type of glue is best for repairing a broken car door handle?
A two-part epoxy or a plastic repair compound is the only adhesive worth using on a handle grip, and it is a temporary fix rather than a repair. Superglue turns the piece brittle and ruins the joint for the next attempt. If the return spring or a linkage rod is broken, no glue helps: the handle has to be replaced.
Conclusion
Confirm the part first. Match the side, the keyed or keyless entry version, and push or pull style to your door, and use a trim removal tool rather than a screwdriver so the clips survive. Photograph the linkage rod in place before you unclip anything, because that single connection is what most people get wrong. Follow your vehicle’s service information for the fastener sizes, then test the handle and the lock from inside and out before you button the panel back up.