
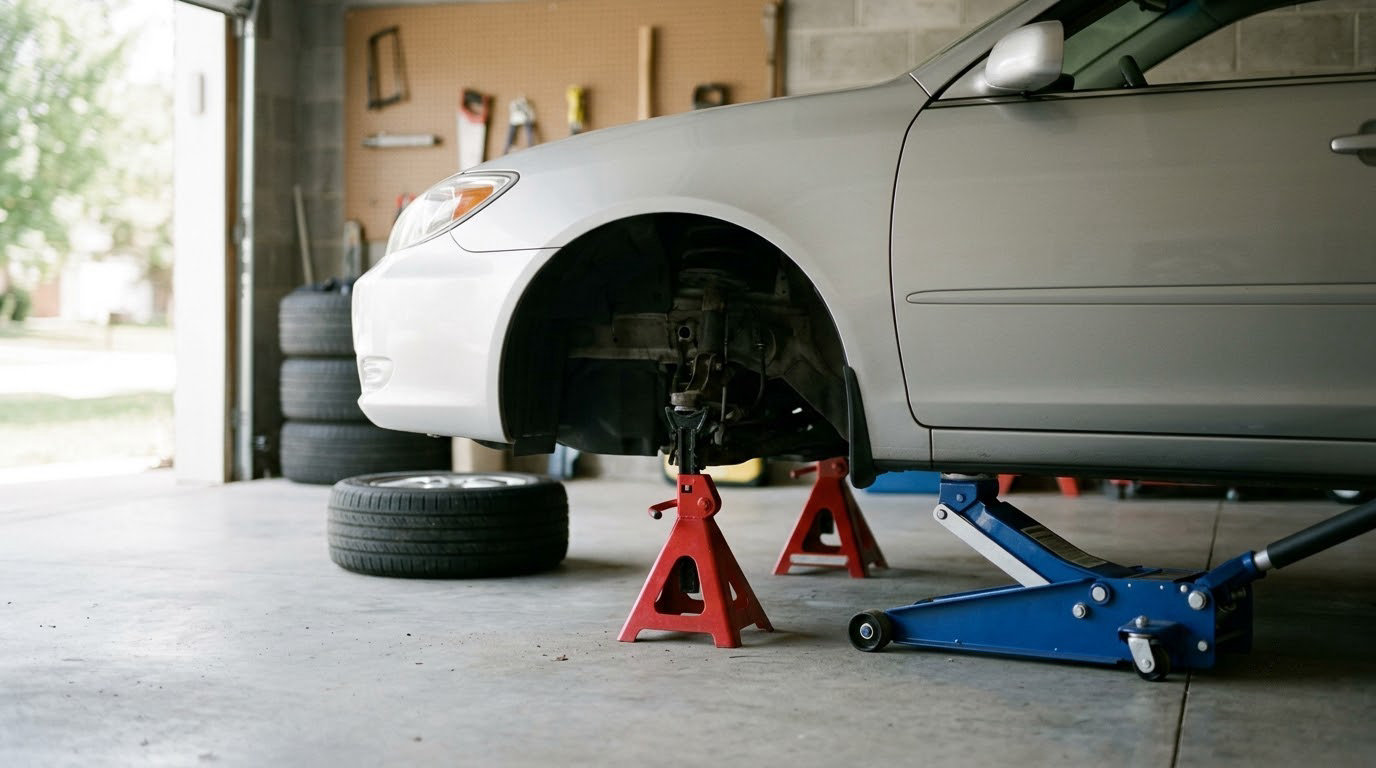
Knowing how to use jack stands the right way comes down to one rule: the floor jack lifts, the stands hold. You raise the vehicle just far enough to slide rated stands under the manufacturer’s approved lifting points, then crank the jack down so the weight transfers fully onto the stands before you go anywhere near the underside. A complete lift takes about 20 minutes once you know the sequence, and the hardest part is reading your own vehicle’s manual.
Table of Contents
What You Need
The short list: a floor jack with enough lift height to clear your stands, at least two jack stands of the right rating, wheel chocks, and the owner’s manual for your vehicle. Add a creeper, a flashlight, and a pair of rubber pinch weld jack pads if your car is a unibody.
Stands come in sets and the ton rating on the box covers the pair, not each stand. A 3-ton set is two stands rated for 1.5 tons apiece. The EPA puts the average weight of a new car at just over 4,000 lbs, a little over two tons, and a lot of the front-heavy sedans and crossovers on the road put 55 to 60 percent of that weight over one axle. So the honest answer to “what rating should my jack stand be” is: take the heavier half of your vehicle, not the total, and round up.
Quality stands carry an ASME PASE or ANSI/ASME B30.1 certification stamp, a ratcheting steel bar with a cast detent lock, and a welded four-leg base. Look for those marks before you buy. Stands with a folding foot or a plastic ratchet are toys, and cinder blocks, milk crates, or stacked 2x4s are not stands at all.
Getting the right height is a purchase-time decision people miss constantly. A stand has two numbers: its minimum saddle height and its maximum height when the bar is ratcheted out. A low-rise stand that starts at 9 inches may still not reach the saddle you need once the jack is under the car, and a jack with a 6-inch lift cannot get a vehicle high enough to clear a 12-inch stand. Measure the gap between your sill or frame rail and the ground, then pick stands and a jack that bracket it.
Finding the approved lifting points
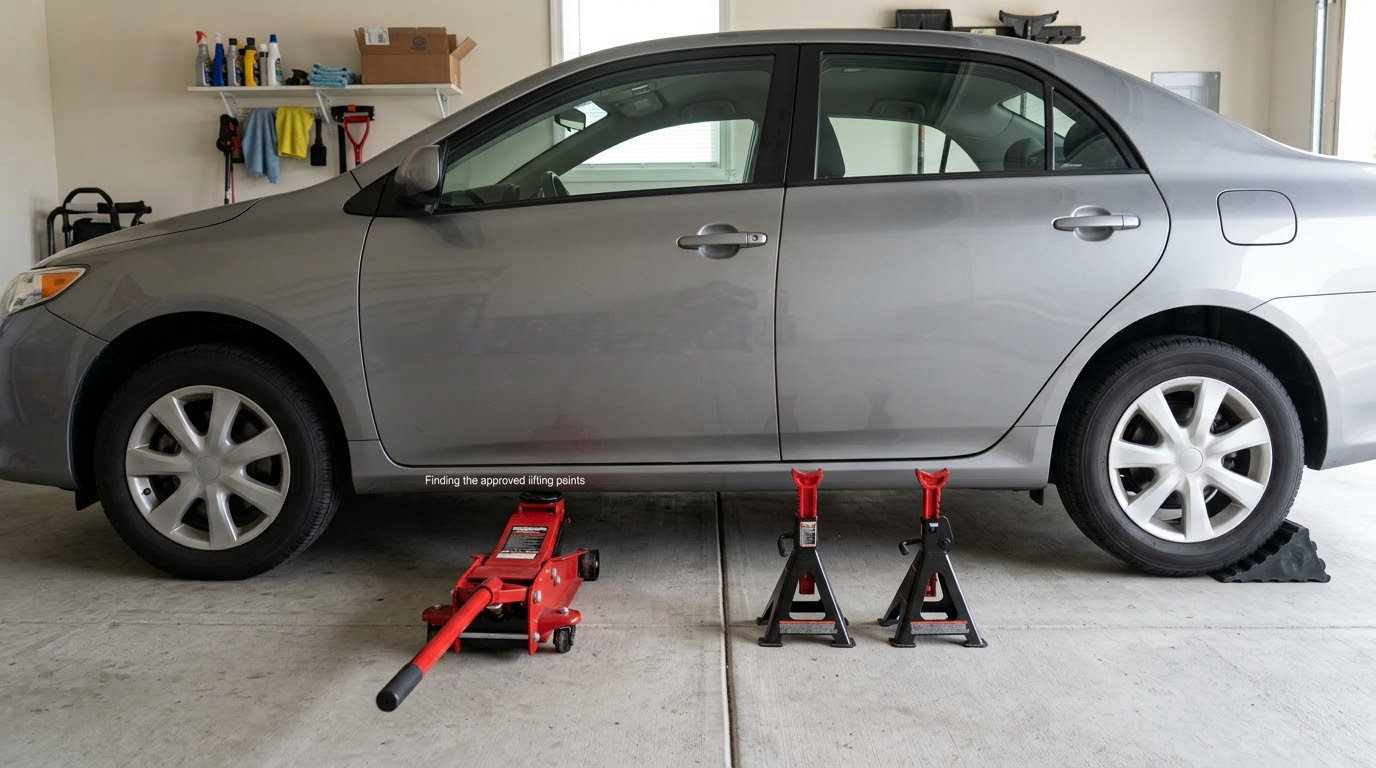
Open the owner’s manual to the jacking section. It usually carries a side-view diagram with black arrows or a shaded sill, and that is the only spot you are allowed to put weight on.
On a unibody car, that point is the pinch weld, the factory seam running under the rocker panel where the door openings are. A pinch weld jack pad is a small magnetic or plastic block with a V or U notch that cradles the seam so the stand cannot slide off. Many modern unibodies also have a frame-style subframe or a rear crossmember with a reinforced pad, and the manual will show it.
On a body-on-frame truck or SUV, the points sit on the frame rails, usually behind the front wheels and just ahead of or level with the rear ones. Never the suspension arms, the rocker, the bumper, or the differential. If your vehicle has independent rear suspension, the rear subframe crossmember is often the only approved rear point, and the manual will say so.
Step-by-Step: How to Use Jack Stands the Right Way
Work in this order every time. Most vehicle drops I have seen started with a step skipped, usually the parking brake or the chocks.
1. Check the vehicle and lifting points
Read the manual’s jacking diagram and identify the approved points for the end you are lifting. Look under the car first: rust, collision repairs, a low-hanging pan, a modified suspension, or a welded-in subframe all mean the factory point may have moved or may no longer be strong. If a sill looks patched or eaten, do not lift there. How it worked before your rust started is not the standard.
2. Park safely and secure the vehicle
On level concrete or asphalt, not a slope, not gravel, not soft ground. Inflate the tires, set the parking brake, and put the transmission in Park or first gear with the parking brake still applied. Chock both wheels at the end that stays on the ground; most owners use one chock per wheel on the low side. You should be able to push the vehicle and feel no movement. If it rolls, you are not ready.
3. Position the floor jack
Slide the jack under the approved point on the same end you plan to lift, keeping the jack upright and its wheels clear. On a pinch weld, the jack pad’s notch has to seat over the seam. Pump the handle until the saddle touches metal with firm, even contact and stops. Lift only enough to raise that end a few inches so the tires clear the ground and you can reach underneath. Any more height than that is a fall waiting to happen, and a standard two-post-style jack with too much travel is a known way to come out of a car and shoot across the garage.
4. Place the jack stands
Set both stands for the lifted end to the same height before you slide them in. With a ratcheting stand, pull the bar up and let it climb the ratchet teeth until the saddle sits a notch or two below your target, then drop the lock pin into the nearest detent and confirm it is fully seated. With a pin-style stand, set the pin on the top step and check the pin head is all the way through. Match the saddle shape to the lifting point, using a pinch weld jack pad on a unibody, and position the stands as close to the approved point as the saddle geometry allows. Place every stand for that end before you move.
5. Transfer the load and lower the jack
Crank the jack down slowly and watch the gap between the stand saddle and the lifting point close. Keep your hands and body out from between the jack and the car; hydraulic rams can pinch, and a loaded jack will move. When the saddle seats and the jack handle lifts easy, the weight is on the stands, not the jack. Check each stand visually for a complete seat and a seated lock pin.
6. Perform a final safety check
Lower the jack handle fully, set it under the vehicle so it is out of your path, and check every stand once more. Then push firmly on the vehicle at several points, including the corners and the middle of the raised end. Any movement, creak, or rock means something is not seated: recheck the pad, the lock pin, and the ratchet detent before you go further. Only then pull the floor jack clear, and keep clear of the pinch line as you withdraw it.
Shake the car and it does not budge. That test is the whole point of the ritual; do it every single time, even when you lifted the car yourself thirty seconds earlier.
7. Raise and remove the vehicle safely
Lowering is the reverse, and it is where people take shortcuts. Do the work, remove your tools, and clear the area. Put the floor jack under the approved point, raise the vehicle just far enough to unload the stands, then support the weight on the jack before you touch the lock pins. Pull the pins only once you can see the jack saddle carrying the vehicle, remove the stands one at a time, and lower the car in small increments until the tires or bumper touch the ground. Release the parking brake last, and remove the chocks once you are rolling.
Never leave the vehicle resting on the jack alone, even for a minute while you grab a tool, and never loosen a lock pin while the stand is still taking load.
Common Mistakes
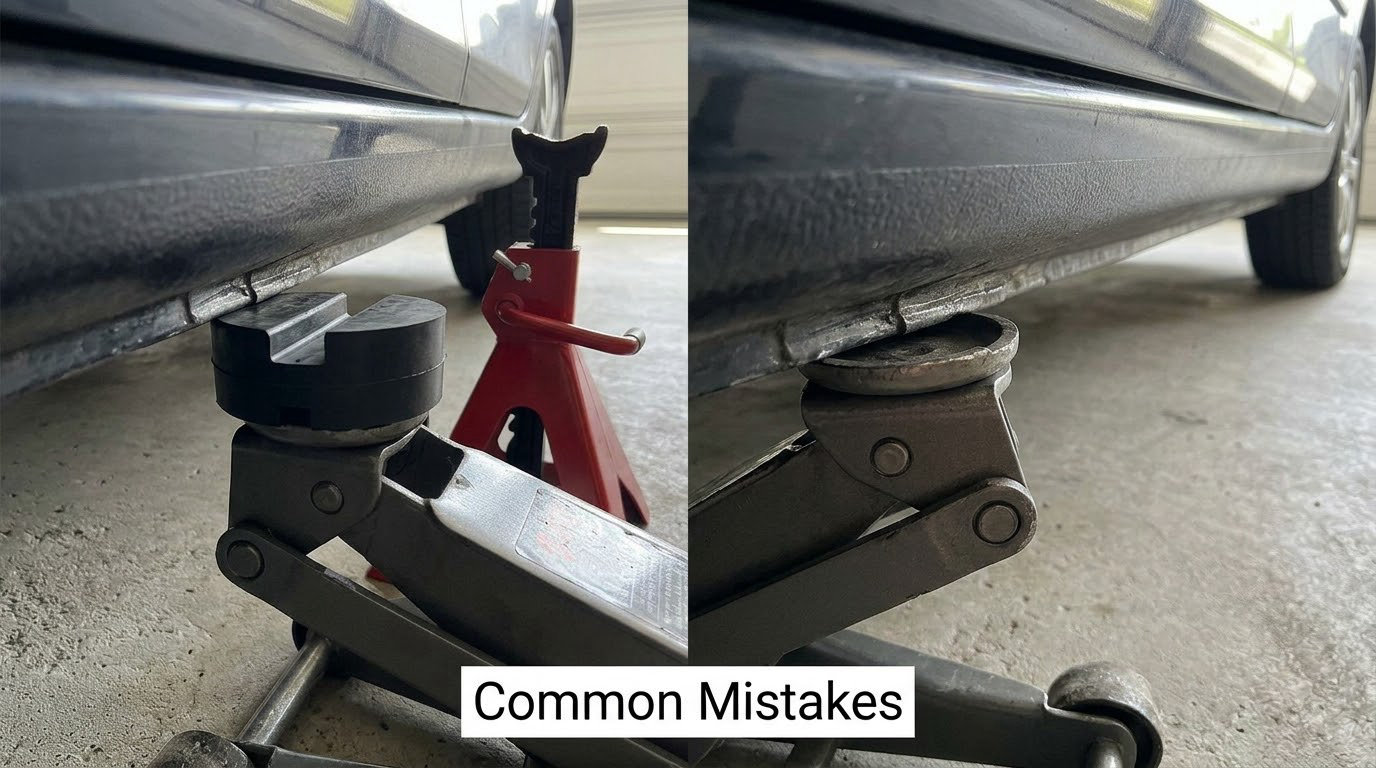
Most of the drops I have seen came from a combination of these, and nearly all of them are decisions rather than equipment failures.
- Standing on soft ground. A four-leg stand needs a hard, flat base. On hot asphalt or soil, the base sinks and the car drops. Put down plywood or a rigid load-spreader mat before anything touches the vehicle, and check that the ground is level across the whole width.
- Using the wrong point. Jacking on a rocker panel, control arm, or subframe connector that is not the factory point puts bending loads on a part that was never designed for it. Stick to the manual’s diagram or the reinforced pinch weld, and if you cannot find an approved point, stop and call a shop.
- Not checking the lock pin. A ratcheting bar will keep creeping upward under load if the detent is not engaged. Push the bar down, feel the detent click, and confirm the pin head is proud of the saddle. Re-test after the load is fully on.
- Using a stand rated below the load. Match the per-pair rating against the heavier end of the vehicle, not against total curb weight. When in doubt, go up a rating; 3-ton stands on a half-ton truck are marginal, and 6-ton stands cost little more to live with.
- Mixing stand heights on one end. Two stands at different ratchet settings put the vehicle on a slight twist, which is how stands get tipped out of their footprint. Set both to the same height every time.
- Skipping the chocks or the brake. A vehicle supported at one end can still roll. Park, brake, gear, chock, then lift. The order is not optional.
- Leaving the jack in as the only support. The jack lifts; the stands hold. Hydraulic seals creep, hoses can weep, and a jack on a slope can walk out from under the sill.
- Crawling in without the push test. This is the last checkpoint before your hands and face go under a vehicle that weighs thousands of pounds. Shake it first.
Frequently Asked Questions
Should jack stands be used with a floor jack?
Yes, and they work as a pair of jobs. The floor jack does the lifting: it raises the vehicle just high enough for you to reach the approved lifting points. The stands then take over the load completely once you crank the jack down, and the jack is only a backup at that point. Never get under a vehicle supported by the jack alone, because hydraulic rams can leak down or lose pressure without warning.
How many jack stands do I need?
Two is the working minimum for a single-end job, and four lets you work on both ends at once. Most sets on the market are sold in fours. You never want only one stand carrying a corner, and a second pair at the other end is what lets you rotate the vehicle without driving it back down. The rating you choose matters more than the count: the box rating covers the pair, not each stand.
Where do you place jack stands on a car with a unibody body?
On the pinch weld, the factory seam under the rocker panel between the door openings, or on a reinforced subframe or rear crossmember if the owner’s manual shows one. A pinch weld jack pad fits over the seam so the saddle cannot slide off sideways. Never use the rocker panel itself, the door sill trim, the suspension arms, or the bumper, even if they look thick enough to hold weight.
Can you jack up the front of a car with only two stands?
Yes, that is the standard method and the one most experienced owners use. Jack one end, set that pair of stands, lower the jack, then move to the other end and repeat. The key safeguards are the parking brake and chocks on the wheels that stay down, plus standing the vehicle on level hard ground. If you do both ends at once, use four stands set to identical heights.
How do I lower a car off jack stands safely?
Reverse the lift in order. Clear the tools, slide the floor jack under the same approved point, and raise the vehicle just enough to unload the stands. Confirm the jack saddle is carrying the vehicle before you pull a single lock pin. Remove the stands one at a time, then lower in small increments until the tires or bumper touch down, and release the parking brake and chocks only after the vehicle is back on its wheels.
How long can a car sit on jack stands?
A properly rated, undamaged stand is built to hold a static load for far longer than any service job needs, so a few weeks or a few months of storage is not the problem. What does shorten a stand’s life is rust, impact damage from dropping it, and the slow creep of constant load on a bent ratchet bar, so inspect before every use. Re-tighten and re-verify the load before restarting work rather than trusting how it was left. For long-term storage, put the vehicle on axle stands or wheel chocks where possible and keep the stands for service use.
Conclusion
Start every lift in the same place: the owner’s manual, the approved lifting points, and a stand set rated above the heavier end of your vehicle. Park level, brake, gear, chock, jack, place and lock the stands, lower fully, then push test before you go under the car. Repeat it in reverse to bring the vehicle down, and the whole process takes less time than reading this took.