
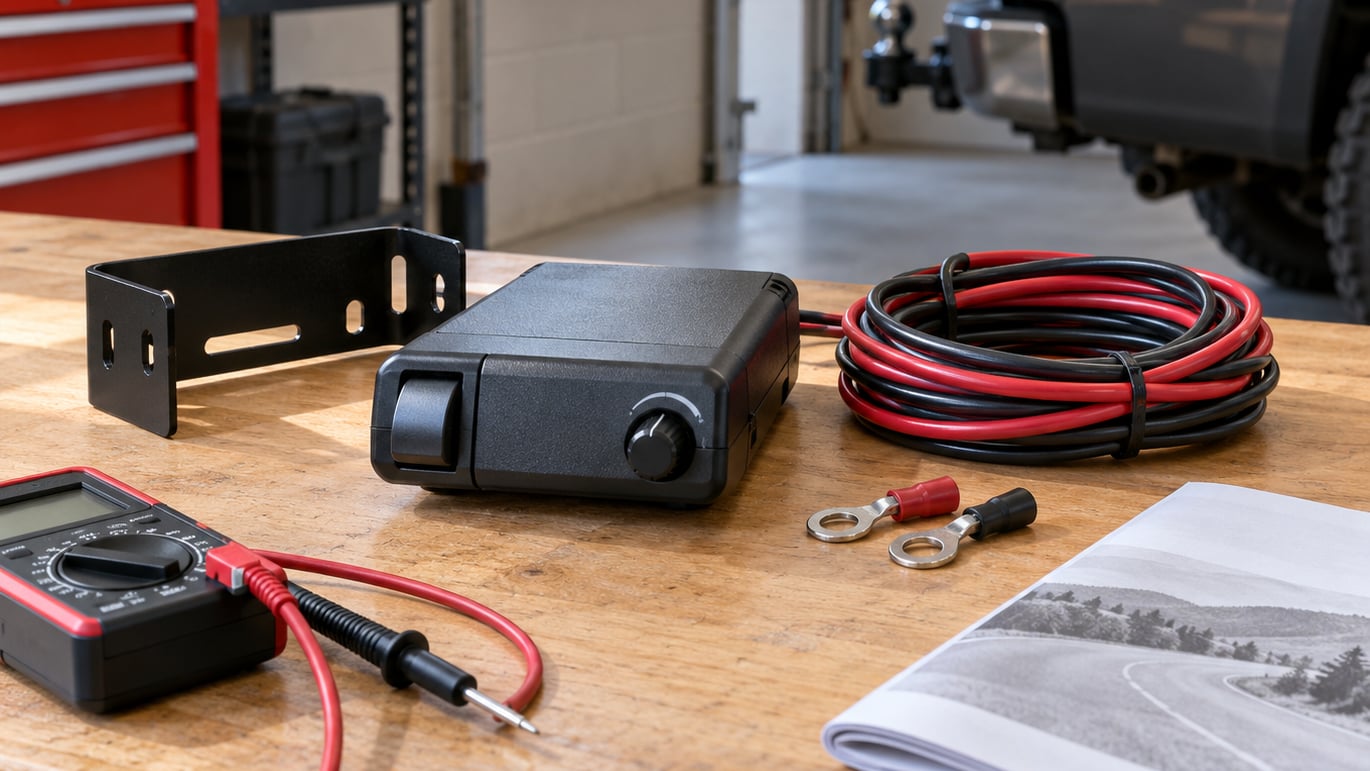
Setting up a trailer brake controller takes about an hour for a first-timer and roughly 20 minutes once you have done it before. The controller mounts near your knee, four wires connect to the truck, and then you set the gain until the trailer pushes gently at low speed and never locks up at highway speed. This guide walks through how to set up a trailer brake controller from the parts check to the first controlled test, so you can do it without a wiring diagram taped to your steering wheel.
The short version: set the gain so the trailer and tow vehicle slow together, without the trailer dragging or pushing the truck.
If your truck came with a factory tow package, the wiring is usually waiting behind a panel in the dash. If it did not, you are running new wire and you should budget more time.
Table of Contents
- What You Need
- Step-by-Step: Set Up Your Trailer Brake Controller
- Step 1: Check Compatibility Before You Set Up a Trailer Brake Controller
- Step 2: Disconnect the Battery and Protect the Wiring
- Step 3: Mount the Controller in a Secure Location
- Step 4: Connect the Power, Ground, Brake Signal, and Trailer Wires
- Step 5: Set the Initial Gain and Maximum Output
- Step 6: Reconnect the Trailer and Check Connections
- Step 7: Perform a Controlled First Test
- Common Mistakes
- Frequently Asked Questions
- Can I install a trailer brake controller myself?
- How do I know which trailer brake controller is compatible with my vehicle?
- What is the difference between gain and maximum output?
- How do I test a trailer brake controller before towing?
- Why does my trailer brake controller work without the trailer lights connected?
- When should I have a trailer brake controller installed by a professional?
- Conclusion: Start With the Brakes, Not the Controller
What You Need
Controllers come in two basic flavors. Time-delayed units apply full trailer braking after a fixed delay once you touch the pedal, and they are cheap but imprecise. Proportional controllers read your brake pedal input and apply matching force, which is what most people want on 2026 trucks. If you want to understand how the parts differ, it helps to know that the controller only sends a signal; the actual clamping force comes from the brake magnets or electric actuators under the trailer.
On the vehicle side, a 7-way connector carries brake, running, turn, tail and power circuits. A 4-way flat is lighting only, so a 4-pin plug cannot carry brake controller signals no matter what you buy. Many modern trucks use a smart tow connector that only energizes certain circuits when it senses the right trailer, and those need the correct factory adapter rather than a guess.
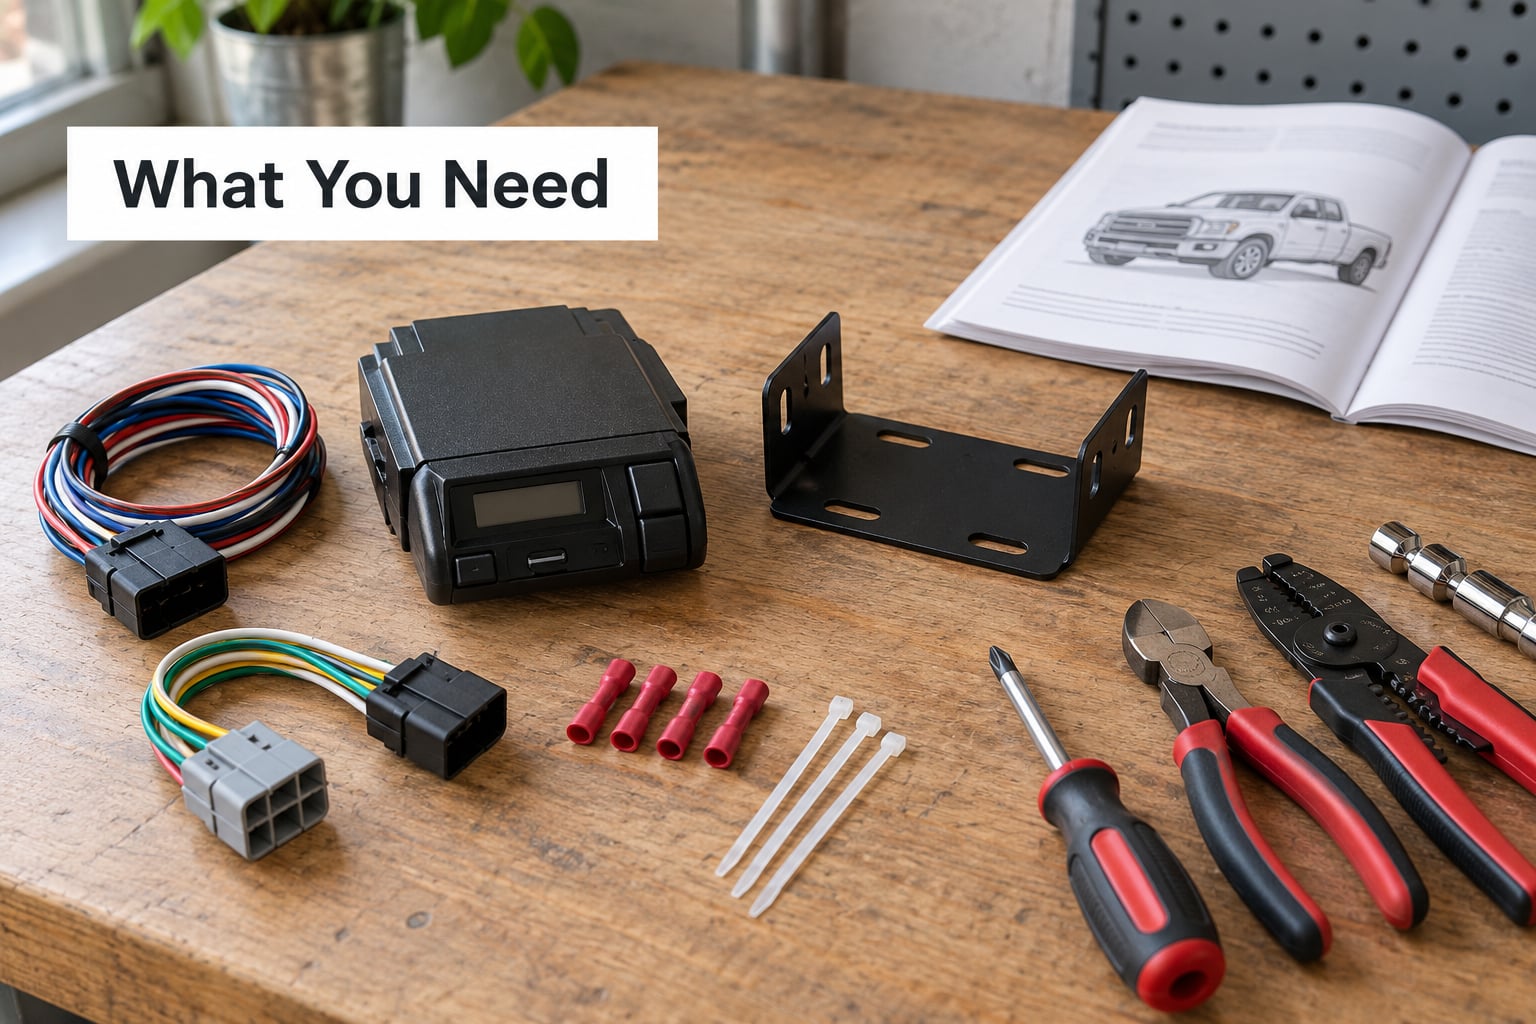
Have these on hand before you start:
- The controller, its mounting bracket, and the correct wiring harness or adapter for your tow vehicle
- Wire strippers, crimpers, ring terminals, and heat-shrink or electrical tape
- A test light or multimeter for confirming constant power and brake-signal voltage
- Corrosion cleaner and a wire brush for the connector pins
- Safety glasses, gloves, a wheel chock for the trailer, and a flat empty parking area for testing
- The tow vehicle owner’s manual plus the trailer and controller instructions
Parts and connector styles vary enough by vehicle and trailer that the manufacturer instructions decide every detail. If your controller arrived with a diagram, read it first. If you are also working on the tow vehicle’s own braking system, our guide on how to measure brake rotor thickness covers the mechanical side.
Step-by-Step: Set Up Your Trailer Brake Controller
Work in this order. Electrical first, mechanical second, testing last.
Step 1: Check Compatibility Before You Set Up a Trailer Brake Controller
Confirm what your trailer actually uses. Standard electric brakes have magnet assemblies actuated by the controller. Electric-over-hydraulic, or EOH, systems run an onboard hydraulic pump and need a controller with an EOH output, and plugging a standard unit into one will do nothing useful. Read the label on the trailer’s brake hardware if you are unsure.
Then check the vehicle side. Look in the owner’s manual for the brake controller install location, the required fuse, and whether your tow package includes a factory harness. Trucks with a hitch and smart tow connector but no tow package are a common setup, and they need a specific adapter to reach the brake-signal wire.
How do you know it worked? You should be able to point to a fuse location, a mounting spot, and a wiring diagram before you pick up a tool.
Step 2: Disconnect the Battery and Protect the Wiring
Pop the hood, use the wrench that came with the vehicle, and disconnect the negative terminal. Some trucks have a separate battery under a floor panel or in the bed, so check the manual. Set the cable somewhere it cannot arch back onto the terminal.
While the battery is down, plan your wire routes before you cut anything. Keep new wire away from the exhaust manifold, sharp sheet metal edges, and anything that moves with the steering or suspension. Add grommets where the wire passes through a hole in the firewall.
How do you know it worked? Your test light stays dark at the battery, and you have a clean path for each wire.
Step 3: Mount the Controller in a Secure Location
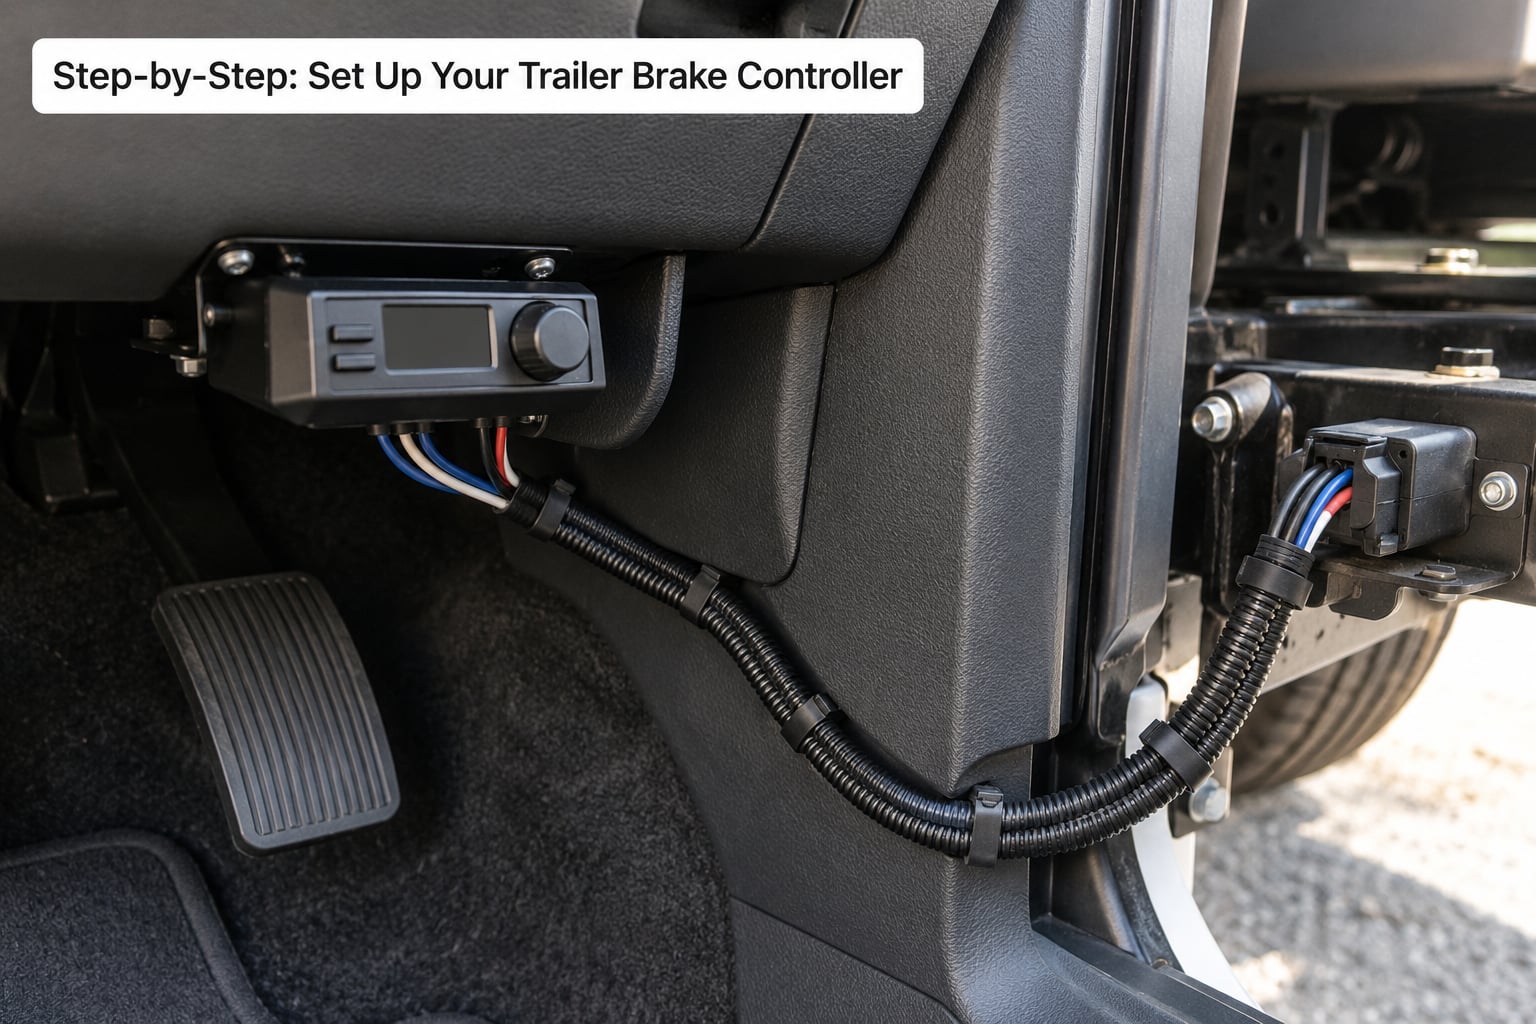
The factory spot is usually below the dash near the driver’s knee, in the radio pocket, or on the center console. Pick somewhere you can reach without leaning and see without looking down for long.
Mount the bracket first, then the controller, following the hardware order in the instructions. Do not overtighten the faceplate. Then check clearances: your left knee should still clear the pedal box in every gear, including reverse, and no airbag seam, vent, or hood release should be blocked.
Grab the housing and shake it hard. If it shifts, rotates, or rattles, a hard stop could turn it into a projectile inside the cabin. Re-torque it and test again.
Step 4: Connect the Power, Ground, Brake Signal, and Trailer Wires
Four connections do the work. Battery power comes through the specified fuse. Chassis ground goes to clean bare metal. The brake signal wire taps into the circuit that already lights your brake lamps. The blue or brake output wire runs to the trailer connector.
Colors are not universal across brands, so read the label on your harness rather than trusting a memory of another controller. The red and black power wires are a matched pair: too thin a black ground is one of the most common causes of a controller that behaves strangely.
Strip only as much wire as the terminal needs. Crimp, pull-test each connection hard enough to be sure it holds, then wrap or heat-shrink it. Route everything with a little slack at the bracket and zip ties every foot or so.
How do you know it worked? Reconnect the battery, turn the key on, and confirm the controller shows power before you connect anything else.
Step 5: Set the Initial Gain and Maximum Output
Initial gain controls how quickly trailer braking begins after you touch the pedal. Maximum output, or power, limits how much braking the controller can send at all. Start both conservative: gain near the low end of the range and maximum output at about halfway. You can climb from there with the trailer attached.
If your controller has a self-learn or calibration mode, run it now while the trailer is connected and the load is as it will be during normal towing. The controller measures the trailer’s inertia and picks a starting point. Manual adjustment still follows afterwards.
Never change these settings while the vehicle is moving. Save one setting as your unloaded preset before you load up, because that is the number that gets you into trouble most often.
Step 6: Reconnect the Trailer and Check Connections
Before plugging in, look at the connector on both ends. Pins pushed back, green corrosion, or a bent blade cause more no-detection problems than anything else. Clean with contact cleaner, check that every pin is seated and straight, and look for a breakaway cable routed separately from the trailer’s brake lines.
How do you know it worked? The controller detects the trailer straight away and shows the expected number of axles or brakes. If it does not detect the trailer, work down this order: trailer connector pins, then chassis ground at the plug, then the ground point under the truck, then the brake-signal wire at the switch.
Step 7: Perform a Controlled First Test
Find a flat, dry, empty area first. Chock the trailer wheels for the static checks, then move to a clear stretch before you apply anything.
- With the truck in park and the trailer connected, confirm the controller powers up and reads the trailer.
- Put your foot on the brake. The controller should ramp up and you should hear the magnets engage.
- Get clear of traffic and reach roughly 20 to 25 mph on level ground with the trailer light or empty.
- Apply the manual override lever or slide gradually until you feel the trailer start to push. Note that point.
- Release, then repeat using the brake pedal. The trailer should slow the truck without shuddering or locking.
- Increase the maximum output in small steps and repeat until you can produce a firm, steady push without lockup.
Stop immediately if the brakes never engage, if any wiring or plug gets hot, if a fuse blows, or if the trailer reacts unpredictably. Those are not tuning problems. Unplug and inspect, and if you cannot find a clean fault, have a qualified trailer technician look at it. Wiring work on a tow vehicle is worth handing over when the diagnosis gets muddy.
Common Mistakes
Wrong controller type. A standard controller will not drive an electric-over-hydraulic system. Check the hardware before you wire anything.
Brake signal tapped into the wrong circuit. If it is hooked to running lights or the wrong fuse, the controller ramps up when it should not, or never ramps at all. Confirm with a test light that voltage appears only when the pedal is pressed.
Missing or blown fuse. Nothing happens, no matter how good the wiring is. Find the exact circuit in the instructions rather than guessing a fuse slot.
Poor ground. The ground connection at the trailer plug is the single most reported cause of a controller that will not detect the trailer. Scrape to bare metal, bolt it to clean steel, and do not paint over it.
Loose or corroded trailer connector. Push the connector onto the ball fully and check that the latch or nut is snug every time you hitch up.
Reversed or undersized wire. Black is ground and it needs an honest gauge. Reversed power and ground means nothing functions and you risk damage to the controller.
Adjusting too aggressively. Cranking gain and output to the maximum to get a harder push is how people end up with locked trailer wheels in the rain. Tune in small steps.
Tuning without the trailer connected. Gain has no meaning on an empty bed. The setting that works loaded can lock the wheels up empty, and vice versa.
Skipping the mechanical adjustment. A trailer with loose or unevenly adjusted brakes will never feel right at the pedal, no matter what the controller is set to. Mechanically adjust the brakes first, then tune electronically.
Two safety habits carry the most weight. Recheck gain whenever the load or road surface changes significantly, and before a long descent in either direction. And treat the brake lamps as part of the braking system: if your warning light came on recently, our piece on what causes a low brake fluid warning light is a good place to start checking fluid condition.
Frequently Asked Questions
Can I install a trailer brake controller myself?
Yes, if you are comfortable with basic vehicle wiring and you have the right harness for your truck. Most installs take an hour or two with the factory tow package, and longer when you run new wire. Read both manuals first, disconnect the battery before touching anything, and have the work checked by a professional if you are unsure about wire gauge or grounding.
How do I know which trailer brake controller is compatible with my vehicle?
Match three things: the tow package in your vehicle, the connector style at your trailer, and the brake hardware on the trailer. Standard electric brakes need a standard output, while electric-over-hydraulic systems need a dedicated EOH setting. A 7-way connector carries brake circuits and a 4-way flat does not, so a lighting-only plug rules out any controller.
What is the difference between gain and maximum output?
Gain sets how quickly trailer braking begins once you touch the pedal. Maximum output, sometimes called power, limits the total braking the controller can deliver. On a loaded trailer you often raise gain first and maximum output second. If the trailer pushes gently at low speed but will not lock up even at full output, the problem is hardware, not settings.
How do I test a trailer brake controller before towing?
Find a flat, empty area, connect the trailer, and confirm the controller detects it. On level ground reach roughly 20 to 25 mph, then use the manual override lever gradually until the trailer pushes. Repeat with the brake pedal. The trailer should slow the truck in a straight, steady line with no shudder and no locked wheels before you load anything.
Why does my trailer brake controller work without the trailer lights connected?
Most controllers power up and run a self-check on their own battery and brake-signal wire, so a lit display proves only that the unit is alive and receiving signal. It does not confirm current is reaching the trailer. To verify braking, watch for a status change when the trailer is plugged in, and feel for the magnets engaging at the wheels or test for voltage at the brake output pin.
When should I have a trailer brake controller installed by a professional?
Get help when the vehicle lacks a tow package and you would have to run new circuits through the firewall, when your trailer uses electric-over-hydraulic brakes, or when your battery is under a floor panel or in the bed. Also see a professional if the controller blows fuses, if any wiring gets warm, or if the trailer brakes will not lock up at full output no matter what the display says.
Conclusion: Start With the Brakes, Not the Controller
Get the trailer’s mechanical brakes adjusted evenly first, then mount and wire the controller, then tune gain in small steps on level ground. Save your unloaded and loaded settings as separate presets, and recheck whenever the load or the road changes. If the trailer will not lock up at full output, stop turning the dial and go inspect the magnets, the ground, and the connector pins.