
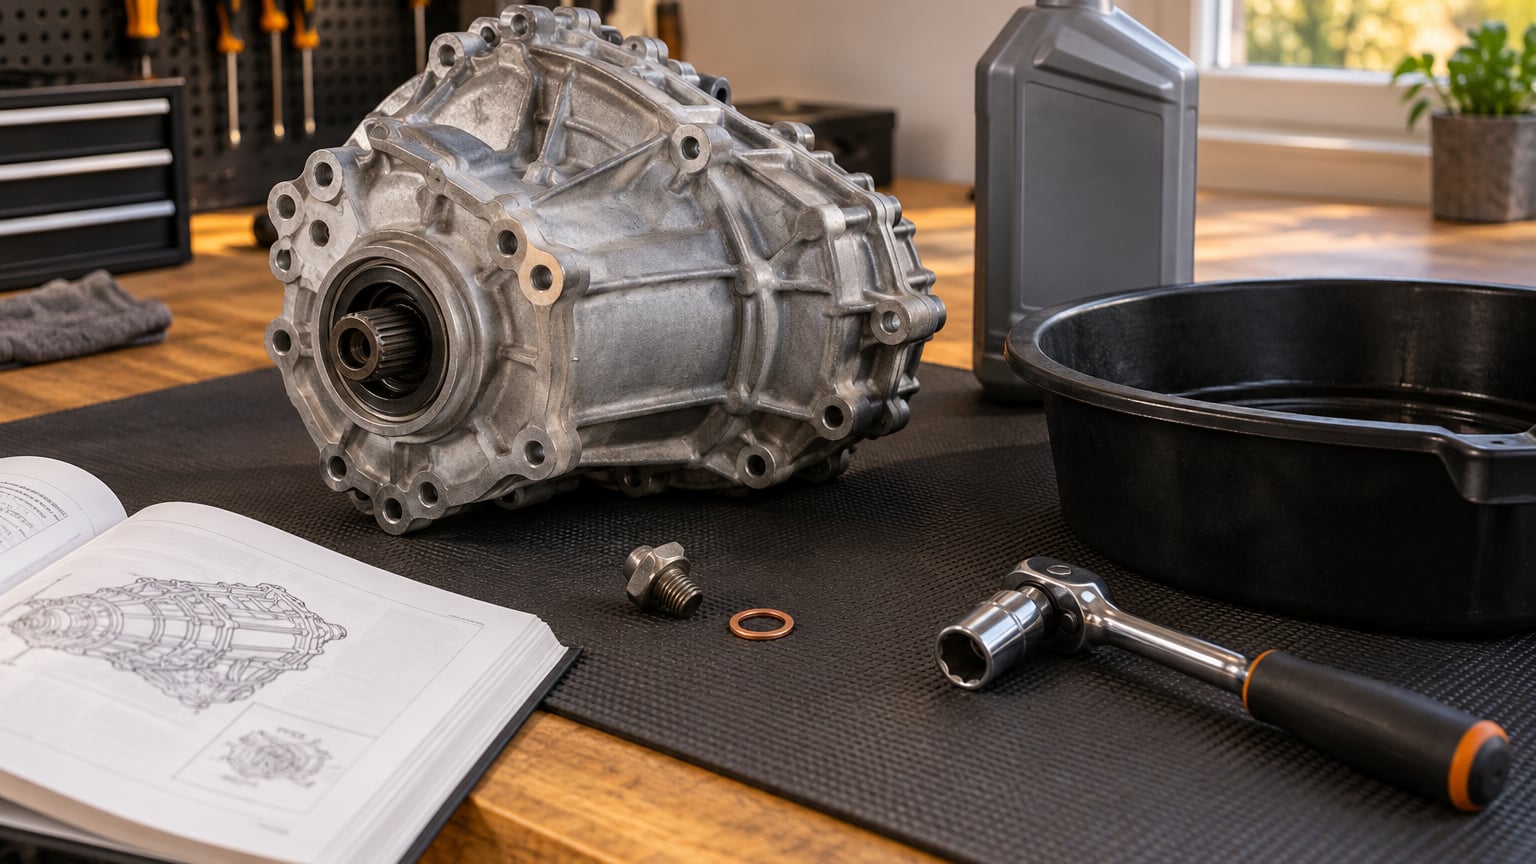
A transfer case fluid change guide is worth reading before you pull a single plug, because the transfer case is the one drivetrain component most owners cannot name on their own vehicle. The transfer case is the gearbox up front that splits engine torque between the front and rear axles on 4WD and AWD builds, and the fluid inside it is the only lubrication its chain or gear set, bearings, and output shaft seal ever get. On most vehicles that fluid is the same specification of automatic transmission fluid the transmission takes, on some it is a dedicated transfer case oil, and on a few it is gear oil. Get the spec right and this is a 30 to 60 minute job with jack stands and a hand pump. Get it wrong and you are pouring money down a drain hole.
One distinction has to come before anything else, because it is the single most common confusion: the transfer case is not the transmission, not the front differential, and not the rear differential. Each holds its own fluid, each drains from a different plug, and each has its own service interval. Our BMW differential fluid change guide covers the axle units separately if you are planning to do all of it in one session.
Table of Contents
- What You Need for a Transfer Case Fluid Change
- Step-by-Step Transfer Case Fluid Change
- Common Mistakes
- Frequently Asked Questions
- How often should transfer case fluid be changed?
- Does a transfer case fluid change require draining every axle?
- What type of transfer case fluid does my BMW need?
- Can I use differential or automatic transmission fluid instead?
- What does low or dark transfer case fluid mean?
- Should I have a transfer case fluid change done by a shop?
- Start With the Manual, Then Open the Fill Plug
What You Need for a Transfer Case Fluid Change
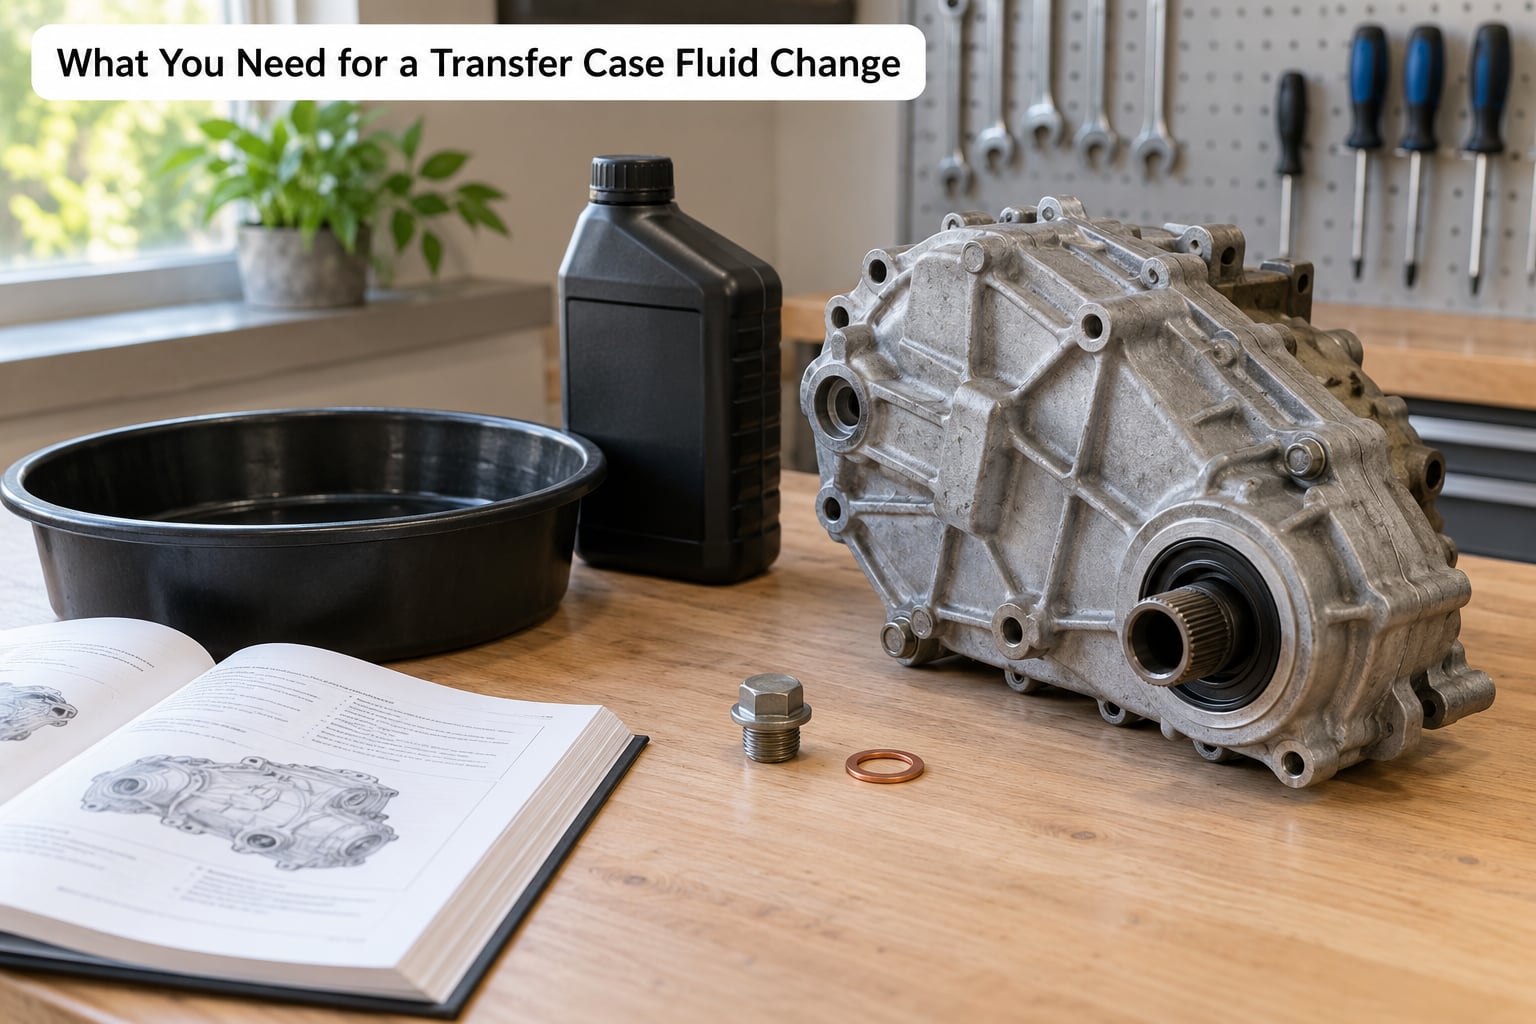
Start with the paper, not the tools. Your owner’s manual or service manual gives you the fluid specification, the fill volume or level procedure, and the plug torque for your exact vehicle, and those three numbers beat anything generic you will read online. Most manuals do not print the capacity, so expect to look it up by VIN or to fill by level instead of by volume. A good transfer case fluid change guide is built on those three numbers rather than on a generic recipe, and this one is no different.
- Service information for the fluid spec, fill volume or level method, and drain and fill plug torque.
- The correct fluid in enough quantity for the case plus a little spare, plus a matching quantity to top off later.
- The right tools for the plugs — often a hex socket, sometimes a Torx, occasionally a square drive. Bring the size your manual lists and a second size just in case.
- A new sealing washer or crush seal for the drain plug. It costs almost nothing and saves a comeback trip.
- A clean catch pan with enough capacity for the whole case. Most cases hold between one and three quarts, so a small pan means two trips under the vehicle.
- A fluid transfer pump or hand pump with a fill hose, plus a funnel that seats in the fill port without leaking.
- A torque wrench in the small range. Plug torque is often well under what a feel-good ratchet gives you.
- Jack stands rated for the vehicle at the correct frame or pinch weld points, a floor jack, and wheel chocks.
- Nitrile gloves, a drain funnel, and rags. Old transfer case fluid is a filthy grey mess on most high-mileage vehicles.
- A torque-to-spec sealant or anti-seize if your service information calls for it on the fill plug.
A few tools are worth spending a little more on. A low-profile hex ratchet with a long extension solves most of the awkward reach problems, and forum owners regularly report that a short ratchet simply does not deliver enough swing to break a stubborn fill plug. If your case is sealed and has no drain plug, add a suction hose and pump to extract the fluid through the fill opening instead.
Step-by-Step Transfer Case Fluid Change
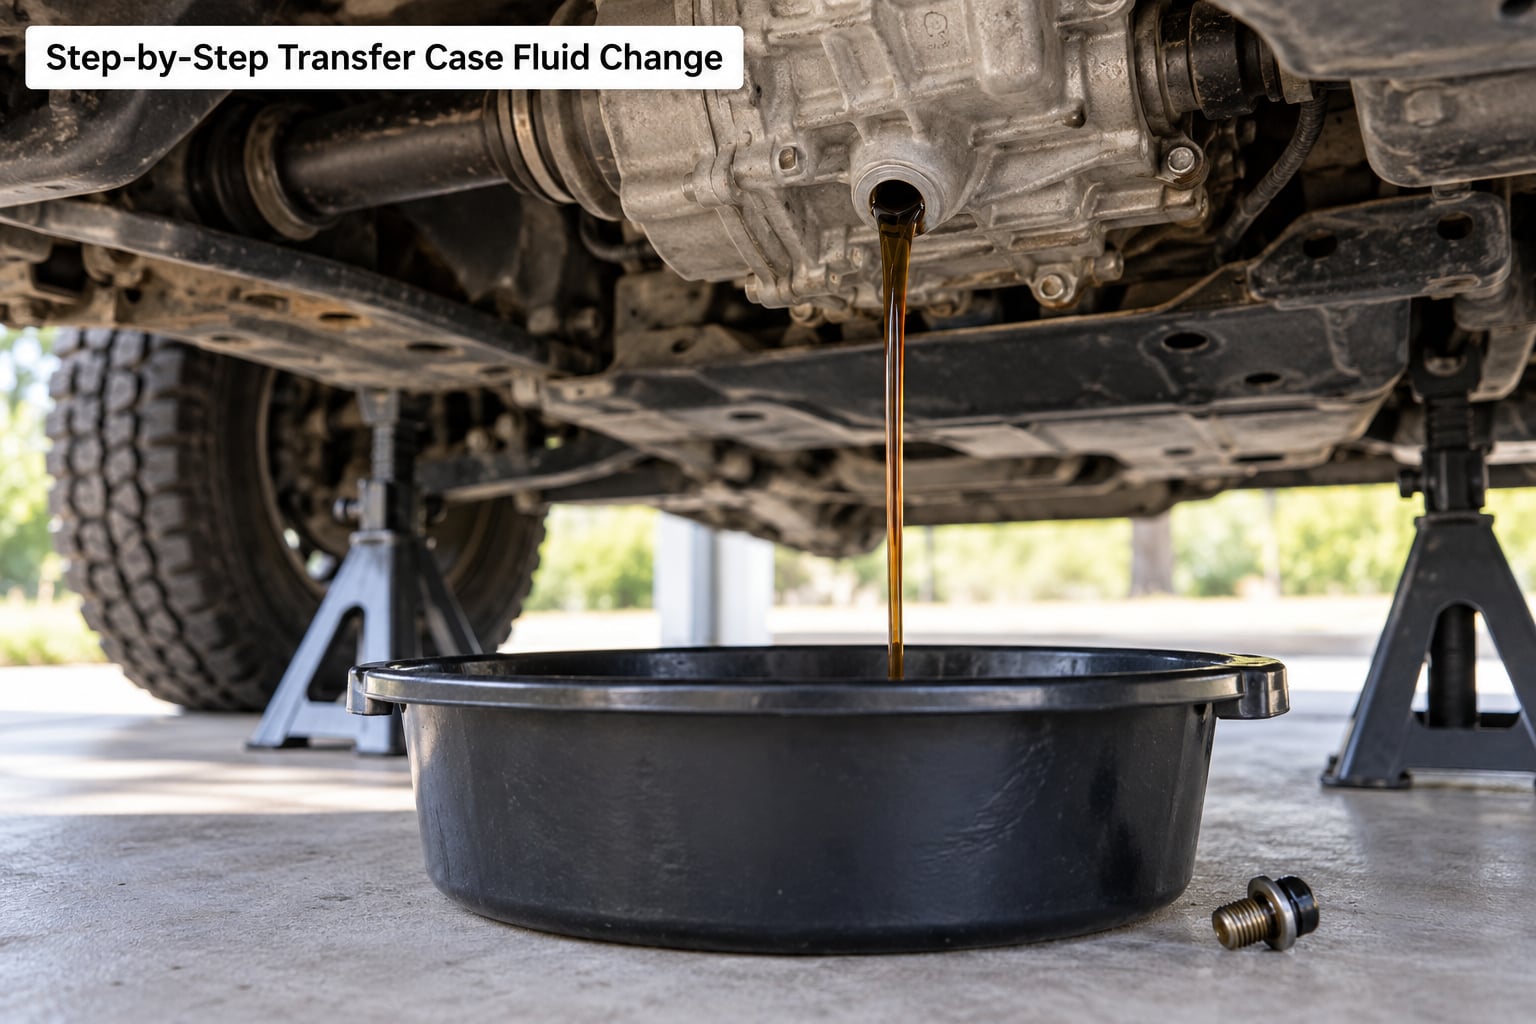
Read the whole procedure once before starting, because the order matters more than the technique. The single most damaging mistake in this job is removing the drain plug before opening the fill plug — if the fluid drains into an unvented case, it can take hours to refill, and on some designs it will not refill at all without bleeding the case.
1. Confirm the Transfer Case and Fluid Specification
Identify the transfer case on your vehicle before you touch a plug. On most AWD layouts it sits between the transmission and the front differential, bolted to the back of the transmission on longitudinal models or beside it on transverse-engine platforms, and it is usually the housing with front and rear output shafts coming out of it. Confirm the VIN, the model year, and the axle layout, because the same nameplate can carry a chain-driven case in one year and a gear-driven unit in another.
Then verify the fluid. Many manufacturers specify an automatic transmission fluid, sometimes a named specification such as a Mercon-style ATF or a Chrysler ATF+4 equivalent. Some specify a dedicated transfer case oil, and some ask for a synthetic ATF meeting a particular standard. Never assume transfer case fluid is interchangeable with transmission or differential fluid just because two of them come out of the same bottle shape — viscosity, additive package, and friction modifier requirements differ between components.
2. Prepare the Vehicle and Work Area
Park on a level surface and verify it. The case must be level front to back and side to side, or the fluid level reading at the fill port will be wrong in either direction. On a sloped driveway you will underfill or overfill without knowing it, so if you cannot find a level spot, use a mobile lift.
Cool the fluid first. A short drive brings the case up to operating temperature so everything comes out, then let it sit until it is safe to reach. Working on hot fluid means burns and handling problems, and working on a cold case after a fast drive leaves a surprising amount behind in the bottom of the housing.
Shift the transmission to Park on an automatic or neutral on a manual, set the parking brake, and chock the wheels that stay on the ground. If your vehicle has an electronically shifted transfer case, put the system in two-wheel drive mode before you drain so the motor is not moving a gear train that is half empty.
Support the vehicle on jack stands at the frame or pinch weld points named in your owner’s manual. Never work under a vehicle held only by a floor jack. Lay down cardboard or a plastic sheet under the work area to protect the underbody, and position your catch pan before you remove anything.
3. Drain the Old Fluid
Locate the drain plug. It is usually on the driver side or the front face of the case, and the manual will show you the size and socket type. Spray it with penetrating oil a few minutes before you touch it, because plugs that have seen one heat cycle and never been removed since are the ones that fight you.
Remove the plug slowly and keep the pan directly under it — some cases drain sideways the moment the threads break. Let it run until it slows to a drip, then take a look at what came out before you tip the case any further. Clear amber or red fluid in clean condition is what you hope for. Dark brown fluid with a burnt smell means it has been running hot or the wrong fluid went in. Cloudy or milky fluid points to coolant contamination, and you should not refill that case until you find out why. Bright metallic particles mean bearing or gear material in the oil, which is a stop-and-investigate condition rather than a service.
Understand that most transfer cases do not drain fully. There is no way to tilt every case, and the bottom of the housing, the chain tensioner pocket, and the front output area will hold a surprising amount. This is the reason a second drain-and-fill flush is worth doing on a neglected vehicle: the first service moves most of the volume, and the second pulls out what settled in the low spots.
Do not force the plug back into dry threads. If it stalls halfway, back it out, clean the threads, and start it by hand so you cross-thread nothing.
4. Clean and Replace the Drain Plug Seal
Inspect the plug before it goes back in. Run a finger along the threads and across the sealing face. Fresh metallic smear or rough threads mean the plug has been tightened against damage, and cross-threading it again will strip the case threads rather than the plug, which is a much bigger job.
Clean the sealing surface and the plug face with a lint-free rag or a light solvent on a cloth, keeping grit out of the drain passage. Then fit the seal your service information specifies. Many cases use a crush seal that is meant to be crushed once, some use a copper or rubber washer, and a few use an O-ring. Reusing a hardened washer is a leak you will find under the car later, and the sealing face itself is just as important as the washer — a scored face weeps no matter how new the seal is.
5. Fill to the Correct Level
This is the step to slow down on. Fill through the port your manual specifies, usually the same opening as the inspection or fill plug, and add fluid in small amounts while you watch for it to reach the bottom of the port. Most cases are filled to the level of the fill plug opening, not to a quart count, so add slowly and check often.
Overfilling is a real and avoidable problem. A case filled too full pushes fluid past the output shaft seal and aerates what is left in the bottom, and both show up later as a seepage stain you will mistake for a leak. Stay at or just below the port level and stop.
Be careful about one popular shortcut. Filling through an axle output opening works on some designs where the fill port is unreachable, but it is not valid for every transfer case — on others it feeds an external cooler or fills a different cavity entirely. If your manual does not describe it, do not use it. If the manual does describe it, follow the stated quantity exactly.
Fit the fill plug and torque it to spec. A thin film of anti-seize or thread sealant on the fill plug, where specified, makes the next service painless. That is the whole transfer case fluid change in practice: identify, drain, seal, fill, verify.
6. Recheck for Leaks and Test the Vehicle
Torque the drain plug to the specified value, wipe the area clean with a rag, and leave the vehicle sitting for a few minutes. Fluid weeps out of a plug that was not seated or whose seal was reused, and it shows up immediately as a bead around the plug rather than a running leak.
Back the vehicle down, still keeping it level, and recheck the fill port. Fluid spreads inside the case as you work, so the level that read correct at the plug can read a little fuller after a short drive. Top up to the port and retorque if needed.
Take a short low-speed drive in open space, then come back and look underneath. A fresh stain spreading across the case or down the frame means a plug leak, a missing seal, or a case split. A slow drip that increases under load points at a seal. Clear fluid around the case after a cold start that goes away when warm is usually a breather or a seal that only weeps when the fluid is cold.
Signs that the fluid itself was the problem show up differently. A grind or growl that changes with steering angle points at low fluid or wrong fluid in the case. Delayed or hesitant four-wheel-drive engagement can mean low fluid starving the chain or gear mesh. Milky fluid after the change means coolant is getting in somewhere, and you need to trace it rather than top up again. Reset your maintenance interval counter after the service so the reminder does not nag you a year early.
Common Mistakes
Almost every avoidable problem with this job comes down to seven mistakes. Each has a straightforward fix.
- Using the wrong fluid. A case that asks for a dedicated transfer case oil or a named ATF specification does not want whatever is in the transmission bottle on your shelf. Fix: read the spec, buy exactly that, and check the container label against the manual before pouring.
- Confusing the transfer case with the differential or transmission. They look similar under the vehicle and drain from different places. Fix: identify the case by tracing the front and rear output shafts back to the housing they share.
- Removing the drain plug before opening the fill plug. This is the mistake that strands a vehicle with an empty case and can require bleeding it to refill. Fix: open the fill or inspection plug first, confirm it is free, and only then remove the drain plug.
- Overfilling. Too much fluid pushes past the output shaft seal and aerates what is left. Fix: fill slowly to the level of the port and stop there, even if the volume differs from a rough figure online.
- Reusing the old sealing washer or skipping the seal entirely. Fix: fit the new washer or crush seal every single time, and clean both sealing surfaces before assembly.
- Working on a vehicle that is not level, or on a slope. The level reading will be wrong and the fill volume will be off. Fix: level front to back and side to side, or use a lift where a level surface is not possible.
- Disposing of fluid carelessly. A few quarts down a storm drain is a problem you cannot undo. Fix: take used fluid to a recycling or service station that accepts it, and keep it in a sealed container on the way.
One more worth mentioning: working on a jacked vehicle without stands, or standing on an unsecured step stool under the car. Support the vehicle properly every time, and if you are under it with a hand pump, wear eye protection. Old transfer case fluid carries metal particles.
Frequently Asked Questions
How often should transfer case fluid be changed?
Most manufacturers set two different intervals: inspect first, replace later. A typical pattern is an inspection every 7,500 to 15,000 miles and a fluid change every 30,000 to 60,000 miles, with a shortened interval if you tow, drive in deep snow, go off-road, or use the vehicle hard. Some manuals only say inspect and never give a replacement figure, which is where the confusion starts. Treat 40,000 miles as a sensible street-driven figure and cut it in half for severe use.
Does a transfer case fluid change require draining every axle?
No. The transfer case drains and fills through its own plugs, and the front and rear differentials are separate units with their own plugs, fluid, and intervals. That said, if your vehicle has crossed a lot of water, towed heavy, or has no recorded service history, doing the case and both differentials in one session makes sense. Bundle the work so the vehicle is up on stands once instead of three times.
What type of transfer case fluid does my BMW need?
Most BMW xDrive models take an automatic transmission fluid matching the specification listed in your owner’s manual, and the same fluid usually serves the transmission. Older models with a conventional transfer case may call for a separate gear oil, so verify by VIN rather than by model year alone. Use a fluid that meets the stated standard and the volume your manual specifies, and never substitute a differential gear oil.
Can I use differential or automatic transmission fluid instead?
Automatic transmission fluid is correct for many cases because the manufacturer specifies it, but it is not automatically interchangeable with differential gear oil. Gear oils are GL-rated and heavier, and they lack the friction modifiers an ATF needs where clutch packs or an electric motor are involved. If your manual names a dedicated transfer case oil or a particular ATF standard, use that and nothing else. Pouring in the wrong fluid is the fastest way to cause the noise you were trying to fix.
What does low or dark transfer case fluid mean?
Low fluid shows as a growl or grind that changes with steering angle, a whine that rises with speed, delayed four-wheel-drive engagement, or a damp stain under the case. Dark brown fluid with a burnt smell means it overheated or the wrong fluid was used. Milky or cloudy fluid means coolant contamination and needs investigating. Metallic glitter in the oil means wear material from bearings or gears, which is a conversation about a rebuild rather than a fluid change.
Should I have a transfer case fluid change done by a shop?
A shop is the sensible choice if you cannot get the vehicle level, if the drain or fill plug is seized or stripped, if the case is sealed with no drain plug and you do not have an extraction pump, or if you are not confident working under a raised vehicle. On a level driveway with jack stands, a hand pump, and the correct tools, it is a straightforward job for a confident weekend mechanic. The fluid and pump are inexpensive; the labor is the reason people hand it to a shop.
Start With the Manual, Then Open the Fill Plug
If you do one thing before anything else, find your vehicle’s fluid specification, fill volume, and plug torque by VIN, then open the fill plug while the vehicle is still on the ground. The rest of the procedure is straightforward once those three numbers are in front of you.
Once you have the case open, read the old fluid before you drain it, because what comes out tells you whether this was overdue maintenance or a case already in trouble. If you are also due for transmission service, sort out the lifetime-fill question in our BMW transmission fluid change lifetime fill myth piece first, since a case change and a transmission change on the same day is one lift and one set of tools. And if you are working through an older high-mileage car, our BMW E90 high mileage reliability guide covers the rest of the fluid and wear items worth bundling into the same afternoon.
That is the short version of a transfer case fluid change guide you can actually work from: manual first, fill plug open first, new seal every time, level not volume. Last thing — this guide covers the general procedure, and your owner’s manual covers your vehicle. Where the two ever disagree, the manual wins every time.