
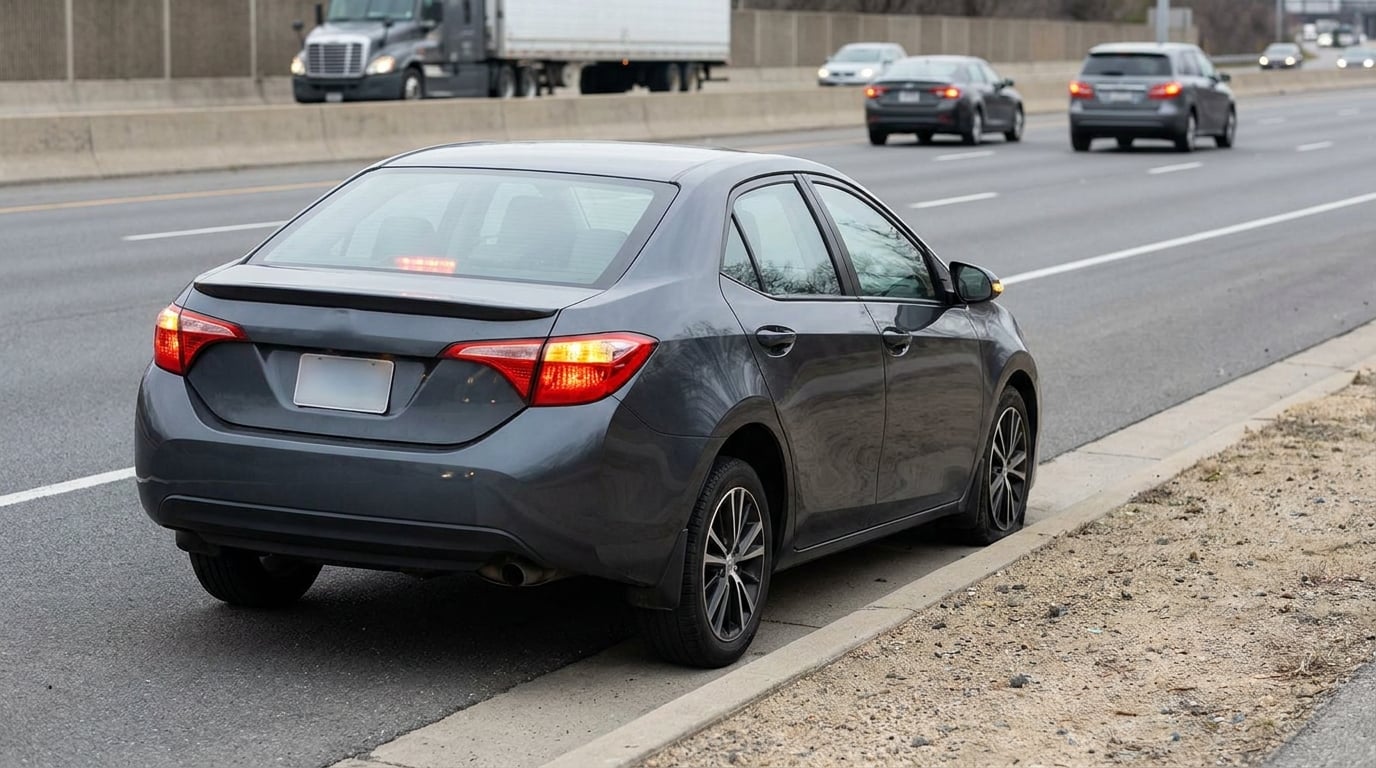
To handle a tire blowout at speed, keep both hands on the steering wheel, hold your lane, ease off the accelerator, and let the vehicle slow on its own before you touch the brake. Turn on the hazard flashers early, then move to the shoulder only when you are nearly stopped. A blowout ends with the car fully out of traffic, not a fast one.
Most drivers describe the same thing afterward: the car drifting out of its lane and the steering suddenly going light. What separates the drivers who stop safely from the ones in the ditch is what they do in the first five seconds. This guide is written in the order those five seconds should go, updated for 2026.
Table of Contents
- What You Need
- Step-by-Step: How to Handle a Tire Blowout at Speed
- 1. Stay Calm and Grip the Steering Wheel
- 2. Do Not Brake Hard or Slam on the Accelerator
- 3. Turn On Hazard Flashers and Signal
- 4. Gradually Slow the Vehicle
- 5. Pull Over as Far from Traffic as Possible The best places to stop are the ones nobody has to swerve around: a rest area, a parking lot, a wide paved shoulder, or the far side of an exit ramp. The worst is a narrow shoulder beside a lane running at highway speed. Every mile you travel on a flat tire is miles of rim dragging on concrete. That is what bends the wheel, and a bent rim is the expensive part of the whole event, not the tire. On a high-speed shoulder with traffic still flowing, staying in the vehicle is usually safer than walking behind it. Get out only if there is a barrier, a wall, or another solid object between you and the traffic, and wear the vest. You will know this step worked if your car is fully out of the travel lane and level on the ground. 6. Secure the Vehicle and Check the Tire
- 7. Install a Spare or Call for Roadside Assistance
- 8. Know When Not to Drive Away There are clear cases where the answer is tow, not drive. A bent, cracked, or deeply scraped rim. A split sidewall. Visible cord or belt steel. A tire sitting loose on the wheel. Any grinding, clunking, or scraping when the car rolls. A vehicle that pulls to one side, tracks badly, or steers strangely after the change. Rim damage is also a signal about the tire. If the wheel is bent, whatever came apart on the road was probably still attached enough to hit something hard. And be clear about one thing: reinflating a damaged tire is not a repair. Air pressure coming back does not mean the carcass is sound. If you need a guide to uneven tire wear patterns, that is a different problem from a blowout and needs its own diagnosis. You will know this step worked if you can say plainly that the car is either safe to drive away or it is not. Common Mistakes Almost every blowout crash traces back to one of a handful of decisions, and all of them are avoidable. Slamming on the brakes. Safe correction: brake in stages, and only as hard as the tire will take. If the pedal goes to the floor with no change in speed, ease off and let engine braking bring the speed down. Overcorrecting the wheel. Small sawing motions at speed are how a rear blowout becomes a spin. Safe correction: hold a steady grip, make one gentle input at a time, and let the car come down to a low speed before you steer for the shoulder. Driving on the flat to reach the next exit. The tire is already destroyed. The rim is what you are now destroying too. Safe correction: slow down and stop where you are, then judge the wheel. Ignoring the warning. A hissing sound, a thump that repeats with every rotation, a wheel that shivers, or a car that will not track straight on an even road are all pre-blowout symptoms. Safe correction: pull over at the next safe place and check pressures while the tires are still usable. If you suspect a leak rather than a blowout, fixing a slow leak in a tire properly takes less time than a roadside change. Stopping somewhere visible. Safe correction: the further from the lane, the better. Rest area, lot, or the far end of a wide shoulder. Never in a live lane, and never on the painted gore of an exit. Trusting an unsafe temporary fix. Plugging a sidewall, running glue in the tread, or inflating a split carcass buys you a few miles at best. Safe correction: spare, tow, or nothing. Frequently Asked Questions How long can you drive on a flat tire after a blowout?
- Should I brake or use the gas pedal during a blowout?
- How is a front tire blowout different from a rear tire blowout?
- Can a blown-out tire be repaired or does it always need replacing?
- Why do tires blow out on the highway?
- Conclusion
What You Need
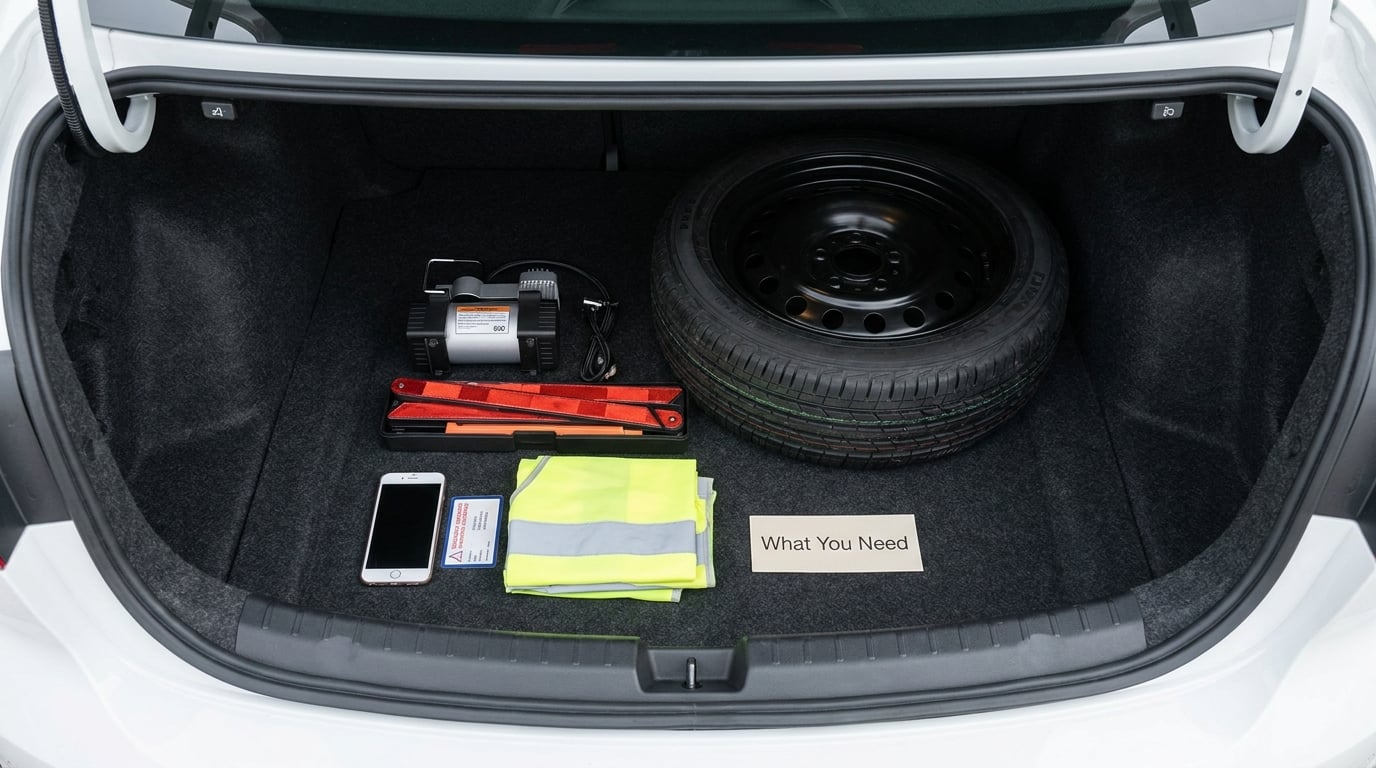
Most of this is cheap and lives in the trunk or the glovebox. Having it is what turns a roadside emergency into an inconvenience instead of a tow.
- A working tire pressure monitor. Most cars warn you well before a blowout, usually somewhere around a quarter of the normal pressure. Know how your car reports it, whether that is a light, a gauge, or a message.
- A spare and the tools to fit it. A full-size spare is a normal tire. A compact temporary spare is a limited-use tire, and many low-profile setups on large rims have no spare at all.
- An inflator or a puncture repair kit for slow leaks, stored where you can reach it without emptying the trunk.
- A reflective vest and warning triangles, because a stopped car on a shoulder is hard to see in early morning or at dusk.
- A charged phone and your roadside assistance number, stored in the phone and written on a card in case the phone is damaged.
Check tire pressure monthly, and know what PSI your tires should run in cold weather so cold readings mean something. One point of pressure matters more in winter than most people assume.
One thing to accept early: a blowout often leaves you no repairable option. A tire that has been run flat is usually scrap, and the rim underneath it may be damaged too. Your owner’s manual is the authority on the spare, the jack points, and the torque on the wheel nuts, so read the tire section before you need it.
Step-by-Step: How to Handle a Tire Blowout at Speed
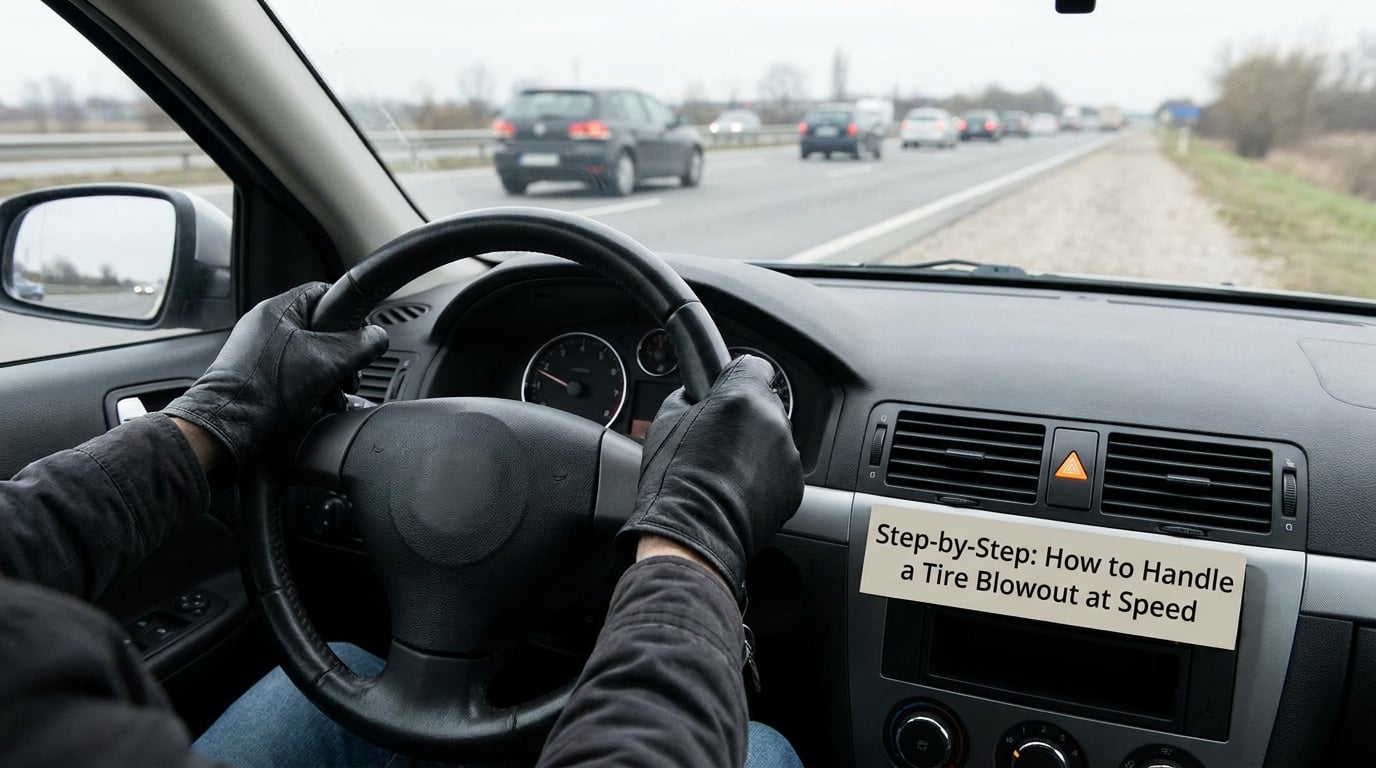
The sequence below runs from the moment the tire goes to the moment the car is stopped and safe. Each step says what to do, why it works, and how you can tell it is working. Do them in order. Stepping out of order is what turns a blowout into a spin.
1. Stay Calm and Grip the Steering Wheel
Put both hands on the wheel at the nine and three positions and hold firmly. Do not cross your hands, and do not make quick small corrections, because every sharp input at speed is a chance to load the failed tire and break traction.
Let the car travel where it is heading and use the next few seconds to work out what happened. A front tire failure makes the car pull hard toward that corner and the steering goes heavy. A rear failure is livelier, more of a fishtail or a sway that grows and shrinks. Knowing which one you have tells you how much correction the car will tolerate.
You will know this step worked if the car keeps tracking roughly straight without drifting farther across its lane.
2. Do Not Brake Hard or Slam on the Accelerator
Lift off the gas and leave it there. Do not stand on the brakes while the tire is shredded, and do not stab the throttle to keep the speed up.
Here is why braking hard loses control. A blown tire is not a low tire, it is a deformed one. The sidewall folds under, the tread block separates from the road, and the contact patch that gives you steering and braking force shrinks to almost nothing. Lock a tire that has almost no contact patch and you have no steering left at all, which is a skid, and sometimes a rollover.
Drivers on tire and RV forums still argue about briefly pressing the accelerator during a rear blowout, on the theory that engine power tightens the sidewall and straightens the car. For a fully deflated tire, power does not reshape the carcass, and a sudden surge of torque is exactly the input that breaks the rear loose. Ease off and stay off it.
You will know this step worked if the speed falls off smoothly and the car stays where you put it.
3. Turn On Hazard Flashers and Signal
Hit the hazard flashers right away. Do not wait until you are halfway to the shoulder, because on most US cars the flashers work only with the ignition on, and the sooner surrounding traffic knows, the more room you have.
Confirm they are actually blinking, by watching the mirror reflection or asking a passenger. Then signal your intention to leave the lane. Move toward the shoulder only when a gap opens that you can fit into, and never cross a solid line to make one.
You will know this step worked if vehicles behind you start giving you space instead of closing in.
4. Gradually Slow the Vehicle
Now apply steady, increasing pressure to the brake, in stages your car can stay balanced through. Leave far more room than usual, because your stopping distance on a failed tire is longer and your ability to correct mid-brake is much worse.
On a car with a manual transmission, dropping to a lower gear adds engine braking and takes the work off the brakes. On an automatic with a low drive range, the same idea applies. A loaded vehicle, a trailer, or an EV will need more distance than a sedan, and a wet road needs more still.
Plan the stop before you reach it. Never come to rest in a live lane, on an exit ramp gore, or anywhere a stopped car would be hit from behind.
You will know this step worked if you can still make small steering corrections while the brake is on.
5. Pull Over as Far from Traffic as Possible
The best places to stop are the ones nobody has to swerve around: a rest area, a parking lot, a wide paved shoulder, or the far side of an exit ramp. The worst is a narrow shoulder beside a lane running at highway speed.
Every mile you travel on a flat tire is miles of rim dragging on concrete. That is what bends the wheel, and a bent rim is the expensive part of the whole event, not the tire.
On a high-speed shoulder with traffic still flowing, staying in the vehicle is usually safer than walking behind it. Get out only if there is a barrier, a wall, or another solid object between you and the traffic, and wear the vest.
You will know this step worked if your car is fully out of the travel lane and level on the ground.
6. Secure the Vehicle and Check the Tire
Put the transmission in park, or in gear on a manual, set the parking brake, switch off the engine, and keep the hazard flashers on. Leave as much distance as you safely can between your car and the nearest moving lane.
Then look before you touch anything. On the tire, check for a bulge, a gash, exposed cord, a torn bead, or a sidewall that is split or scoured. On the wheel, look for dents, scrapes along the outer lip, and any sign of the tire sitting loose against the rim. Run your hand along the sidewall and the tread face; both should feel consistent, not lumpy.
Also look at the ground. If there is a chunk of tread, glass, or a spike in the debris, that tells you what caused this and whether the spare is going to have the same problem.
You will know this step worked once you can say clearly whether the damage is to the tire, the wheel, or both, because that decides the next step.
7. Install a Spare or Call for Roadside Assistance
A full-size spare goes on like any other tire: jack on the manufacturer’s point, lug nuts loosened in a star pattern, torque on with the wrench, stow everything. A compact temporary spare is different. Those are usually limited to roughly 40 mph and a short trip to a shop, because at highway speed the sidewall is doing structural work it was never designed for.
Whatever you fit, the failed tire and its wheel need to be inspected before you go back to normal driving. A tire that came off can damage the rim, and the impact can also reach the strut, the wheel bearing, or the alignment.
If you are on a busy shoulder, if the vehicle is loaded or towing, if there is no spare, or if you have no jack and wrench, calling for help is the safer choice every time. Being upright and stationary is a much better outcome than being in the lane with a car jack.
8. Know When Not to Drive Away
There are clear cases where the answer is tow, not drive. A bent, cracked, or deeply scraped rim. A split sidewall. Visible cord or belt steel. A tire sitting loose on the wheel. Any grinding, clunking, or scraping when the car rolls. A vehicle that pulls to one side, tracks badly, or steers strangely after the change.
Rim damage is also a signal about the tire. If the wheel is bent, whatever came apart on the road was probably still attached enough to hit something hard.
And be clear about one thing: reinflating a damaged tire is not a repair. Air pressure coming back does not mean the carcass is sound. If you need a guide to uneven tire wear patterns, that is a different problem from a blowout and needs its own diagnosis.
You will know this step worked if you can say plainly that the car is either safe to drive away or it is not.
Common Mistakes
Almost every blowout crash traces back to one of a handful of decisions, and all of them are avoidable.
Slamming on the brakes. Safe correction: brake in stages, and only as hard as the tire will take. If the pedal goes to the floor with no change in speed, ease off and let engine braking bring the speed down.
Overcorrecting the wheel. Small sawing motions at speed are how a rear blowout becomes a spin. Safe correction: hold a steady grip, make one gentle input at a time, and let the car come down to a low speed before you steer for the shoulder.
Driving on the flat to reach the next exit. The tire is already destroyed. The rim is what you are now destroying too. Safe correction: slow down and stop where you are, then judge the wheel.
Ignoring the warning. A hissing sound, a thump that repeats with every rotation, a wheel that shivers, or a car that will not track straight on an even road are all pre-blowout symptoms. Safe correction: pull over at the next safe place and check pressures while the tires are still usable. If you suspect a leak rather than a blowout, fixing a slow leak in a tire properly takes less time than a roadside change.
Stopping somewhere visible. Safe correction: the further from the lane, the better. Rest area, lot, or the far end of a wide shoulder. Never in a live lane, and never on the painted gore of an exit.
Trusting an unsafe temporary fix. Plugging a sidewall, running glue in the tread, or inflating a split carcass buys you a few miles at best. Safe correction: spare, tow, or nothing.
Frequently Asked Questions
How long can you drive on a flat tire after a blowout?
Drive on a flat tire only far enough to reach safety, and preferably not at all. Once a tire is fully deflated, the rim is riding on the road, and every mile of that grinds the metal. If the tire is merely low but still holding shape, a short trip at low speed to a shop can be fine. If it is visibly flat, distorted, or shedding rubber, stop where you are and use the spare or a tow.
Should I brake or use the gas pedal during a blowout?
Neither hard. Lift off the accelerator and let the vehicle decelerate on its own, then apply the brake in steady, increasing stages once you can tell the car will stay straight. A deflated tire has almost no contact patch left, so a locked wheel loses steering authority entirely. Adding power does not restore the tire’s shape; it puts torque through the axle while one end is already loose. Steady, patient deceleration is what keeps you in control.
How is a front tire blowout different from a rear tire blowout?
A front blowout pulls the vehicle hard toward the failed corner and makes the steering heavy and vague, because the tire doing the steering is the one that failed. A rear blowout usually shows up as sway or fishtail that grows and eases, with the steering still working but the back stepping out. Front failures need a gentler hand because a bad input goes straight into cornering load. Rear failures need patience, because the instinct to saw at the wheel is what causes a spin.
Can a blown-out tire be repaired or does it always need replacing?
Almost always replacing. A tire that has lost pressure fast enough to come apart, or that you drove on while flat, has damage in the sidewall or the belts that a patch cannot reach. Run-flat and low-profile designs are especially prone to this because the sidewall carries the load. An impact or puncture repair is only appropriate when a tire shop has inspected the tire and the wheel, the tire is the correct size and type, and you are matching a new tire to an existing tread. Get that inspection, do not decide at the roadside.
Why do tires blow out on the highway?
Usually because the tire was already marginal. Underinflation is the leading cause, since a low tire flexes more on every mile, generates heat, and eventually lets the sidewall separate from the tread. Worn tread, age-related dry cracking in the sidewall, overloading, and a bad impact from a pothole or road debris all do the same thing faster. Heat is the common factor, which is why highway blowouts show up in summer on long drives. Pressure checks and reading the DOT date code catch most of these before they start.
Conclusion
Knowing how to handle a tire blowout at speed comes down to four things in order: hold the wheel and stay in your lane, ease off the gas and let the car slow gradually, flash the hazards and signal early, and get completely out of the traffic lane. Everything after that is about the tire and the wheel, not about driving.
Before you drive away, the tire gets inspected and in most cases replaced, the rim and suspension get checked, and a bent or cracked wheel means a tow rather than a trip. And before any of it happens again, cold tire pressures, tread depth, and tire age decide how often you will be reading this page.