
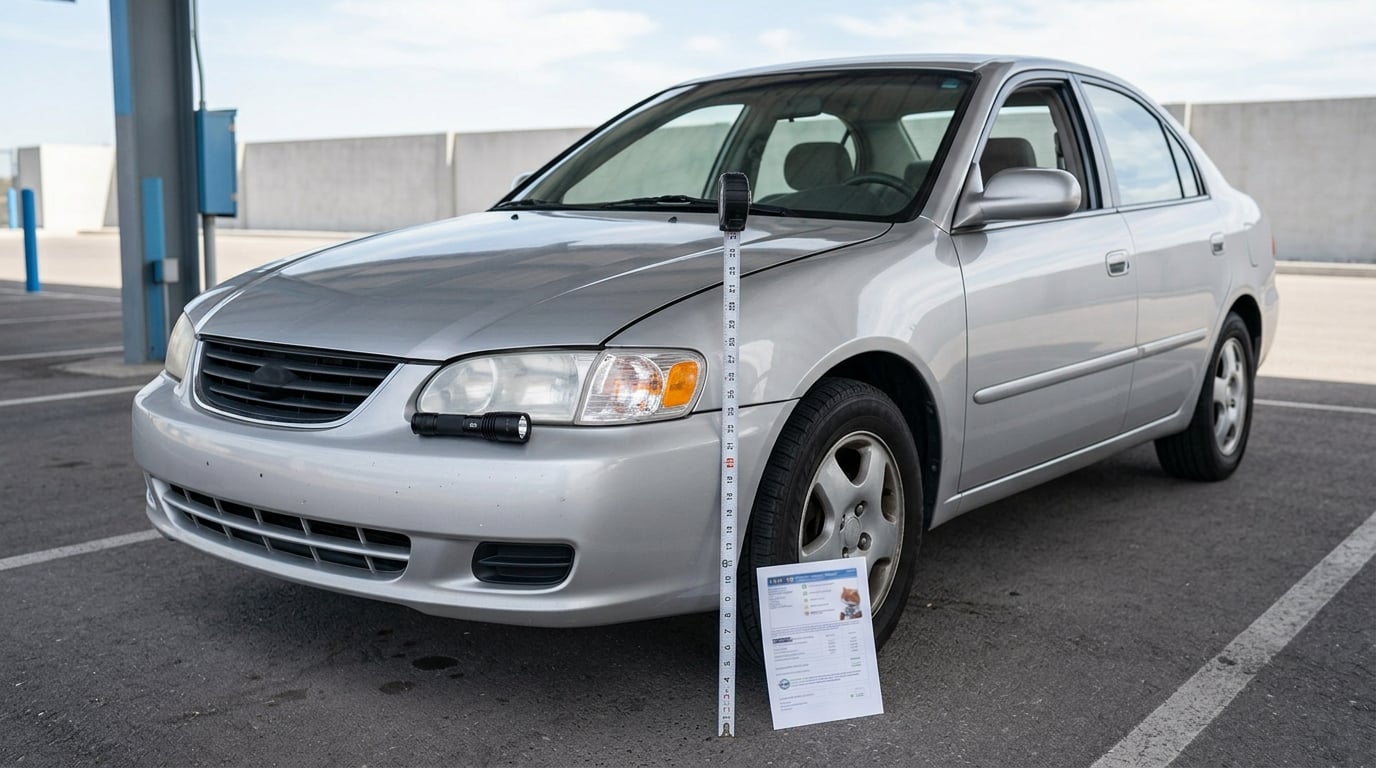
To check a used car for frame damage, work from the paperwork to the paint to the metal: confirm the VIN on the car matches the title and history report, compare panel gaps on both sides, hunt for paint work and filler, then measure the body diagonals and inspect the subframe, suspension mounts and underside. Budget about an hour for the walkaround, plus a professional inspection before you sign anything.
Most sellers will tell you a bent car drives fine, and honestly, it usually does. That is exactly the problem. A car with a shifted unibody can accelerate, brake and corner without complaint for years, then cost you thousands in tire wear, alignment work and a nasty surprise the first time you need it to protect you.
Here is the order I would follow, and it is the same order every time.
Table of Contents
- What You Need
- Step-by-Step: How to Check a Used Car for Frame Damage
- 1. Confirm the VIN and review the vehicle history
- 2. Check body gaps and panel alignment for frame damage
- 3. Look for paint, overspray, and repairs
- 4. Measure diagonal body dimensions
- 5. Inspect the subframe, suspension mounts, and steering parts
- 6. Examine the underside and structural openings
- 7. Get a professional inspection before you buy
- Common Mistakes
- Frequently Asked Questions
- Is frame damage repairable?
- How do I tell cosmetic damage from structural damage?
- Does a clean title prove the car was never in an accident?
- What should I do if the seller refuses an independent inspection?
- Is it legal to sell a car with frame damage?
- What does u0022damage reported, not an accidentu0022 mean on a history report?
- Conclusion
What You Need
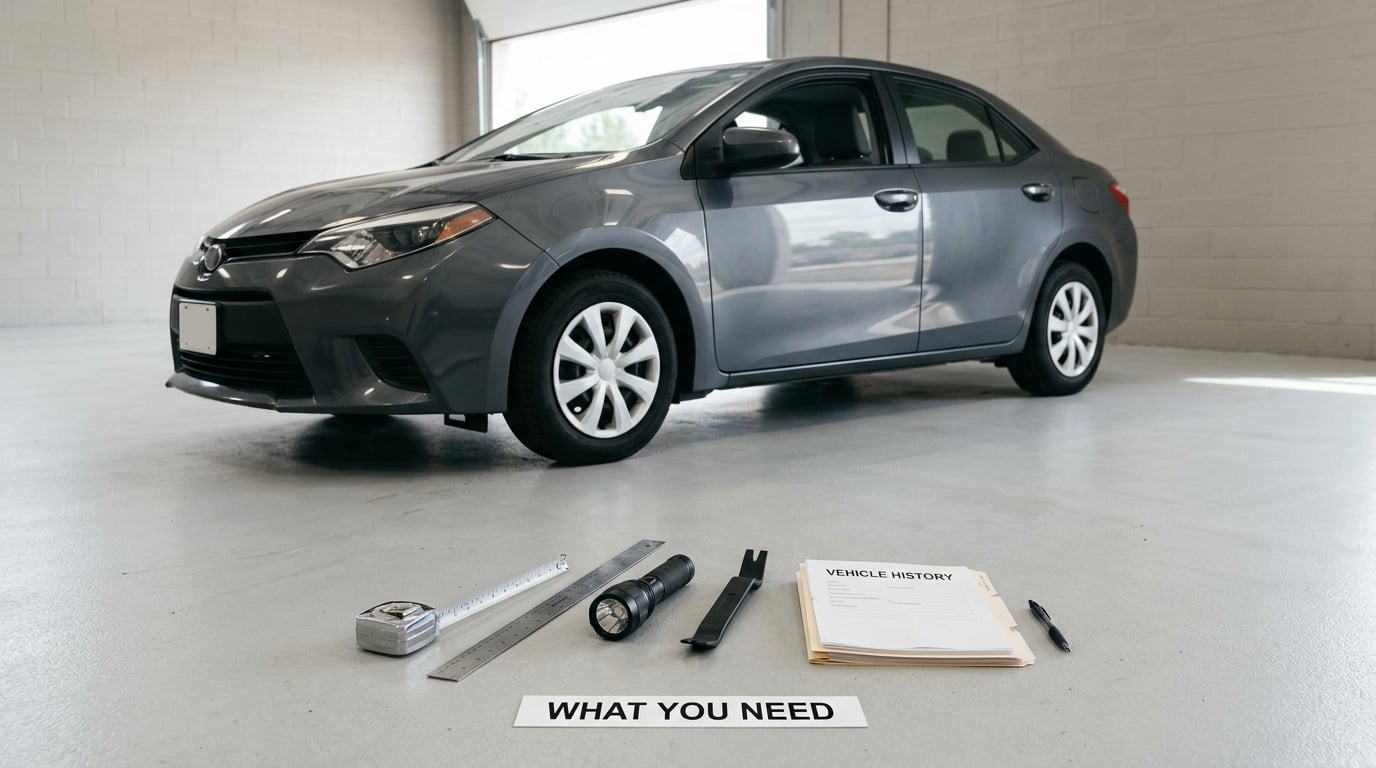
None of this is expensive and most of it is optional. But having the right tool in your hand is the difference between noticing a 4 mm difference in a panel gap and shrugging at it.
- A tape measure you can actually read. A 25 foot tape with a wide hook. A cheap cloth tape that sags will give you a false reading and undermine your confidence in the whole inspection.
- A straightedge. A yard stick or a length of aluminum angle rests against panels and makes a bowed roof or a wavy quarter panel obvious in a way your eye misses at arm’s length.
- A good flashlight. Headlamp style, so both hands stay free. Most of the real evidence is in shadow lines: door jambs, latch strikers, wheel wells, under the trim.
- A paint thickness gauge. This is the one tool I would buy rather than borrow. It reads the mil thickness of the paint and tells you in a number whether a panel has been repainted, and whether body filler was laid under it.
- A small inspection mirror and a plastic pry tool. A flat-head screwdriver works, but it scratches trim, and a pry tool lets you check the door jamb stamp and look behind rubber seals without damaging anything.
- A phone with a ruler app or a machinist square. For measuring gap widths consistently.
- The vehicle history report, already pulled. Do this from your phone while standing next to the car, not after you have already shaken hands on a deal.
- Level ground and good light. Flat pavement is a prerequisite for the diagonal measurement in step 4. If the car is parked on a slope or on grass, skip that step entirely rather than guess.
One more thing to bring: a phone that records video. Walk the body slowly and narrate what you are seeing. It sounds excessive. It also settles a lot of arguments two weeks later about whether the seller told you the quarter panel had been repainted.
Step-by-Step: How to Check a Used Car for Frame Damage
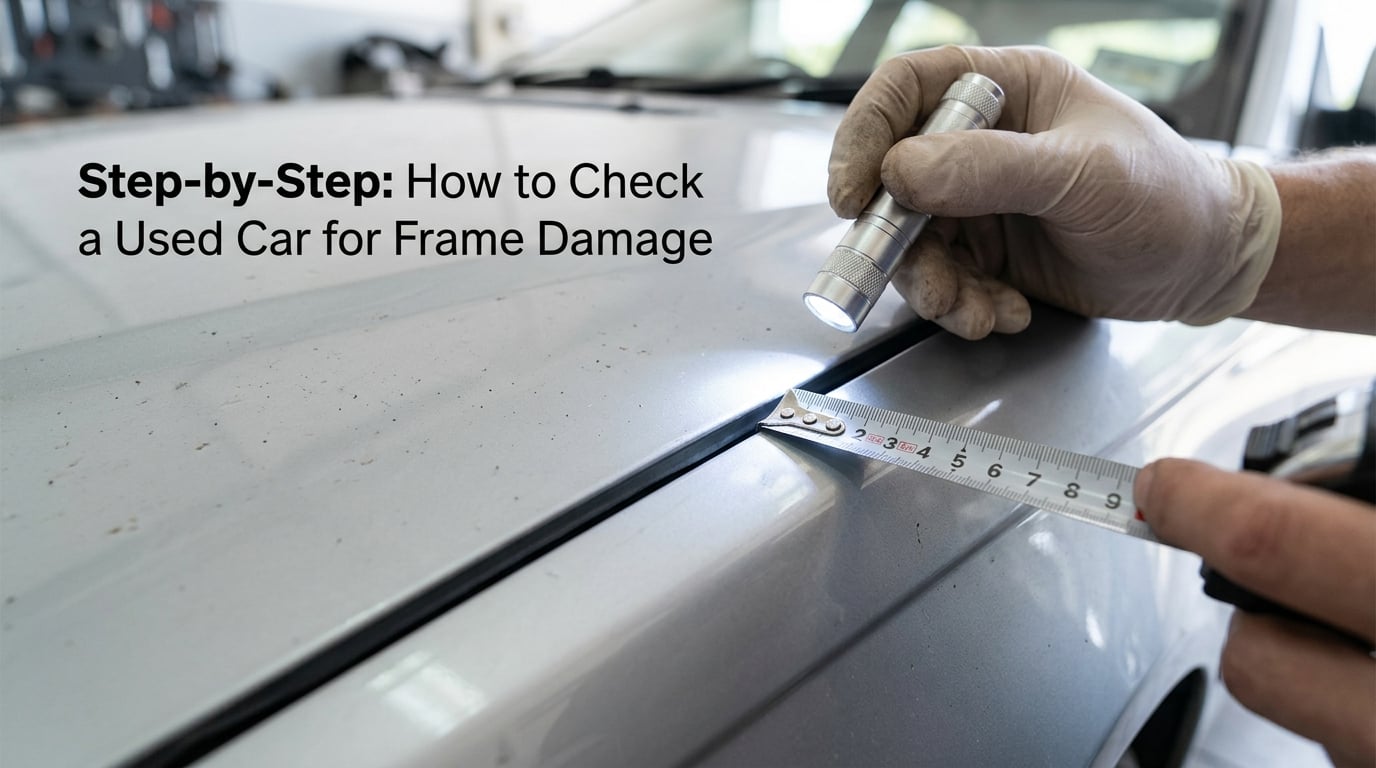
1. Confirm the VIN and review the vehicle history
The VIN is printed on the dashboard by the windshield on the driver’s side, on the door jamb sticker of the driver’s door, and on the title. Read all three. They should match each other and the report, character for character.
A mismatch is not a clerical error, and it ends the conversation on the spot. A swapped or restamped VIN can mean the car is a stolen vehicle, a salvaged shell with a fresh identification number, or assembled from two cars. There is no version of this where you win.
Then read the report for what it actually says, not whether it says “clean.” Look specifically for the words structural, frame, airbag, seat belt, and the branding on the title. Salvage branding means an insurer declared it a total loss. Rebuilt branding means a qualified shop declared the repairs complete and the state inspected the work, which is a stronger claim but still worth verifying against the invoices.
Buyers cross-check two reports, because they disagree more often than you would expect. One report can be built from repair shop records while another is built from auction and insurance feeds, and a car that went through an auction can be missing from a report for months. If the reports conflict, treat the more damaging entry as true until a shop proves otherwise.
One label deserves a specific explanation. Damage reported, not an accident is a data-source tag. It means someone with a repair obligation reported the damage but did not characterize the event as a crash, which covers things like a parking lot impact, a curb strike, hail or a shop-caused dent. It is not a clean bill of health, and structural damage on a report is the entry that matters.
While you have the report open, look for the airbag. A deployed airbag almost always means a significant frontal impact, and on a modern car it means the SRS module, the sensors and possibly the seat belts need replacement and programming. A car with a replaced airbag system and no receipts is a car whose repair history is incomplete.
No report is proof of anything, by the way. Forum buyers keep repeating the same lesson: clean-title cars that later pulled badly, traced to a damaged subframe that never made it onto any report. The paperwork is a filter, not a verdict.
2. Check body gaps and panel alignment for frame damage
Park on level ground, get your eye down near bumper height, and look along the car from the front corner. This is the angle where misalignment shows. Standing back ten feet, the same car looks perfectly straight.
Work panel by panel, comparing left to right:
- Hood to fender on both sides, and hood to windshield
- Each front door against the fender in front and the quarter panel behind
- Doors against each other at the B-pillar
- Trunk lid or liftgate against the quarter panels
- Tailgate and rear doors on a hatchback or wagon
On an undamaged car the gap is consistent, and the shadow line runs parallel from front to back. On a car that has had structural work, the gap changes size partway along its length, or the whole panel sits a few millimetres higher or lower than its partner on the other side of the car.
Measure it rather than eyeball it. Put a piece of cardboard or a credit card in the gap, mark it, then compare with the same gap on the other side. A difference of a few millimetres is not automatically a bent frame, since panel gaps vary by design and trim level, but a sudden step change along one gap is worth a professional look.
Then do the door test. Open and close every door, hood and trunk two or three times. On a square car, the first close should latch on its own, every time, from a few centimetres away. A door that needs a shove, that bounces off the latch, or that has to be lifted to catch is telling you the aperture is out of shape. The rubber bump stops are a good reference: their position on the door should be consistent, and a door whose bump stops do not line up on both ends has been repositioned.
Open every door fully and look at the jamb. The paint on a jamb is applied before the door goes on, so overspray on a door frame means a neighbouring panel was refinished nearby. Peeling or cracked paint on the jamb itself is a corrosion sign.
3. Look for paint, overspray, and repairs
Frame damage and paint work are not the same thing. A car can be repainted because it was repainted, with no structural work ever performed. But repainting is also the cheapest way to hide structural work, so this step is really about finding out which panels have been touched so you know where to look harder.
Look for:
- Colour that does not quite match under direct sunlight, especially between adjacent panels and at the fuel door
- Overspray on window trim, the door handles, the headlight lenses, the badge or the licence plate surround
- Orange peel texture, the slightly bumpy feel of a sprayed panel next to the glassy smooth feel of an original one
- A hard line or a faint sanded transition where a panel edge sits, especially low on a door or quarter panel
- Panel gaps that tighten or widen toward one end
- Rubber seals and weatherstrips that stick out further on one panel than the other, or that have been stretched
Run the paint gauge over every panel, low corners and sills included. Typical original paint reads roughly 3 to 5 mils. A repaint lands somewhere around 8 to 12. Values above 20 mils almost always mean body filler, and that is the number that tells you a panel was sanded down to metal. A door jamb or a roof rail reading near zero is a panel that was stripped to bare metal and rebuilt, which is a bigger job than a respray and worth a question to the seller.
Nobody is required to tell you a car has been repainted. Nobody is required to tell you it was in a crash either, which is why the visual pass exists.
4. Measure diagonal body dimensions
This is the step competitors skip, and it is the one that actually tells you whether the body is square. Skewed bodies do not have to look bad. They have to measure wrong.
You are comparing diagonals. On a square body, the distance from the front left corner to the rear right corner is essentially the same as the distance from the front right corner to the rear left corner. A bent, twisted or crushed body moves one diagonal longer than the other.
Pick reference points that survive on any car. The lower corner of the door opening and the lower corner of the opposite rear door opening work well. Or the seam at the base of the A-pillar and the corresponding seam on the C-pillar. Use the same two landmark types on both sides and never measure to a rounded bumper.
Hook the tape at the front point, run it in a straight line, and write the number down. Then measure the other diagonal. Write that down too. Do this front to rear and side to side, and then again across the track width at both the front and rear.
Now the part that frustrates people. How big is too big? A tape measure is not a laser measuring system, and hook placement and body curvature can easily put a couple of millimetres of error into a number you take by hand. So treat a small difference as inconclusive, and a large one as decisive.
- Within a few millimetres across two or three repeats: consistent with factory geometry. This is a pass.
- More than about 10 mm of difference on a diagonal you took carefully on level ground: something moved. Get it on a lift.
- Diagonals that change every time you remeasure: your reference points are bad, or the body is twisted enough that there is no stable plane to measure across. Either way, walk away from the tape measure and get a professional measurement.
Do not invent a pass mark for yourself. The number that matters is the number on the factory body diagram or service manual for that specific model, and that is what a shop with computerized measuring equipment is reading. Your tape measure is a screening tool. Its job is to tell you whether to spend the next hundred dollars.
5. Inspect the subframe, suspension mounts, and steering parts
This is where collision damage hides best, and it is the reason a car can feel off in a way nobody can name. Put the car on a ramp or lift so the wheels hang free, and work your way in with the flashlight.
Look at:
- Subframe bolts. Look for paint on the bolt heads, a witness mark where a washer has moved, rust in the thread, or a bolt that will not start by hand. A disturbed mount is one of the clearest signs a front corner has been hit.
- Control arm and strut mount bolts. Same test. Also check for a mount sitting at a slightly different angle than its partner on the other side, and for stretch bolts with heads ground off.
- Steering rack and column mounts. Check the bolts and the rubber bushings. Cracked or collapsed rack bushings show up as a clunk over bumps and are expensive.
- Welds. On anything that has been repaired, look for a bead of weld where a factory part would be one solid casting, a heat-discoloured area, or a ground-down surface.
- Mounting holes and chassis pickup points. Elongated or oval holes where a bolt sits, and paint lines that break partway around a hole, both mean the metal has moved.
- Shock and strut bodies. Fresh, clean, unpainted units among older ones is a flag, and so is a scraped or dented tube.
On a unibody car, the suspension subframe is bolted to the body structure, so a bent subframe means the impact energy went into the body. That is a different repair from a bent subframe on a body-on-frame truck, where the subframe is an isolated bolt-on part that can be replaced outright. Know which architecture you are standing in front of, because it changes what the damage means.
A bent or leaking caliper is one of the more common leftovers from a front corner impact, and on a BMW it is worth checking properly, as covered in how to check brake calipers for leaks on a BMW. A caliper that sits behind a freshly painted rotor shroud, or a brake line that takes an odd route, is telling you that corner was taken apart.
While the wheels are off the ground, spin each wheel by hand. Look for a bent rim lip, a wheel that sits crooked, or a tyre with a bulge on the sidewall. Uneven wear is a symptom too, and it is the one buyers usually notice last, on the test drive, when the car pulls.
6. Examine the underside and structural openings
Do this on a properly supported vehicle, or better yet, at a shop on a lift. If the car is only held up by a jack, do not get under it, full stop. A jack can fail and the car will come down on you.
What you are looking for is straightness and continuity. Rust that ate into a structural section looks completely different from rust on a bumper bracket, and the difference is whether the metal still has thickness left in it.
- Floor pans and rails. Run the straightedge along the rails and feel for dips. Check for rust that has perforated the metal, flaked edges, and a floor that flexes or feels spongy when you press it.
- Rocker panels and sills. On a unibody these carry the doors and much of the cabin structure. Puncture-thick rust here ends the deal, and a cosmetic filler patch over a rust hole is worse than the rust itself, because it hides the rate of decay.
- Strut towers and spring seats. Look for distortion, rust, and a repaint that stops at a seam that would never be masked in the factory.
- Crossmembers and the exhaust route. The exhaust should run a consistent, natural line. A section that takes a strange detour around a new weld is telling you something.
- Jack points. On many cars these are structural on the rails, and a sagging, torn or heavily rusted jack point is a serious finding.
- Suspension pickup points. Where control arms and the subframe bolt to the rails, look for stretching, cracking, and weld beads.
Get yourself under the car and run your hand along the structural seams. A flashlight only shows you what you point it at, and fingertips find ripples and soft metal that your eyes pass over. This is the check that buyers on the forums consistently say is what catches what the dealer missed.
7. Get a professional inspection before you buy
Everything above narrows the field. None of it closes it, and there is one category of damage only a shop can rule out with confidence: geometry the tape measure cannot reach. If a panel was replaced because the structure behind it was crushed and never measured, you will not find that with a flashlight.
Ask for a pre-purchase inspection by a shop you choose, not the one the seller recommends, and specify what you want checked. A good inspection here includes a computerized frame measurement or a laser measuring system on a lift, a scan tool read for SRS and steering angle sensor codes, an alignment check, and a written report with before-and-after numbers if any exist.
Make the offer conditional on the inspection passing. A seller who will not let you take the car to a shop of your choosing is telling you something, and it is rarely good.
Walk away from anything the report confirms as structural. If a serious frame problem turns up, your only sensible move is to leave, because the repair is rarely cheap and the car is worth less with that history attached forever. Where a minor finding does come up, verify the repair documentation and the actual measurement numbers before you treat it as resolved. Forums are full of buyers who accepted a verbal assurance that the unibody had been checked, which is not the same as being measured.
Common Mistakes
Trusting the paint check as the whole inspection. A good respray can make a damaged quarter panel look factory. Paint tells you which panel was touched, which is useful, but it says nothing about what is behind it. The correction: always pair the paint reading with the measurement and the subframe inspection.
Skipping the underside. Buyers lie on their backs in driveways for ten minutes and catch what everyone else missed. If you do nothing else beyond this article, get under the car. The correction: put it on a lift at a shop and spend the twenty minutes.
Judging squareness by eye from a standing position. A skewed body is designed by accident to look fine from ten feet away. Get your eye down to bumper height and sight along the car. That low angle is where panel gaps give away what the profile view hides.
Panicking over normal manufacturing tolerance. Panel gaps are not identical on a factory car, and the left and right sides are not always mirror images. A few millimetres of difference is normal. A gap that changes size along its own length, or a door that will not latch, is not.
Getting under a car held up by a jack. No inspection is worth a crush injury. Use ramps for a partial look or a lift at a shop, and never trust a single point of support.
Buying without an independent inspection. The seller has an interest in the sale and the shop down the road may too. One hour from an independent technician, including a frame measurement, is the cheapest insurance in the entire used-car process, and the only check that verifies rather than suggests.
One tip that costs nothing: ask the seller directly, before you have walked the car, whether it has been in an accident and whether any structural work was done. How they answer, and how quickly, tells you more than the report will.
Frequently Asked Questions
Is frame damage repairable?
Sometimes, and it depends entirely on the car. On a body-on-frame truck, replacing a bent frame rail or crossmember is a normal shop job. On a unibody car, structural damage means the factory unibody itself has been pulled, heated and pulled back, which relies on precise computerized measurement. Repair can run into thousands and the result is rarely as strong as factory. If a shop documents the repair with before-and-after measurements on the specific vehicle, the repair is verifiable. Without documentation, treat the car as damaged.
How do I tell cosmetic damage from structural damage?
Cosmetic damage is confined to the outer skin: a dented door, a scraped quarter panel, a replaced bumper cover. It does not move the mounting points that everything else bolts to. Structural damage changes the shape of the car underneath, so the visible effects are uneven panel gaps, a door that will not latch without a shove, a car that tracks straight no more, and diagonal measurements that do not match. Paint thickness readings are a lead, never a verdict.
Does a clean title prove the car was never in an accident?
No, and buyers have learned this the expensive way. Titles and reports are built from insurance claims, auction records and repair shop filings, and damage takes time to appear, especially after an auction sale. A subframe damaged in a side impact may never have generated an insurance claim at all. Plenty of cars that pulled badly and wore tyres inside a year turned out to have a bent mounting point that appears nowhere in the paperwork. The documents filter; the inspection confirms.
What should I do if the seller refuses an independent inspection?
Walk away, or treat it as a serious discount you should decline to negotiate. Sellers with nothing to hide say yes quickly, because an independent check protects them too. Refusal usually means one of three things: there is damage they know about, there is damage they suspect but cannot rule out, or they want the sale closed before you have time to think. Buyers report this refusal as the single clearest walk-away signal in the whole process, ahead of any visible flaw.
Is it legal to sell a car with frame damage?
It depends on your state, and the rules are changing. Many states require a written disclosure of known material damage, and some define that to include structural or frame damage. Some states now require a structural damage disclosure statement on the title itself, and others have tightened rules after dealers were found concealing accident history. Beyond disclosure statutes, knowingly concealing damage can support fraud or deceptive practice claims. If you think damage was hidden, talk to a consumer protection office or a lawyer in your state before you buy. This is general information, not legal advice, and the rules where you live are the only ones that apply to you.
What does u0022damage reported, not an accidentu0022 mean on a history report?
It is a data-source tag, not a clean result. It means a party with a duty to report, such as a repair shop or an insurer, recorded damage but did not classify the underlying event as a crash. Parking impacts, curb strikes, hail, flooding and shop-caused damage all fall into that bucket. Read the surrounding entries for severity and for the word structural, because a single minor damage-reported line means much less than a structural damage entry attached to a deployable airbag. Reports also lag reality, so a quiet history is weaker evidence than it looks.
Conclusion
Start with the VIN and the history report, because it costs nothing and it tells you where to look hardest. Then walk the body at bumper height, check the paint with a gauge, measure the diagonals on level ground, and get under the car or onto a lift to look at the mounts and the structure.
Then order the independent inspection and make the sale conditional on it. One cheap cross-check while you are at it: if the front of the car took a hit, how to check for engine oil sludge in a BMW explains the signs of coolant reaching the oil, which a bad radiator or a cracked cylinder head can cause after a frontal impact.
If a professional measurement confirms structural damage, the honest answer is to walk away. This is the one used-car problem that does not negotiate, does not get cheaper with time, and cannot be undone with new parts.