
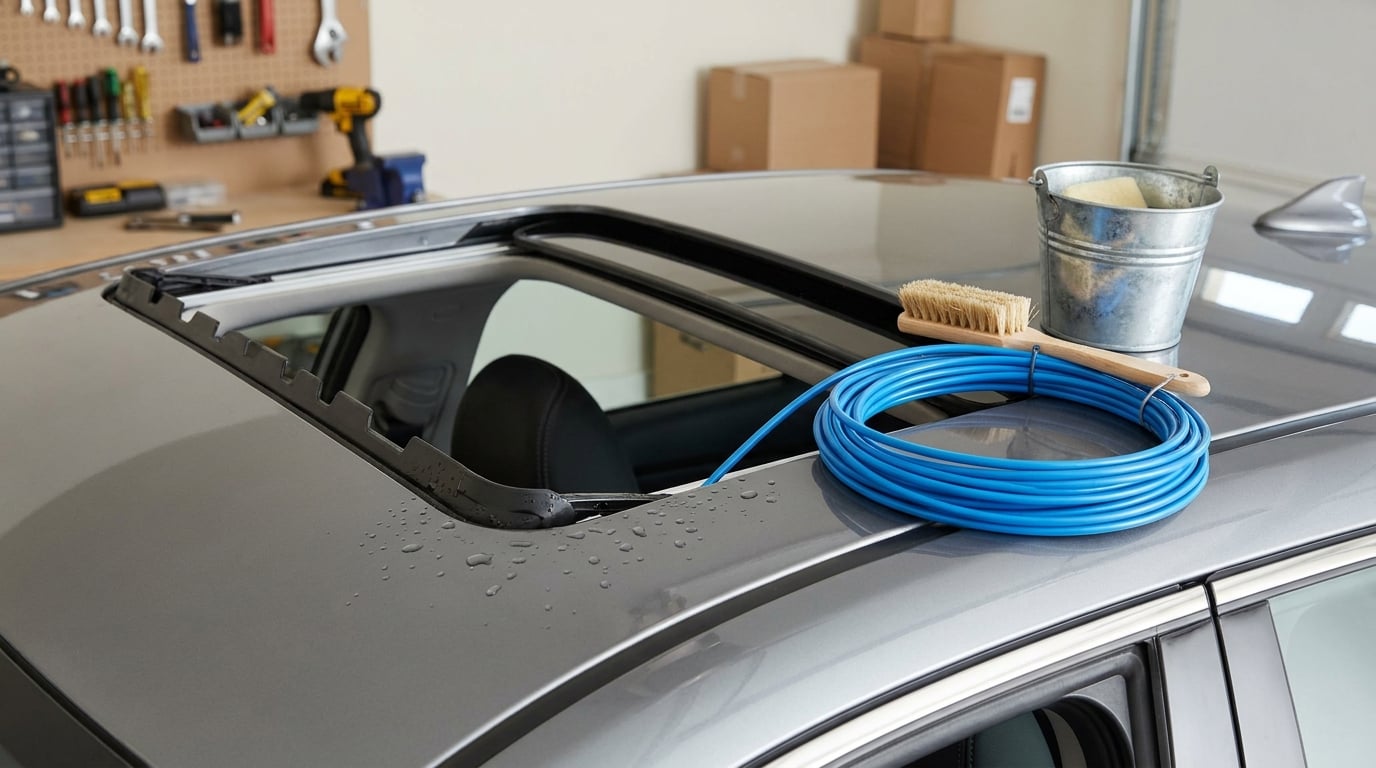
Clogged sunroof drains are the most common reason water ends up inside a BMW, and clearing them is a manageable afternoon job once you have a drain-cleaning wire and a bucket. This bmw sunroof drain cleaning guide covers the whole routine, from finding the outlets at each corner of the roof to testing the repair with a controlled pour of water.
Do BMWs have sunroof drains? Yes — most sunroofs use a four-corner system. Small drain holes at the corners of the sunroof cassette channel rainwater into flexible drain hoses that run down the A- and C-pillars and exit under the body near the base of the wheels. When those holes clog with leaves, dust and mud, water backs up in the tray and soaks through the headliner or onto the floor.
That last part is why this job matters more than it looks. A soaked headliner sags, damp carpets start smelling, and the electronics modules sitting under the floor take on water they were never meant to see. An owner on the r/BmwTech forum described finding an actual pool of water sitting between the two front drains of an E91 after its first heavy rain since purchase.
Here are the symptoms that point at the drains rather than something else. Water dripping from a front cabin light fixture or the overhead console after rain, wet headliner edges above the rear seats, damp front or rear footwell carpets, and a musty smell that shows up a day or two after a wash. A leak that gets noticeably worse under braking or when the car is parked nose-down is another strong tell, because pooled water migrates to the lowest corner of the tray.
None of that points at the drain hoses being the only thing to inspect. We’ll get to how to tell a clogged drain from a worn perimeter seal later, because owners who clean the drains twice and still leak usually have a seal problem, not a drain problem.
Table of Contents
- What You Need
- Step-by-Step BMW Sunroof Drain Cleaning Guide
- Common Mistakes and What Causes Water to Come Back
- Frequently Asked Questions
- How often should BMW sunroof drains be cleaned?
- What is the best way to clean sunroof drains?
- Do BMWs have sunroof drains, and where do they exit?
- Why does my BMW sunroof leak more when I brake or on a hill?
- Can I use compressed air or a pressure washer on sunroof drains?
- How do I reach the rear drains, and when should I stop and call a shop?
- Conclusion: Start With the Lowest Drain Point
What You Need
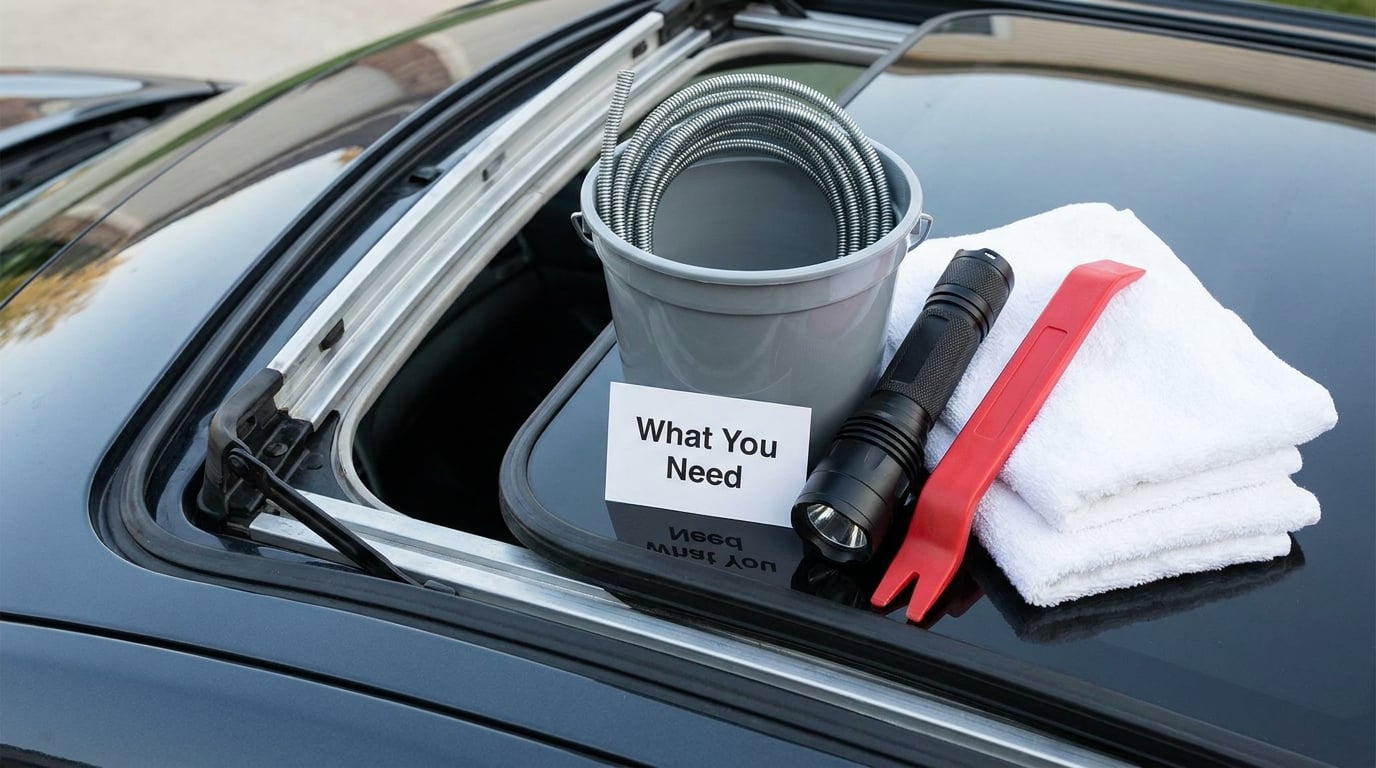
What is a good tool for clearing sunroof drain lines? A flexible drain-cleaning wire with a soft brush on the end, paired with a plastic trimmer line for tight bends. Both are cheap, both reach places a cloth cannot, and both let you pull debris back out instead of driving it further into the tube.
| Tool or supply | What it is for |
|---|---|
| Drain-cleaning wire with brush end | Breaks up compacted grime inside the drain tube and pulls debris back out |
| Plastic trimmer line or soft fishing line | Navigates the sharp bends and narrow sections a stiff wire stalls at |
| Soft nylon brush | Scrubs the drain holes at the cassette corners without scratching the channel |
| Bucket and towels | Catch the water that comes out of the drain valves behind the wheels |
| Flashlight or headlamp | Needed to see into the corner channels behind the headliner edge |
| Low-pressure hose or spray bottle | Flushes and verifies flow; a full pressure washer is too much |
| Work gloves | Old grime in a sunroof drain is unpleasant to handle |
| Trim removal tool and Torx drivers | Removes the access covers and pillar trim without marring clips |
One caution before you start pulling anything apart: access points and trim fasteners vary between models and model years. The headliner edge, the A-pillar trim and the drain valve location all differ across an E46, an E90/E91, an X3 and an X5 F15. Check the repair information for your specific vehicle or the owner’s manual before removing interior pieces, and never force a clip that resists.
Park the car somewhere you can get underneath it, on level ground, with the parking brake set. If you plan to work beneath the car, use proper jack stands rather than relying on a jack alone.
Step-by-Step BMW Sunroof Drain Cleaning Guide
What is the best way to clean sunroof drains? Work from the top down: clear the drain holes at the four corners of the cassette with a brush and a drain-cleaning wire, flush them with warm water at low pressure, then confirm each drain valve under the car actually discharges before you reassemble anything. Most front-drain cleanups take about an hour once the car is on stands.
1. Confirm the leak and locate the drain outlets
Start by reproducing the problem with a controlled amount of water rather than assuming. Open the sunroof fully, then pour a measured amount — a couple of cups is plenty — into each corner channel of the tray and watch where it goes. If the water sits and slowly spreads instead of disappearing, you have found a restricted path.
While you do this, note exactly where the water appears inside the car. Drips from a front cabin light or overhead console point at the front drains. Wetness at the rear seat edges points at the rear corners. Water running down the A-pillar trim or behind a wheel arch liner is a strong sign the hose is blocked rather than the seal being worn.
Open the sunroof and look into the tray itself. On most models you can see the cassette channel and the drain holes at the front corners without removing anything at all. Stop the diagnosis the moment you find water reaching wiring, an airbag component, or any opening you cannot identify. That is not a drain problem and it needs a professional.
If the source stays murky after a controlled pour, tracing the fluid beats guessing. The same logic behind how to find an oil leak with UV dye works here: confirm where the water is coming from before you start pulling trim apart.
2. Remove the access trim carefully
Only remove what the vehicle-specific service information tells you to remove. On many models the front drain holes can be reached by pulling down the headliner edge at the top of the windshield header, or by lowering a sun visor and releasing the trim above the door opening. The rear corners usually mean dropping the headliner edge along the rear hatch or C-pillar trim, which is a longer job.
Work the trim with a plastic removal tool rather than a screwdriver, and apply steady pressure along the clip line instead of pulling on one corner. The plastic retainers along a headliner edge break easily, and a broken clip usually means a fastener hole has to be repaired before the trim will sit flush again.
Keep any screws you remove in a small tray or a magnetic mat. They are usually Torx head and there are often more of them than you expect once a piece is off. Never lever against the sunroof cassette or the roof frame to get a clip to release.
3. Clear debris from the drain channels
This is where most of the actual work happens, and the technique matters more than the tool. Most blockage in a BMW sunroof drain is a mat of decomposed leaf litter and fine grit stuck to wet sealant dust at the corner of the cassette. It pulls apart by hand once it is soaked, which is why a bucket of warm water and five minutes of patience beat a lot of scrubbing.
Soften the debris first. Wet the channel, let it sit for a minute, then lift out what you can with your fingers. Follow with the soft brush to loosen the residue, and use the drain-cleaning wire to hook and withdraw the rest. Always work material outward toward the opening. Anything you push deeper into the tube becomes a new plug further down, which is the single most common way a DIY drain cleaning makes things worse.
If the wire goes in freely and then stops dead, you have hit an internal bend rather than a blockage. This is a well-documented sticking point on E90 and E91 cars, where the drain hose makes a sharp right-angle turn inside the roof. Flexible trimmer line is the answer there: feed it in alongside the wire, and let the curve of the hose carry it around the corner while you pull gently on the line from the outlet end. Clearing from both ends at once usually breaks the plug loose.
If the line will not pass and the wire finds nothing, stop. At that point the blockage may be a failed or disconnected drain hose inside the pillar, and continuing to probe risks pushing debris into a place you cannot reach. For those cases, pulling the drain valve from under the car and flushing from below is the sensible next step.
4. Flush the drains and check the exit hoses
Now flush. Use warm water at tap pressure, delivered with a spray bottle or a hose with the nozzle on its lowest setting. High-pressure air and pressure washers are the two things people reach for and regret: the spray forces water past the seal instead of down the drain, and a high-pressure air burst can drive sealant crumbs deeper or blow a drain hose loose from the cassette nipple — a repair that turns a one-hour job into a full roof teardown.
Low-pressure compressed air is acceptable if you have it, kept well under the pressure of a tire inflator and used in short bursts. Some owners simply skip it and use water alone, which works fine on most clogs.
Front drains typically exit under the car behind the front wheels, where a serviceable drain valve or grommet sits at the bottom of the hose. Put your bucket under it, run water into the corner channel, and watch. Steady flow out of the valve is the only proof that matters. Several owners use a full gallon for this final flush, which is a good idea after a heavy cleaning because it carries the loosened residue out of the tube rather than leaving it suspended.
One thing to rule out while the bucket is under there: if what comes out smells sweet, feels oily or leaves a coloured film, it is not the drain valve at all. That points at the cooling system instead, and it helps to know what a radiator cap does on a BMW before you start blaming the sunroof.
Check the rear corner channels the same way, even if the front ones are now clear. Half the owners who come back with a still-leaking car had cleaned only the front pair.
5. Dry the area and test the repair
Let the channels drain dry before you refit the trim, and wipe the tray channel and the headliner edge down with a towel. If water went into the cabin, deal with that now rather than after reassembly — see the drying notes below, because trapped moisture in a headliner or under a carpet is what turns a fix into a bigger job.
Refit the trim carefully, press the retainers home so the edges sit flush, and reinstall every screw you removed. Then run the real test: park the car level, open the sunroof, and pour a measured amount of water into each corner again. Watch the headliner, the pillar trim, the seats and the footwells for a full few minutes.
A successful drain cleaning shows water leaving the corner channels promptly with nothing new appearing inside. Some slow drainage on an older car is normal. A pool that stays in the tray or a drip from a light fixture means you have not cleared the path yet, and the section below covers the usual reasons why.
After the cleaning: reset the sunroof if you touched the battery
Drain work does not normally require a reset, but disconnecting a battery does, and so does a power interruption on some cars. If the roof stops responding or tilts at an odd angle, run the initialization cycle for your model, which is usually: close the sunroof fully, hold the roof switch up for around ten seconds, wait a few seconds, then cycle it open and closed once. The roof function center needs a closed, latched position before it will re-learn the travel, so never leave the sunroof partway open while the car sits.
Common Mistakes and What Causes Water to Come Back
Missing the rear drains is the most common repeat offender. They are the hardest to reach, so they are the ones that get skipped, and a car can clear perfectly at the front and still drip onto the rear seat.
Pushing debris deeper is the second. If you cannot pull material out, do not force it in. Soak it, wait, and use the brush. A wire driven hard into a partially cleared channel just compacts the blockage into a tighter plug, and the drain still runs slow after a full afternoon of work.
Forcing trim clips is the third, and it is the one that leaves evidence. A screwdriver slipped under a headliner retainer will snap the plastic and gouge the foam behind it. Use a trim tool, go along the clip line, and accept that some pieces need a screw that is tighter than you expected.
Cleaning one side only wastes the whole afternoon. The four corners are separate paths, and one clogged drain is enough to overflow the tray. Flush and confirm all four.
Over-pressurizing the channel causes leaks that look nothing like a clog. A pressure washer aimed into a sunroof channel drives water past the perimeter seal and straight into the headliner, which is how people convince themselves they have a roof leak they cannot find. The same goes for a canned air blast at full pressure.
Finally, the leak may not be a drain at all. A worn or hardened perimeter seal around the glass edge lets water in at the top of the roof rather than from the tray overflow, and BMW issued service bulletin SI B54 04 09 covering sunroof seal leaks and wind noise. The distinction is simple to test: pour water directly into the cassette channel. If the drains flow and the interior stays dry, the drains are fine and you are looking at the seal, the cassette gasket, or a sunroof that is not sitting fully closed and latched. Repairing the seal is a bodywork job, and cleaning drains again will never fix it.
If water already got in, deal with it fast. Remove the floor mats and any wet carpet, run a fan and a dehumidifier with the windows cracked, and take the headliner down if the foam feels heavy or the fabric is stained. Do it somewhere warm enough that the air keeps moving — if the drying happens in your garage, how to keep a garage from freezing in winter covers keeping that space usable in cold months. Do not run the car heater to shift moisture, because that pushes warm damp air into the headliner. Once the interior is dry, check for a musty smell that returns after rain — that is a signal to have the headliner and any affected trim modules looked at before a bigger repair starts.
Prevention is mostly boring, and that is fine. Clean the drains twice a year, once before the wet season and again after leaf fall if you park under trees. Keep the cassette channel washed when you wash the car, aiming a normal hose into the corner channels rather than a pressure washer at the seals. If the car sits under a tree with leaf litter on the roof, take a quick look in the tray every couple of months, because trapped leaves do not wait for a schedule.
Frequently Asked Questions
How often should BMW sunroof drains be cleaned?
Twice a year is the practical answer: once before the wettest part of the season and again after leaf fall if the car lives under trees. Check the tray channels every few months as well, because decomposed leaf litter builds up silently and blocks the corner drain holes well before anything drips. A quick pour of water into each corner and a look at the drain valve underneath takes a minute and tells you if the path is still open.
What is the best way to clean sunroof drains?
Soften the debris with warm water, lift it out by hand, scrub the channel with a soft brush, then pull the rest out with a flexible drain-cleaning wire with a brush end. Work material outward, never inward, and use plastic trimmer line where the hose bends sharply. Finish with a low-pressure water flush and confirm water actually discharges from the drain valve behind the front wheel before reassembling the trim.
Do BMWs have sunroof drains, and where do they exit?
Most BMW sunroofs use a four-corner drain system. Small holes at the corners of the sunroof cassette collect rainwater from the channel around the tray and feed flexible hoses that run down the A- and C-pillars. The front hoses usually discharge under the car behind the front wheels through a serviceable drain valve, and the rear hoses run down toward the rear corners. Exact routing varies by model and year, so check your vehicle’s repair information.
Why does my BMW sunroof leak more when I brake or on a hill?
A blocked drain leaves water standing in the tray. When you brake, the car’s nose dips and the pooled water runs forward to the lowest point of the channel, which is usually over a front corner drain or the headliner seam above the console. That is why the drip shows up from a front cabin light or overhead console and why it gets worse when the car is parked nose-down. It is a drainage problem, not a seal problem, as long as the corner channels drain promptly when you pour water in.
Can I use compressed air or a pressure washer on sunroof drains?
Low-pressure air is fine; high pressure is not. Short bursts at a pressure well below what a tire inflator delivers help break up a plug, but too much pressure can drive sealant crumbs deeper or blow a drain hose loose from the cassette nipple, which turns a one-hour job into a roof teardown. A pressure washer aimed into the sunroof channel is a common mistake, because it forces water past the perimeter seal and into the headliner. Use tap pressure and aim at the drain holes, not at the seals.
How do I reach the rear drains, and when should I stop and call a shop?
The rear drains sit at the back corners of the cassette and are usually only reachable by releasing the headliner edge along the rear hatch or removing the C-pillar trim, which is a much longer job than the front pair. Stop and get help if the drain hose turns out to be disconnected or cracked inside the pillar, if a drain valve cannot be removed without damage, if water reaches wiring or airbag components, or if the drains flow freely and the interior still gets wet, since that points at the perimeter seal or a cassette fault.
Conclusion: Start With the Lowest Drain Point
Start at the lowest drain point. Open the sunroof, look into the four corner channels of the tray, and see which ones swallow water and which ones hold it. Front drains exit under the car behind the front wheels, so a bucket underneath and a pour into the channel is the fastest honest test you will ever run on this.
Keep the wire working outward, keep the water pressure low, and check the vehicle-specific repair information before you release a single headliner clip. If the drains flow freely and the interior still gets wet, you are looking at a seal or cassette fault, not a clog — and that is the point to hand the job to a shop. Hidden leaks, water near wiring, and rear access that needs a headliner down are all good reasons to stop and call a professional.