
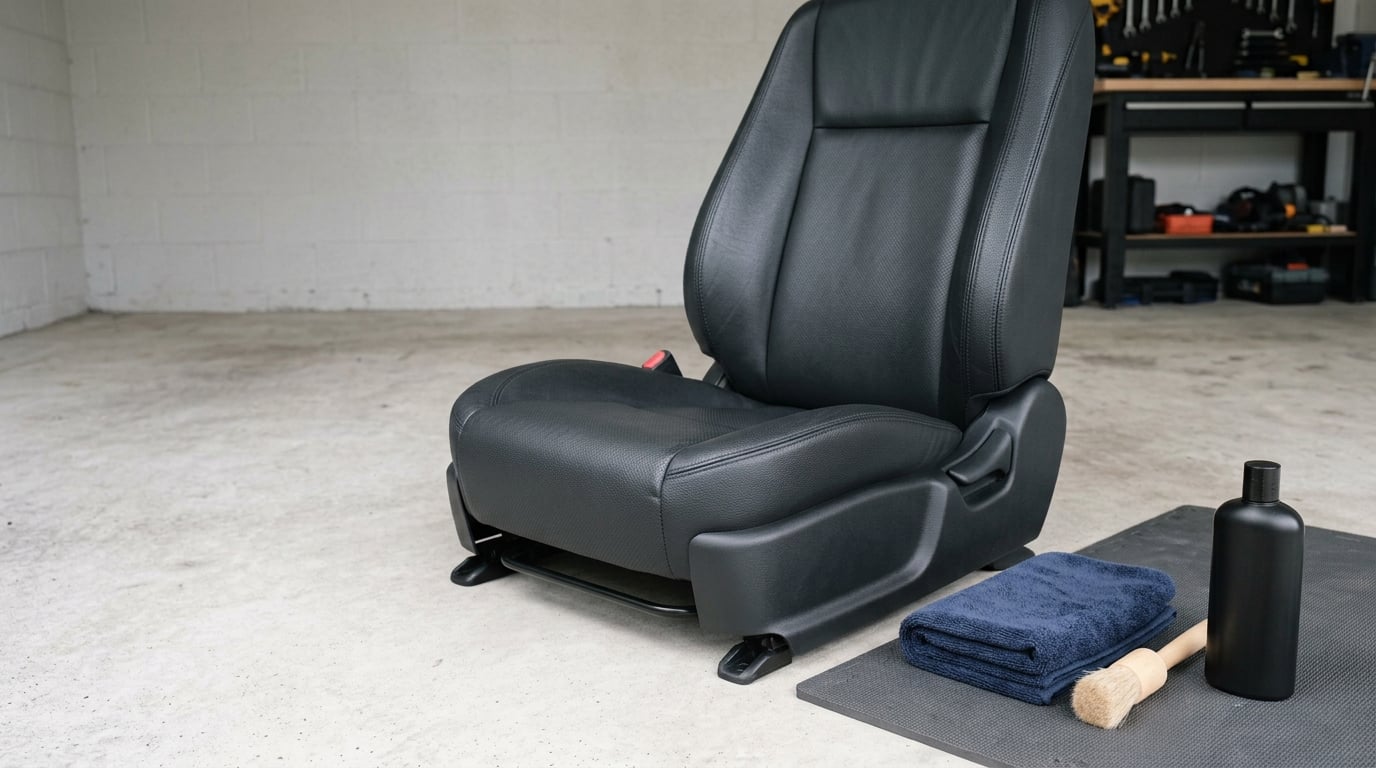
How to condition leather car seats is mostly about restraint: vacuum the seams, clean with a pH-neutral leather cleaner, let the leather dry completely, then work a thin coat of silicone-free conditioner into the panels and buff off the excess. The whole job takes 45 to 90 minutes in a shaded garage or driveway, and it is well within reach of a first-timer with a vacuum, two microfiber cloths and one bottle of conditioner.
Leather seats fail the same way every time. Heat, sun, sweat and body oils slowly dehydrate the coating on the surface, the material goes stiff, and then the driver’s bolster starts cracking along the crease where your coat rubs every morning. Conditioning does not reverse a split bolster, but it is the cheapest insurance there is against getting there.
A note on what kind of leather you actually have. Most modern car seats, including nearly every BMW, Mercedes and Toyota sold since the late 1990s, are a split-hide base sealed under a thin polyurethane or acrylic coating. That is why an oil-based furniture conditioner or a jar of saddle soap is the wrong tool. Feed a coated surface something designed for bare hide and you can end up with dark blotches and a permanently tacky panel that grabs your jeans every time you get in.
Table of Contents
What You Need
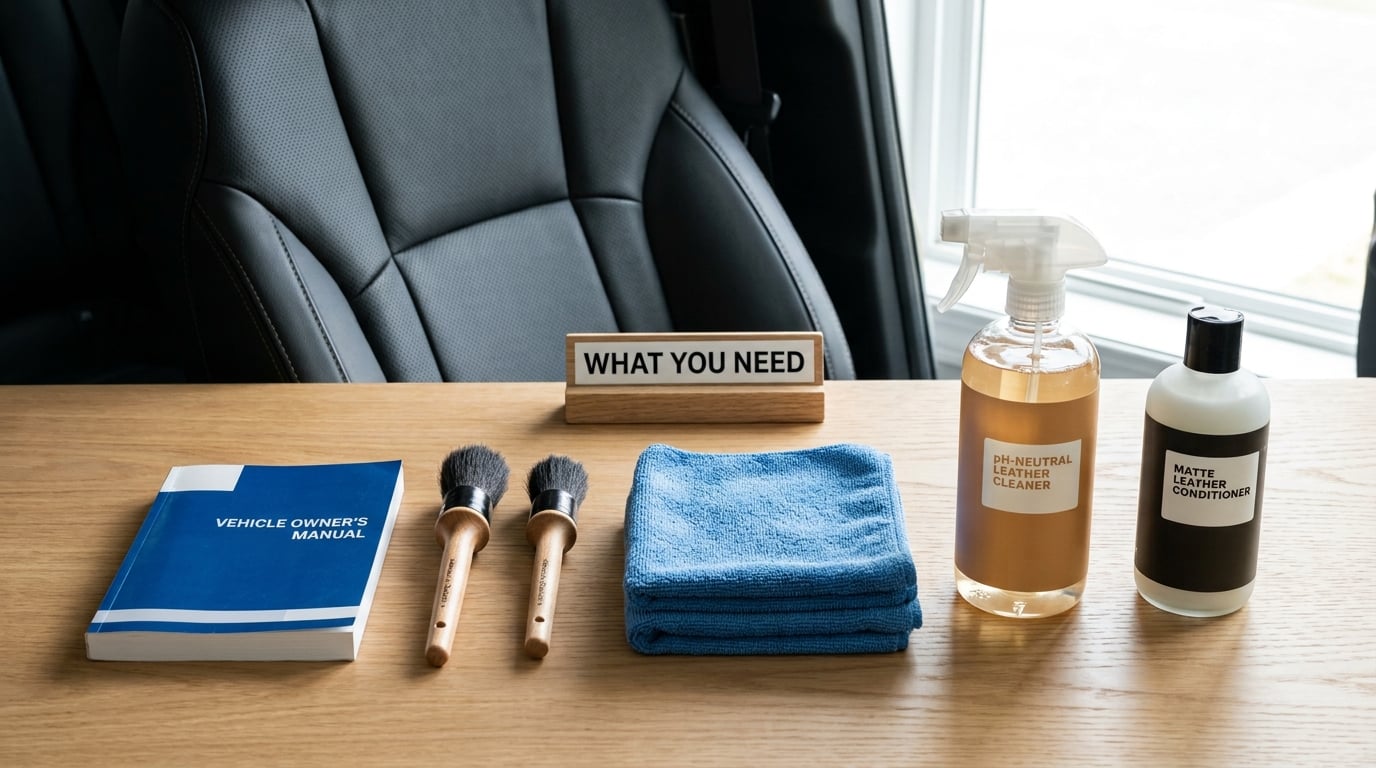
Most people who get this wrong were handed a product that was wrong for their seat, so the shopping list matters as much as the technique. Here is what I keep in the cabinet:
- A vacuum with a soft brush head. A shop vac with a round brush and an upholstery crevice tool gets grit out of the seam where the seat meets the bolster. A bare nozzle scuffs.
- Three or four clean microfiber cloths. You will use one for cleaner, one for conditioner and one for final buff. Never return a dirty cloth to the product bottle.
- A pH-neutral or pH-balanced leather cleaner made for automotive upholstery. Not a general-purpose interior spray and not a diluted household detergent.
- A matte, silicone-free leather conditioner. Look for water-based emulsions or non-greasy formulas. Anything listing dimethicone or silicone on the label is out.
- A soft-bristled detailing brush. Horsehair or a soft nylon bristle, the kind that comes in a detailing pick set.
- A spray bottle and distilled water. Distilled water leaves no mineral spotting when the leather dries.
- Your vehicle owner’s manual. Not optional. Some manufacturers specify an approved interior cleaner or warn against solvent-based dressings on coated upholstery.
Before anything touches the seats, check the safety data sheet that came with the seat-belt pretensioner or the trim panel if you have one, and check the manual for any interior-care restrictions tied to your warranty. If the car is still under factory or extended warranty, an aggressive solvent is the fastest way to argue with a dealer. Many manufacturers also call out ventilated and heated seating systems, where product can migrate through perforations and into the heating element.
How to Condition Leather Car Seats, Step by Step
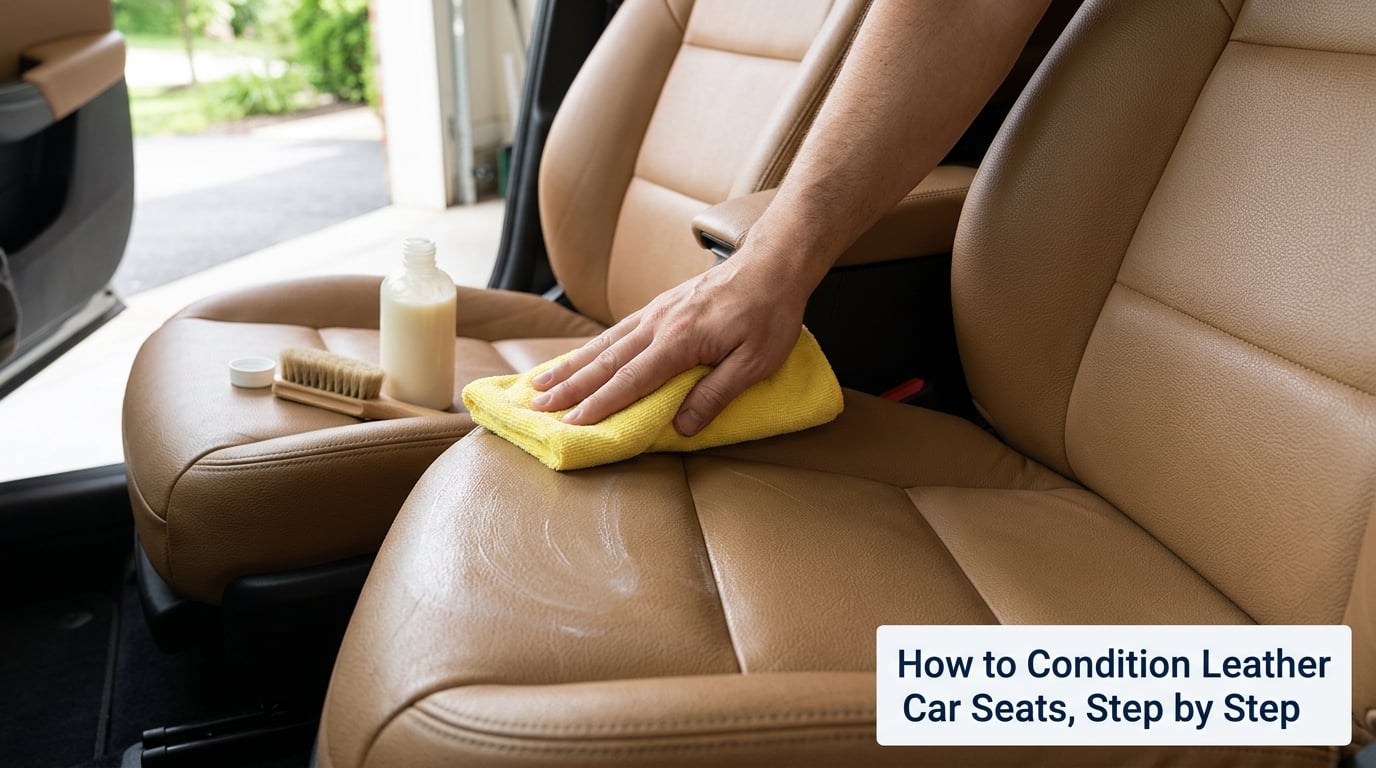
Work outdoors in shade or with the garage door open. A car sitting in direct sun in the driveway will bake the product into the finish before you can buff it, and that is where most of the shiny, streaky finishes come from.
Start with the Right Leather and Products
Put your hand on the seat and press a thumbnail into a crease. Genuine leather has a soft, slightly springy give and a visible grain pattern with pores you can sometimes see. Synthetic or tech-leather upholstery has a woven or uniform plastic surface with a more uniform pore pattern and often a printed grain, and it does not develop the same patina. Alcantara and suede-style headliners feel fuzzy and have a short nap; they take a completely different product and a much lighter touch.
Perforated leather is genuine leather with hundreds of small holes cut through it for ventilation. It is the same material as the solid panels but it traps water and product underneath, which is why the technique below emphasizes thin coats and full drying.
Check the ingredient list, not the front of the bottle. Silicone, dimethicone and petroleum distillate are deal-breakers on coated automotive leather: silicone leaves a film that streaks, needs heavy buffing and has to be stripped off before the next real treatment. Petroleum distillates do the same thing in a waterless spray. Lanolin, beeswax, neatsfoot and emu oil are reasonable ingredients, though an oil-heavy formula on a modern coated seat still tends to sit on the surface rather than absorb.
If the car has a mix of materials, plan on doing them separately. A BMW-style dashboard with stitched leather trim and a soft-touch plastic upper section can end up looking blotchy if both get the same treatment.
Inspect, Test, and Clean the Seats
Start by clearing out everything under and between the seats: the rails, the seatback pocket, the seat gap, the center console. Debris ground into a seam can scratch a panel when you scrub it later.
Vacuum with the brush head first, then run the crevice tool along every seam, the stitch line around the bolster, and the perforated panels. Work the brush in the direction of the grain so the nap lies flat. You are after crumbs and dried body oils, not a deep scrub.
Next, look at the leather before you clean it. Note every tear, split, tear-out and discolored patch with a phone photo. That takes a minute and it means you can tell later whether something changed, which is the only honest way to judge whether your work helped.
Patch test the cleaner, then the conditioner, on a hidden upholstered area: the underside of the seat back, the inside face of the driver’s bolster, or a door panel section nobody looks at. Dampen a microfiber cloth, not the seat. Wipe, wait ten minutes, and look for darkening, a waxy film, a color shift or a stiff patch. If any of those show up, stop and change products.
Then clean. Put a nickel-sized amount of pH-neutral cleaner on your brush or cloth, work it in small sections of about the size of a dinner plate, and scrub gently in overlapping circles. The grain should lighten slightly as you go, which is the sign the old surface oils are lifting. Wipe each section with a clean damp cloth before the cleaner dries and sets.
Do not soak the panel. On perforated seats, keep the cloth damp rather than wet and work out of the sun so the surface stays ahead of the absorption. If a section looks darker than the rest and the darkness does not lift as it dries, you used too much; wipe it back with a distilled-water cloth now rather than trying to fix it later.
Apply the Conditioner in Thin, Even Layers
Let the leather dry first. Damping is fine, wet is not. Conditioning damp leather traps water under the coating and is the fastest route to a musty smell and a milky haze. Sit on the seat for a few minutes; if your hand comes away cool and slightly tacky, it is still too wet. In open shade with the doors open it takes roughly 30 to 60 minutes.
Now the application. Many manufacturers describe a nickel-sized dab per couple of square feet, rubbed in small circles until it disappears. Follow that instinct rather than pouring or pumping product onto the panel. Squeeze the conditioner onto a clean microfiber pad or a folded cloth rather than straight from the bottle, which is how people accidentally flood a bolster.
Work one panel at a time: bottom cushion, then the outer bolster, then the center insert, then the backrest. Keep the product off the stitching lines, out of the seam channels and away from the seat controls, buckle sensors and the trim around the seat heater switch. On a seat with memory controls and occupant sensors, conditioner that seeps into a button gap can make the switch sticky and has cost people sensor repairs.
On perforated sections, dab lightly and wipe the holes clear. A toothbrush works well for pushing residue out of the perforations, used dry.
The visual signal you are working toward is leather that is evenly damp and slightly darker, never glossy and never beaded. If the cloth leaves a wet streak or the product pools in a crease, you have too much. Buff it back with a clean section of the cloth and let that area dry before moving on. Several owners in the detailing forums swear by thin repeated passes over two or three days rather than one heavy coat, because you can see which panels were still thirsty and target them next time.
Let the Leather Dry and Buff It Evenly
Leave the car in shade with all the doors and windows open for one to two hours, or until the seats are completely dry to the touch. A fan pointed at the seats helps and speeds things up. A heat gun or a parked car in the sun is the wrong idea: heat drives oils and conditioners deeper than the coating can hold and leaves that greasy look everyone complains about.
Buff with a clean, dry microfiber cloth once the surface is no longer cool and damp. Use light pressure in straight, overlapping strokes following the grain of the leather. What you are removing is the surplus that never absorbed, not the whole coat.
Judge the finish by looking at it in flat light, not in direct sun. A correct result is matte or a very soft satin, with an even color and no darker patches, no oily shine, no rainbow streaking, and no tackiness. If a fingertip leaves a print, keep buffing. If after a few minutes of buffing it still prints, there is too much product on the panel; wipe that section down with a cloth barely dampened with distilled water and buff dry again.
Repair Light Cracks and Surface Wear
Conditioning fixes dryness, not physical damage. If the leather is stiff, chalky, or has pale lines in the creases, a conditioner will bring some of that flexibility back over a couple of applications. That is real, and worth doing.
What it will not do is close a crack that goes all the way through the coating. A filled line that is soft and pale and follows the grain may soften with a couple of rounds of conditioning. A gap with a hard edge, leather that flakes at the edge of the split, a section where the topcoat is delaminating and lifting like a dry sticker, or stitching that has rotted through is finished. Pushing conditioner into a splitting bolster can make it worse, because the oily film traps dirt in the already-broken surface and gives the split a soft, dark halo around it.
For surface scuffs and small worn spots, a dedicated leather filler or repair kit that matches the color works better than conditioner. Apply it after cleaning and drying, keep it off the perforations, and follow its cure time, which is usually longer than you want to sit in a freshly repaired seat. For a full bolster, a headrest, or anything structural, an upholstery shop is the call. It is not cheap, but a repaired bolster is the difference between a car that looks cared for and one that looks like a car that has been repaired.
Maintain the Condition After Treatment
Between treatments, the habits matter more than the bottle. Wipe the driver’s bolster and seat edge with a barely damp microfiber cloth every few weeks to lift skin oils before they set. Vacuum the seams when you wash the car, not just the carpet. Keep a sunshade up and the glass tinted; ultraviolet light is the single biggest destroyer of a coated finish, and heat parked in direct sun does the rest.
Wipe up spills as they happen rather than later. A coffee ring that sits for a week is a stain; a coffee ring wiped in five minutes is nothing.
That brings up the schedule, which is the question every owner actually asks:
| Situation | Condition every | Notes |
|---|---|---|
| Hot desert or intense sun, daily driver | Every 2 to 3 months | Warm-climate owners in the Southwest and Florida report this is the interval that keeps bolsters supple |
| Temperate climate, daily driver | Every 4 to 6 months | The most common advice from manufacturers and detailers |
| Humid climate, garage-kept | Every 6 to 8 months | Less UV damage, but check for mildew smell before you condition |
| Brand-new seats, under a year | Once, at about six months | No heavy protectant needed early; just a light clean and condition |
| Rear seats with kids or passengers transferring in | Every 4 months | Front and rear rarely wear at the same rate, and treating both together is usually over-conditioning |
| Perforated, heated or ventilated seats | Every 4 to 6 months | Use half the normal dose and always follow with a full dry |
| Older car with raw or uncoated hide | Every 3 to 4 months | Only true raw-hide seats can take an oil-based conditioner; coated ones cannot |
There is a simple test for when the next session is due. Wipe a damp cloth across a crease and watch what happens when it dries. If the leather drinks the water in and goes soft, it is still conditioned. If the water beads and sits on the surface, the coating is getting dry again and it is time.
One caution about frequency: over-conditioning is real. Apply faster than the coating absorbs and the surface goes tacky, pores clog, and repeated saturation can oversoften the leather and weaken stitching over time. Consistency on a schedule beats a heavy coat every few weeks.
Quick Fixes for Two Mistakes That Ruin the Result
Too much product. The single most repeated complaint in the detailing forums. If the seat is tacky or glossy right after buffing, the fix is a distilled-water wipe followed by a full dry and a proper buff. Do not add more product to fix a surface that already has too much.
Conditioning damp leather. The tell is a milky haze or a musty smell that shows up a few days later, usually worst inside the perforations. Dry the car out completely with the doors open and a fan for a day, then clean and condition again from the start. A white haze that will not wipe off after a full dry is usually a silicone film, and it needs a silicone-specific remover, not more scrubbing.
Common Mistakes
Almost every ruined leather interior comes down to one of a short list of products or shortcuts. Some damage immediately, some slowly, and a few only show up when you try to fix them later.
| Mistake | What it does | Safer correction |
|---|---|---|
| Saddle soap | Designed for raw hide; leaves a waxy film and alkaline residue on a coated seat | Use an automotive pH-neutral leather cleaner |
| Baby oil, baby wipes | Leaves an oily film, attracts dust, wipes can snag stitching | Nothing; if you want a quick wipe-down, a damp microfiber cloth only |
| Olive oil, coconut oil, cooking oils | Rancid over time, go tacky, darken the surface unevenly and trap dirt | Use a purpose-made water-based conditioner |
| Silicone or Armor All-type dressing | Streaks, looks like plastic, and has to be stripped before any real treatment works | Use a matte, silicone-free conditioner |
| Murphy’s Oil Soap, Dawn dish soap, generic degreaser | Alkaline or surfactant-heavy; strips the topcoat and dries out the coating faster than untreated leather | Damp microfiber cloth with distilled water, or a pH-neutral cleaner |
| Goo Gone, paint thinner, WD-40 | Dissolves coatings, can dye-transfer and lifts pigment; never on seat faces | Nothing. Take adhesive residue to an upholstery shop |
| Stiff bristle brush or abrasive pad | Scratches the topcoat, which cracks first around the scratch | Soft detailing brush and microfiber only |
| Furniture polish or general trim wax | Silicone-based, leaves an uneven shine, never absorbs | Matte automotive leather conditioner |
| Conditioning dirty or damp leather | Seals grime in and traps moisture; causes haze and odor | Vacuum, clean, and dry fully before any conditioner |
| Testing nothing on a light-colored seat | Beige and white leather can darken unevenly or take dye from your hands and clothing | Patch test in a hidden area and wait ten minutes |
Two more safety notes. Conditioning a seat while the car is in direct sun can make the surface hot enough to affect the finish before the product has absorbed, so keep the doors open and work in shade. And if a seat is torn through to the foam or a heating element is exposed, stop and get it assessed before you put any liquid near it. Interior care is the natural companion to exterior protection, so it is worth knowing how to protect car paint from winter road salt and how to steam clean a car interior without soaking the trim.
Frequently Asked Questions
How often should I condition leather car seats?
Every four to six months is the standard advice for a daily driver in a temperate climate. Hot, sunny regions need it more often, roughly every two to three months, and a garage-kept car in a humid climate can usually go six to eight. Treat the driver’s bolster separately if the rear seats see more use. Do not condition on top of an unfinished previous coat, and check the owner’s manual for anything specific to your seats.
Is it safe to condition perforated leather seats?
Yes, but perforations trap water and product underneath, so work with less than normal and always let the seats dry completely. Dab the conditioner on rather than flooding it, keep it away from the stitch lines, and push residue out of the holes with a dry toothbrush. Warmed and ventilated seats are the highest-risk case because moisture can migrate into the heating element.
What type of leather conditioner is best for car seats?
A matte, water-based, silicone-free automotive leather conditioner. Read the ingredient list and skip anything listing dimethicone, silicone or petroleum distillate, since those leave a plastic-looking film that streaks and must be stripped later. A conditioner with lanolin, beeswax or light emu or neatsfoot oil is fine. Avoid anything glossy, and avoid oil-based treatments unless your seats are genuinely raw uncoated hide.
Will leather conditioner make my seats darker?
A temporary, even darkening is normal and it fades back as the product absorbs over the next day or two. Uneven darkening is the problem, and it comes from too much product, from applying to leather that was still damp, or from dye that has already transferred from dark jeans. Patch test first, apply thin coats, and let the leather dry fully between passes.
Can I use baby oil or saddle soap on car seats?
Neither one. Saddle soap is formulated for raw hide and leaves a waxy alkaline film on modern coated automotive leather. Baby oil is a mineral oil that stays on the surface, goes tacky, attracts dust and will not absorb. Baby wipes are unsuitable too, since the softener leaves a residue and the wipe can snag stitching. Use a pH-neutral leather cleaner instead.
How long should leather conditioner stay on car seats?
Give it one to two hours in shade with the doors open, until the surface is completely dry to the touch and no longer cool, then buff off the surplus with a clean dry microfiber cloth. A fan speeds it up. Using a heat gun or leaving the car in the sun drives the product deeper than the coating can hold and leaves a greasy finish.
Conclusion
Start small. Find out whether your seats are genuine coated leather, perforated leather or synthetic, put a dab of a matte, silicone-free conditioner on a hidden bolster, and leave it ten minutes to see how it behaves. If it absorbs cleanly, vacuum the seams, clean the panels with a pH-neutral leather cleaner, let them dry fully, and condition in thin coats rather than one heavy pass. That is the whole job, and doing it every few months is far cheaper than replacing a bolster.
Updated for 2026.