
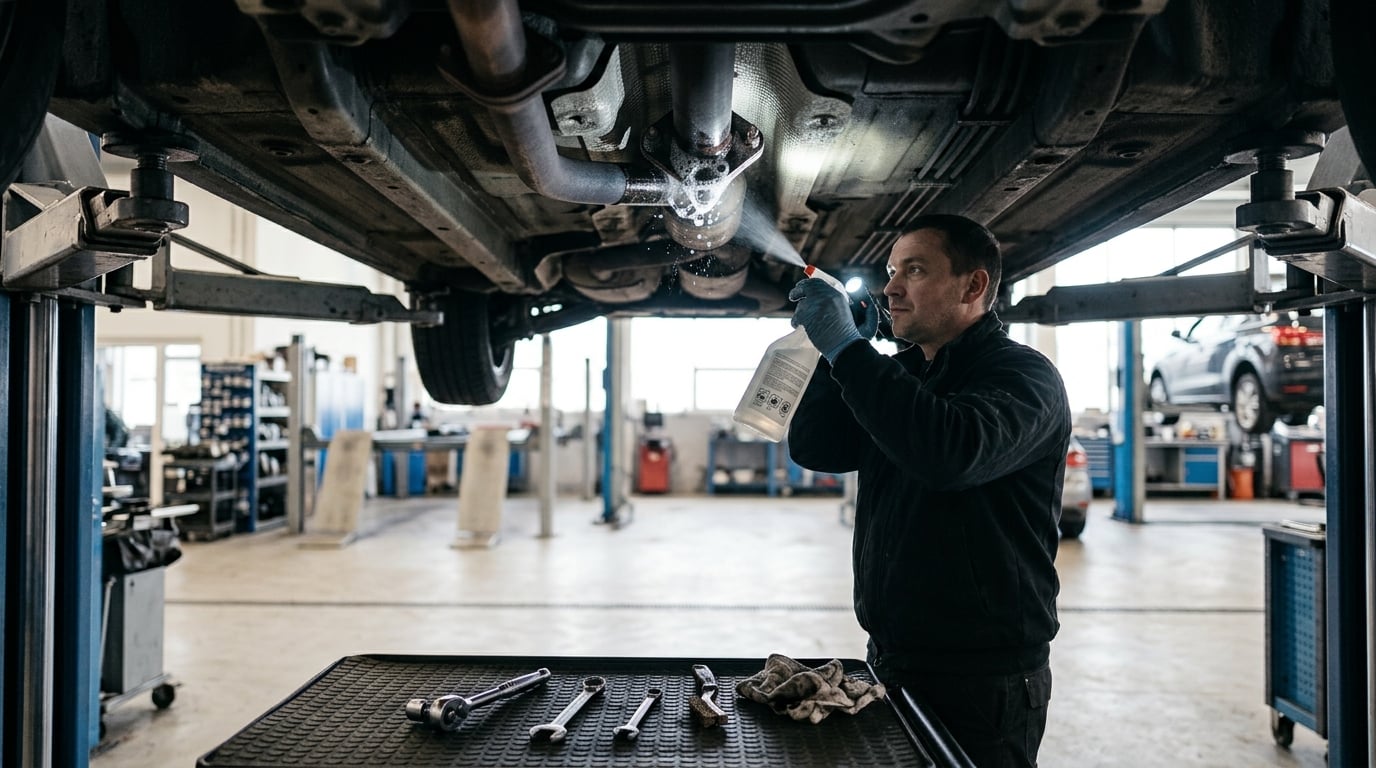
To diagnose an exhaust leak, work the way you find any leak under pressure: confirm the noise, look for soot and rust on every joint, then push smoke or soapy water at the system until bubbles or smoke show you the exact spot. On a BMW or any other car, the whole job takes 30 to 60 minutes once the engine is cold, and most of it is a flashlight and a bottle of soapy water.
Let the engine cool completely first. A catalytic converter can stay hot enough to cause a serious burn long after the engine is off, and the leak you are hunting is exactly what can pull exhaust gases toward the cabin.
Table of Contents
- What You Need
- Step-by-Step: How to Diagnose an Exhaust Leak in 7 Steps
- Step 1: Confirm the Noise and Driving Conditions
- Step 2: Inspect the Visible Exhaust Components
- Step 3: Check for Leaks at Connections and Mounts
- Step 4: Use a Temperature and Touch Comparison
- Step 5: How to Diagnose an Exhaust Leak With a Smoke Test
- Step 6: Interpret the Location and Likely Cause
- Step 7: Confirm the Repair and Check for Related Faults
- Common Mistakes
- Frequently Asked Questions
- Conclusion
What You Need
You do not need a smoke machine to find most leaks, but you do need the exhaust raised and lit properly. Gather this before you start.
- Jack and jack stands, or a lift. A floor jack alone is not enough support to work under a car.
- A flashlight and an inspection mirror. The leak is often on the top side of a pipe, where you cannot see it from below.
- Penetrating oil and a ratchet. Sprayed several hours ahead, it makes seized exhaust bolts far less likely to round off.
- A rubber hose and a stethoscope, or just the hose. Held to the pipe, it turns a faint hiss into an obvious one. This is the cheapest listening method and it works.
- Warm water, dish soap, and a spray bottle. For the soapy water test.
- An approved smoke machine or combustion analyzer. Optional, but it is the fastest way to find a leak you cannot hear, especially a pinhole.
- An infrared thermometer. Optional, useful later for spotting a failed gasket by its uneven heat pattern.
Add gloves, eye protection and a respirator if you will be running an engine indoors. Never run a combustion analyzer in a closed garage, and read the unit’s instructions before connecting it.
Step-by-Step: How to Diagnose an Exhaust Leak in 7 Steps
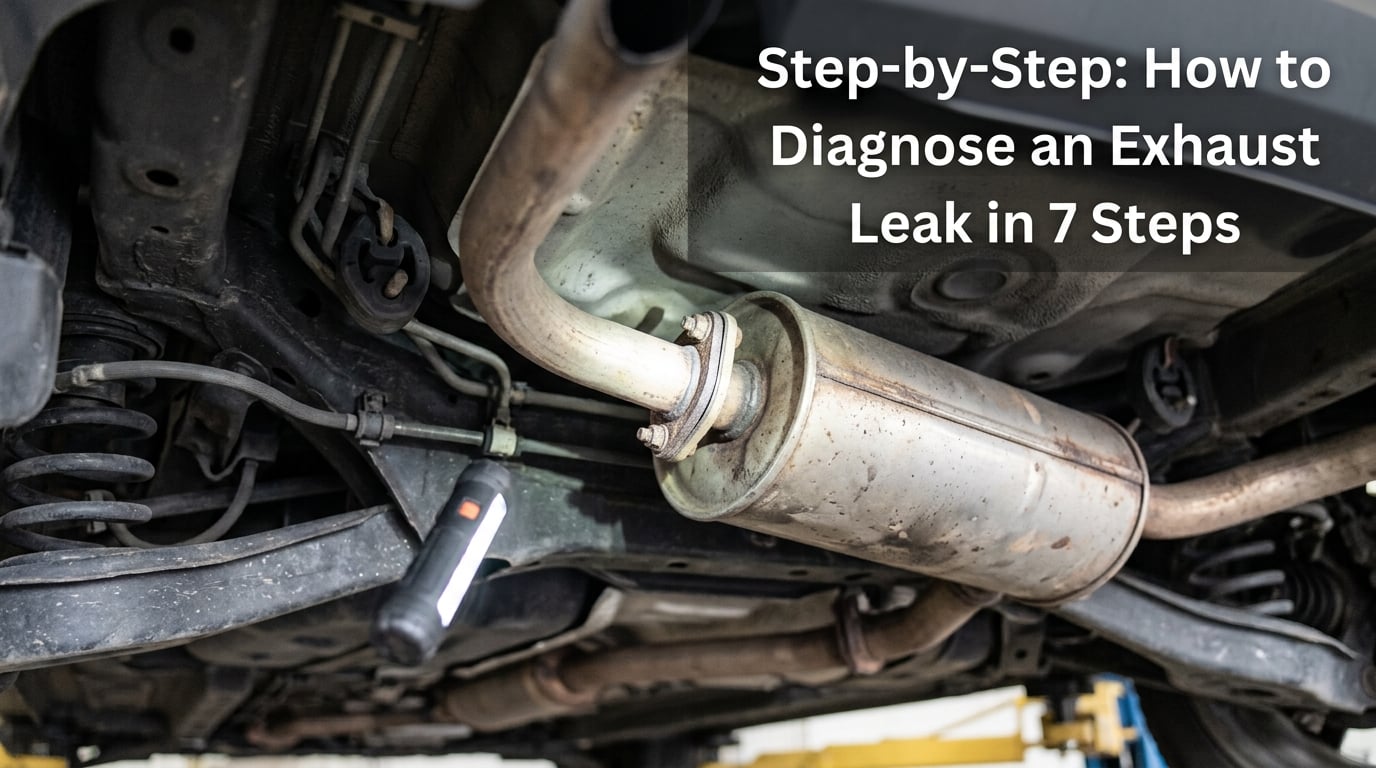
Step 1: Confirm the Noise and Driving Conditions
Start by characterising the noise, because you cannot chase a sound you have not described. Note when it appears: on cold start, at idle, on light throttle, or only when you push the car hard.
Record how it changes with engine speed and with load. An exhaust leak is loudest at the source and gets quieter as you move away from it, so a noise that is worst near the front of the car usually points to the exhaust manifold or its gasket, while a roar that grows toward the rear points to the muffler, resonator or tailpipe.
Have someone stand beside the car while you work the throttle in park. Cut and throttle the engine; whatever the noise does, the other person calls out. A ticking that stops within a few seconds of a warm engine is often an exhaust manifold gasket, but it is not always an exhaust leak at all.
Step 2: Inspect the Visible Exhaust Components
With the car cold and raised, work along the system from the engine back to the tailpipe. You are looking for four things: soot, rust holes, wet streaks, and sections that move when you wiggle them.
- Black soot sprayed onto the ground under a joint, or a soot shadow on the underside of a heat shield, is the single most reliable visual clue.
- Rust holes and thinned metal usually appear on the top side of a pipe, where road salt and water sit.
- Wetness or dripping around a joint after a drive is condensation or oil mixed with exhaust soot.
- Heat shielding that has gone dull, discoloured or rippled near a joint suggests gas is escaping onto it.
Look at the flex pipe, the resonator, the muffler, the tailpipe and every flange between them. Also check the exhaust hangers: a system hanging low on a broken hanger knocks and swings, which sounds like a leak but is not one.
Step 3: Check for Leaks at Connections and Mounts
Most leaks are at a connection rather than in the middle of a pipe. Work through the flange bolts, the mid-pipe joints where sections bolt or slip together, and the resonator connections, moving each section gently by hand to see if the joint moves at all.
Heat discoloration around a flange and carbon residue on the underside of the joint are the giveaways. So is a bolt head that has turned brown or scaled, or a gasket that is visibly compressed to one side.
This is where a BMW earns its reputation. A flanged joint that never sealed properly can weep from the factory, and a car with an aftermarket cat-back or aftermarket gasket will weep from wherever that part is torqued too tightly or too loosely. If a previous owner smeared sealant over a joint, expect to find a mess that hides the real failure point.
Step 4: Use a Temperature and Touch Comparison
With an infrared thermometer, compare the pipe either side of a suspect joint while the engine is at operating temperature. A leak bleeds heat, so the downstream side reads cooler than the rest of the system, and a spot several inches past a gasket is measurably colder than the same spot before it.
Use this as a map, not a verdict. The same reading pattern comes from a failed oxygen sensor with no flow, a damaged heat shield, or a turbo wastegate that is not sealing, so confirm anything you find with sound or smoke before ordering parts.
Step 5: How to Diagnose an Exhaust Leak With a Smoke Test
Run the engine until it reaches operating temperature, park it, then shut it off and start the smoke machine. Feed smoke into the tailpipe, keeping the vehicle in a well-ventilated space with the tailpipe pointed away from people.
Walk the length of the exhaust watching for smoke escaping anywhere other than the tailpipe. Bubbles or a visible plume at a flange gasket pinpoints the leak in seconds. A smoke machine also reveals a leaking exhaust flex pipe, a cracked resonator baffle, and a failed catalytic converter gasket, all of which are easy to miss by ear alone.
Watch the safety limits. A combustion analyzer in a closed space pushes carbon monoxide into the room, and running the engine with a large leak in a garage is exactly the situation that made the leak dangerous in the first place. If the smoke shows a large crack near the manifold or an area of missing metal, stop there and take it to a shop rather than trying to seal it in a driveway.
Step 6: Interpret the Location and Likely Cause
Now combine what you heard, what you saw and where the smoke went. The table below is the shortcut most people are after.
| Symptom | Where it points | Likely cause | Confirm with |
|---|---|---|---|
| Sharp ticking that fades after a warm engine | Front of car, near the engine | Exhaust manifold gasket | Soapy water at the flange, or a cold-start listen with a helper |
| Rasping or hissing, loudest under load | Between engine and rear axle | Cracked pipe, failed flex pipe, loose flange | Hose and stethoscope along the pipe, then smoke test |
| Deep rumble at idle, roaring on throttle | Mid or rear of car | Failed resonator or perforated muffler | Visual inspection, then soapy water on the shell |
| Metallic clunk that changes over bumps | Anywhere along the system | Broken exhaust hanger, not a leak | Push the tailpipe up and down and watch the pipe move |
| Burnt exhaust smell inside the cabin | Manifold area or a leaking front gasket | Gas drawn in through the fresh air intake | Smoke test with the HVAC fan on high and recirculation off |
| Black soot on the road under the car | Directly under the leak | Any of the above, at any location | Start the car and watch the soot puff |
Two things are worth calling out. A ticking noise that also smells in the engine bay points hard at the exhaust manifold gasket, but on a handful of engines a head gasket can imitate that noise closely, which is why a compression or leak-down test is the right way to rule it out when a smoke test shows nothing. And a noise loud near the front that grows under load may not be the exhaust at all; worn belt or pulley noise changes with engine speed and disappears when you shut the engine off.
Step 7: Confirm the Repair and Check for Related Faults
After the repair, repeat the exact test that found the leak. No bubbles, no smoke escaping, and a noise that matches how the car sounded before anything rusted. Then drive it for 20 minutes on the highway and listen again, because a gasket that leaks only under load and at temperature will pass a cold test.
While you are there, check the state of the rest of the system. A leak upstream of the catalytic converter can pull fresh air past the oxygen sensor, and the ECU will read it as a lean condition and store a code. If the check-engine light is on, read the codes before replacing anything, because a manifold or downpipe leak can cause the same codes as a vacuum leak or a failed sensor.
Do not try a temporary clamp on an exhaust pipe, and skip the fireproof tape and the epoxy putty sold for exhaust repairs. They shed, they block drain holes, and they are why some cars arrive with residue nobody can identify. A clamp on a properly welded joint is a permanent, acceptable repair; on a cracked pipe it is a delay, not a fix. Past the flex pipe, welding in a new section or a new gasket at the flange is the honest answer.
If the flange bolts will not move after penetrating oil and heat, do not keep leaning on them. Bolts that were never properly torqued or never removed tend to snap, and a broken stud in the head is a much bigger job than a rusted gasket.
Common Mistakes
Treating every noise as an exhaust leak. Lifters, valve train, belt and pulley noise, transmission mounts, wheel bearings and rattly aftermarket systems all sound like leaks. Before buying a gasket, prove the gas is escaping somewhere.
Working on a hot vehicle. A pipe can look cool and still be hot enough to blister. Let the car sit for at least an hour, ideally with the engine cold, and keep the infrared thermometer on it if you are unsure.
Overusing a smoke machine. Pushing enough smoke into the system to find every pinhole can stall a small engine. Small bursts, low pressure, and a shop manual’s guidance for your analyzer will find more than brute force.
Running a combustion analyzer in a closed garage. That is how people poison themselves in their own driveway. Doors wide open, or take the vehicle outside.
Replacing the wrong fastener. A new gasket on an old bolt that will not torque down just reproduces the leak. A flange that needs tightening, a new gasket, a new bolt or a welded sleeve are four different outcomes.
Masking a structural crack with sealant. A crack across a pipe, a broken flange face or a rotted heat shield needs metal work, not a tube of paste.
Driving on with a smell in the cabin. A small leak out back is a nuisance. A leak at the manifold on a vehicle with the air conditioning on can draw exhaust through the fresh air intake, so if the smell is inside the car, fix it before the next drive.
Frequently Asked Questions
Is it worth fixing an exhaust leak?
Yes, usually. Beyond the noise, a leak pulls oxygen into the exhaust ahead of the catalytic converter, which can trigger lean codes, hurt fuel economy and eventually damage the converter. A leak near the manifold can also let exhaust into the cabin. If you only hear a faint hiss out back and the cabin smells clean, you can drive briefly, but treat it as a soon job rather than a someday job.
What can be mistaken for an exhaust leak?
Lifter and valve train tick, a cracked head gasket, worn serpentine or accessory belts, an exhaust cat rattle from a loose internal baffle, a failing transmission mount and a broken exhaust hanger all get mistaken for leaks. The difference is behaviour: exhaust noise follows engine load and often changes with the hose-and-stethoscope test, while a lifter tick fades on a hot engine and a belt noise disappears when the engine is shut off.
Can I drive my car with a manifold leak?
Short trips are usually fine, but it depends on the severity. A weeping gasket out back is an annoyance; a loud manifold or downpipe leak on a car without a catalytic converter can send exhaust into the cabin through the fresh air intake. If anyone in the car gets a headache, drowsiness or nausea while driving, stop, open the windows and have it repaired before driving again.
Where is the most common place for an exhaust leak to occur?
The flex pipe, the braided section between the downpipe and the rest of the system, fails most often because it flexes with engine movement until its braid ruts through. After that, look at the exhaust manifold gasket and the mid-pipe flange joints, then the resonator and muffler shell, where road salt attacks the top of the pipe.
Can soapy water be used to find an exhaust leak?
Yes, and it is the cheapest useful test. Warm the engine, mix dish soap with water in a spray bottle, and spray each joint in turn while the engine runs. Bubbles mean gas is escaping there. Soapy water finds gasketed and piped joints well, but it misses pinholes in a muffler shell and any leak only present at temperature, so treat it as a first pass rather than proof of absence.
How can I do a DIY smoke test to diagnose an exhaust leak?
Bring the engine to operating temperature, shut it off, and connect an approved smoke machine to the tailpipe. Walk the exhaust from the tailpipe back to the engine, looking for smoke escaping anywhere but the end of the pipe. Do it outdoors or with the garage door fully open, keep the bursts short, and stop if the unit has no pressure regulation.
Conclusion
Start cold, with a flashlight, and walk the whole exhaust looking for soot. Then spray soapy water on every joint with the engine running, and finish with a smoke test if a pinhole or a muffler leak is still in doubt. Once you know the joint, the repair is a gasket, a clamp or a welded section, and a second test with the same method tells you whether it worked.
Last updated in 2026.