
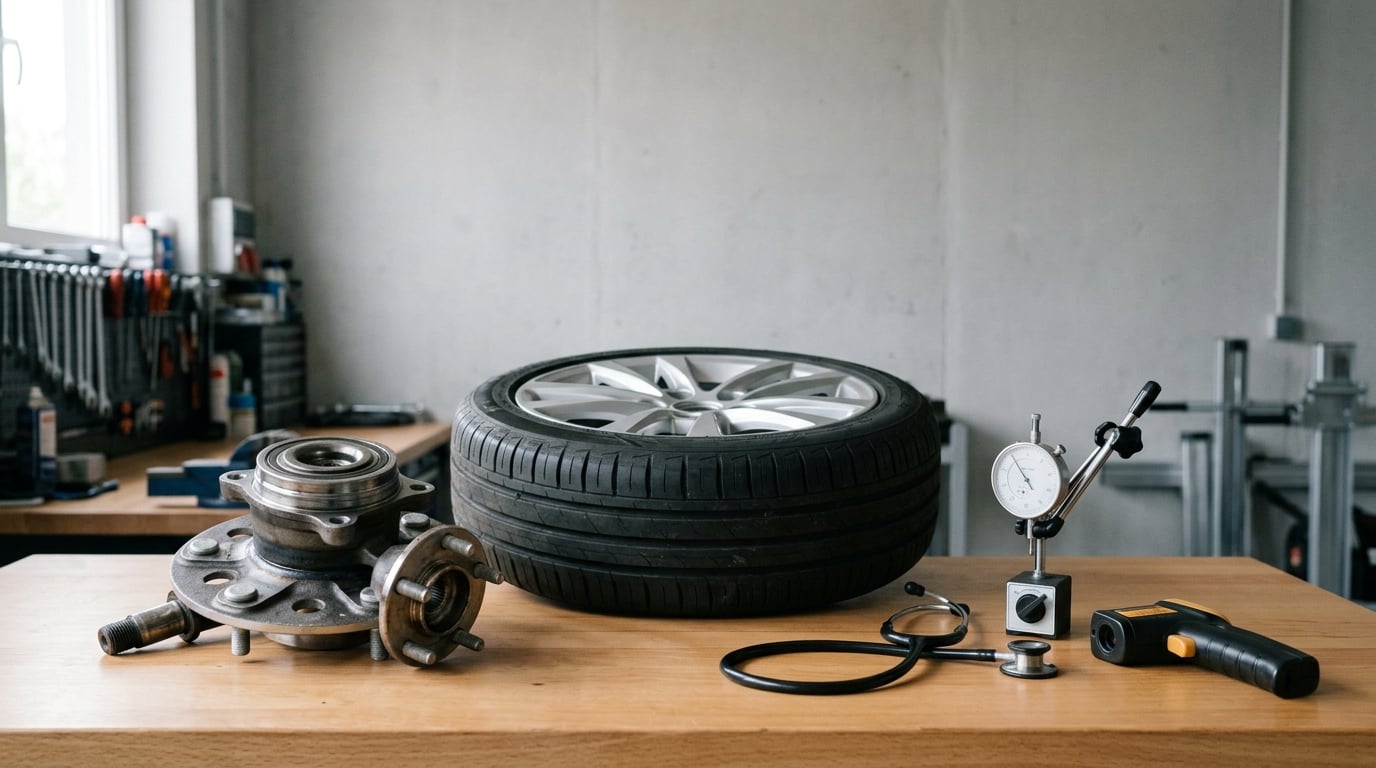
A humming, growling, or rumbling noise that climbs in pitch as you gain speed is the classic signature of a failing wheel bearing. To diagnose it, work through four checks in order: confirm the noise tracks with speed, load the corner in a turn to find which side is bad, compare the sound across two different road surfaces, and inspect the hub for play, heat, or visible damage. Most cases resolve in under 30 minutes with nothing more than a flat driveway and a listening device.
The catch is that plenty of things sound like a bearing and are not. Cupped tires, dragging brake pads, a worn CV joint, and a loose wheel weight all produce road noise that gets mistaken for a bearing, and drivers routinely replace the wrong corner because the steering test gets explained backwards. Get the sequence right and the answer usually comes out clean.
What follows is the sequence I would walk any BMW owner through, and it works the same on any front-wheel-drive, rear-wheel-drive, or all-wheel-drive car.
Table of Contents
What You Need
Gather these before you start, because half of a good bearing diagnosis is doing the simple checks in the right order.
- The owner’s manual for your specific model and year. It lists the correct wheel play limits, the axle nut torque spec, and whether the wheel is held by a hub bolt or an axle nut.
- A flat, quiet parking area. Concrete or asphalt away from traffic, ideally where you can take a short loop at low speed.
- A mechanic’s stethoscope or a coil-on-plug pickup for listening at the hub without putting your head near a moving wheel.
- Jack and rated jack stands if any part of the check requires lifting a corner.
- Flashlight, pry bar, and a small dial gauge or beam for gauging play.
- Infrared thermometer to compare wheel temperatures after a short drive.
- Torque wrench and basic hand tools for checking wheel fastener torque.
Two warnings before anything gets lifted. Never work beneath a vehicle supported only by a jack; always set the vehicle on jack stands rated for the weight, on a level surface, and get the stands under solid frame or lift points rather than plastic or rusted sheet metal. And keep your hands, hair, and loose clothing away from rotating wheels, driveshafts, and exhaust parts. If you are going to spin a wheel by hand with the vehicle in gear and the parking brake set, keep fingers at the top of the tire and away from the sidewall and the wheel well.
Step-by-Step: How to Diagnose a Wheel Bearing Noise
Confirm How the Noise Changes With Speed
The first question is whether the sound is tied to wheel rotation speed at all. Almost everything else follows from that answer. Drive the car in a straight line on a quiet road and note where the noise starts, whether it rises steadily, and whether it peaks at a particular speed then fades.
Owners on r/MechanicAdvice frequently describe a howling that becomes obvious somewhere around 45 to 47 mph, then backs off. That rise-and-fade pattern is a hint, not a rule. A rough tire or a wheel that’s out of balance tends to produce vibration you can feel through the seat and steering wheel, and its intensity scales with speed in a smoother way. A bearing pulse is more often described as pulsing or beating rather than as a steady roar.
Also record whether the noise is a hum, a growl, a rumble, a drone, or a periodic clunk. Early-stage bearings hum. Mid-stage bearings growl or rumble. Late-stage bearings grind or clunk in a rhythm you can count against the wheel rotation.
Now cross onto a different surface without changing speed much. A bearing gets loud because its rolling elements are being loaded and impacting, so the sound carries across from smooth asphalt to rough pavement with little change in character. A tire problem changes: the roar drops or nearly vanishes on smooth concrete and comes back on the coarse sections. Comparing the same stretch at the same speed on both surfaces is a cheap, separate axis of evidence, and it is the one most guides skip.
If the noise is present only when you touch the brakes, the pedal pulsates, or it makes no difference at all with speed, you are probably not looking at a bearing. Keep driving slowly through the sequence and rule out the brake and tire suspects below.
Locate the Wheel Responsible for the Noise
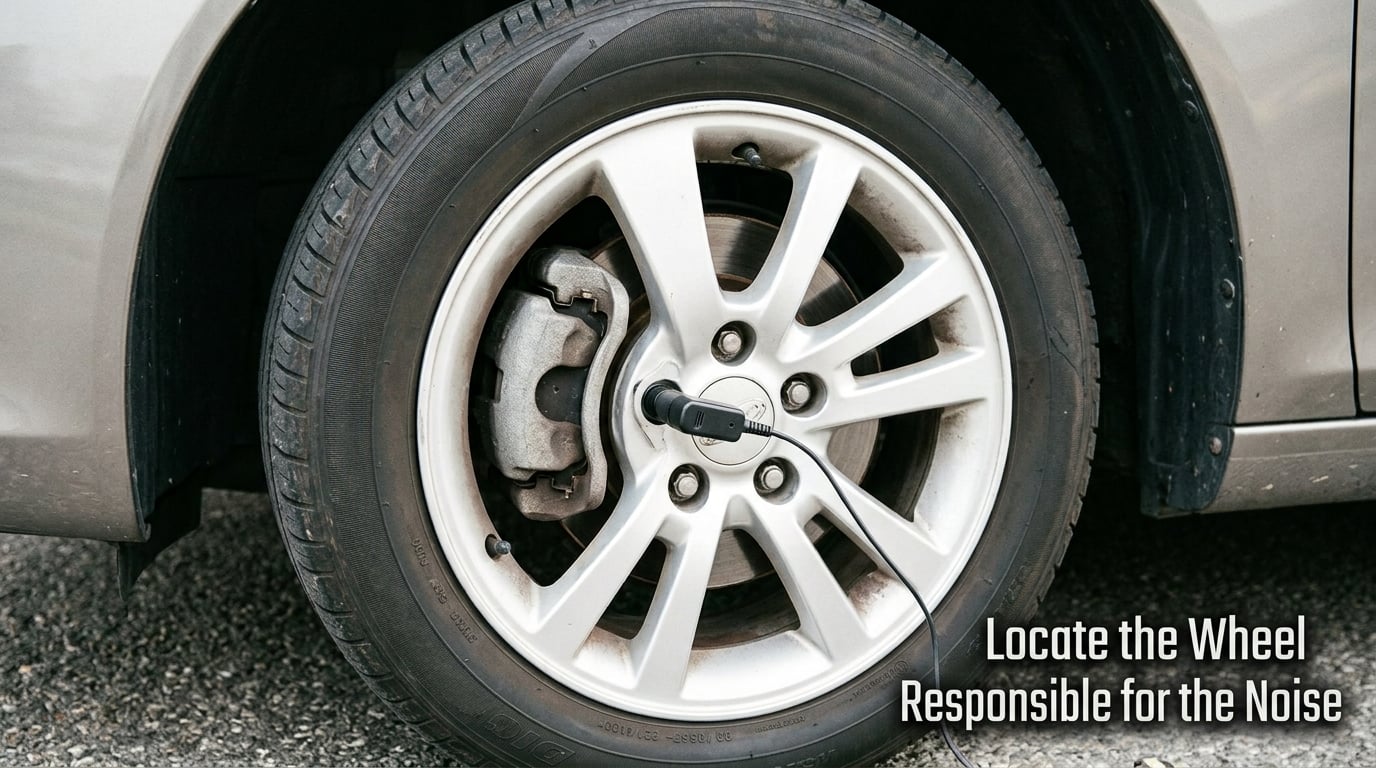
Two cheap methods narrow the corner down, and using both is better than relying on one.
Load the corner in a turn. Weight transfer is the physics that makes this work. When you turn left, body weight shifts to the right side, loading the right-hand wheels. When you turn right, the left side loads up. A worn bearing gets louder under load, so:
- Noise gets louder or reappears in a left turn: the right side is the suspect.
- Noise gets louder or reappears in a right turn: the left side is the suspect.
- Noise gets noticeably quieter in both directions: an early or unloaded bearing, or not a bearing at all.
Get this backwards and you’ll pull the wrong hub. Plenty of forum advice states the mapping in reverse, which is why owners on stangnet and tacomaworld end up replacing a good bearing and keeping the noise. Write the mapping on a piece of paper before you drive.
Run the test on a straight, empty road, one gentle turn at a time, at a speed where the noise is already present. Do not exceed the posted limit and do not hold a lane through slower traffic. Comparing at two speeds matters too: a bearing that only shows up at 50 mph may be silent at 25, and a turn test done too slowly will tell you nothing.
Use a passenger to listen. This is the method nobody mentions. Have someone ride along with the window cracked and their head near the wheel arch, never near the wheel itself. Take a slow lap and ask which corner the sound is loudest at. A passenger listening at each corner reliably separates front from rear, which a turn test alone cannot do, because weight transfer only tells you left from right.
After the turn test you should have a side. After the passenger test you should also have a row. If the two disagree, do the third step and take more data rather than committing to parts.
Check for Play, Heat, and Visible Damage
With the vehicle properly supported on jack stands, you can look at the suspect corner and find physical evidence that a turn test cannot produce.
Look first. Scan the back of the hub area for rust streaks, weeping grease around a greaseable hub, a cracked or split seal, a scored dust shield, or a visibly damaged CV boot. On a sealed hub, oil residue on the inside of the tire bead or a greasy smear down the inside of the rim often means the seal has gone.
Check play where the manufacturer allows it. A dial gauge is the cleanest method: clamp it against the wheel rim or brake rotor, then push up at 12 o’clock and pull down at 6 o’clock, reading the total movement. Then move to 3 o’clock and 9 o’clock and push inward on each side. Movement in the vertical plane, at 12 and 6, is the classic late-stage bearing sign. Movement only at 3 and 9 points somewhere else: the wheel bearing, tie rods, ball joint, or hub mounting hardware. Check your manual for the acceptable range, because it varies widely by model and by bearing type, and a sealed hub with a small sensor ring can read differently than an older tapered roller setup.
Spin the wheel by hand. With the transmission in park, the parking brake set, and the vehicle supported, spin the wheel and listen. Roughness, a grinding rasp, or a wheel that stops dead or slowly rather than coasting points at the bearing. Here is the important caveat: a lifted wheel carries almost no load, so a clean hand spin proves very little. A worn bearing that still has grease and no spalled race can spin perfectly. Treat the spin test as evidence-negative only. A rough spin is meaningful; a smooth spin clears nothing.
Compare temperatures. Drive the car for ten to fifteen minutes, then park it and take an infrared reading at each hub or wheel face, an inch or two in from the metal. A bearing corner can run markedly hotter than the others. Keep your hands off the brake rotor and disc, which are far hotter than the hub and will give you a misleading comparison or burn you.
Rule Out Tires, Brakes, Wheel Hubs, and CV Joints
This is where most misdiagnoses come from. Walk the list below before you decide the bearing is at fault.
Tires first, because tire noise is the most common mimic. Check inflation on all four. Run your hand along the tread: uneven blocks, feathering where the tread edges feel rough on one side, or a heel-toe pattern across the width points at alignment, balance, or a worn shock. Cupping or scalloping, where the tread wears in a repeating dip pattern around the circumference, can sound exactly like a bearing at road speed. A tire specialist will tell you a cupped tire reads as a low oscillating drone, and that is genuinely hard to tell apart from a hum in an enclosed car.
Then brakes. Look through the spokes for brake dust coating the inside of the rim, uneven pad wear, or a caliper that looks retracted further on one side than the other. A worn brake pad wear indicator makes a persistent high squeal or chirp at low speed that quiets down when you press the pedal, which is the opposite of a bearing. A dragging caliper makes a low grinding or scraping sound that stays constant and often heats the rotor enough to glow at the trailing edge.
Check the wheel and fasteners. Put the vehicle on stands, break the wheel fasteners loose, and re-torque them to the manual spec. If the noise goes away, a loose wheel was the cause. Confirm no wheel has visible rust around the stud holes or a dent in the mounting face, and that the wheel weight adhesive is still bonded. A missing weight clip makes a rhythmic clunk that rises with speed and is frequently misread as a failing bearing.
CV joints next. A CV axle clicks or chatters during a turn at low speed, and the clicking is loudest at full lock, which is a bearing test almost never produces. With the vehicle safely supported, move the wheel through full lock in both directions and listen for chatter, and inspect the boot for torn or split rubber. Grease thrown onto the tire or inside the rim from a torn boot is another tell.
Then driveline and suspension. A wheel speed sensor sits inside the hub on most modern cars, so a damaged sensor or a failing ABS module can light the ABS or stability control warning while a worn bearing corrupts the signal as a side effect. Do not replace a bearing to chase a warning light without confirming the light. Whine that changes with throttle and disappears in neutral is usually the differential, not a bearing.
Finally, the hub itself. A hub flange with stripped bolt holes, or a hub that moves relative to the knuckle with no bearing play at all, produces a knock that lands exactly where a bearing would sound from the driver’s seat. This is why play at 3 and 9 but not at 12 and 6 deserves its own check.
Worth knowing about a related failure mode: a bearing on its way out wears the tire, and a cupped tire wears the bearing. Owners on forum threads often replace one part, expect silence, and end up back at the shop because the second cause was never addressed. When the hub is being replaced on a tire with cupping, plan on new tires in the same visit.
How to Diagnose a Wheel Bearing Noise Safely
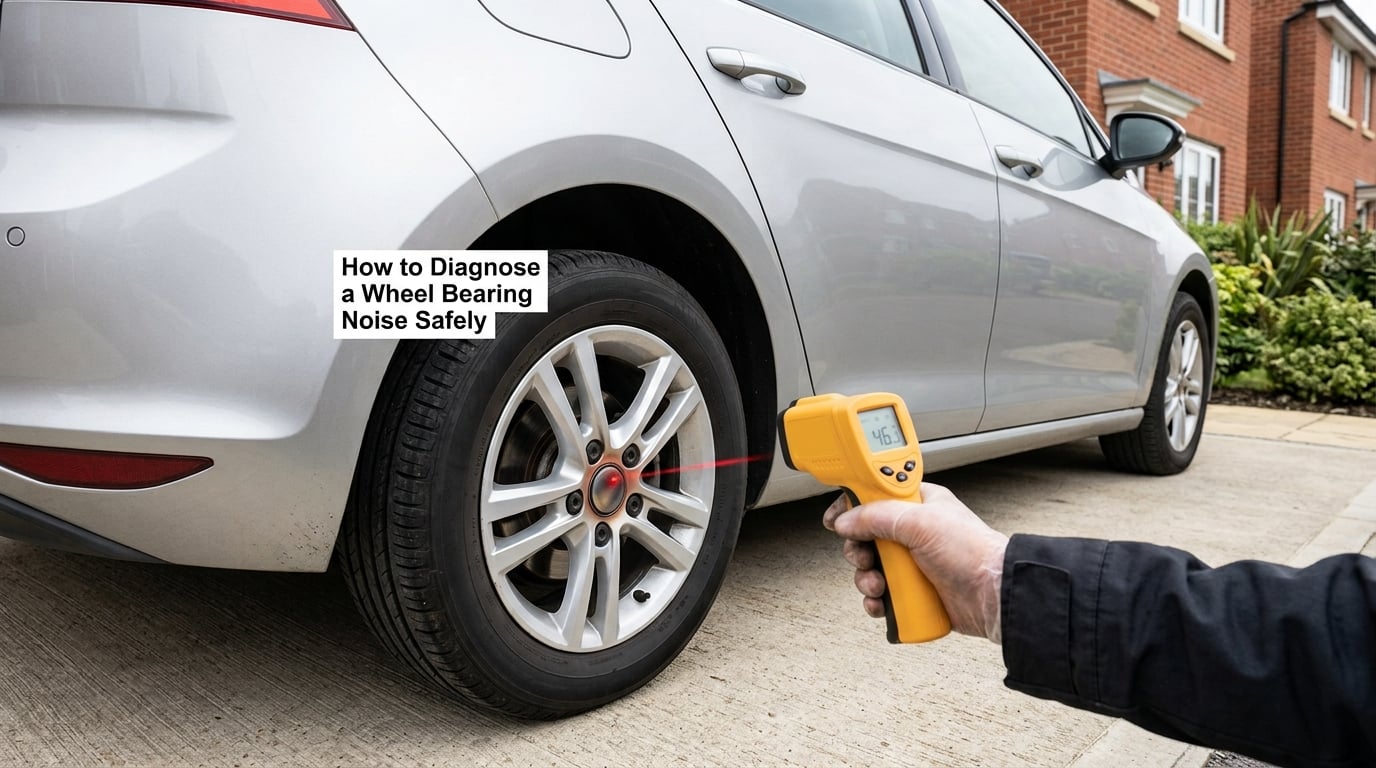
Repeat tests rather than escalate to a guess. If the turn test was inconclusive, run it again at a higher speed on a different stretch of road, and this time have the passenger at the wheel arch. If you have a stethoscope, use it at the suspect hub with the vehicle on stands and the wheel rotated slowly by hand, then confirm with a short drive at the speed where the noise first appeared.
On the hoist or jack stands, inspect the suspect hub and compare the reading with a known-good corner of the same vehicle. The same model of car, on the same day, is a better reference than a specification sheet, and it removes the guesswork about whether a given amount of play is normal.
Do not perform the improvised tests that show up in forum advice. Do not jack one corner of the car and leave the other three on the ground while you crawl underneath, do not spin the wheel with the vehicle in gear, and do not climb under a car held by a jack alone. Removing a vehicle’s own restraint or driveline components to make a test easier is how a diagnostic drive turns into an expensive repair.
Stop the diagnosis immediately and do not drive further if you find a loose wheel, a loose hub, a bent or cracked wheel, a torn CV boot spraying grease, or a wheel that has become visibly hot to the touch. Get the vehicle to a shop on a trailer or lift, not under its own power.
Verify the Suspected Bearing Before Ordering Parts
Before anyone orders a hub, you should be able to point at the evidence. Check that the sound is repeatable and tracks with speed. Check that the turn test and the passenger test agree on a corner. Check for play at 12 and 6, or for visible seal damage, rust streaking, or grease on the tire bead. Check that the hub reads hotter than its partners after the same drive. And check that none of the tire, brake, fastener, or CV findings explain it better.
Play, banging, and a hub that has become too hot to rest a hand near are stop-driving signs, not “schedule it soon” signs. A worn bearing lets the wheel deflect under load, which degrades steering and braking stability, and in rare cases the hub can separate from the knuckle. The wheel speed sensor that lives in the hub also means a failing bearing can throw ABS and stability control faults that send people replacing the wrong parts.
One more thing worth checking before a teardown: axle nut torque and preload. On hub-and-axle-nut designs, a loose axle nut or incorrect preload on a tapered roller bearing is one of the leading causes of premature failure, because the rollers skate instead of rolling. If the nut was never torqued to spec after a brake or hub job, the new bearing may not survive either. A vehicle that gets its bearings replaced and then develops the same noise four weeks later is the classic case forum owners keep asking about.
Common Mistakes
Replacing the first noisy corner instead of locating it. Corrective action: do the turn test and the passenger test, and require both to name the same side before any parts are ordered.
Trusting the turn test even though the side logic is often stated backwards. Turning left loads the right side, and a louder noise in a left turn points right. Write the mapping down before you drive rather than trusting your memory.
Treating a clean hand spin as proof the bearing is good. A lifted wheel carries almost no clamping load, so early and even mid-stage bearings can spin silently. Corrective action: only act on a rough spin as positive evidence, and confirm with play, heat, and the road tests.
Running the whole test at walking pace. Many bearings are silent below 30 mph and obvious in the 45 to 50 mph range. Corrective action: repeat the test at the speed where the noise appears, on a straight empty road.
Comparing hot wheels wrong. Corrective action: take infrared readings at the hub, not on the rotor or disc, and do it on all four corners after the same drive rather than comparing a hot corner to a cold one.
Ignoring loose fasteners. A wheel that was never torqued properly can sound like a bearing. Corrective action: re-torque to the manual specification and re-test before anything comes apart.
Continuing to drive after a severe warning sign. Heavy play, banging, a torn CV boot, or a hot hub means the drive is over. Corrective action: have the car lifted to a shop.
A few final tips. Ask the shop to check the wheel and hub fasteners, the CV boot, and the tire tread at the same visit as the bearing, since all of them wear together at the corner. If the noise started right after new tires, a pothole, or brake service, tell the technician that history first; it points at an alignment issue, a damaged sensor tone ring, or a hub that was never torqued. And on vehicles where the manual specifies an alignment check after hub work, do it. A bent or pushed-off hub after a pothole will throw the alignment and shorten the life of the new tire.
Frequently Asked Questions
Can a new wheel bearing make noise right after replacement?
Yes, and it is more common than manufacturers admit. A clean installed bearing is silent; noise that appears within days usually points to something else: an axle nut torqued wrong so the rollers skate, a hub not seated fully before the axle nut went on, a wheel not torqued to spec, a pushed-off or bent alignment, or a tone ring on the ABS sensor damaged during the job. A tire that was already cupped and got reused will also keep making noise. Give the shop the timing, the speed it happens at, and whether it changes in turns.
Why does the wheel bearing noise change when I turn?
Because a bearing is quieter unloaded and louder carrying weight. When you turn left, body weight transfers to the right side, so a worn right-hand bearing gets louder. Turn right and the left side loads up, so the noise comes from the left. A bearing that only makes noise in one direction, or changes noticeably in both, is behaving exactly as it should. If the sound is completely unchanged by steering, suspect the tire, the brakes, or the driveline instead.
Do both wheel bearings need to be replaced at the same time?
Usually not, and plenty of cars only ever need one. Replace both on the same axle if they are close in age and mileage, because the noise comparison between two corners is how you tell them apart later, and mismatched wear makes the next diagnosis harder. Replacing bearings on the same side of the car is also reasonable if the front tires showed cupping, since the two are usually affected together. Opposite corners on opposite ends of the car are a separate question, and the service history usually answers it.
How long can I drive with a noisy wheel bearing?
A faint hum that starts near 45 to 50 mph with no play and no loose hardware is generally a short drive to a shop, not an emergency. Roughness that follows the speed, a pulsing clunk, or a hot hub changes that answer. Stop driving the moment you find play at 12 and 6, banging, a loose wheel, a torn CV boot, or a wheel too hot to touch. A worn bearing lets the wheel deflect under load, which degrades steering and braking, and the ABS sensor in the hub can fail with it.
Can tire or brake noise be mistaken for a wheel bearing?
Constantly, and most of the wrong-bearing replacements trace back to it. Cupped tires produce a low oscillating drone that reads as a hum, and uneven wear patterns add vibration through the seat that a bearing does not. A worn brake pad indicator squeals or chirps at low speed and usually quiets when you press the pedal. A dragging caliper scrapes at a steady volume and heats the rotor. Each of those has a different fingerprint under speed, steering, and surface changes, which is why the comparison is worth doing before parts.
Conclusion: What to Do First
Write down when the noise starts and whether it climbs with speed, then run the turn test and the passenger listening test until they agree on a corner. Remember the direction: a louder noise in a left turn points to the right side. Inspect that corner for play at 12 and 6, a damaged seal, grease on the tire bead, and a hub that runs hotter than the other three after the same drive.
If the tire, brakes, wheel fasteners, or a CV joint explain the noise better, fix that instead. If a trustworthy mechanic finds nothing, the bearing gets replaced and the hub is inspected for a bent flange and a tone ring at the same time.